
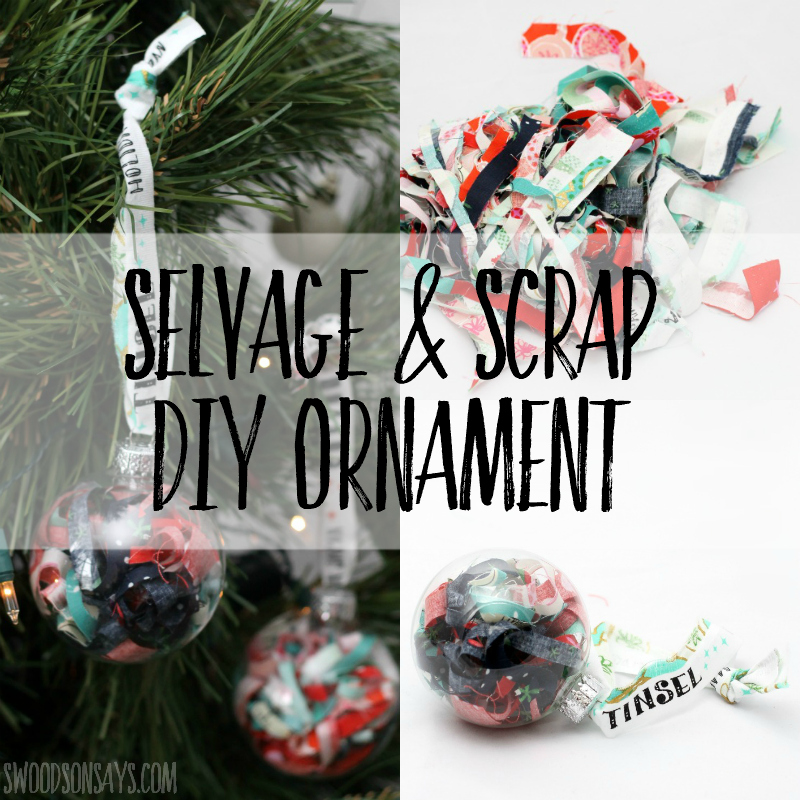
 I’ve been crafting up ornaments all weekend (more tutorials coming soon!), and couldn’t resist this quick project to use up some of my favorite scraps from last year’s holiday gifts. This DIY fabric scrap ornament would make a perfect present along with a few sewing trinkets, or just to decorate your own tree! I saw something similar on Facebook but forgot to ‘save’ it and now can’t find the original inspiration after searching Google/Facebook/Pinterest – but this was not my own idea (although I did add the selvage as a creative touch!). I hate throwing away scraps, and this puts the prettiest ones on display! If you’re making this as a present and looking for some little gifts to tuck in with it, check out my list of stocking stuffers for sewists, too.
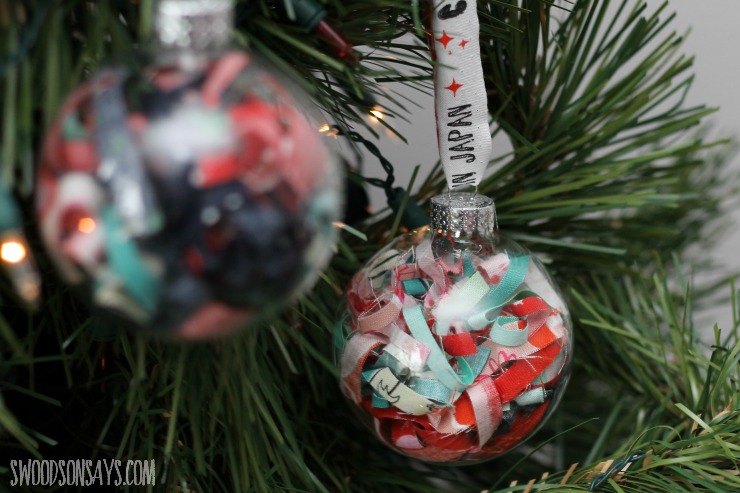
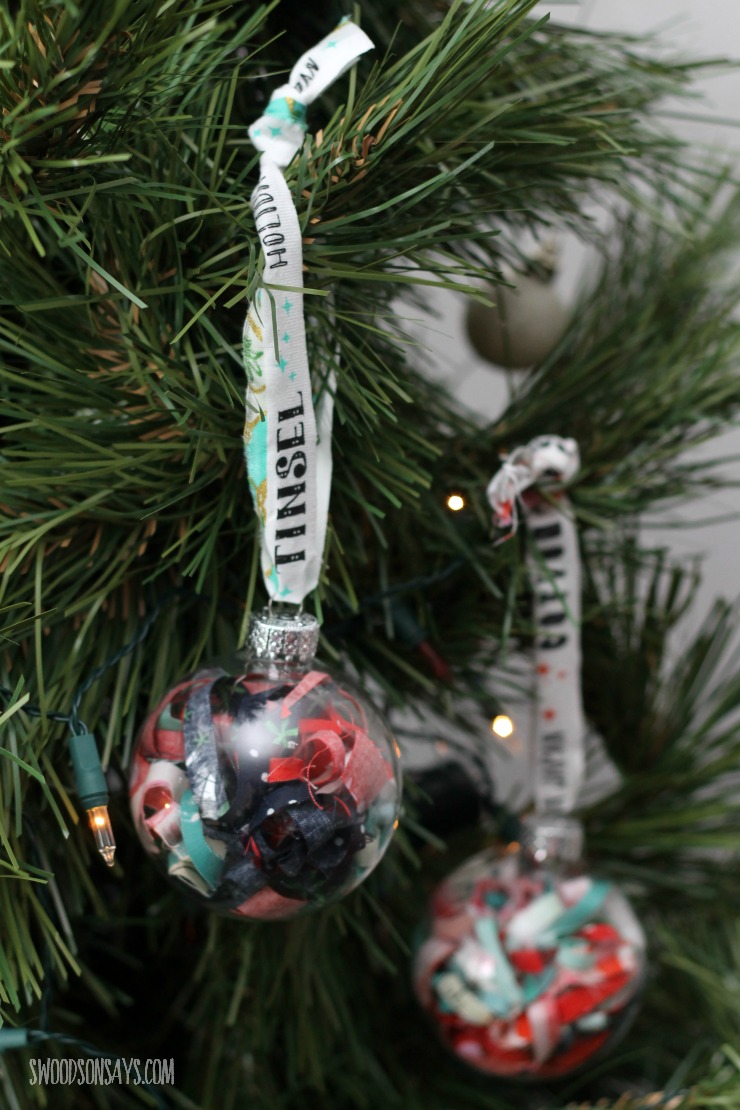
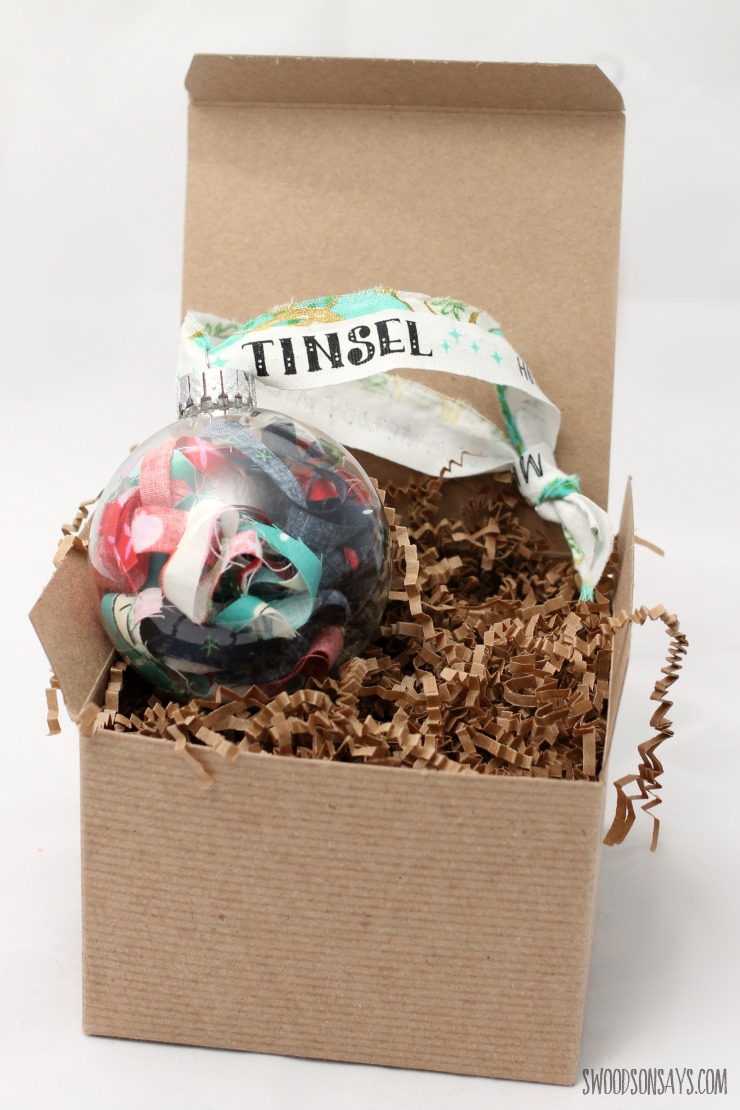
I love the bright colors peeking through and the ‘texture’ that all the loops give it.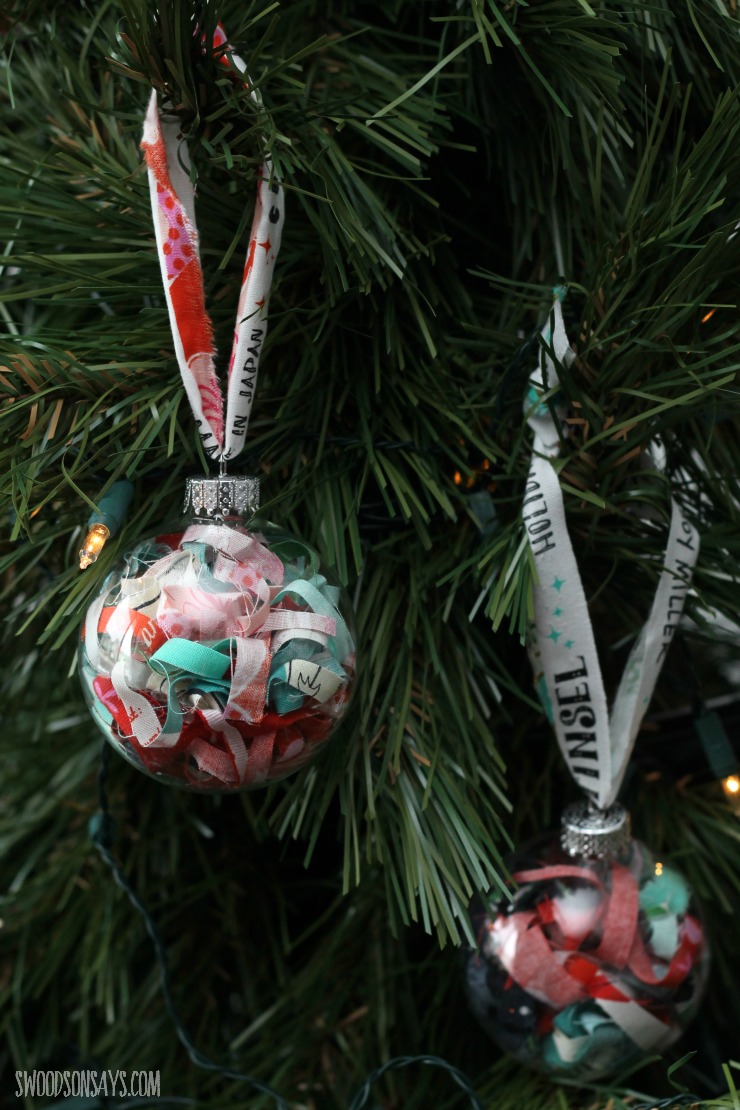
They’re very eye-catching, unfortunately that means they will have to wait a few years to be displayed on my own Christmas tree because my kids couldn’t leave them alone.
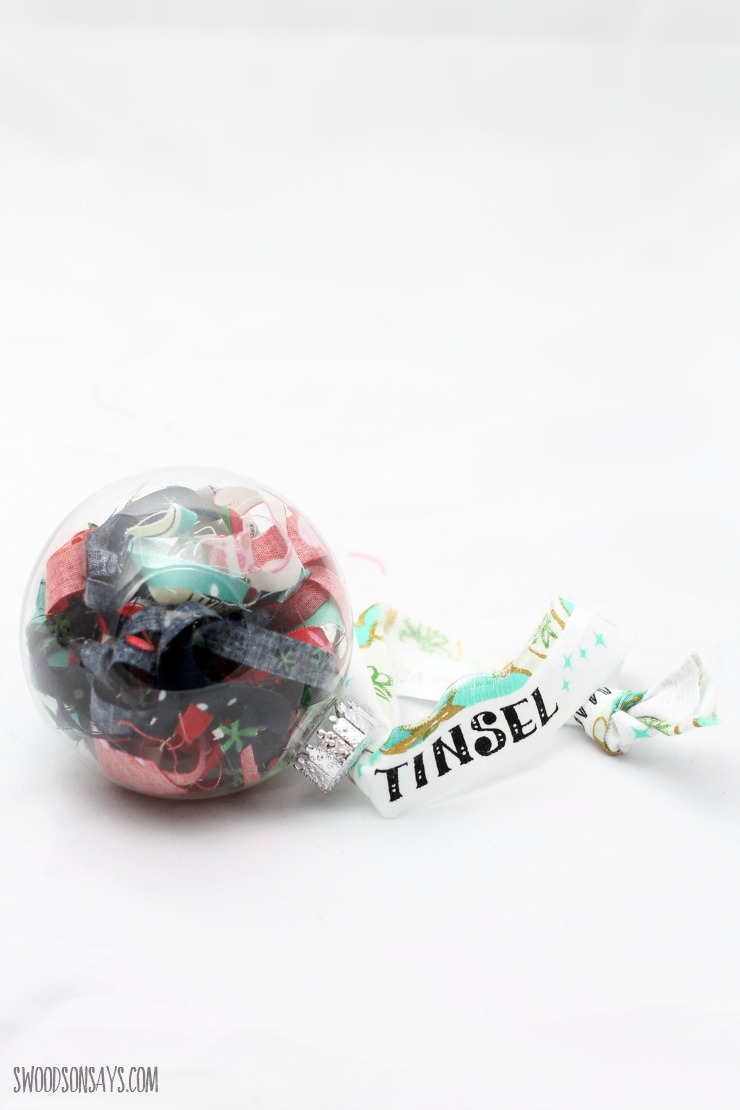
The fabric scraps I used were all from theit is the 2015 Cotton + Steel line, Tinsel*; trimmings off of this quilt that I made as a gift last year. I used the same scraps to make a paper pieced reindeer and a paper pieced Christmas tree as well!
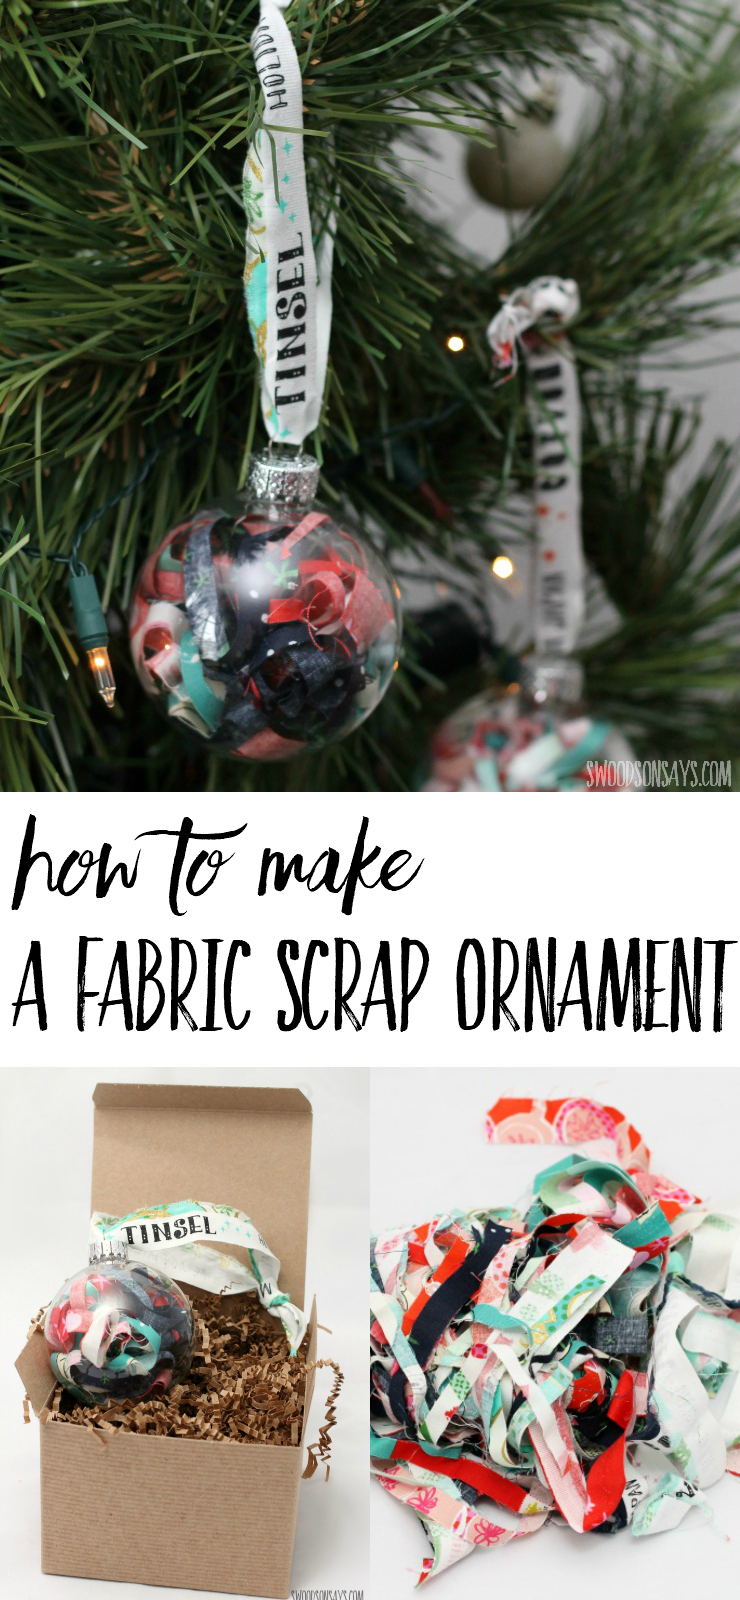
You can pin this fabric scrap ornament tutorial for later, using this link and picture:
Ready to make your own?
Supplies
- Glass ornaments – I used this cheap set*, they were cheaper to have shipped than shop in store and arrived in perfect condition
- Fabric scraps!
- Scissors or rotary cutter
- Optional – ribbon for hanging (I used the fabric selvages!)
Steps

1- Start with your scraps! You can experiment with different widths and lengths to see what look you like best; I left most of mine long and skinny.
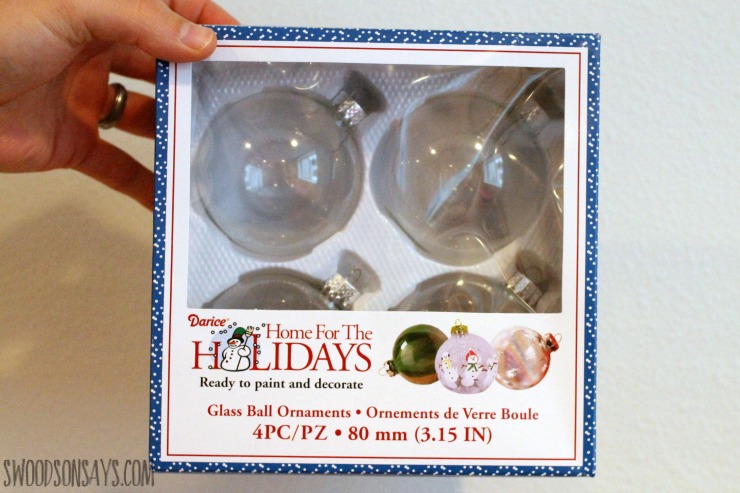
2-Bust out your clear ornaments. I opted for glass because I hate the seam on the plastic ones, but anything clear and fill-able would work.
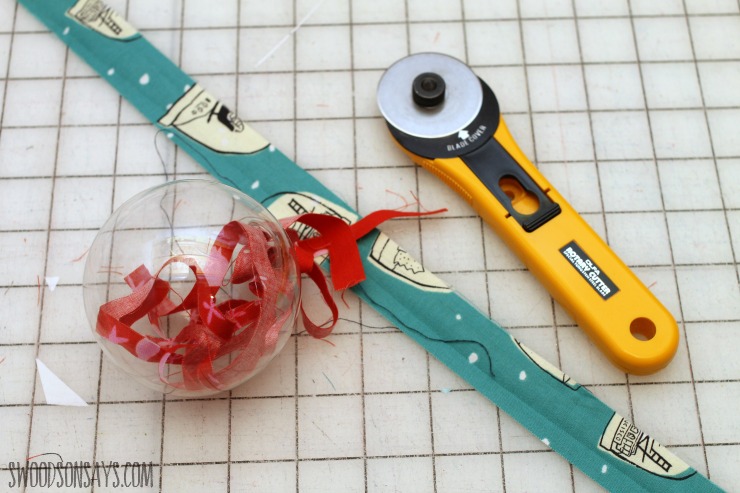
3- Trim your fabric scraps and insert them! I just stuffed them in with my finger, pushing them down and shaking it intermittently to try and keep the colors spread out.
4- Put the topper back on carefully and tie some ribbon or the selvage on top as a hanger! Package it up prettily and you’re done – or hang it on your own tree.
I think these would be fun if you saved some trimmings from every project in a year – an annual switching out of the fabrics, maybe? Knit fabric scraps would work too, so this isn’t just an idea for quilters! If you’re looking for some little gifts to tuck in along side, check out my list of stocking stuffers for sewists, too.
Mother of 3
Saturday 18th of November 2017
I've used paper scraps to make an ornament similar to this but never thought of using fabric scraps. Great idea. Pinned.
Stephanie - Swoodson Says
Saturday 18th of November 2017
Thank you for all the kind comments on my ornament posts, Joanne! I'd love to see them if you try any of the tutorials :)
Tina Voth
Tuesday 6th of December 2016
Cute idea! Perfect for remnants of fabric favourites.
Marsha Law
Monday 5th of December 2016
This is a pretty good idea. I can even put my pretty scraps in mason jars for decoration all year round.
Stephanie - Swoodson Says
Sunday 11th of December 2016
That is brilliant!!