
See how to sew a bean bag wrist rest for keyboards!
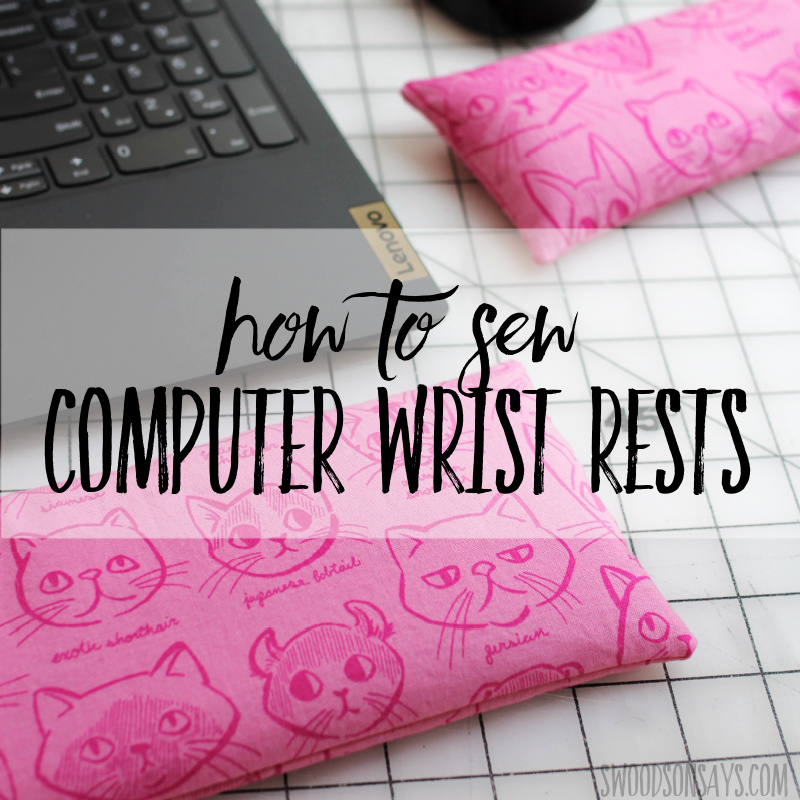
It can be tough to sew gifts for people you don’t know well, but this is a super simple idea that anyone in the digital age can use! A customized wrist wrest for their keyboard and/or mouse, easy to personalize and cheap to make. I picked a bright kitty print for myself and a geek-chic computer themed fabric as a gift (pitured below) but you could easily change the vibe with a sports team logo print, nice soft flannel, or upcycled fabric from a favorite shirt or blanket.
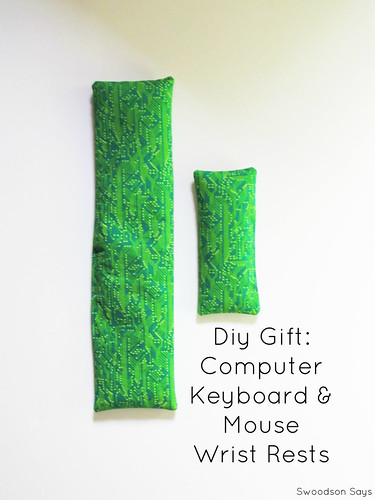
Here is the original version I stitched up!
If you like this post, check out these other posts while you’re here!
- 20+ Easy beginner sewing projects
- Sewing tips for beginners -15 mistakes to avoid!
- The best tips for teaching kids to sew
- 10 refashioning tips for successful sewing
- How to save money while sewing

Pin this tutorial for a DIY keyboard wrist rest & DIY mouse pad wrist rest with this collage image or link:
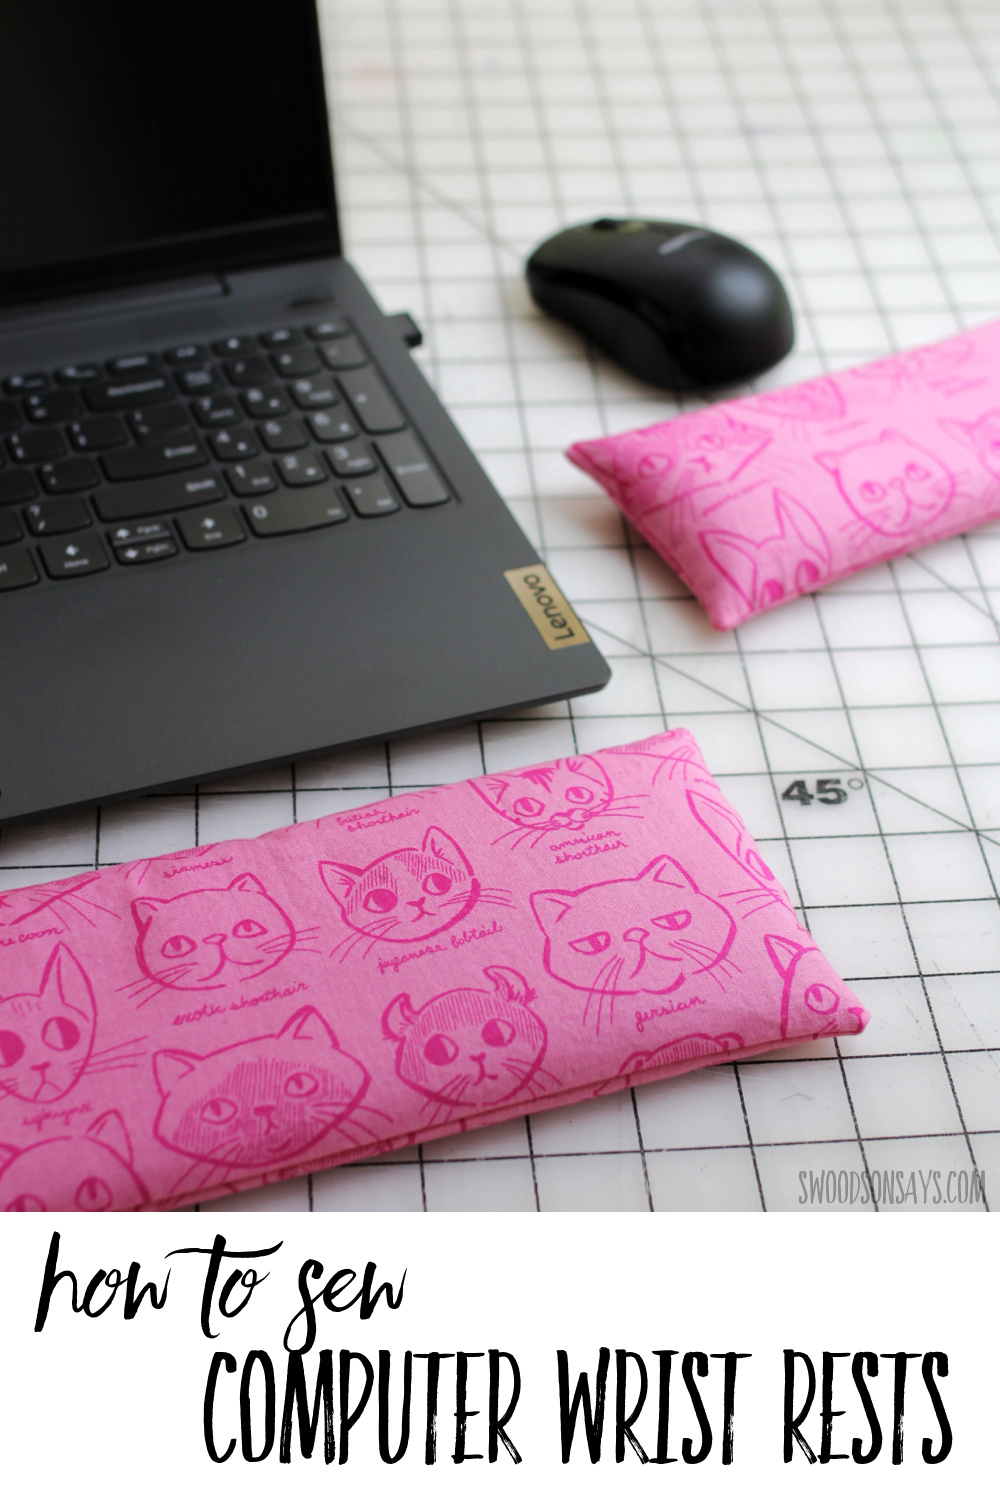
DIY keyboard wrist rest & DIY mouse pad wrist rest
Supplies
- Rotary cutter & quilt ruler
- 1/4 yard of woven cotton
- 1/2 yard of fusible interfacing
- Mini glass pellets as filler
- Iron & ironing board
- Scissors
- Hand sewing needle
Steps
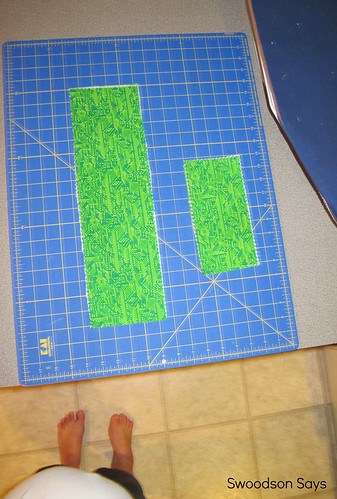
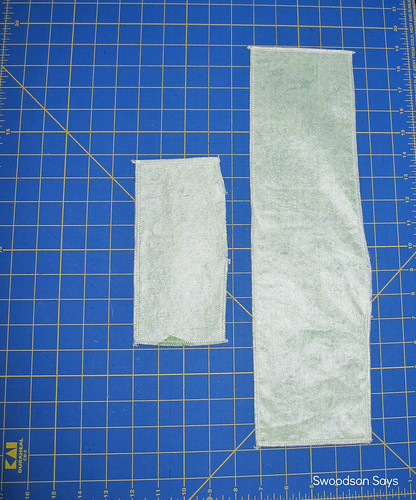
Step 1 – I cut 4 rectangles for each rest, 2 of the fabric and 2 of fusible interfacing that was lightweight. My small wrist rest was cut at 4″ X 8″ and my long rest was cut at 5″ X 17″.
Step 2- Iron the interfacing on to the fabric! And laugh at my belly in this picture (circa 2012, old post updated!).
Step 3- Turn the fabric pieces inside out so the fabrics are facing one another (right sides together) and serge or sew along 3 edges in their entirety. Then, on the 4th edge be sure to leave a spot unsewn so you can turn it inside out. It’s up to you how long – I usually do an inch or two which makes it a little tougher to fill but easier to sew closed. You can see where it dips out a little in the picture, which is the opening. Make sure to go back & forth for a few stitches at the beginning and end of the seam.
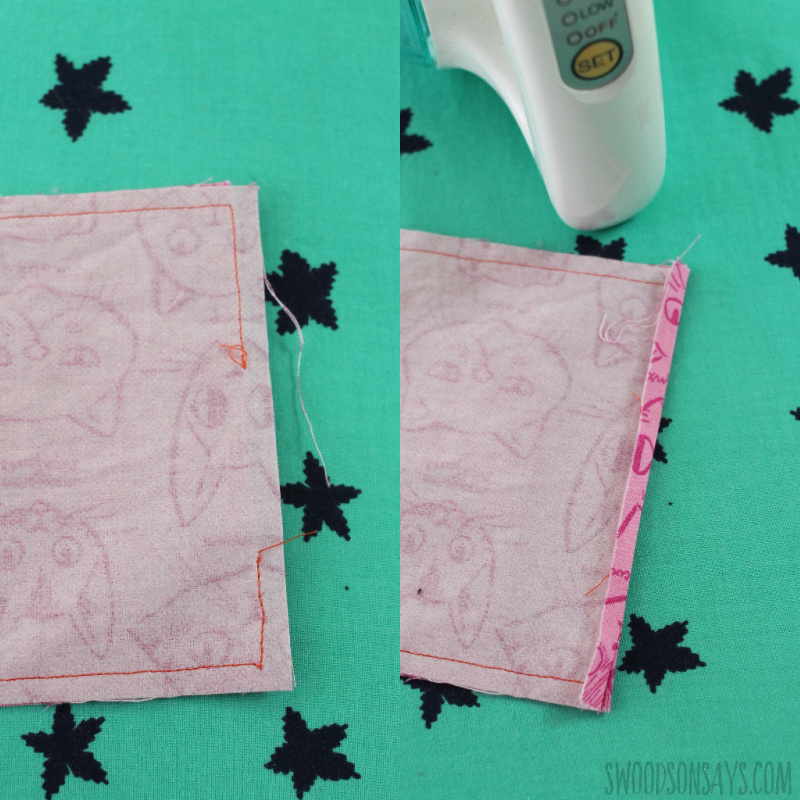
Step 4- I like to iron the seam allowance on both sides before turning right side out, it makes it easier to stitch close!
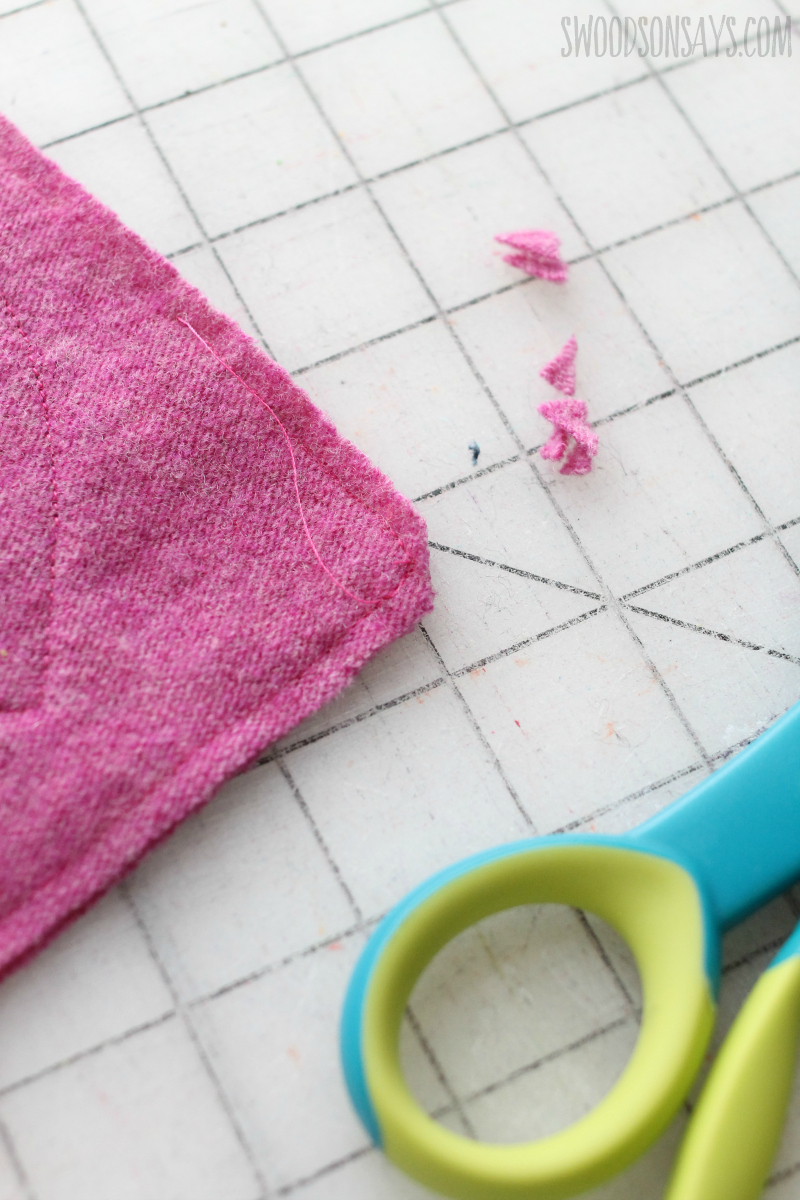
Step 5- Clip the corners (pictured above) and flip them right side out, pulling gently through the gap you left in the seam! I use a little crochet hook to push the corners out nice and sharp,although I think there is a special tool if you prefer. If you’re feeling extra fancy, iron it out so it is nice and flat.
Step 6- Fill them up! You could use old fabric scraps, or a mixture of poly-fill; you want some weight in them. I used the mini glass beads for comfort and convenience!
now at home mom
Tuesday 30th of October 2012
This is a very good idea! :-)
swoodsonsays
Wednesday 31st of October 2012
Thanks! It was super simple!