
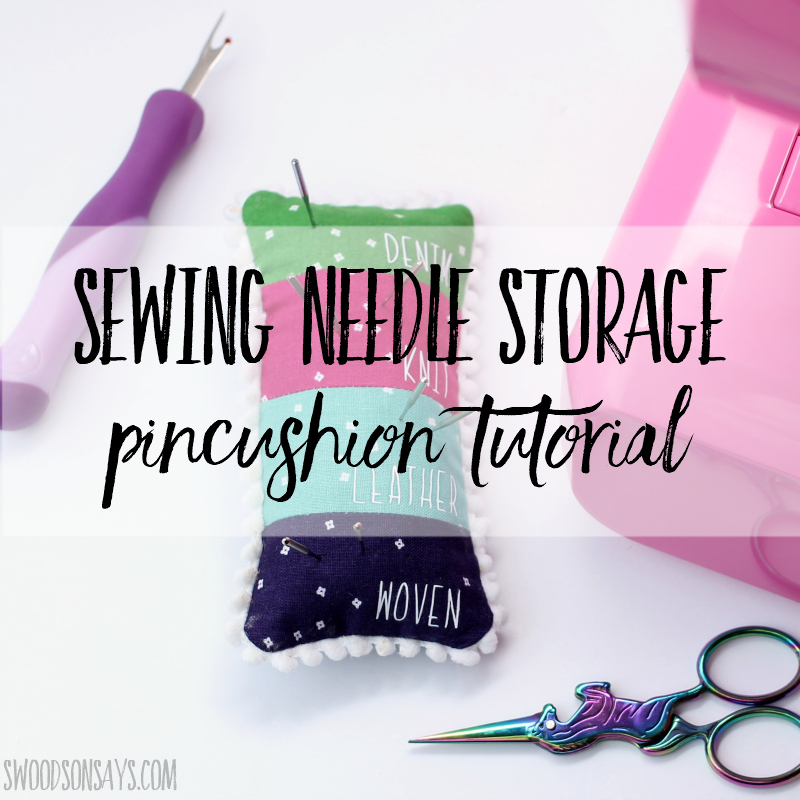
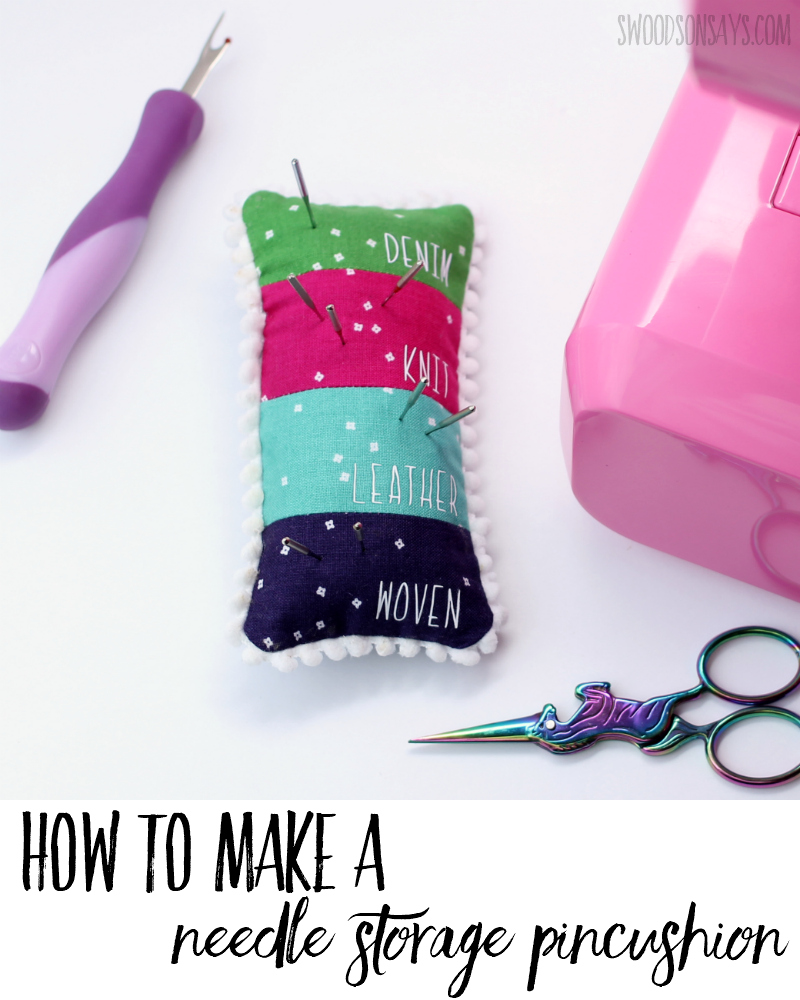
 Who else needs prettier sewing needle storage! I am forever swapping my needle for a new project and then hiding away the little white container it came in, and then forgetting what type of needle is in the machine when I go to start again. No more, with my new DIY sewing needle storage pincushion!
Riley Blake Designs sent me this fabric for free; this is the Blossom basics line designed by Christopher Thompson aka The Tattooed Quilter, and this tiny flower print comes in a whole bunch of colors! It can be tricky to find fabrics that have a little print that isn’t overpowering; this line is perfect for subtle backgrounds, hand embroidery, and patchwork.
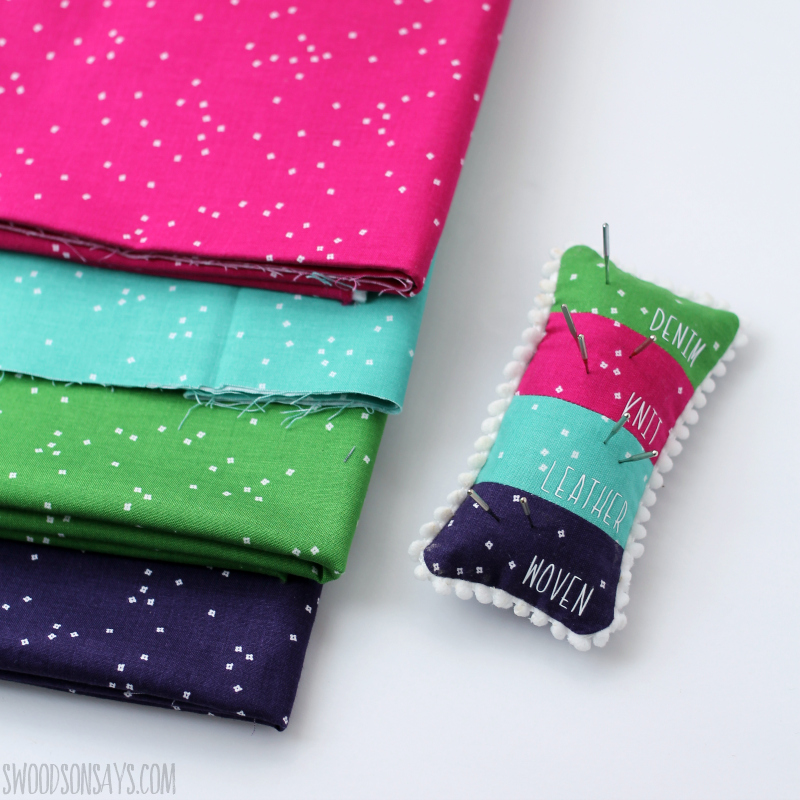
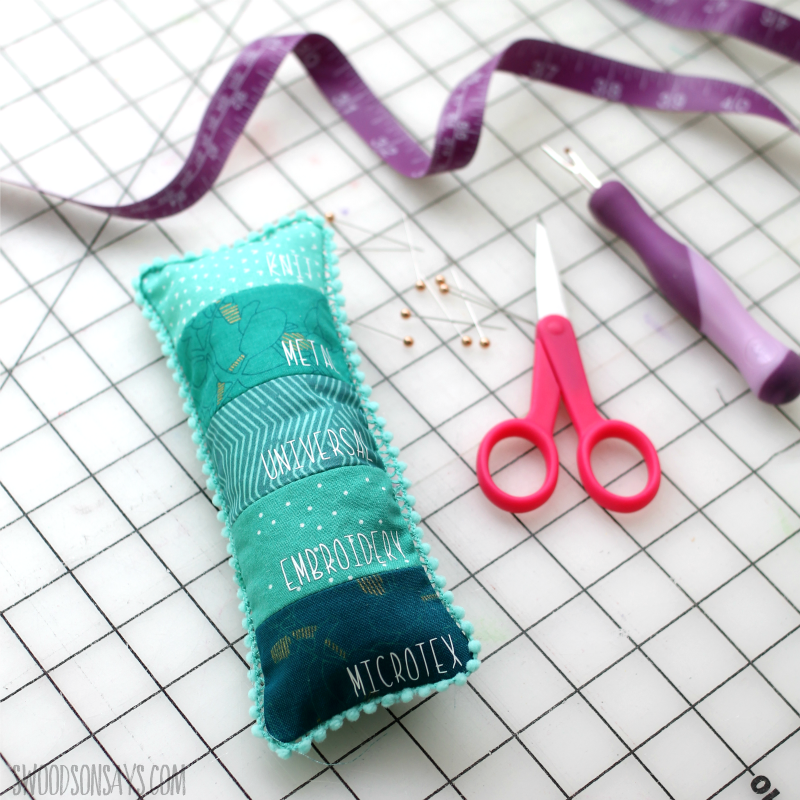
The colors I used from the Riley Blake Designs Blossom basics in eggplant, fuchsia, holly, & vivid. My plan is to take the needle out after each project and plop it in its respective slot. I used my Cricut Maker to cut out the words but you could also hand embroider them, stamp them, or write them in with a sharpie (the text is roughly .5″ tall!). This was partially inspired by a pincushion Ajaire made a few years back but I made enough tweaks I felt okay with sharing my own tutorial!
Check out these other posts while you’re here!
- 75+ of the most popular free sewing patterns from other designers & blogs
- The secret for making time to sew
- 25+ Free Pincushion Sewing Tutorials
- 20+ Easy beginner sewing projects
Pin this DIY sewing needle storage pincushion tutorial for later with this photo and link:
DIY sewing needle storage pincushion tutorial
Ready to make your own!
Supplies
- Glass beads
- Hemostats
- Mini pom pom trim
- White iron-on
- Cricut machine
- Iron
- Rotary cutter
- Acrylic quilt ruler
- 1/4 yard of Riley Blake Designs blossom basics Eggplant, fuchsia, holly, & vivid
- Get the design space file here
- Piece of cardstock & pen
Steps 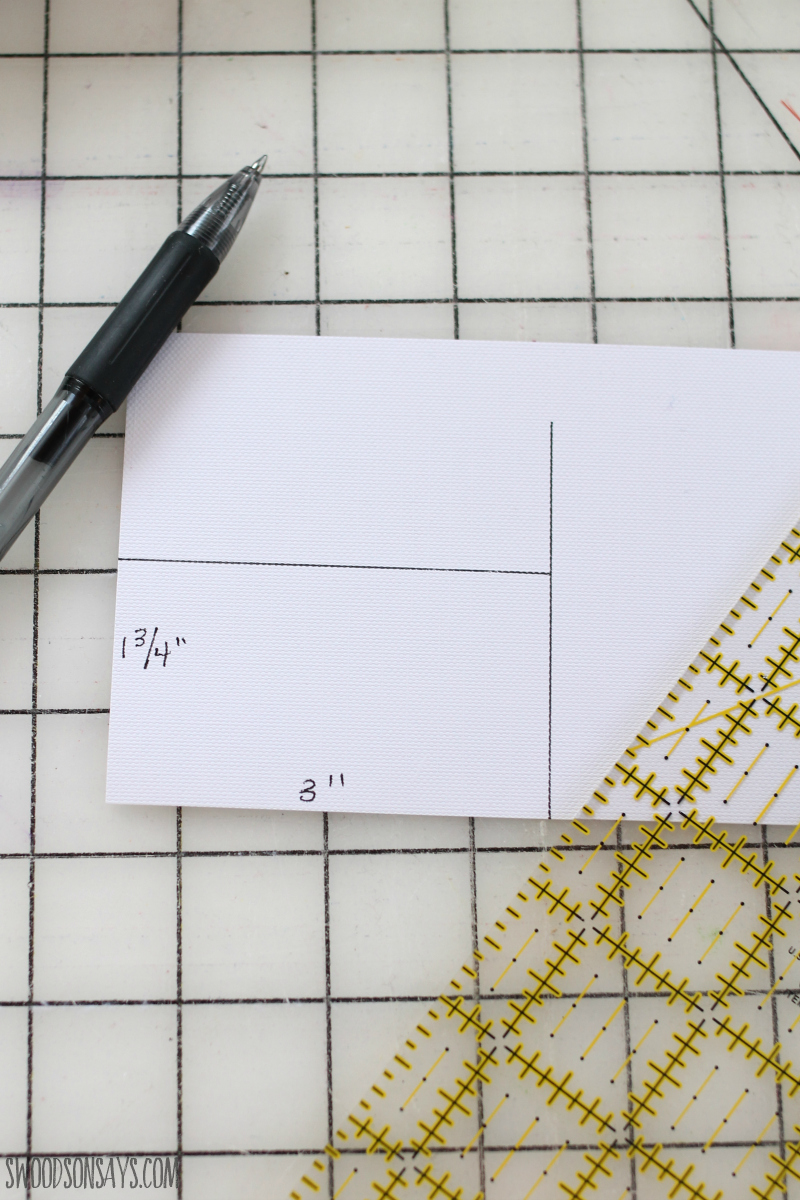
Step 1– Create your pattern piece that is 3″ long and 1.75″ tall!
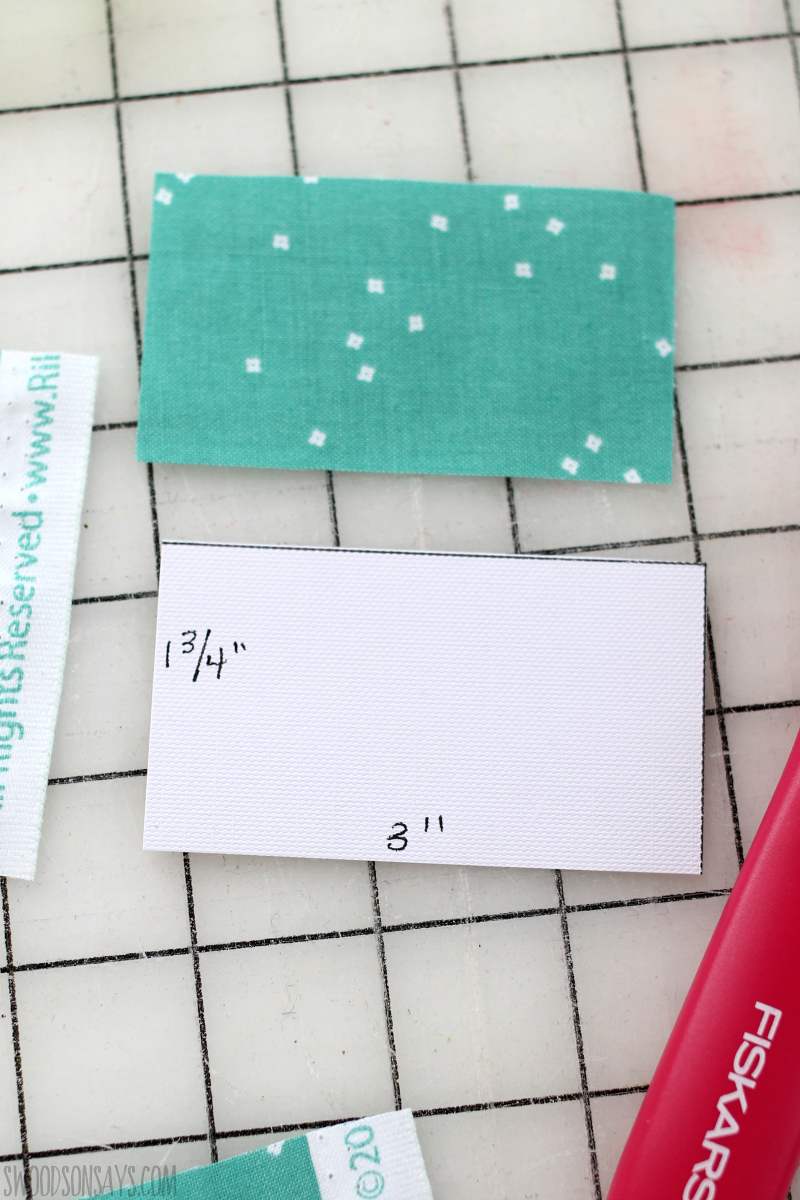
Step 2– Use the pattern piece to cut out 4 rectangles, positioning it on the print with the text in mind; so I placed my piece trying to leave a clear spot at the bottom right.
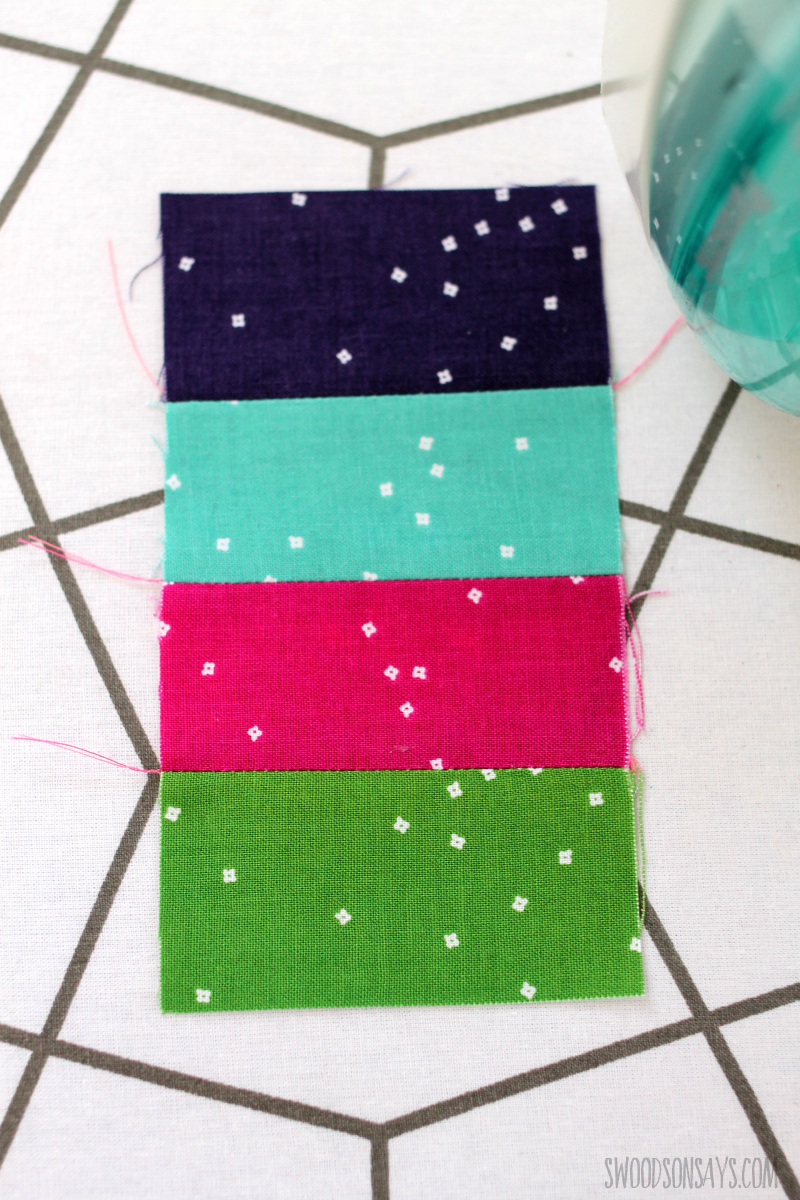
Step 3– Sew each rectangle together with 1/4″ seam allowance and press the seams open.
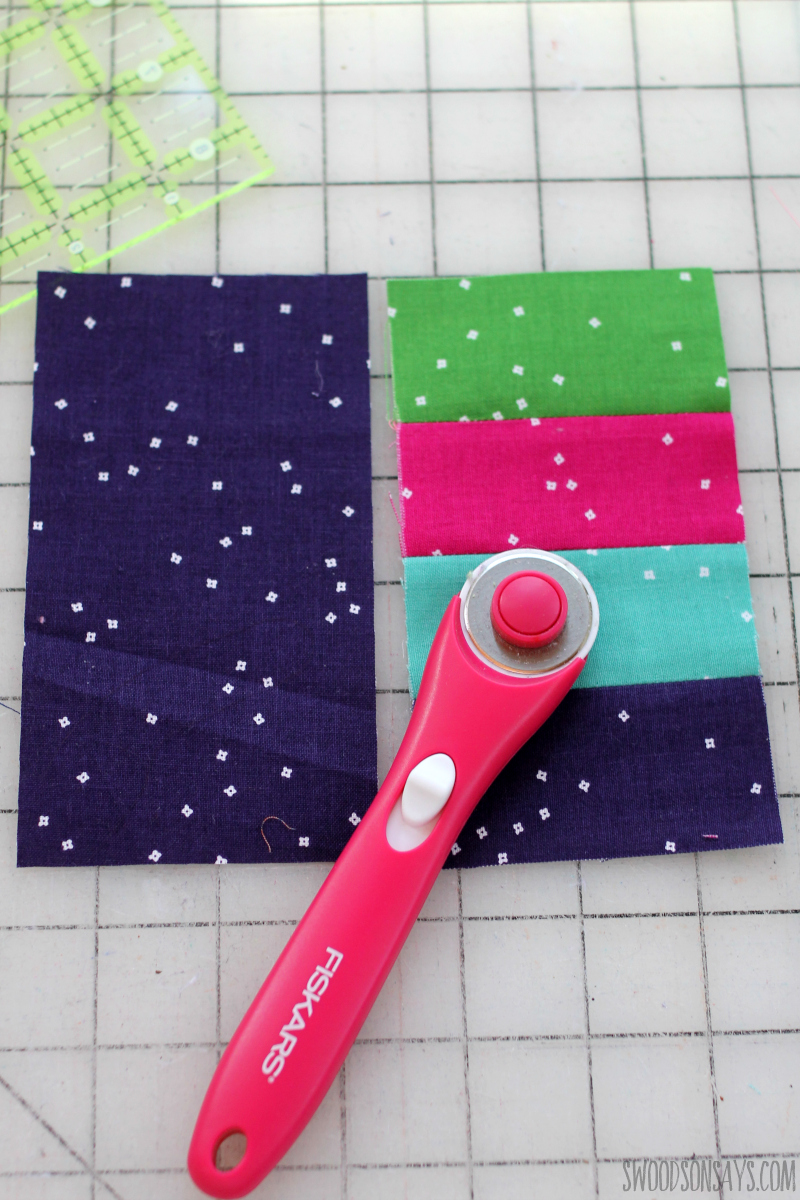
Step 4– Use the front as a pattern piece and cut a back rectangle that matches exactly.

Step 5– Baste the pom pom trim on the right side of the backing rectangle, leaving 1/8″ away from the edge.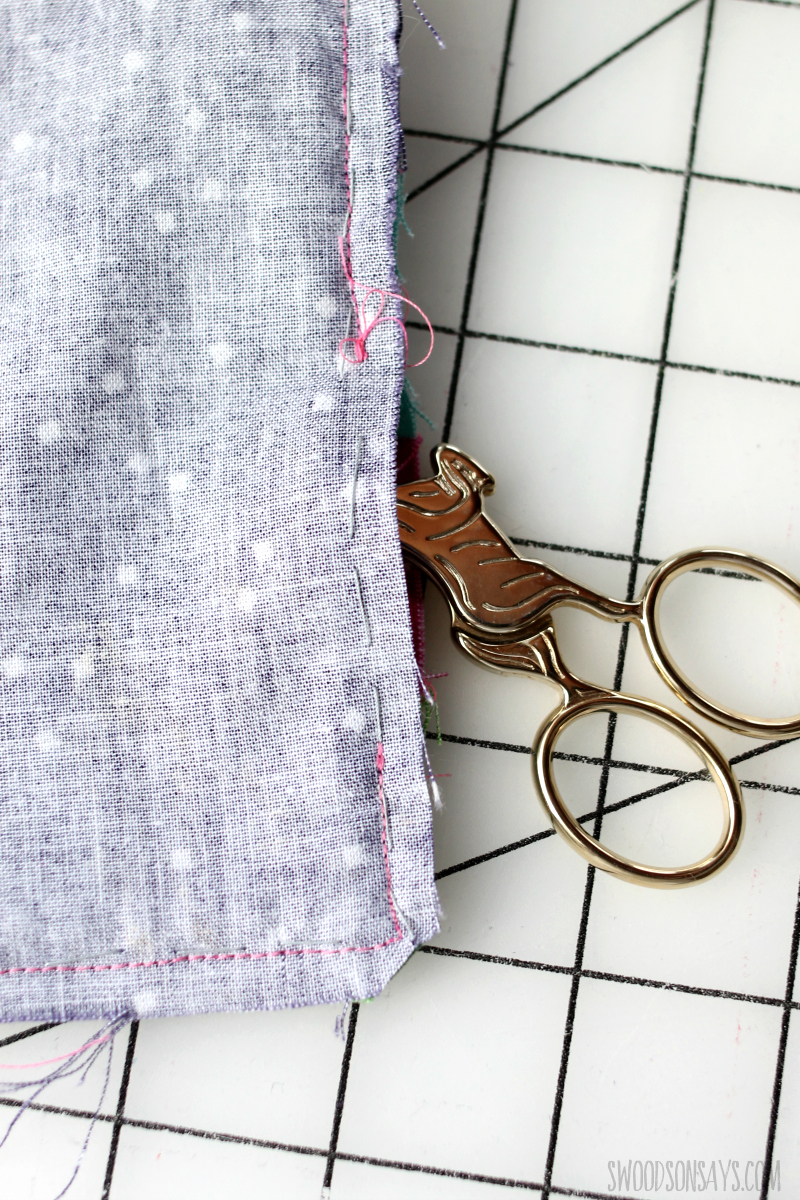
Step 6– Put the patchwork and back rectangle right sides together and sew with 1/4″ seam allowance, leaving a 2.5″ gap for stuffing. Clip the corners off.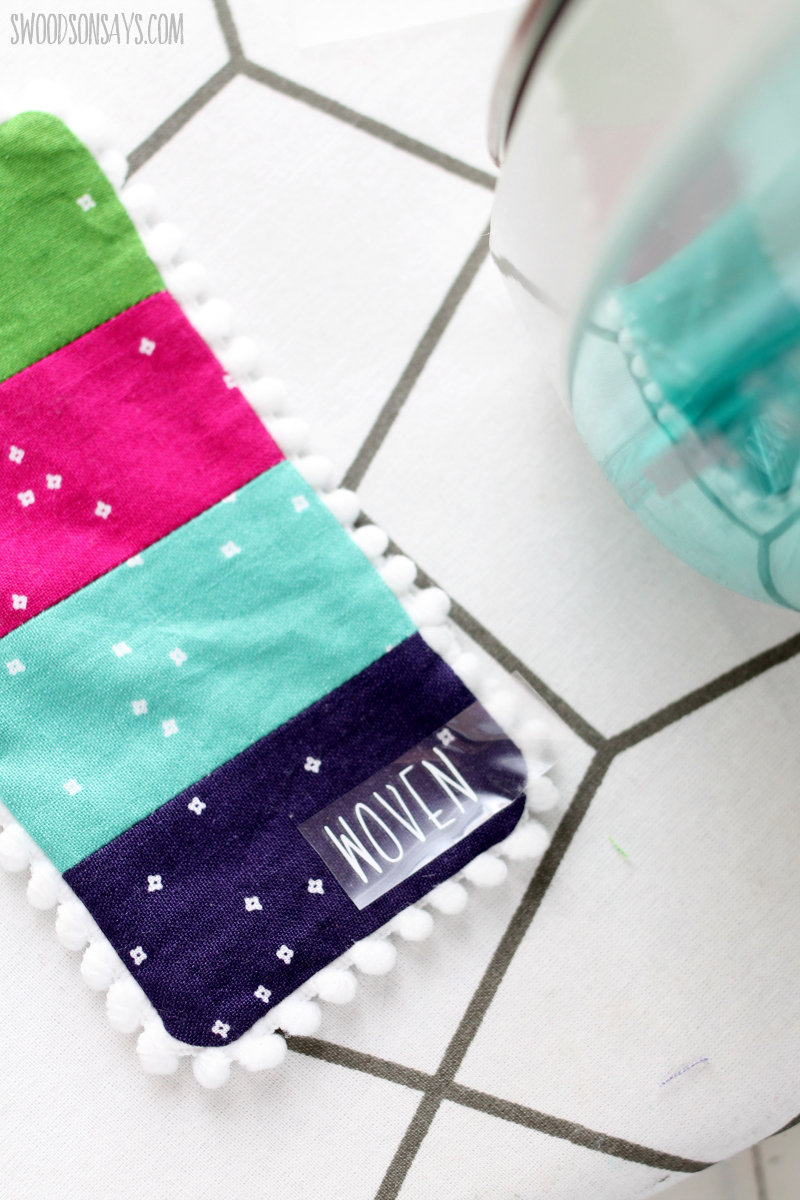
Step 7– Pull the rectangle through the gap and gently press the corners out, tucking the seam allowance into the gap. Cut out the iron-on and apply per the iron-on directions.
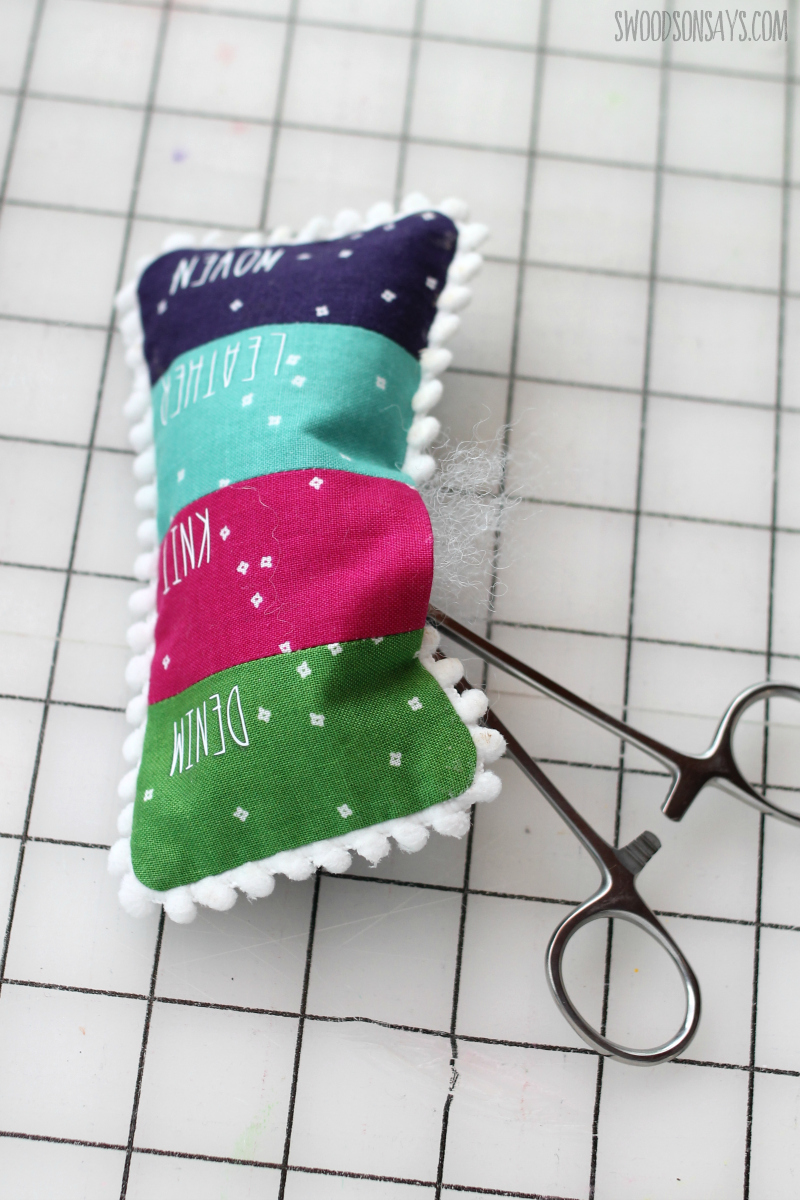
Step 8– I used a mixture of tiny glass beads and stuffing, so it had some weight, using forceps to press it into the corners. Hand or machine stitch the opening shut and you’re done!
Tracey MacDonald
Saturday 29th of February 2020
This pincushion is a great idea, and cute as well. Just an idea for now, but would like to share it: Use denim, a knit, leather, and a woven for the top materials. Just a thought.
Stephanie - Swoodson Says
Sunday 19th of April 2020
Tracey, that is a fun idea! Thanks for sharing!
Gemma
Tuesday 25th of February 2020
I definitely need one of these cushions! I’m ashamed to say I currently keep mine loose in my crafting drawer so I’m forever losing them. So this would be the perfect home for them plus it’s so cute too!
Stephanie - Swoodson Says
Sunday 19th of April 2020
Thanks Gemma!