
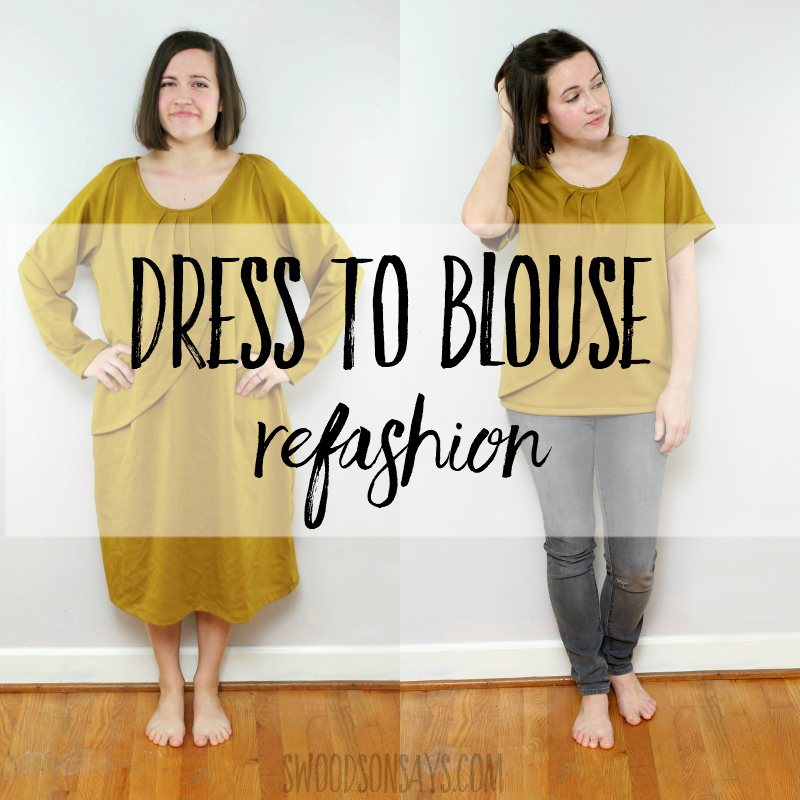
This summer has been super busy but I couldn’t resist joining in the #restylingexchange2018 hosted by @amynicolestudio & @pilar_bear! Participants got matched up and mailed something off to someone else to refashion for them.
So, @mfaithful mailed me the yellow dress with some notes on her style & size and I got down to sewing!
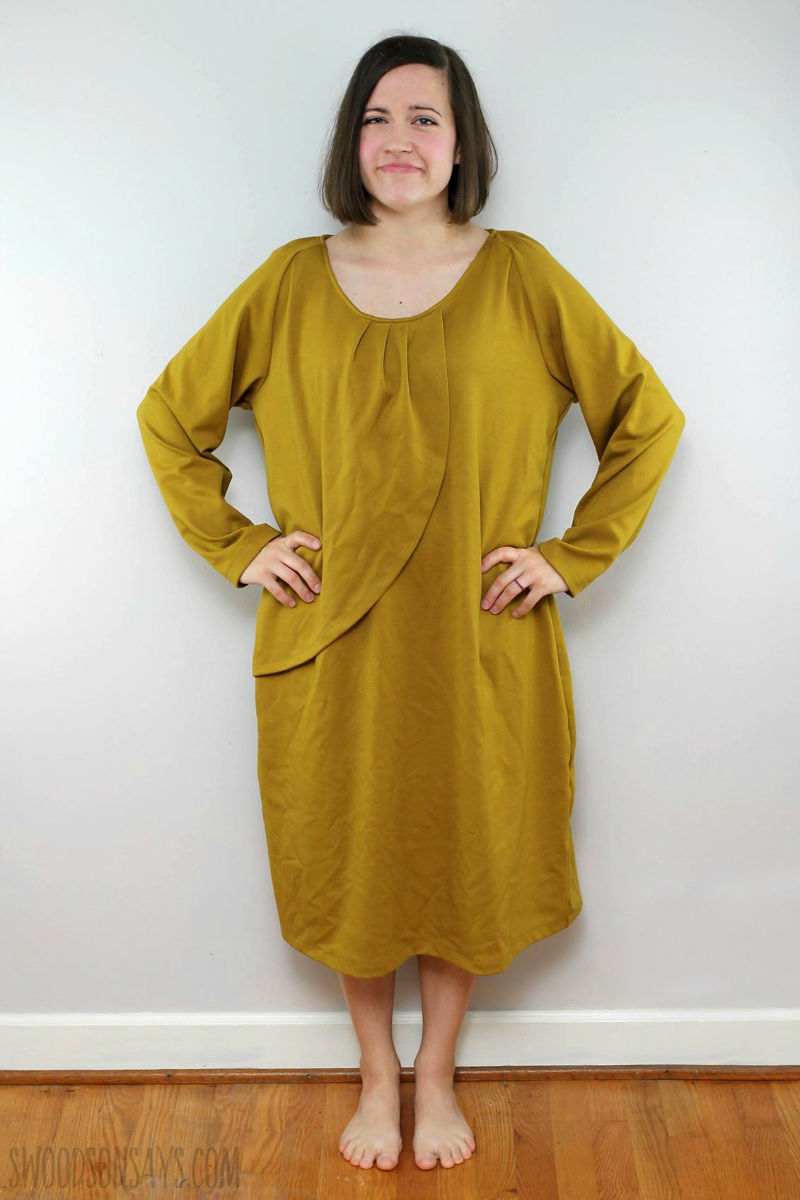
So baggy. Miriam is similarly sized to me (but much taller!) so I used myself as a rough guide for fitting. Hopefully it works out! I loved the unique neckline and front, so that became my starting point for making the garment over.
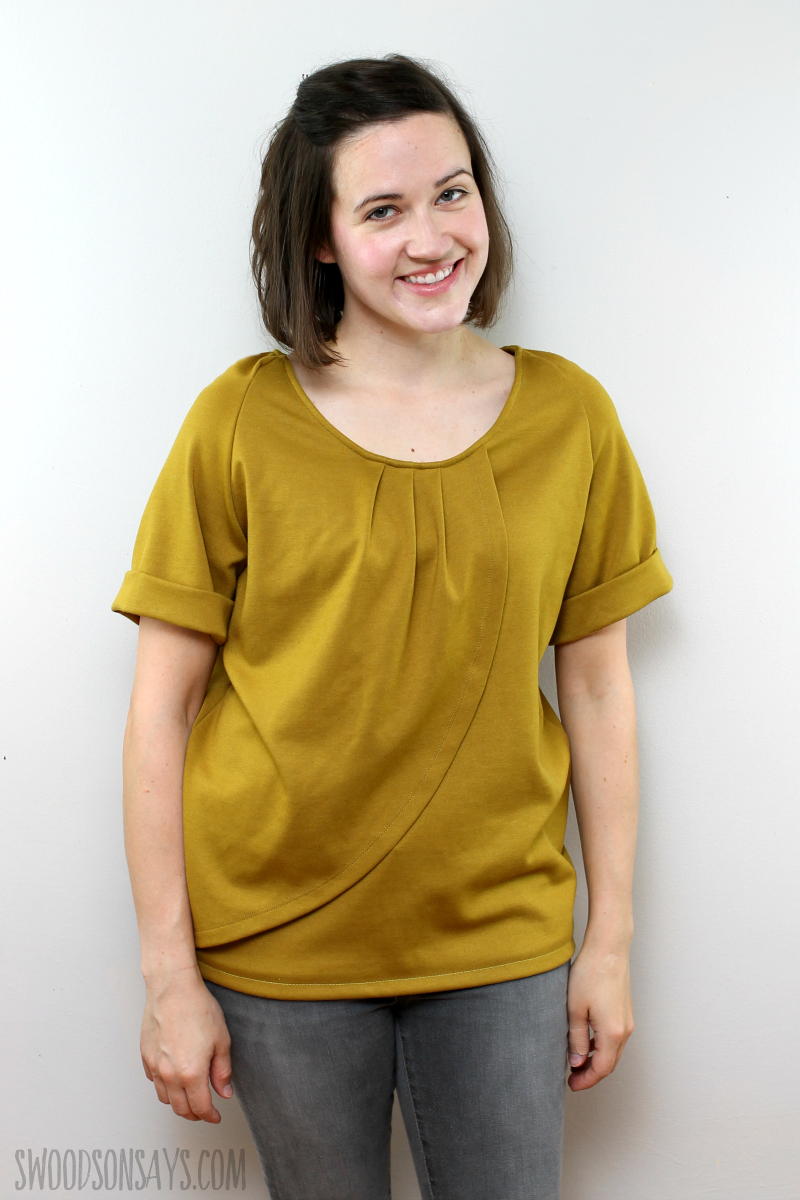
Ta-da! I worked partially with a pattern and partially winged it. The base pattern I used was the Relaxed Fit Raglan* from Patterns for Pirates – I used it last for a merino wool hoodie that you can see here. After reshaping the sleeves & bodice with the pattern, I just fumbled along for the other bits. I share the steps that I took below- let me know if you think seeing “in process” photos where I’m trying something on and mulling my options would be helpful too. More than anything, I hope to inspire other people to dig something out of their closet or hit up Goodwill and make something over (see my best tips for sewing refashions here, if you need more inspiration!).
Want to pin this refashioning tutorial for later, use this link:
Want to make your own? Here are the steps I took!
Supplies
- This is the Relaxed Fit Raglan & Add-on pack* from Patterns for Pirates
- Garment to be refashioned, that is either already raglan sleeves or has enough material to cut out and start from scratch
- Acrylic ruler & rotary cutter
- Hand sewing needle
- Coordinating thread & sewing machine
- Scissors
Steps
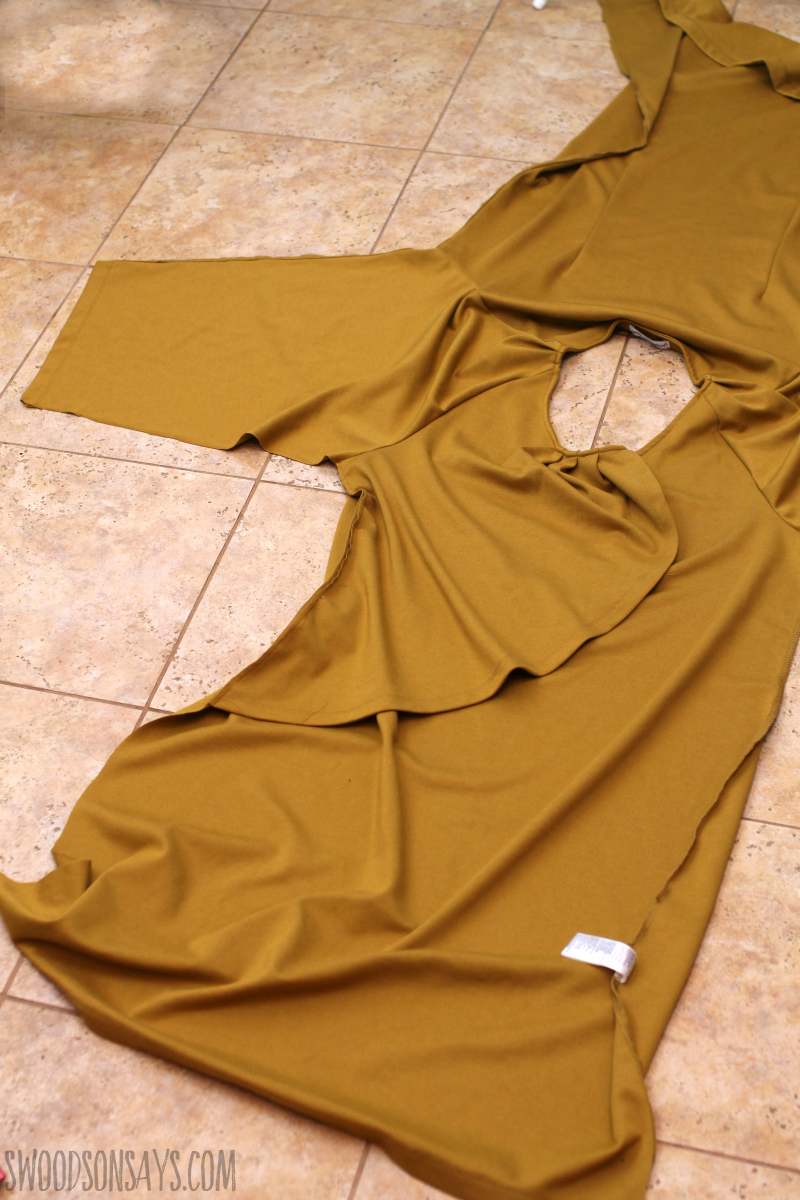
Step 1- I cut carefully up the side seams of the sleeves and bodice. I initially tried to make the garment work like this, but it was still too baggy, so I then cut up the raglan seams as well, just leaving the neckline intact.
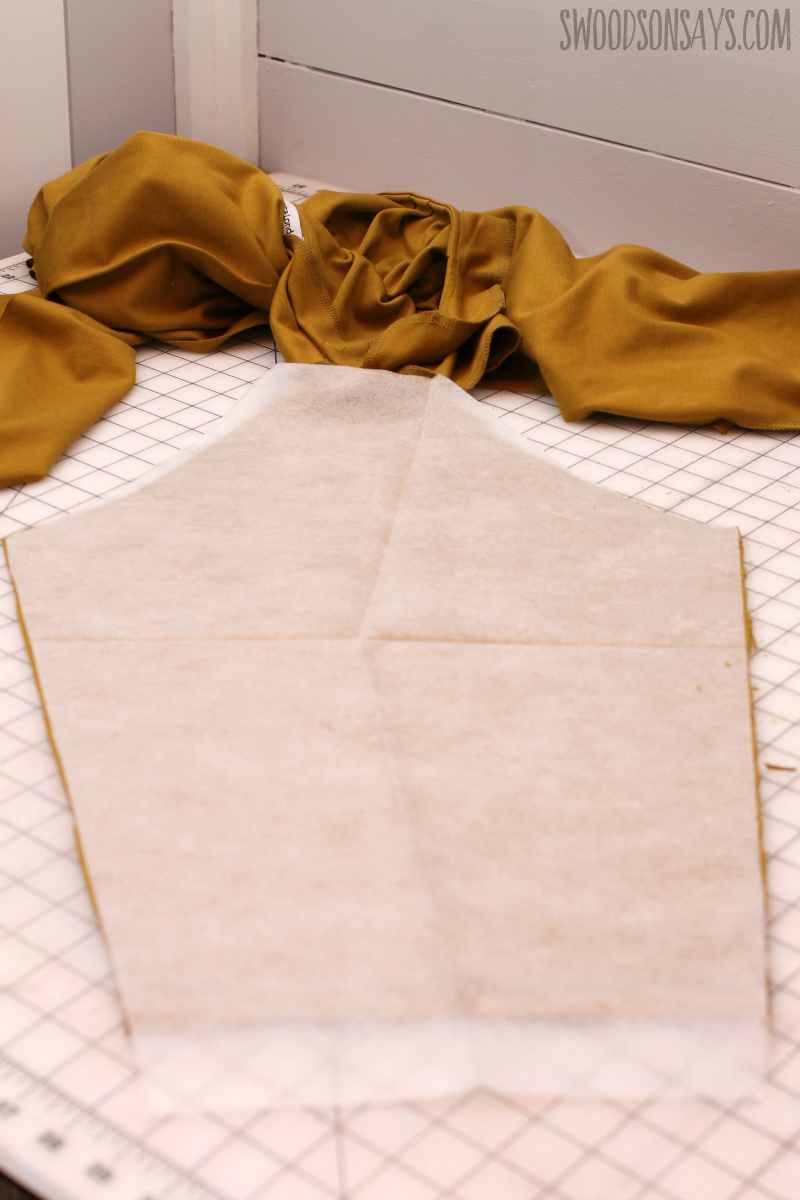
Step 2- Here you can see the intact neckline, and using the raglan pattern to recut the pieces. Obviously it is not an exact science when part is still attached.
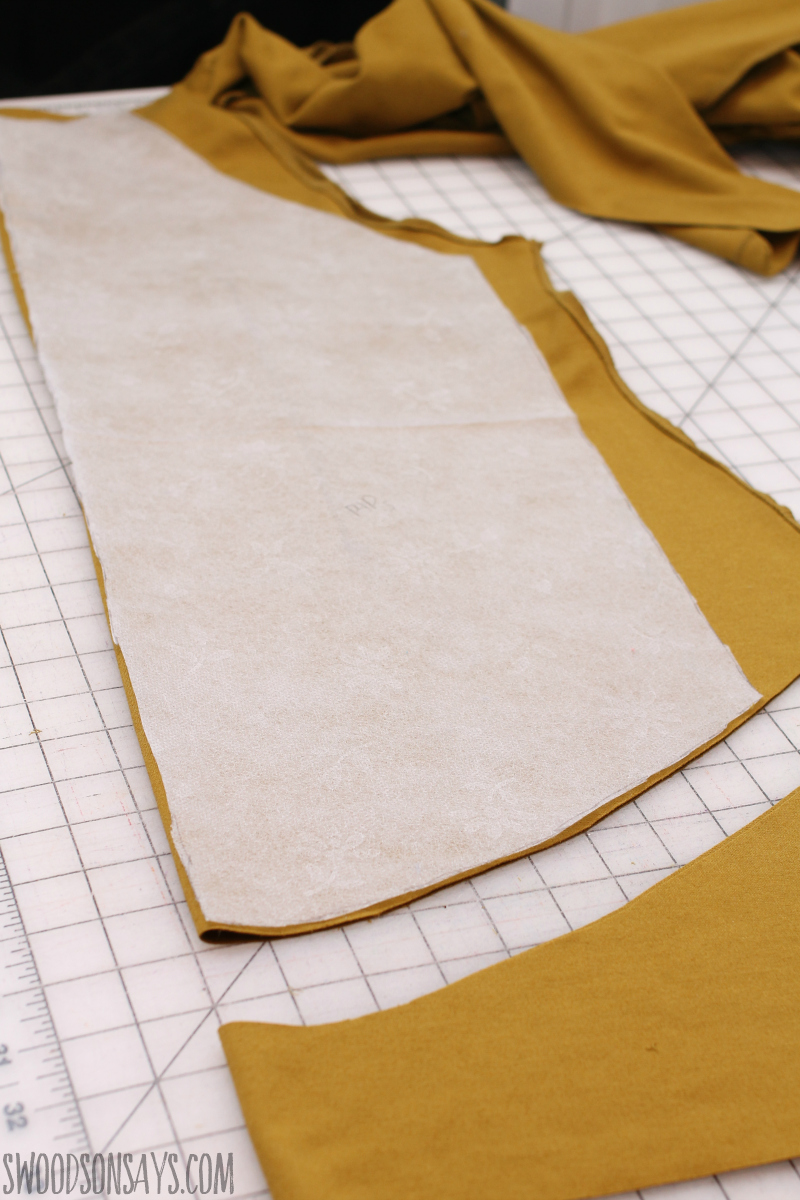
Step 3- Using the bodice pattern piece to cut it out. Here you can see the curved bottom; once I basted these seams back together and tried it on, I decided it distracted from the front detail and cut a straight hem instead.
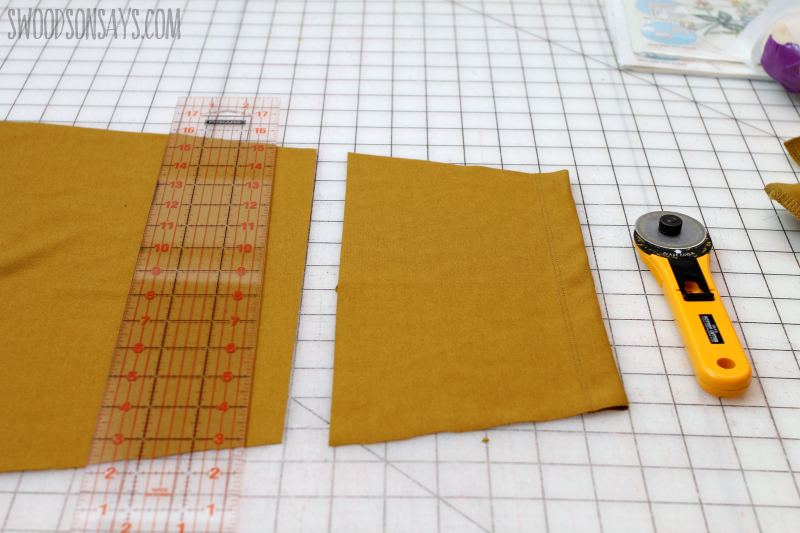
Step 4- Sleeve chop! Never forget that you can’t add length back on, but you can always take more off. Then I sewed everything back up together properly, pressing seams.
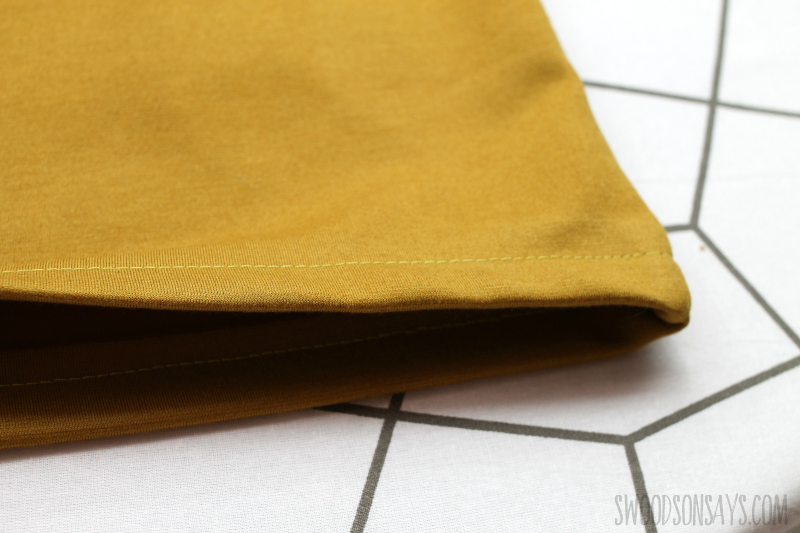
Step 5- Here you can see the straight hem I added on. I have a coverstitch or could’ve added a double row, but decided I’d leave a large hem that could easily be let out and re-sewn if Miriam needs more length.
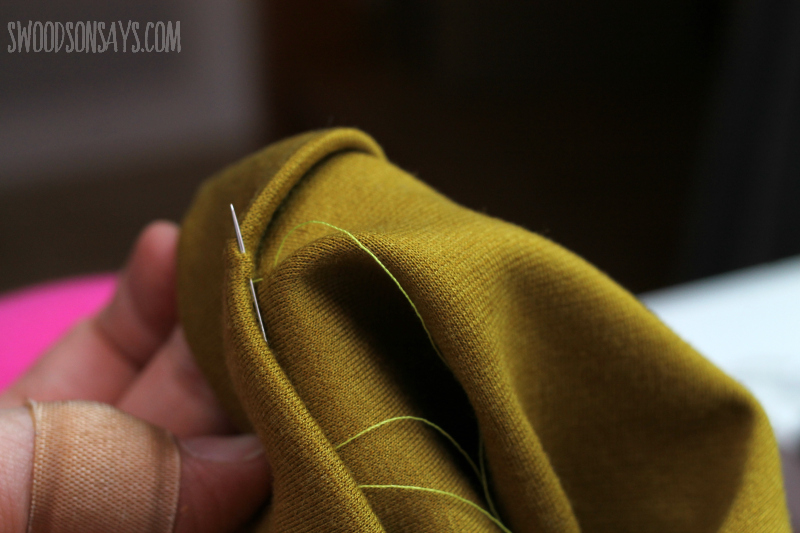
Step 6- After playing with a few different sleeve options, I decided I liked the look of a chunky cuff. This material is a thick ponte-esque polyester and didn’t press well but I tried, and then added a few hand stitched tacks to hold them up.
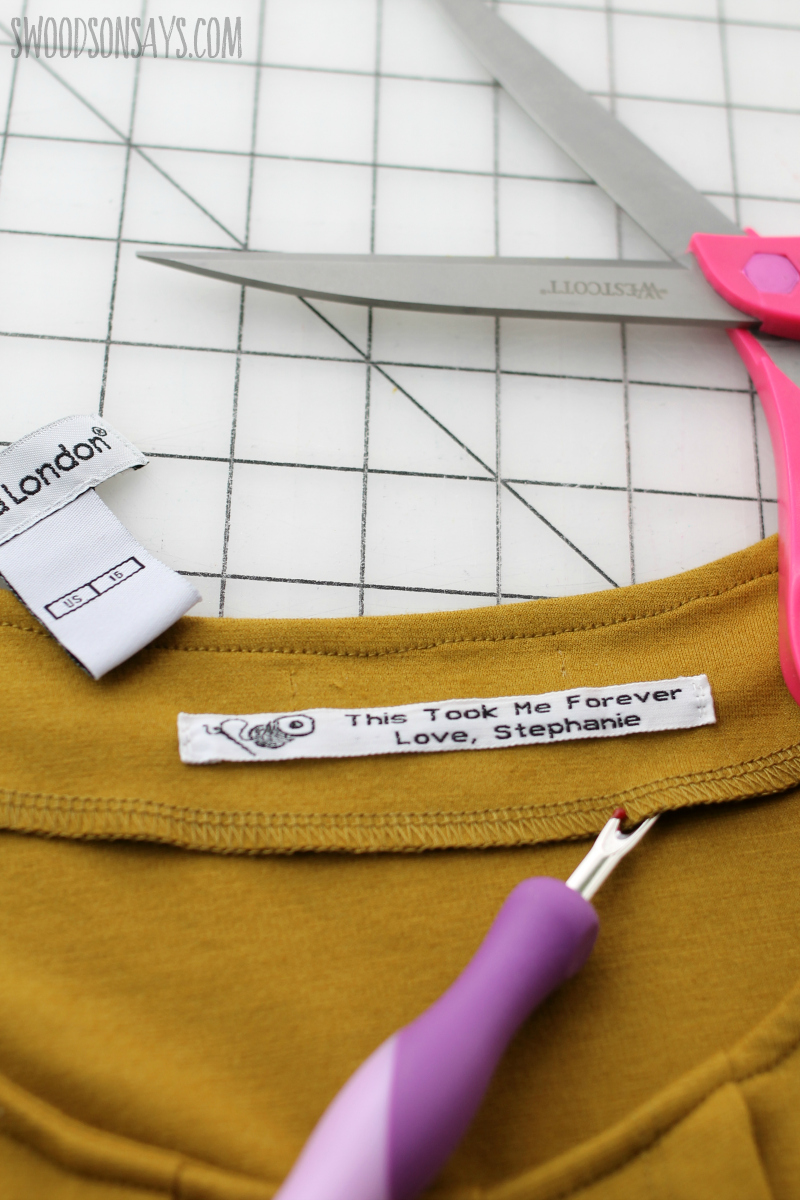
Last step, and this is an optional one, I added my own custom label! I can’t remember the company I bought mine from, but there are lots of well reviewed options on Etsy.
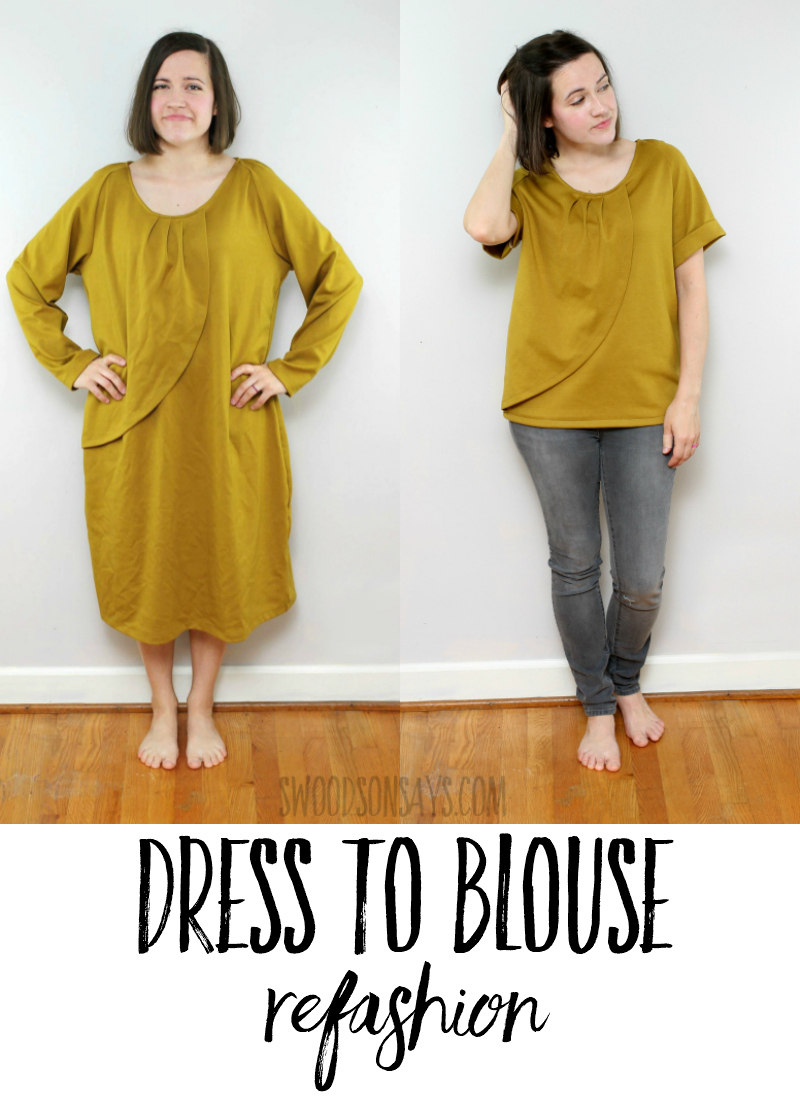
I hope Miriam loves it; it isn’t a color or fabric I’d choose for myself but I had fun with the creative challenge!
Gayle
Wednesday 27th of June 2018
Well done! I really enjoy seeing how you refashion these "interesting" garments. BTW: I LOVE your label! :)
Stephanie - Swoodson Says
Monday 2nd of July 2018
Thanks Gayle!!