
 Have you ever made a fabric covered notebook? I bought a fun new gadget, The Cinch binding tool, to play with and thought I’d share an easy way to make custom notebooks and use up fabric scraps to make it fancy! I’m brainstorming ways to make special notebooks as gifts for my kids, with blank comic book sheets, handwriting lines, and more.
This post was sponsored by JOANN, which means they supplied some of the materials and compensated me for my time, but all opinions are my own.
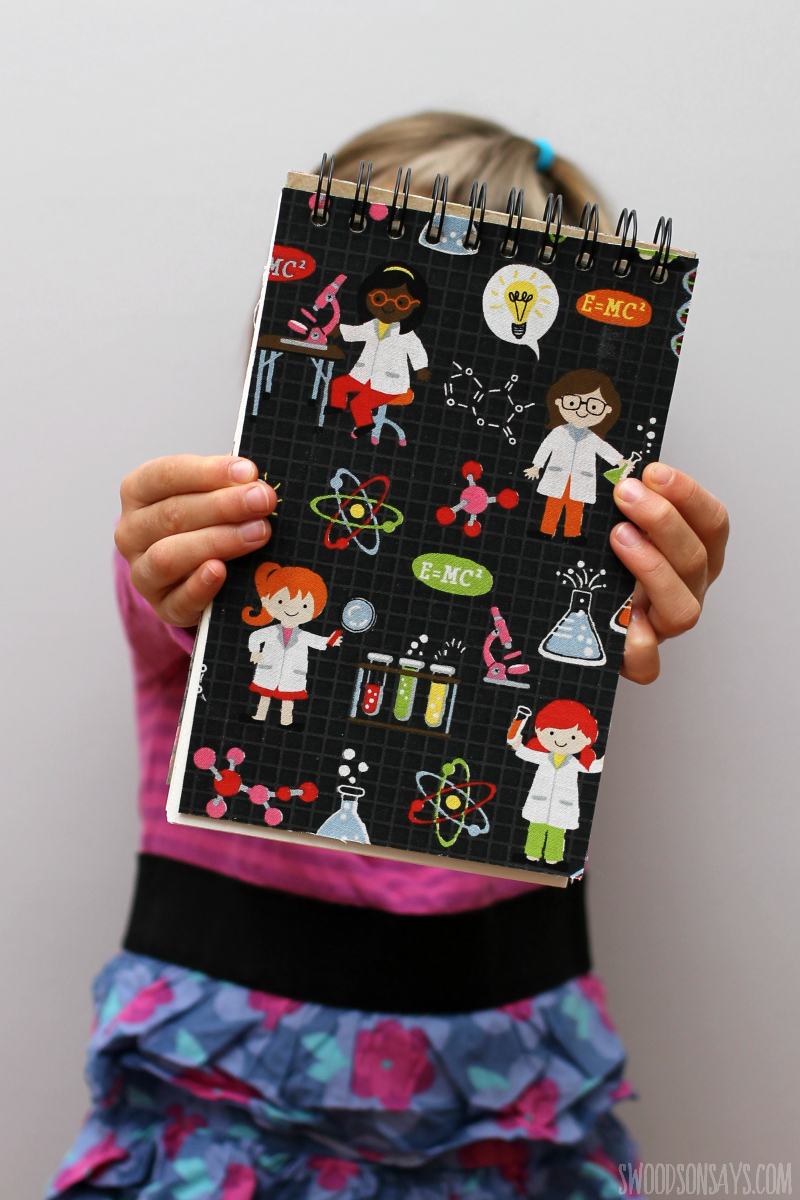
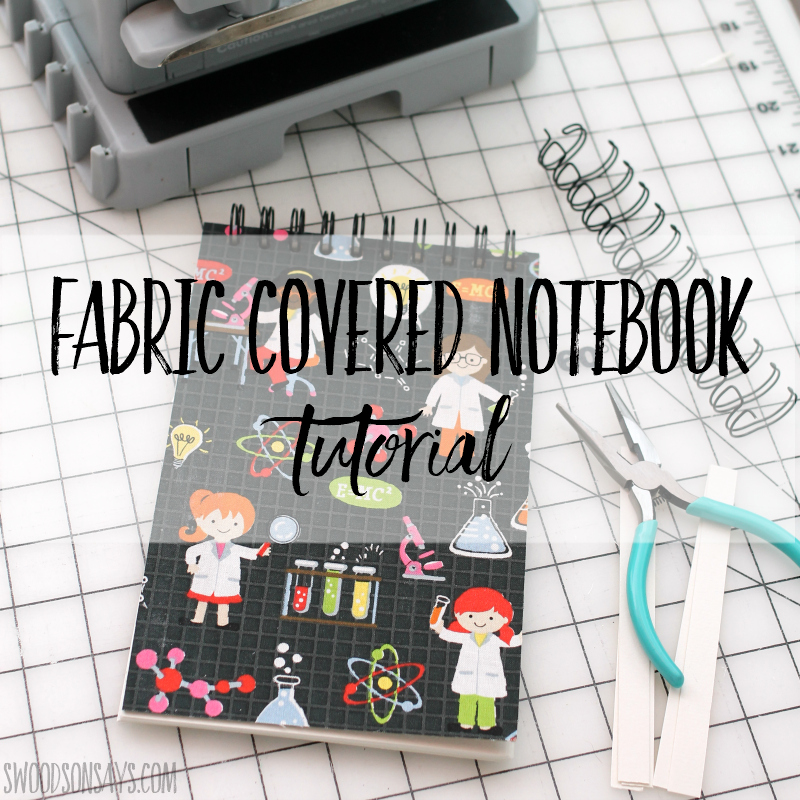
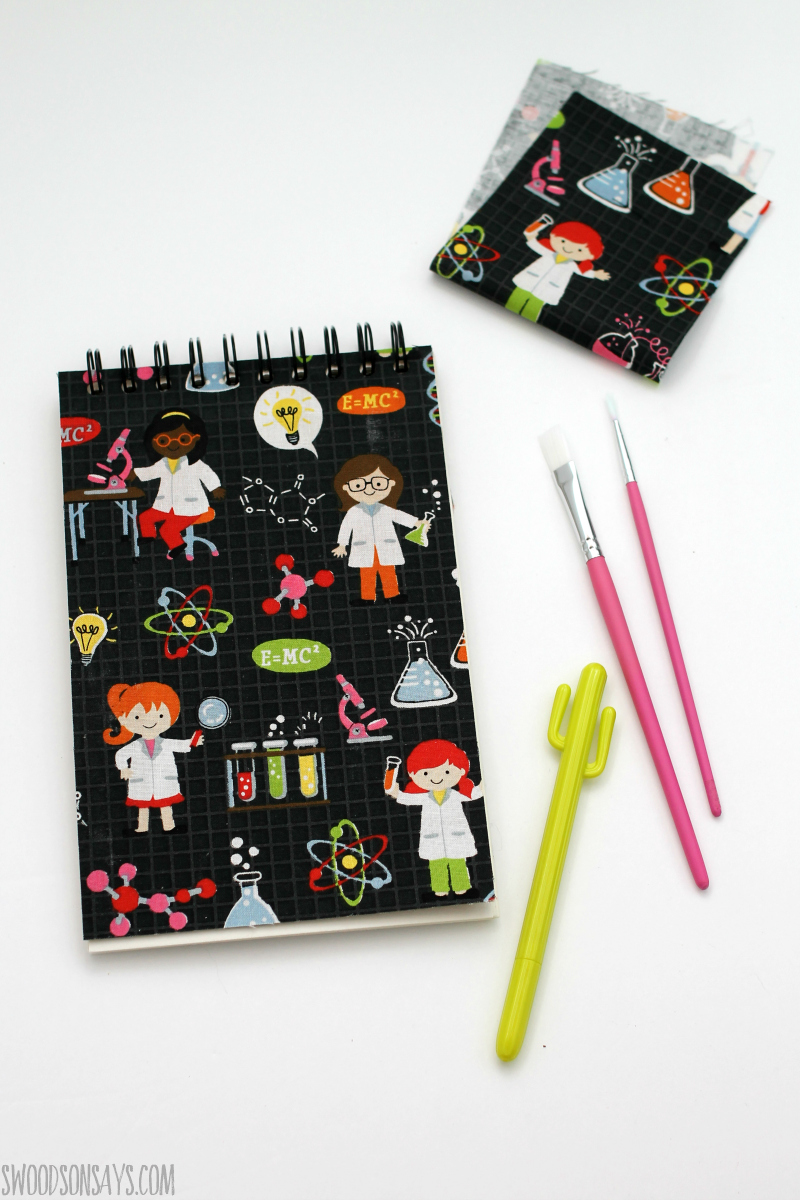
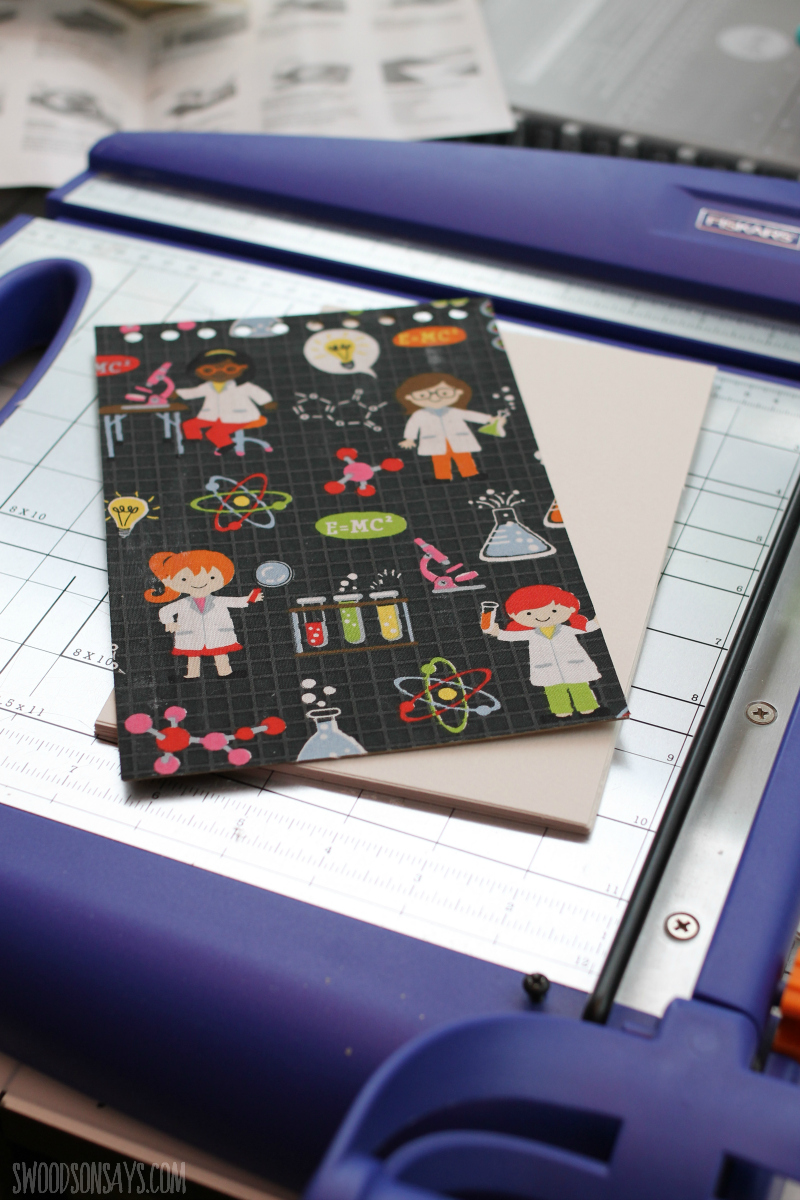
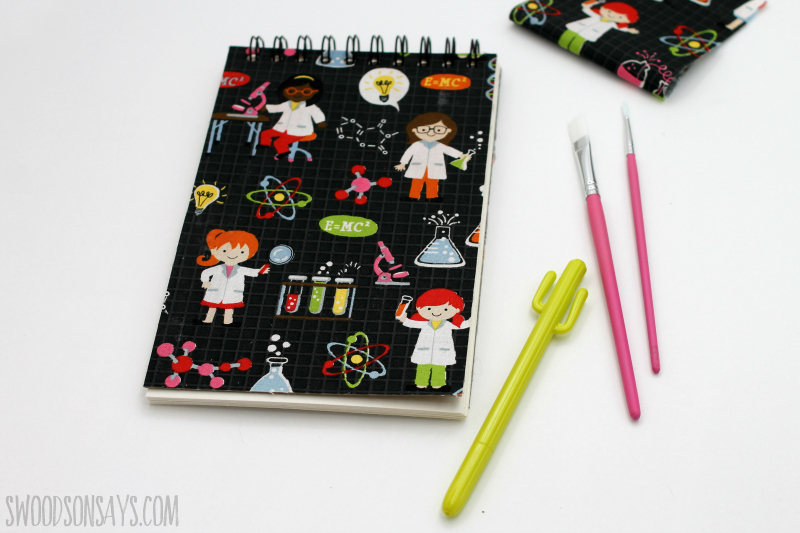
Isn’t this girls in science fabric fun?! It’s so nice to have a different visual than the stereotypical gray-haired guy in a lab.
I filled this one up with watercolor paper so we can take it out and about as a little nature journal, but the options are endless. If you’re gifting one, try pairing it with a set of watercolor pencils, gel pens, or glitter pens! My kids love drawing but get mad when the dog runs over their loose papers or they get misplaced, so notebooks are a lifesaver.
Pin this fabric covered notebook tutorial for later with this link or photo:
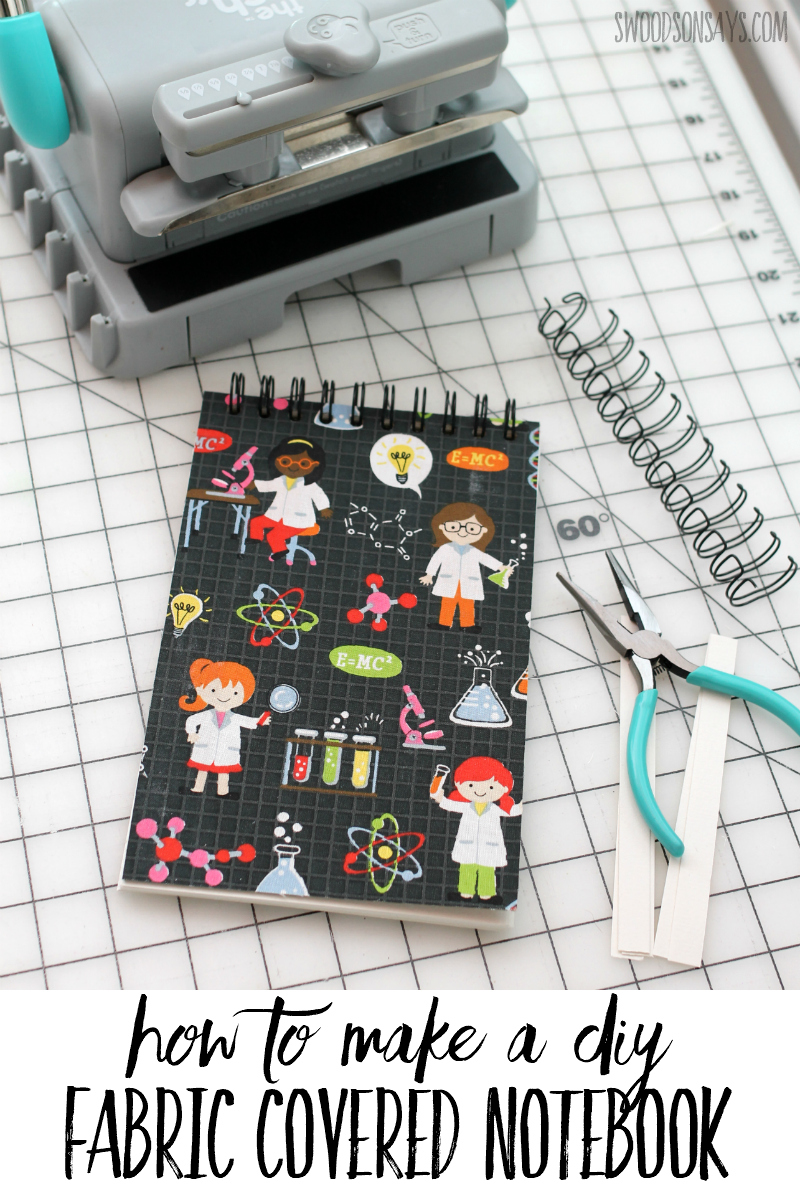
How to make a diy fabric covered notebook
Ready to make your own?
Supplies
- Fat quarter sized fabric scraps – I used this Science fabric
- Thick cardboard sheets – I reused cardboard from a mailer I got, mine were 5.5″ wide X 10″ tall
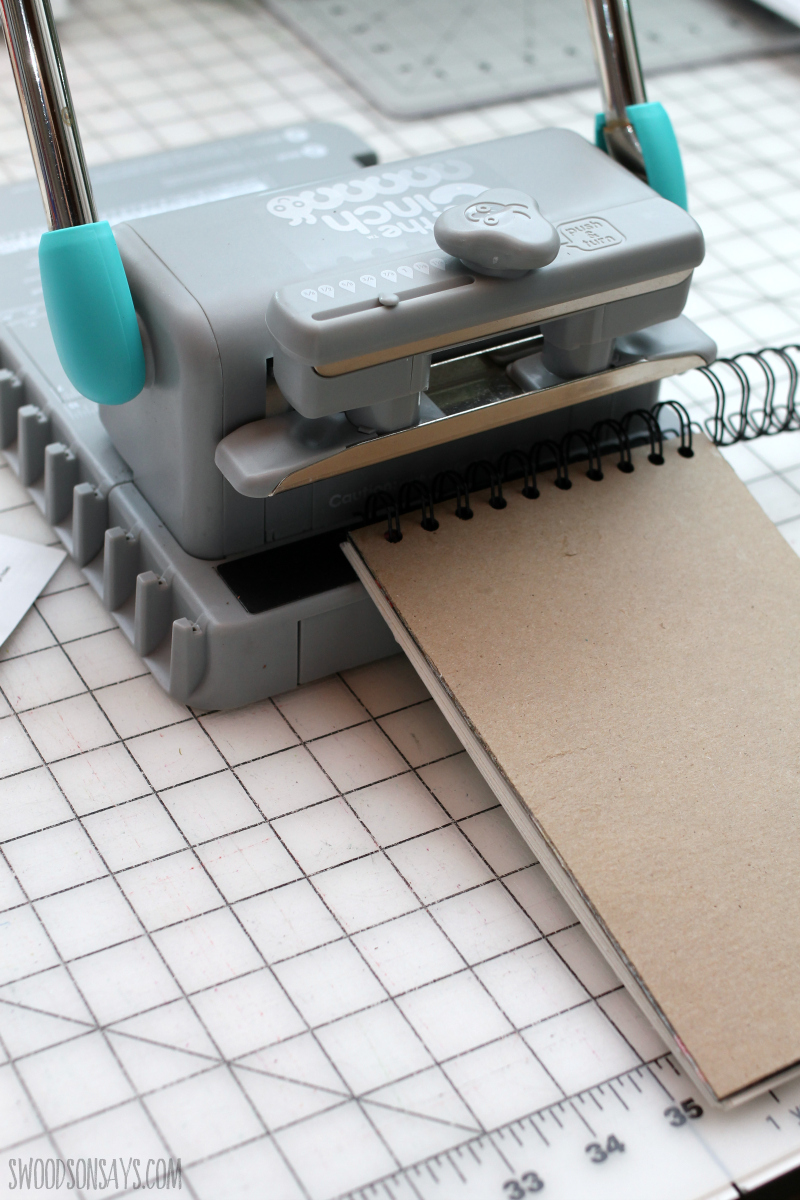
- The Cinch binding tool
- Coil binding
- Wire cutters
- Watercolor paper pages
- Fabric mod podge
- Paintbrush
- Rotary cutter + quilt ruler
- Brayer or credit card/smoothing tool
- Scissors & ruler or paper cutter
Steps
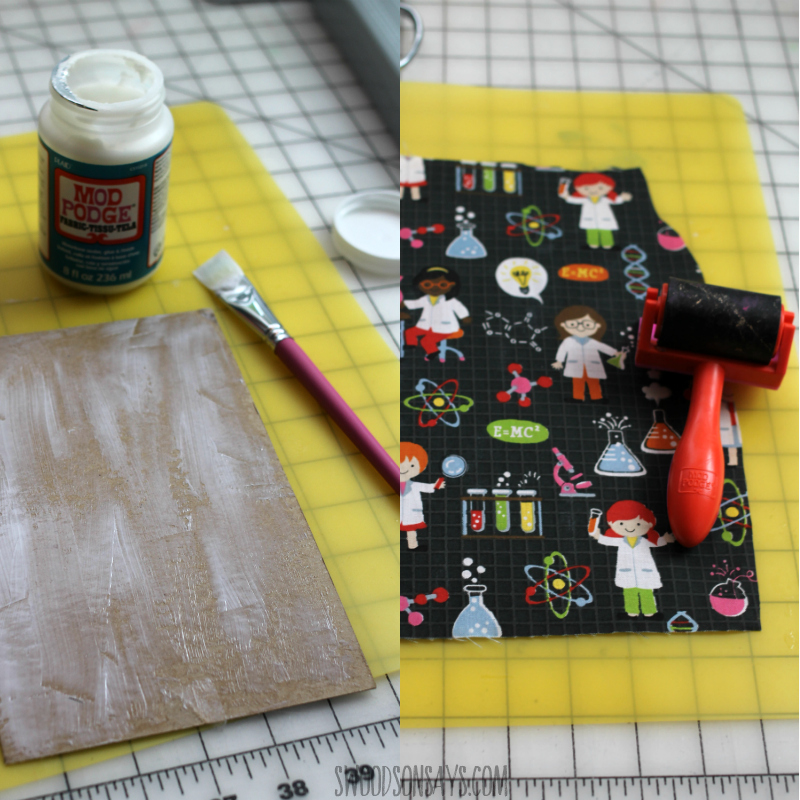
Step 1- Apply a thin layer of mod podge fabric to one side of the cardboard and lay your scrap over top. Use a credit card or a brayer to smooth it out flat.
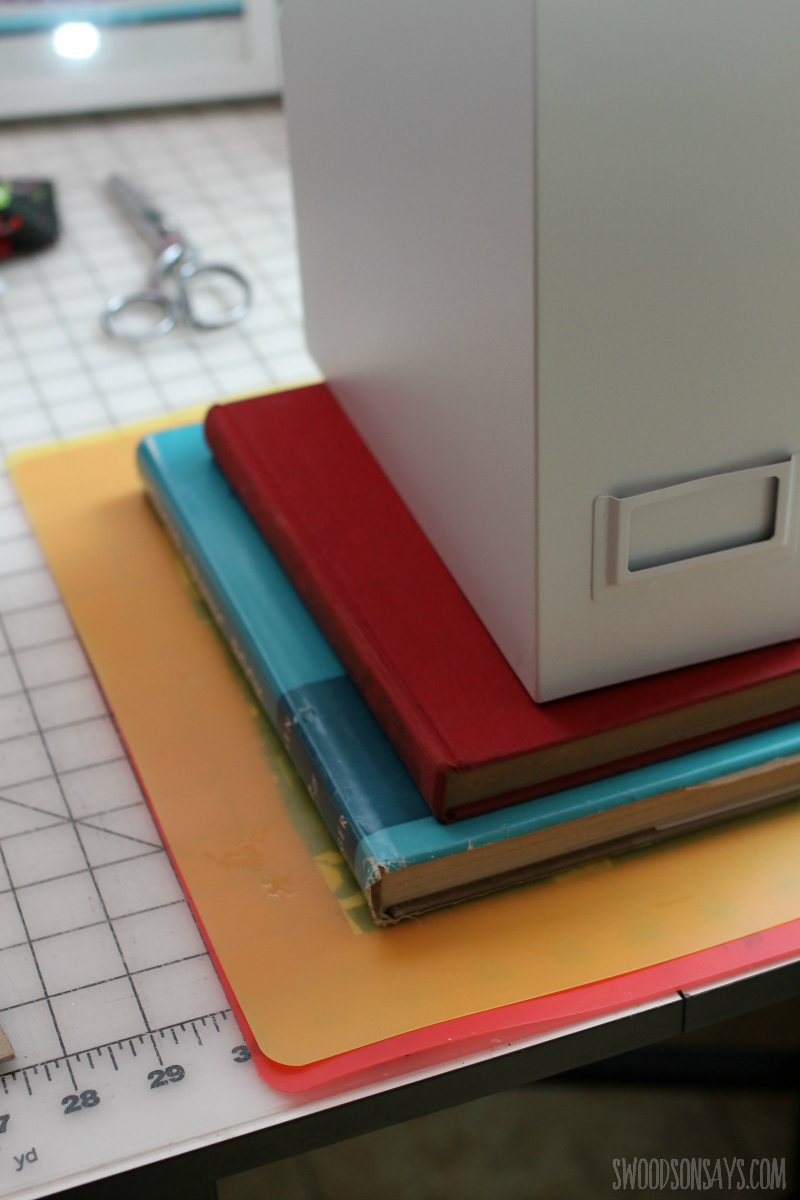
Step 2- Layer it with something non-stick, these are cheapie cutting boards but you could use plastic, parchment paper, etc. and stack some heavy stuff on top so it dries flat.
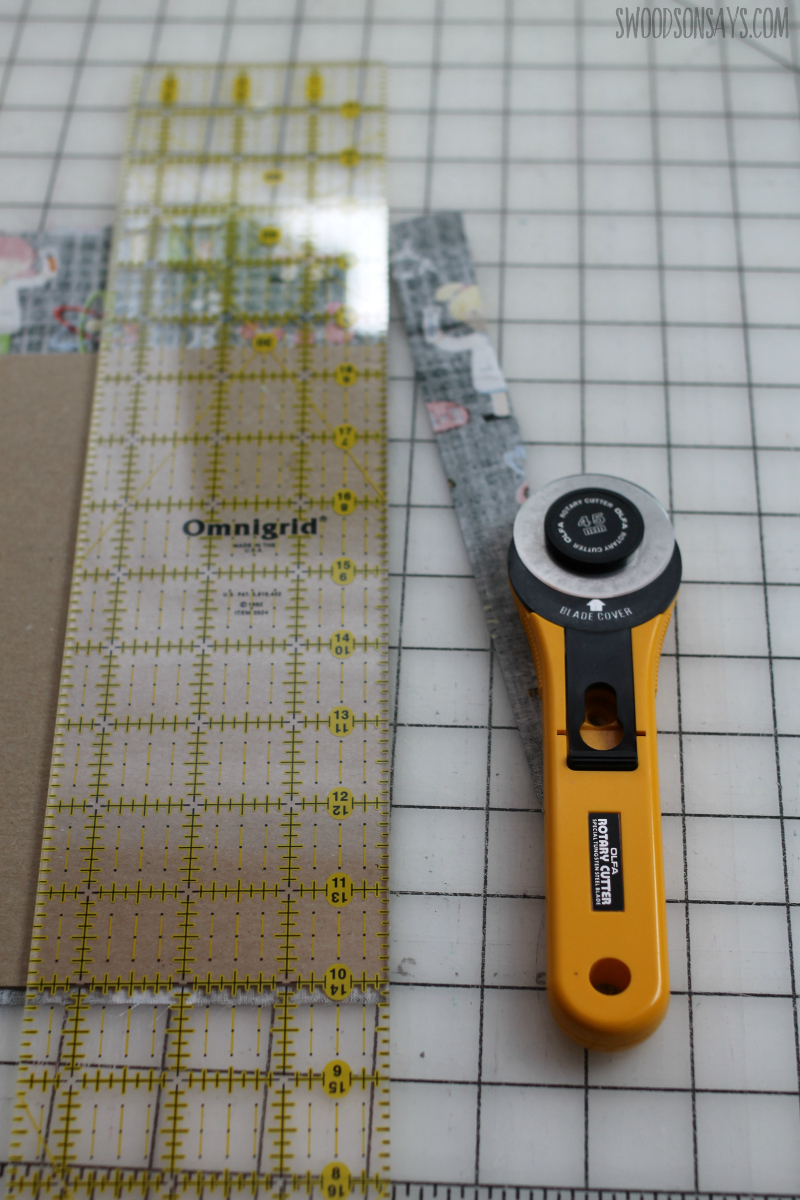
Step 3- Once it has dried, flip it over and trim along the edges so it is flush with the cardboard.
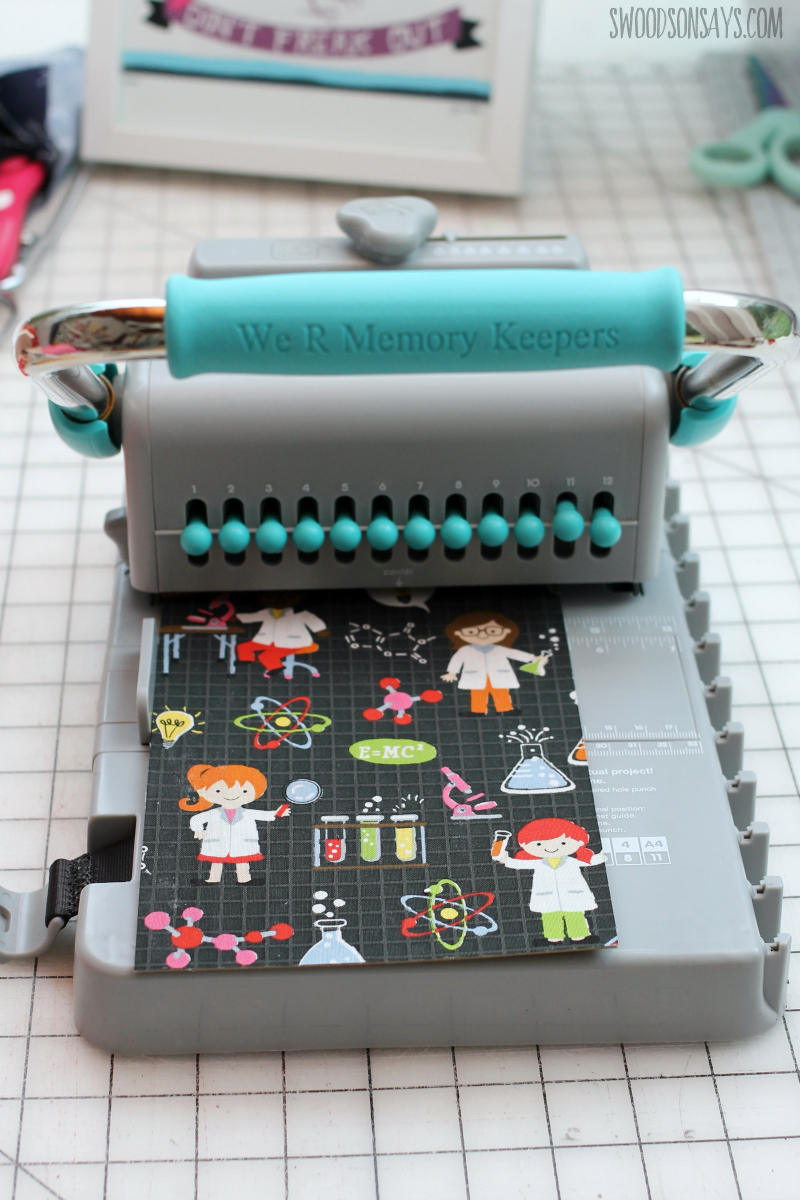
Step 4– Time to punch holes! The Cinch gives you a little guideline for which pegs to pull out and give you a nice neat line, I just followed their instructions. Repeat steps 1-4 for the back cover.
Step 5– Cut your matching insert pieces! I used watercolor paper but you can pick whatever you want inside.
Step 6– Time to bind! Again, the machine’s instructions are clear and easy, you just insert the paper on the wires and then smoosh to close.
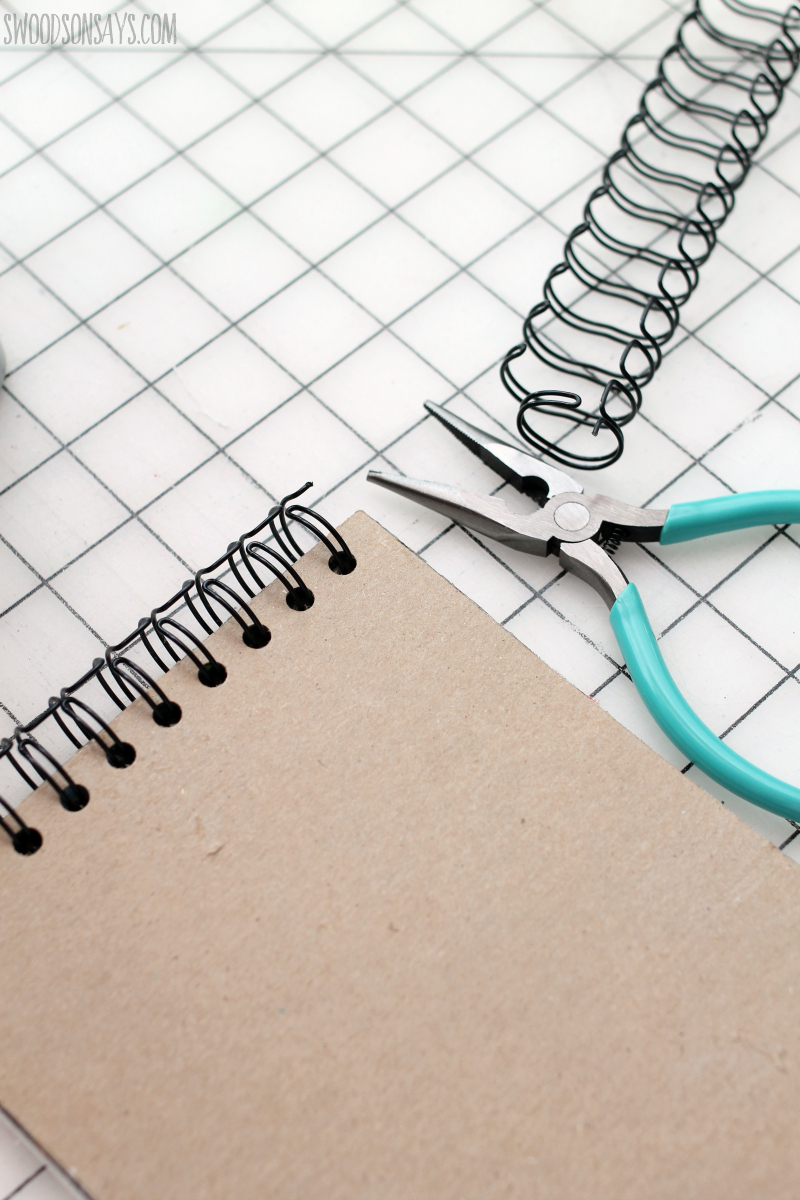
Step 7- Trim off any excess binding with wire cutters and you’re done!
Marion
Saturday 27th of August 2022
What size wire did you use. Thank you!
Stephanie - Swoodson Says
Tuesday 30th of August 2022
it's linked under 'supplies' - .75 inch :)
Carmen
Thursday 24th of March 2022
Great tutorial!! What size coil binding and how many pages did you use?
Stephanie - Swoodson Says
Saturday 2nd of April 2022
Oh dear it looks like JOANN stopped carrying the Cinch and it killed my link - here is a new one to Amazon, it is the .75 size and I used about 20 pages but definitely could've done more :) Thanks for reading!
Sarah White
Tuesday 6th of October 2020
I have always wanted a Cinch even though I'm not sure I would use it. I love notebooks! LOL. Also I used that fabric for my daughter's first day of school dress (and matching face mask!). Your use for it is great too.
Stephanie - Swoodson Says
Saturday 7th of November 2020
I am brainstorming other ways to use it for Christmas presents!! A first day of school dress in this fabric would be perfect!