It can be overwhelming to search machine applique for beginners because there are so many different ways to applique! The most basic explanation is that applique has a smaller piece of fabric stitched on top of a foundation fabric, creating a design. The top layer of fabric can be attached in a number of different ways and all sorts of fabrics can be used in appliques. You can use applique to embellish clothes, bags, pillows, wall hangings, quilts, and toys. I love appliques because they turn the smallest of scraps into something fun and functional! They’re also a great way to cover up stains on kids clothes (a problem we have frequently).
If you need a project to get started, I have over 25 free applique patterns linked here from different sites!
You can save these tips for how to machine applique for beginners, by pinning this image here:
How to machine applique for beginners
I think the absolute easiest way to applique is raw edge applique, using a paper backed adhesive like Thermoweb Heat N Bond, Pellon’s Wonder Under, or Steam A Seam. I use Heat n Bond and Wonder Under interchangeably, but don’t like Steam A Seam, personally. There are different versions of both products, I use the “light” versions that don’t require steam to apply them.
Keep reading for a picture tutorial of how to machine applique with these products!
How do you applique step by step?
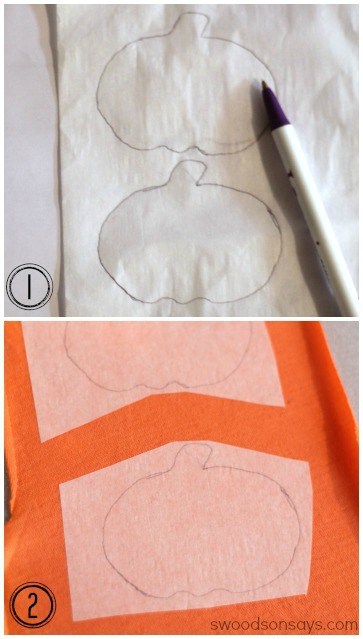
1. Print out the template and trace it with the smooth side up. You can alternatively buy Heat N Bond in printable sheets, letting you skip the tracing step.
2. Roughly cut around it and iron on to the back/wrong side of the fabric.
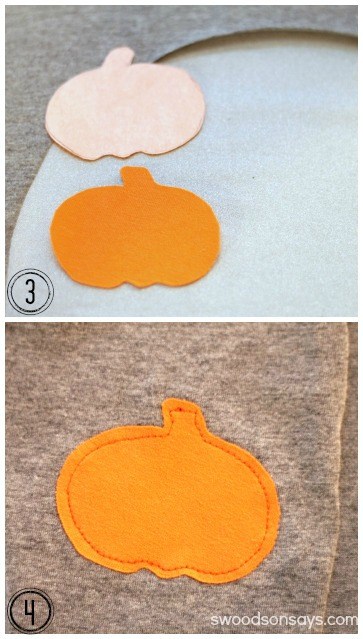
3. Carefully trim around the sketch and then peel the paper backing off.
4. Place the pumpkin sticky side down and iron on according to material instructions. This would be the point where you could add tear-away stabilizer on the underside if you were worried about your stitching getting ripple-y (common if you’re appliqueing on a super stretchy fabric or a thin fabric).
Machine or hand stitch around the edges! See below for different stitch options.
What type of stitch to use for applique?
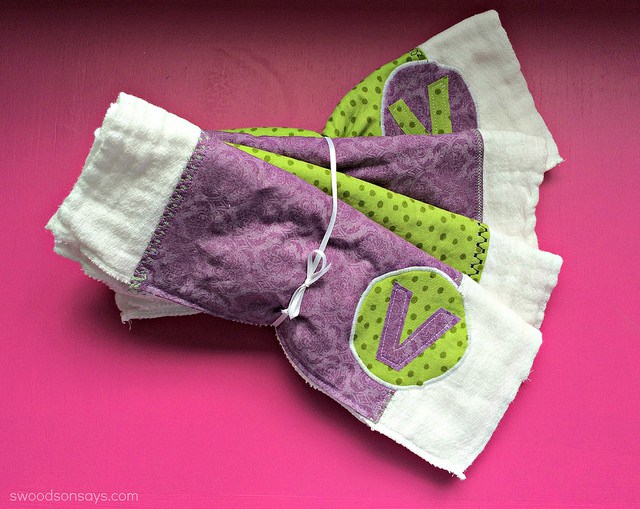
In the picture above, you can see decorative stitch applique on the straight lines, satin stitch around the circle, raw edge on the letters. There are lots of different options for what type of stitch to use for applique, you should consider how curvy it is (lots of small, tight curves will make a satin stitch trickier), what the fabric content is (a light chiffon, for example, will fray more easily than a woven cotton, so a satin stitch might be the best choice).
- Satin stitch- as seen above, this is basically a super tight zig zag, effectively sealing the entire raw edge of the applique.
- Straight stitch – as seen above, this leaves the edges raw and is the easiest stitch to use in applique.
- Decorative stitch – as seen above, this functions like a fancy satin stitch, but can leave edges more raw depending on the design.
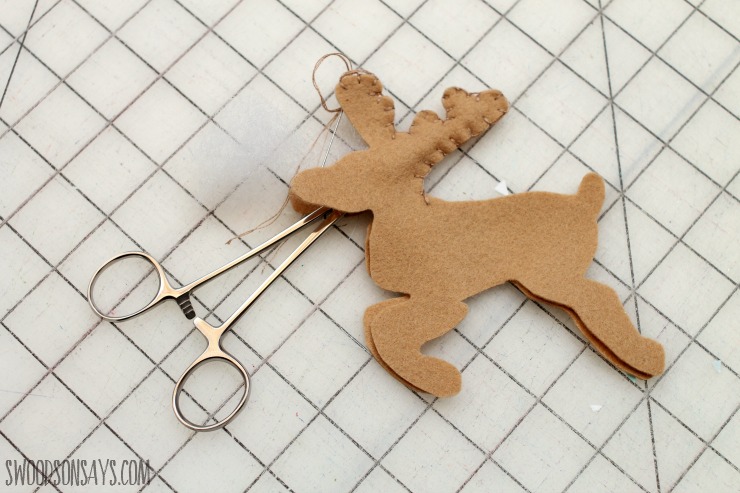
- Blanket stitch- shown above on an ornament, blanket stitch can also be used to applique, creating a home-spun feel.
- Zig-zag stitch – a looser satin stitch, this can add a fun design element without the fuss of decorative stitches.
What materials can be used for applique?
Virtually every fabric can be used for applique! A bulky fabric will be more difficult to sew on, you may need to adjust your presser foot. Thinner, more fragile fabrics will require the use of Thermoweb Heat N Bond, Pellon’s Wonder Under, or Steam A Seam. Synthetic fabrics will require careful iron usage since high heat will melt them.
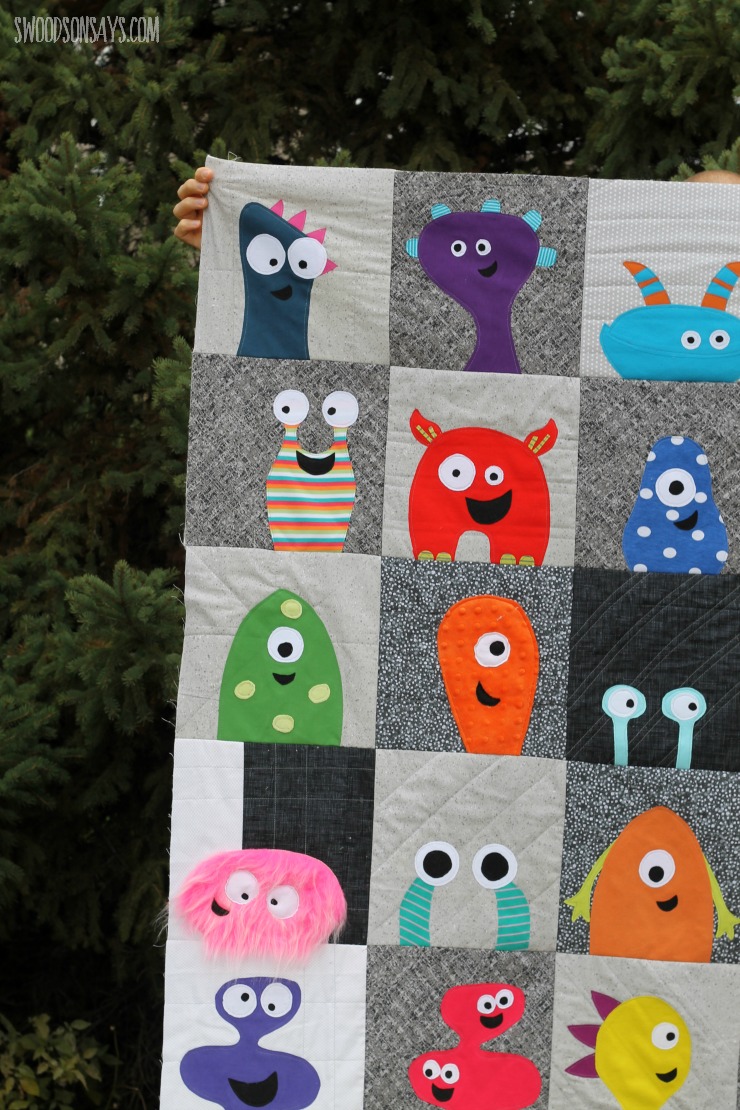
What is the best material for applique?
Almost anything can be appliqued! Above you can see a great example with a huge mix of fabrics used, in my applique quilt where I used fake fur, polyester blends, silk, quilting cotton, and knit.
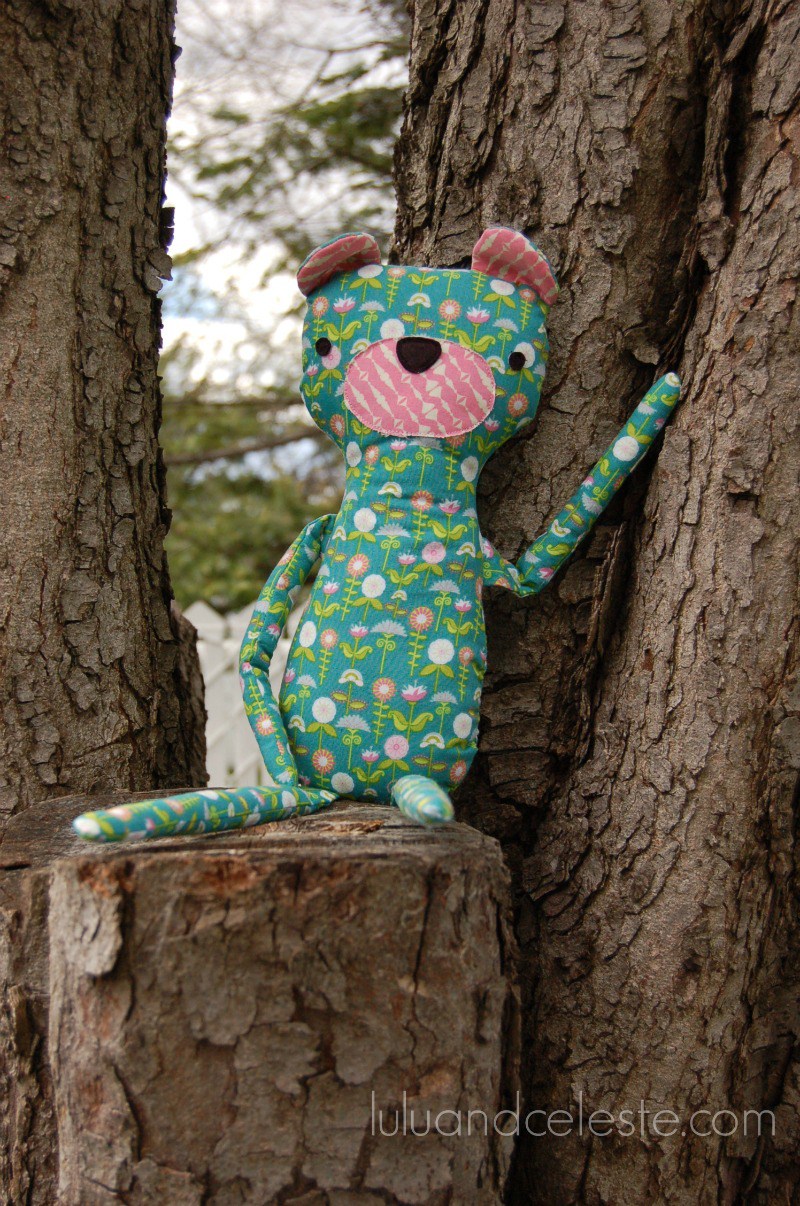
I think the best material for applique is appliqueing cotton knit or wool blend felt on quilting cotton, using Thermoweb Heat N Bond, Pellon’s Wonder Under, or Steam A Seam. The edges of those fabrics won’t fray, the fusible web makes it so it doesn’t stretch, and the quilting cotton is easy to sew on. You can see a cotton and felt face appliqued on to the Hipster Teddy Bear above!
Different types of applique
- Reverse applique, where you stitch a design over top two layers of fabric and cut away the top one, revealing the bottom layer. You can see a tutorial for how to reverse applique on a tshirt here or on a pincushion here.
- Bias tape applique, where you applique bias tape instead of a single layer of fabric
- Needle turn applique, where you hand sew the edges down, leaving a finished edge to applique on, see an example here.
- Raw edge applique, using a straight stitch around the raw edges.
- Free motion applique, embellishing further, using the stitching lines and a free motion foot to draw on top of the fabric applique.
Tips for sewing appliques
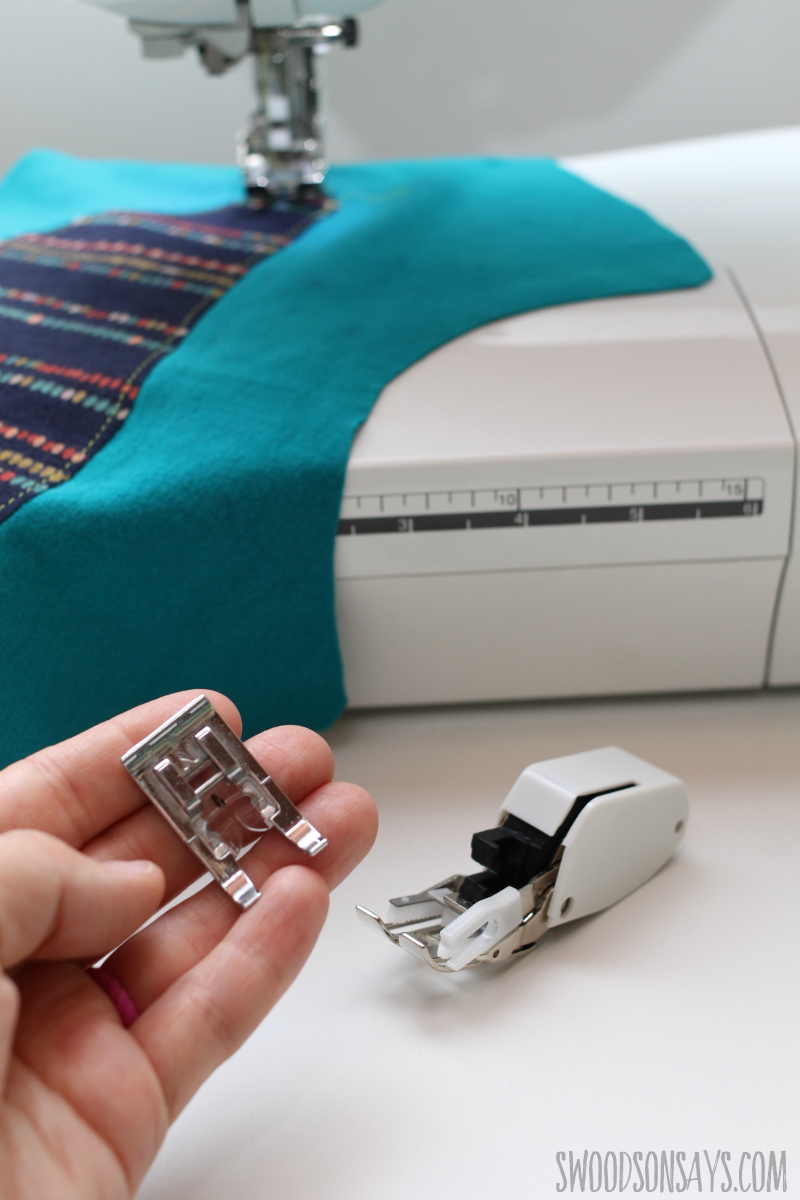
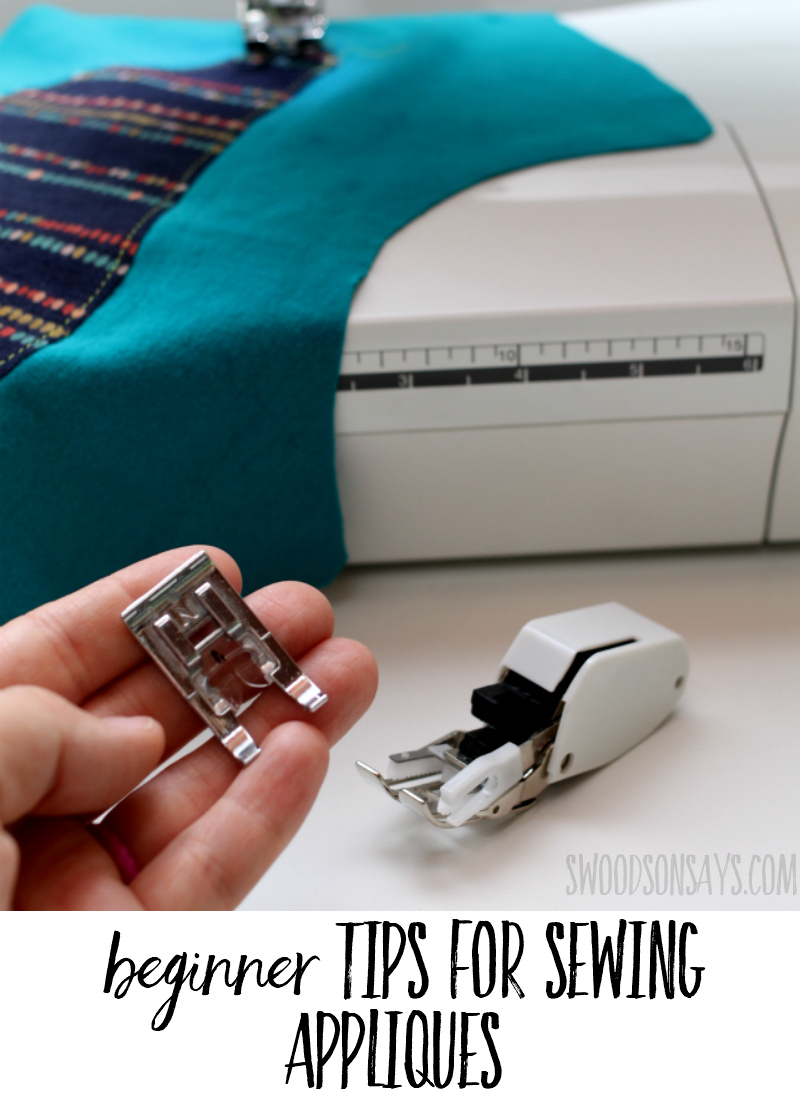
- I alternate between two different machine feet when appliqueing; either a clear, open toe like the one on the left so I can see what I’m doing, or the walking foot on the right. It has feed dogs on the top to pull fabric through easily, and it works great for multi-layered appliques.
- There is an “ultra hold” Thermoweb product that required no sewing, which is great for tiny eyeball pieces. It holds permanently!
- Heat n Bond and Steam A Seam both come in printable sheets, which eliminate the need for tracing a pattern. They require an inkjet printer, and won’t work with a laser printer.
- If you’re having trouble with ripples, use tear-away stabilizer. You basically cut out a large square, put it underneath the foundation fabric you’re appliqueing on, then tear it off once you are done appliqueing.
- When using a straight stitch, shorter stitches make small curves easier.
- Different products call for steam or no steam, read the instructions for the fusible web you’re using!
- If you don’t want to use fusible web, you can position your applique pieces with a simple glue stick or wash away tape.
- Start and stop stitching in a spot where it won’t be as noticeable, if it’ll be covered by another layer or blend in a part of the pattern.
- Different fabric types will require different needles, if you’re appliqueing knit fabrics be sure to use ballpoint needles, denim needles for denim, etc.
- Do a few practice stitches on scraps of the material, before you applique your actual project. You may need to adjust stitch length, add in stabilizer, etc.
These are all the tips I wish I’d had when I first started appliqueing; did I miss any that you think would be helpful to share? Leave them in a comment!

Renee
Wednesday 11th of May 2022
What do you suggest using so that the piecing underneath the applique doesn't show through?
Stephanie - Swoodson Says
Thursday 12th of May 2022
Do you mean like appliqueing a lighter color fabric on top of patchwork piecing? Hmm. I haven't specifically done that but a thicker Heat N Bond would probably do the trick? It would make it feel slightly bulkier though. You could also mirror the shape of the applique with a plain fabric, layer that down, then put the applique on top?
Josie Greenstreet
Saturday 27th of February 2021
Thank you for the tips. You've given me the confidence to appliqué for the frist time
Stephanie - Swoodson Says
Tuesday 4th of July 2023
love to hear that! happy sewing!
Genessa Torsy
Friday 25th of October 2019
Thanks! REALLY needed the instruction you gave! THANKS!
Stephanie - Swoodson Says
Tuesday 7th of January 2020
Genessa, I'm so glad this post helped you, I love applique :)
Yuliya
Monday 2nd of July 2018
Thank you, this looks promising and I certainly have some applicable scraps in my stash :)
Stephanie - Swoodson Says
Monday 2nd of July 2018
It is so much fun! Please let me know if you try it.