
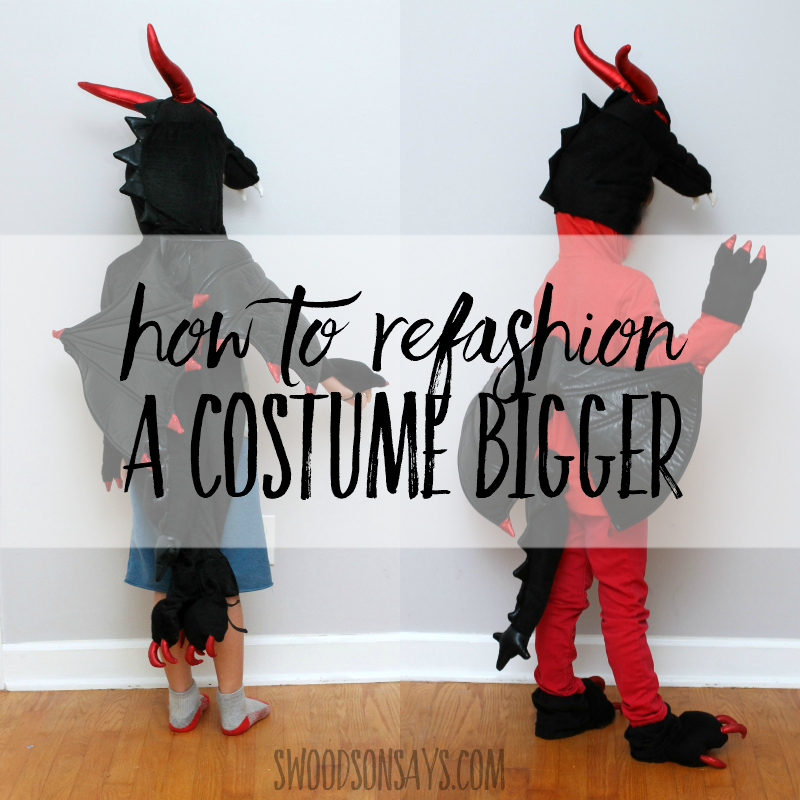
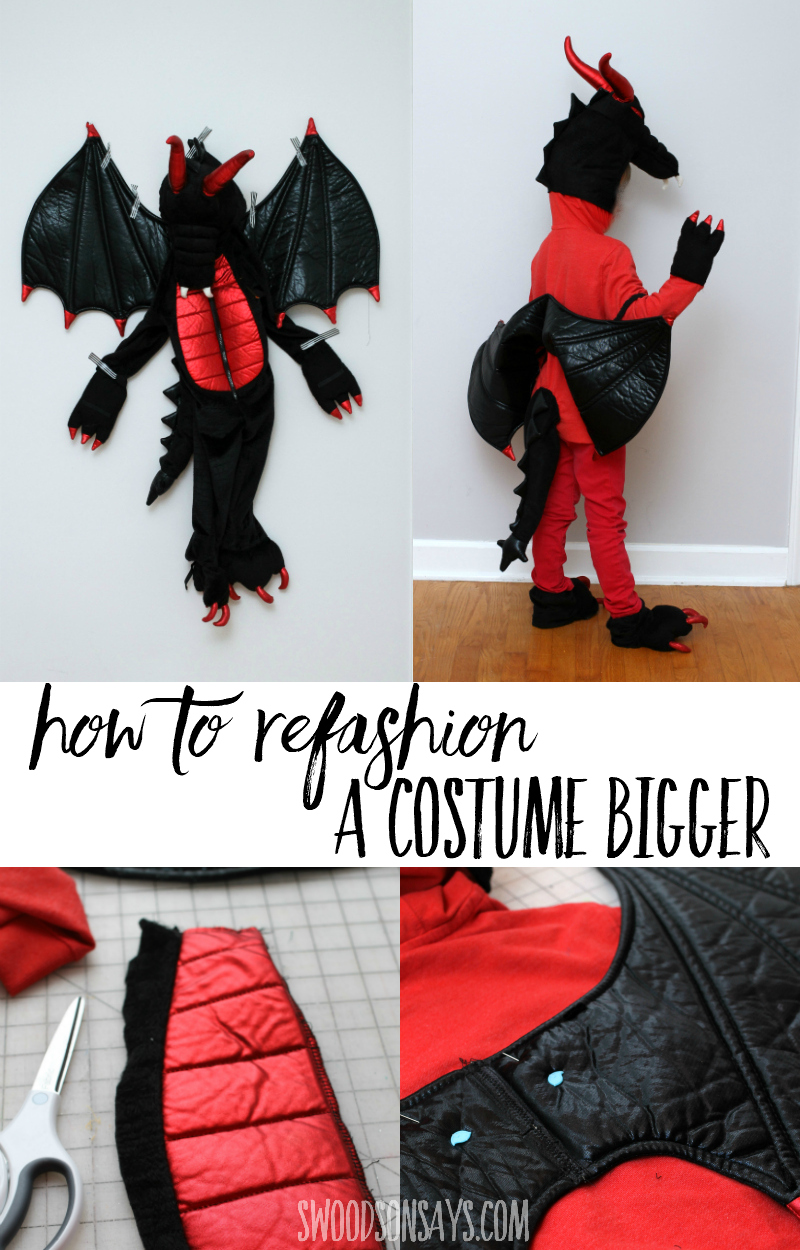
Does your kiddo have a costume request but you’re short on time? Instead of sewing from scratch, upcycle a Halloween costume bigger! Even though I did dragons last year, more or less from scratch (this dragon wings costume diy tutorial), my son more specifically wanted to be a black & red dragon this year, with a “scary head”. I was resigned to a more complicated project until I came across this 3t, puffy belly one piece suit with a broken zipper and holey wings! I’m sharing the steps I took to transform it into a size 7 dragon costume that is higher quality and super comfortable, it’s going to last for a long time.
This is what it looked like before I started! Wonky zipper, poles poking through the wings, holes all over, busted elastic. $3 at Goodwill and a few hours was all it took to upgrade this diy dragon costume!
If you like this post, check out these other posts while you’re here!
- Glow in the dark diy jellyfish costume tutorial
- Halloween costume sewing patterns for kids
- 20+ Halloween sewing projects
- All my refashion sewing projects
- Tips for shopping to refashion
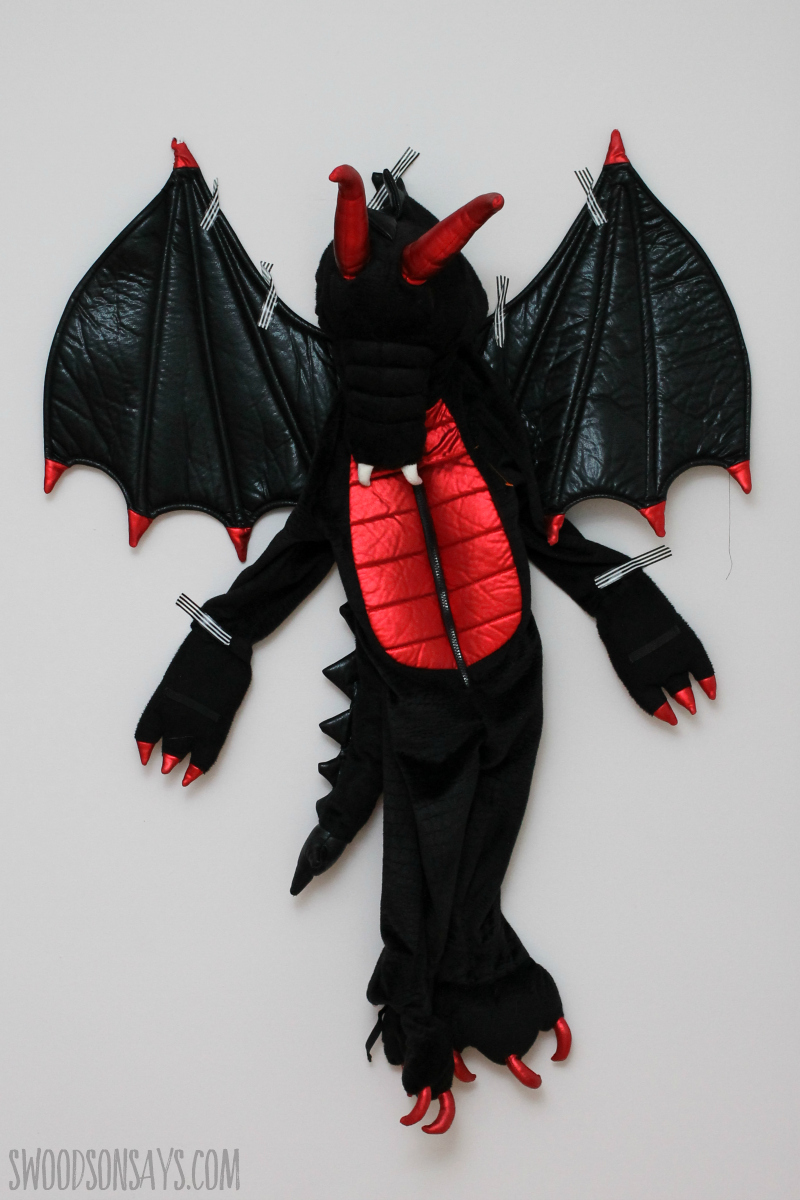
I chopped up all the best parts and sewed it all back up together!
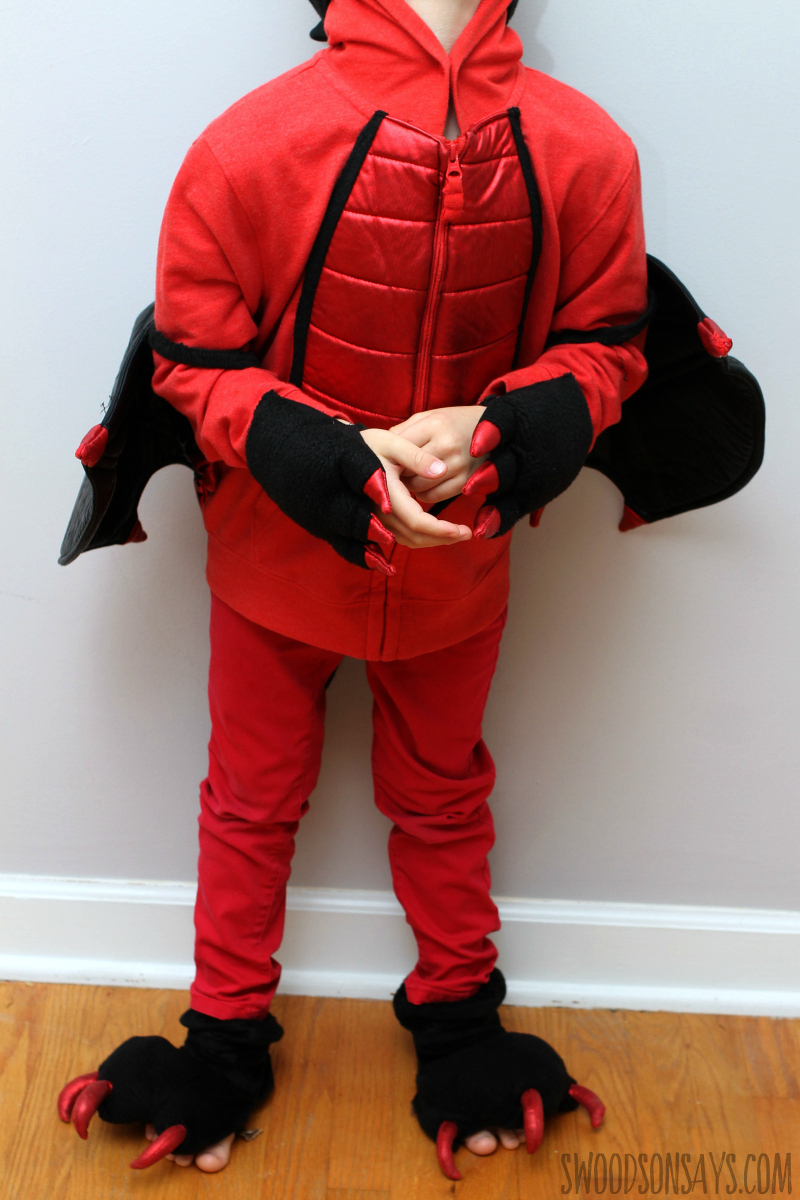
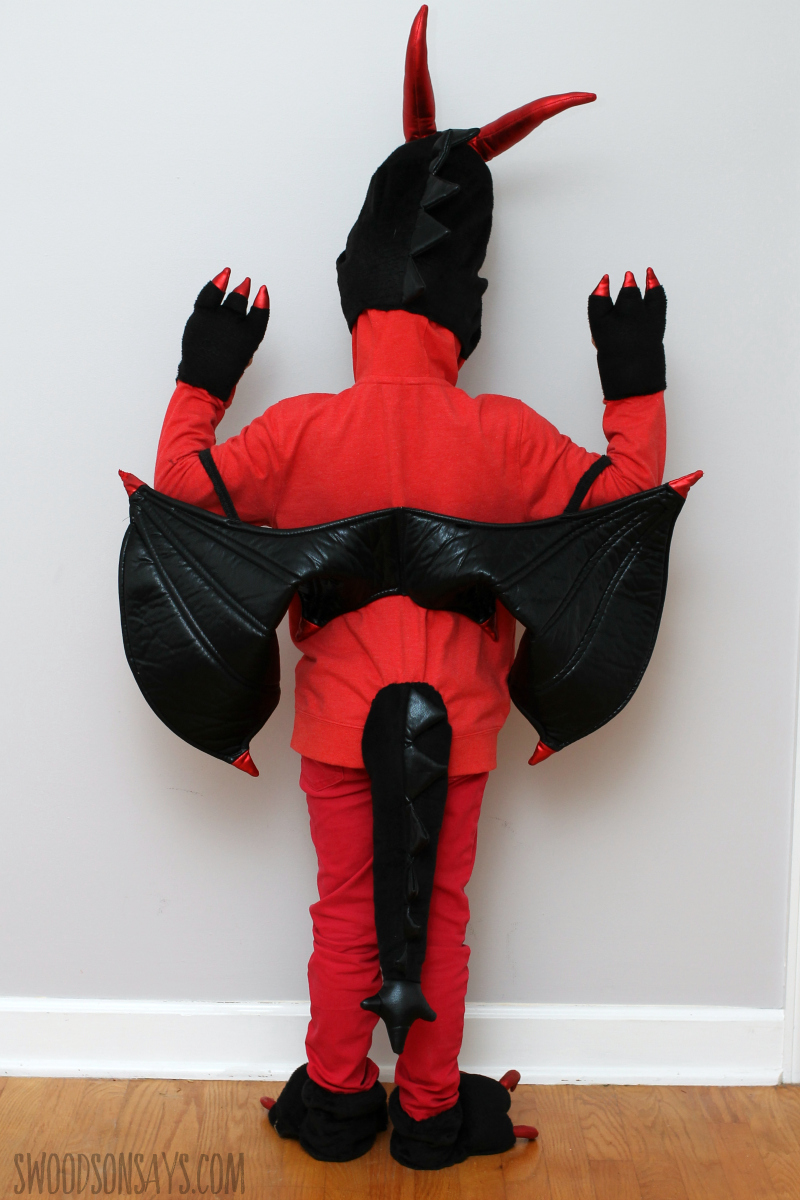
He was very excited to have a shiny belly this time, and “realistic claws”. I love how cozy the costume was and it will surely fit him the rest of the year, and he can reuse the pants as actual pants! I snagged those second-hand off the Kidizen app and the hoodie is from Target.
Pin this dragon wings costume diy for later using this link or this photo:
Ready to make your own?
How to refashion a costume into a bigger size
Supplies
- Rotary cutter
- Acrylic quilt ruler
- Clips
- Hand sewing needle
- Elastic
- Seam ripper
- Bodkin
Steps
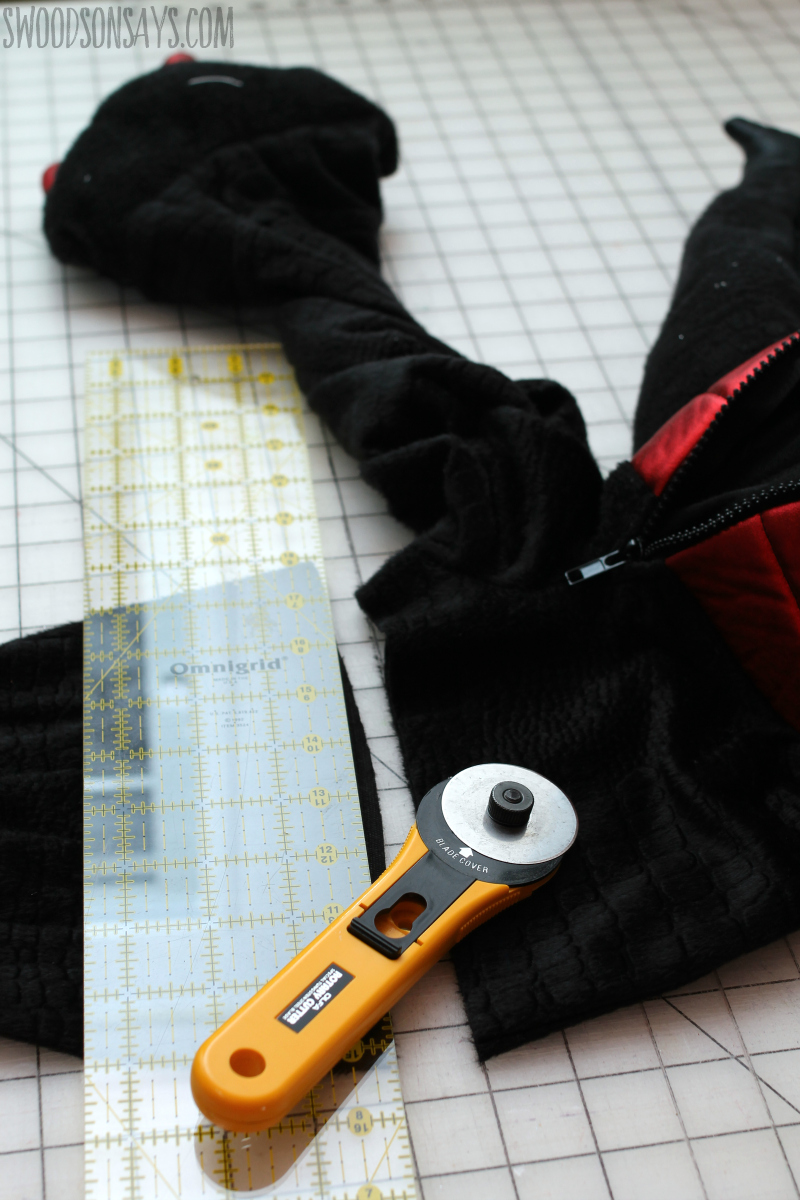
Step 1– First, I sliced off the legs and evaluated what I had to work with in the bodice area!
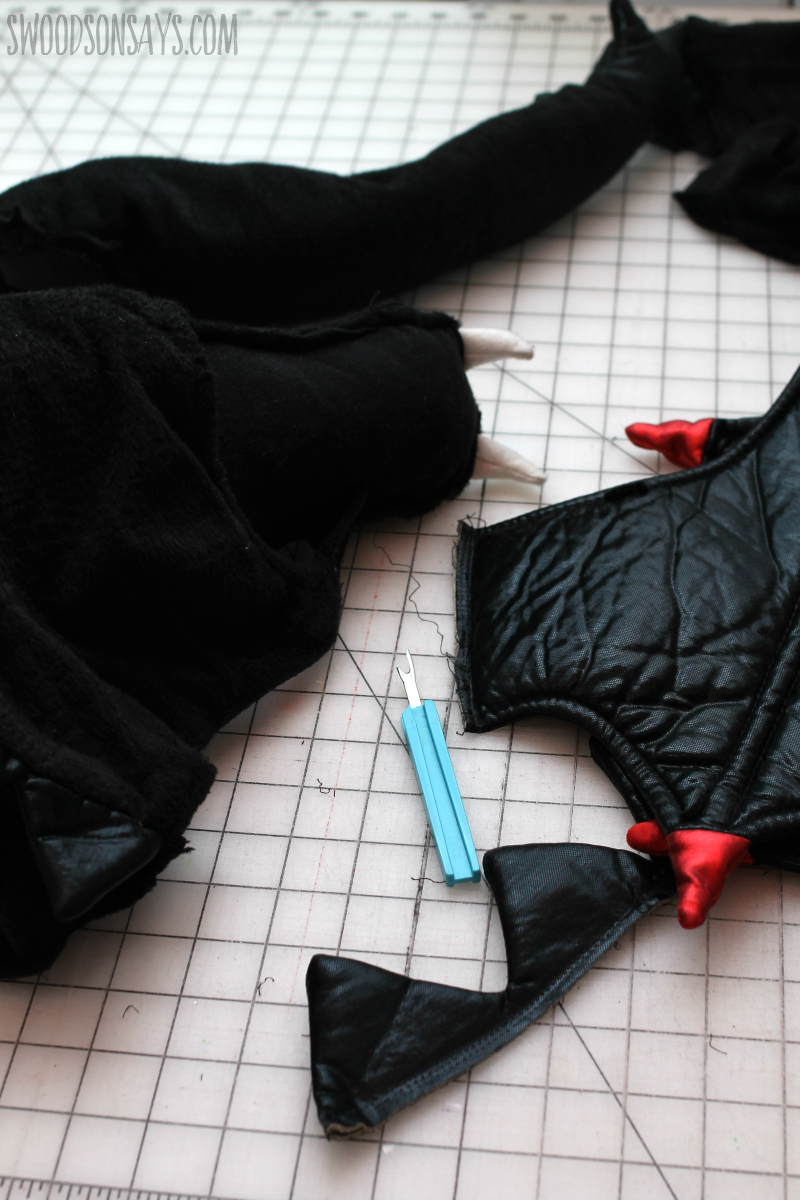
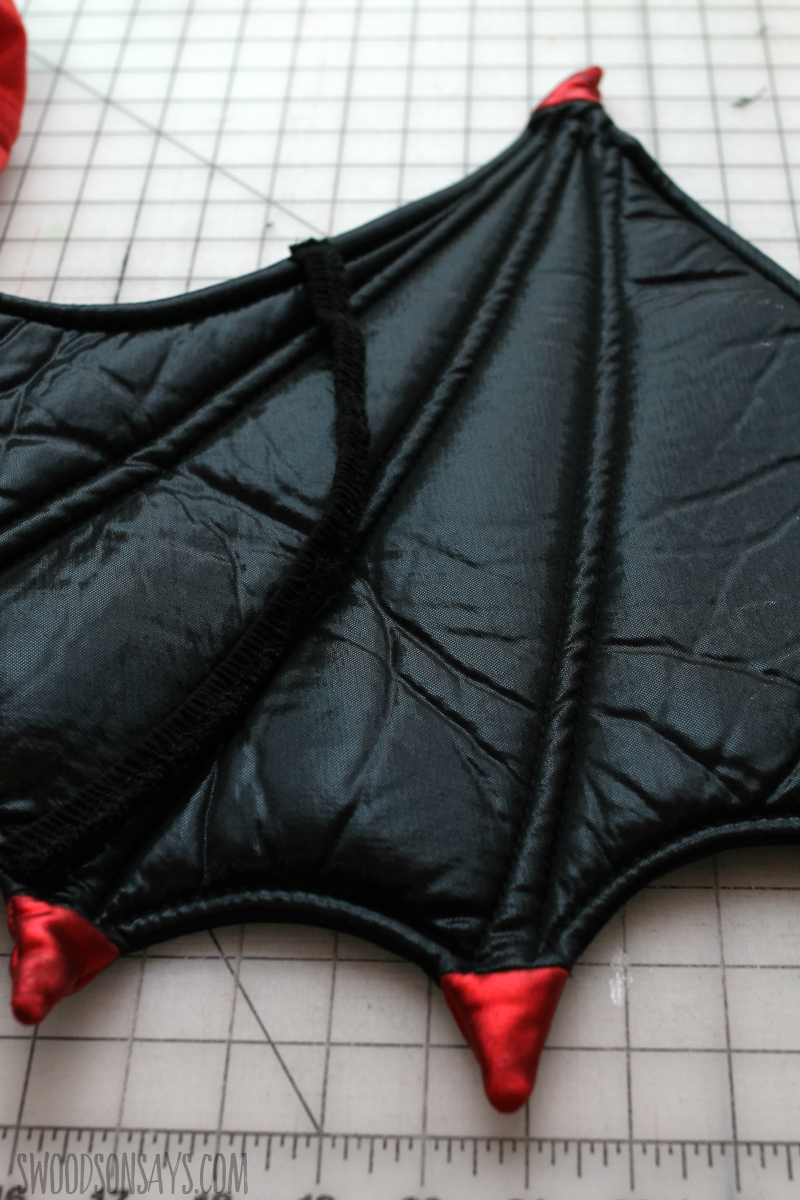
Step 2– Then I started doing some serious seam ripping; I wanted to preserve the wings and the head, so it was as big as possible.

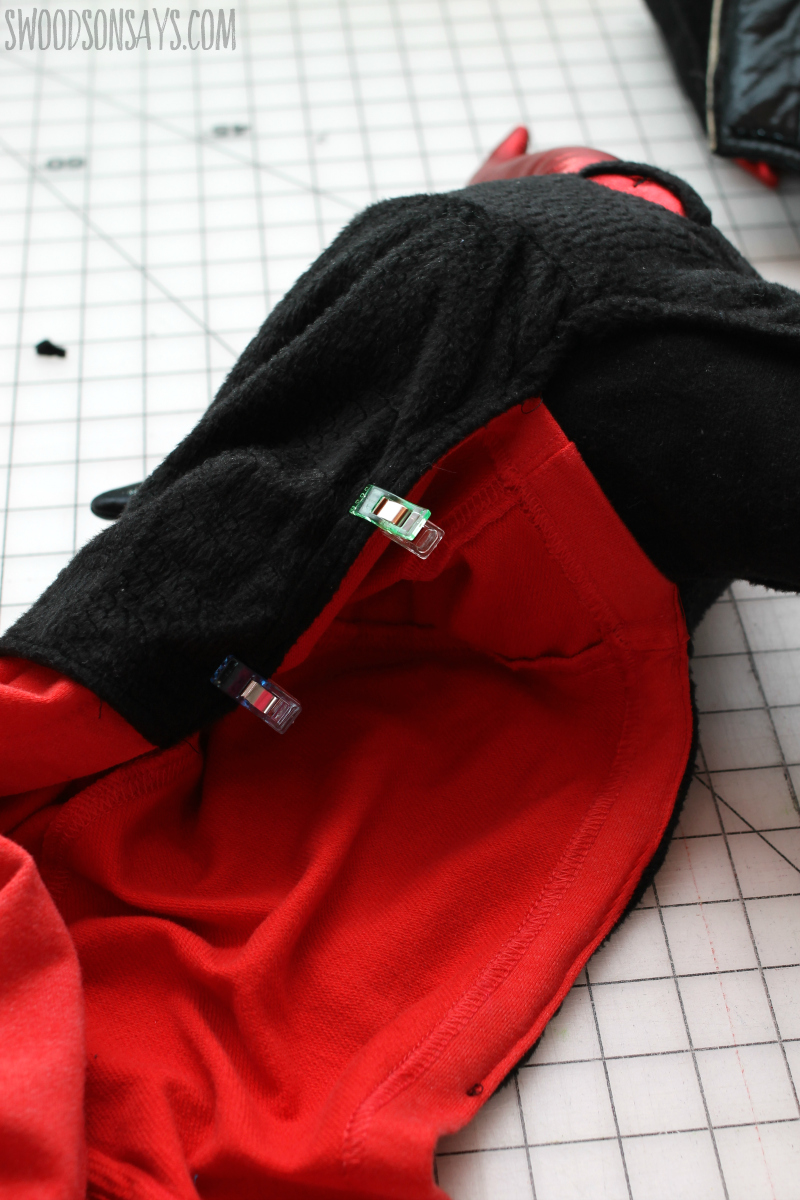
Step 3- Next I seam ripped the zipper off and trimmed around the belly patches, leaving a solid 2″ border so I could wrap it around easily.
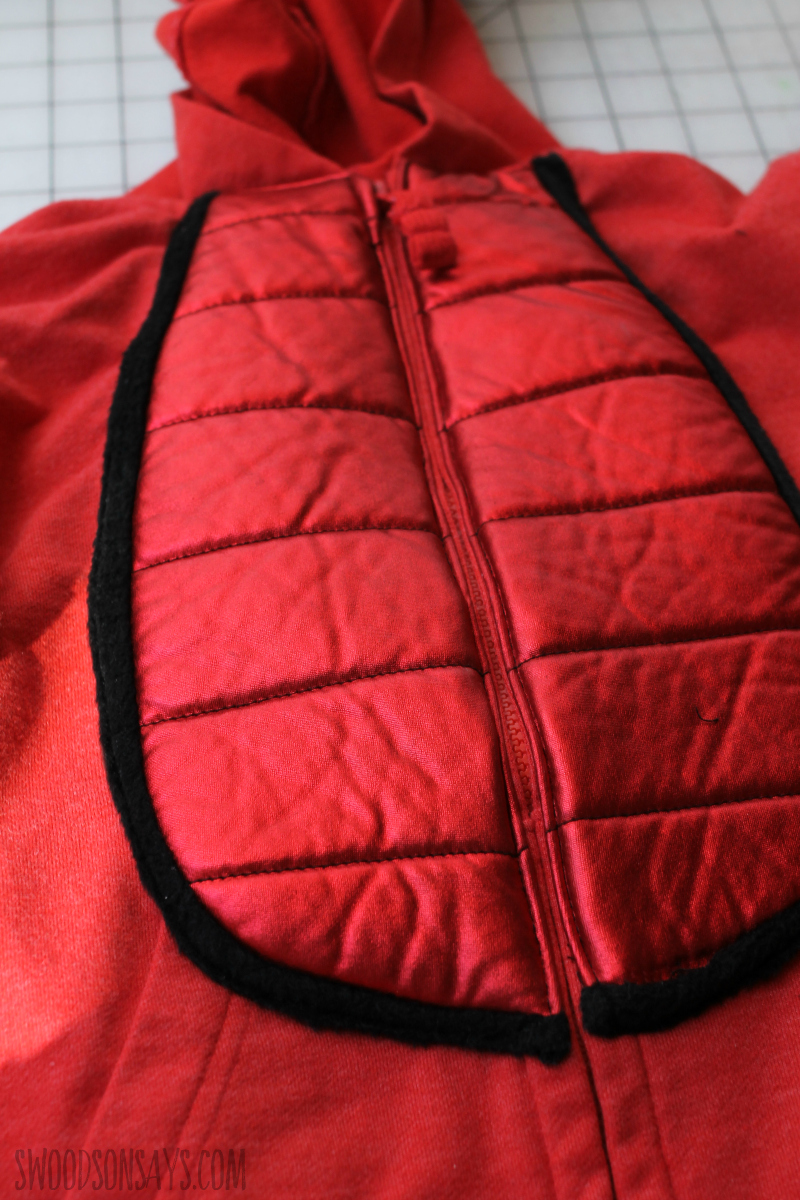
Step 4– I wrapped the border along the outside edge, and just gently folded the straight edge under like a hem, and sewed it on.
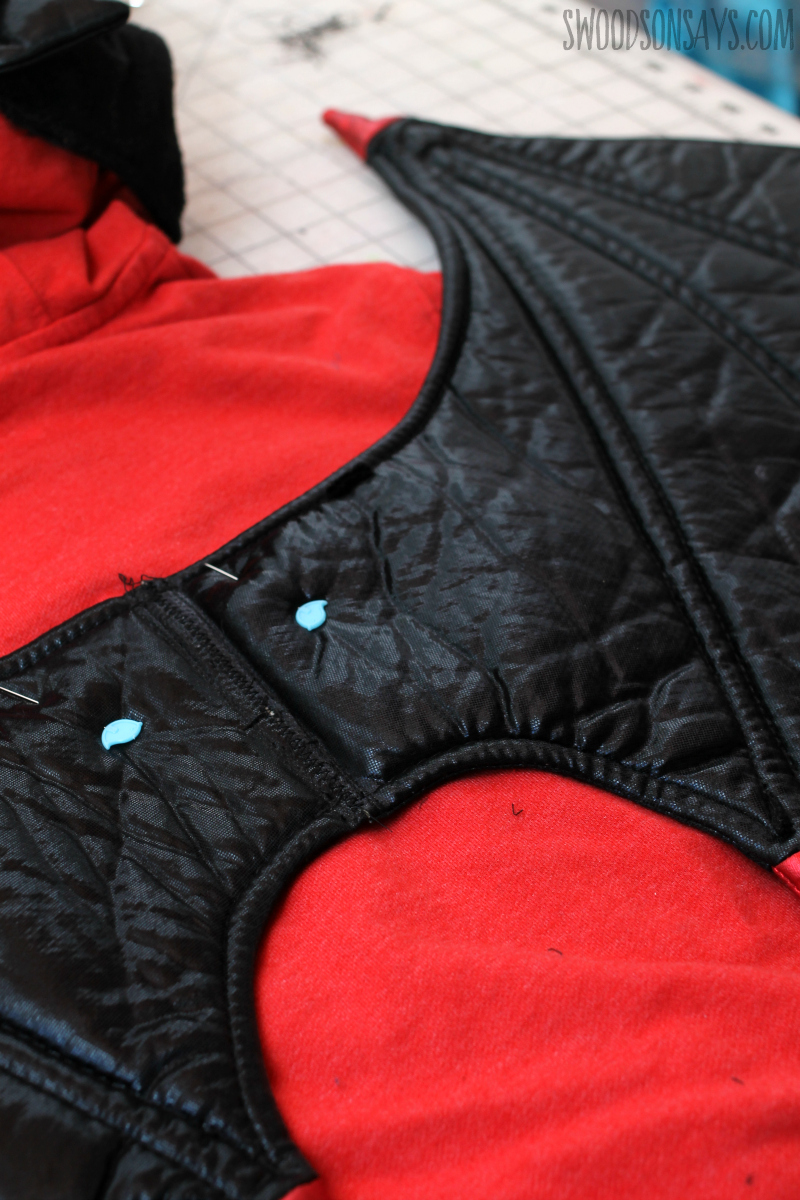
Step 5– I used a zigzag stitch to anchor the wings, centered in the back.
Step 6– I machine stitched around the hood’s face after clipping it together, and then put in a few hand stitches around the back to keep it from slipping.
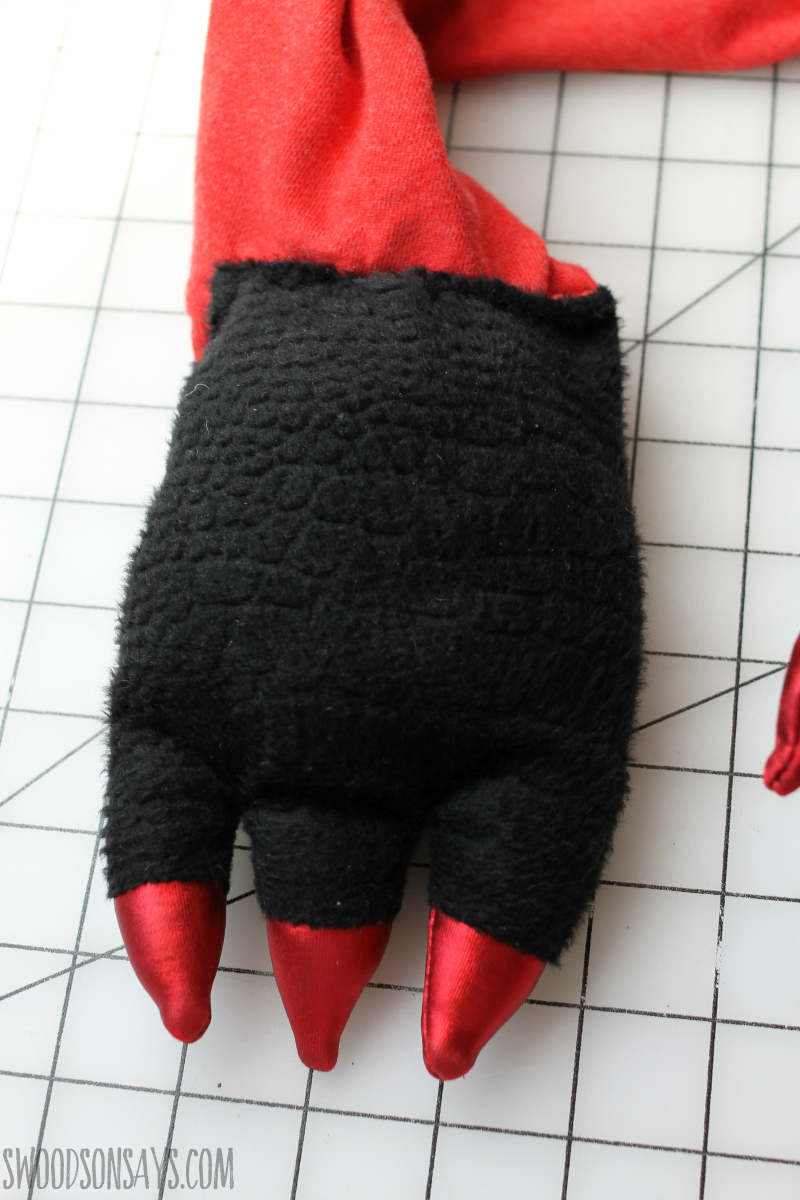
Step 7– I cut off the hands, close to the seam, and hand sewed it right next to the cuff on each arm.

Step 8– I hand sewed the tail on to the bottom of the hoodie as well.
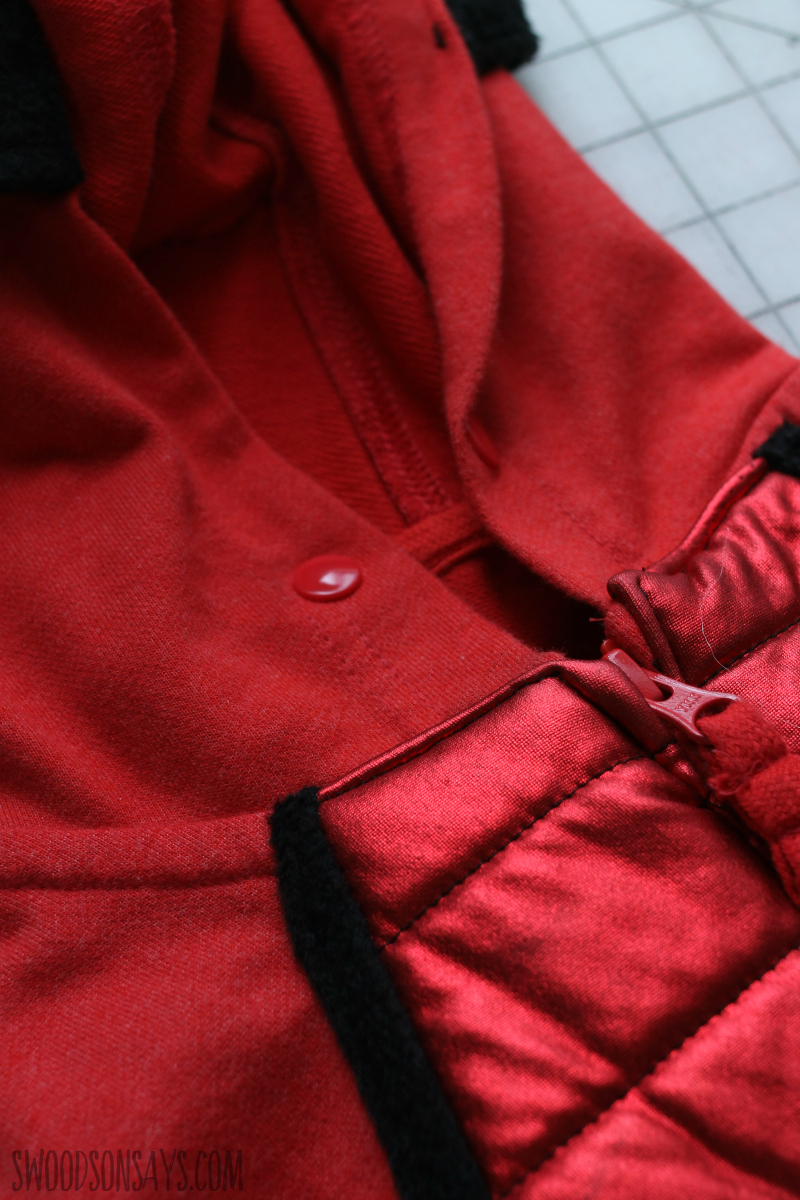
Step 9– Similar to the last dragon hoodie I made, I found that it was too loose around the face so I added another kam snap to keep it tight!
Step 10– Lastly I added a long loop of elastic, with a few machine stitches at the top and bottom, so his arms could slide through.
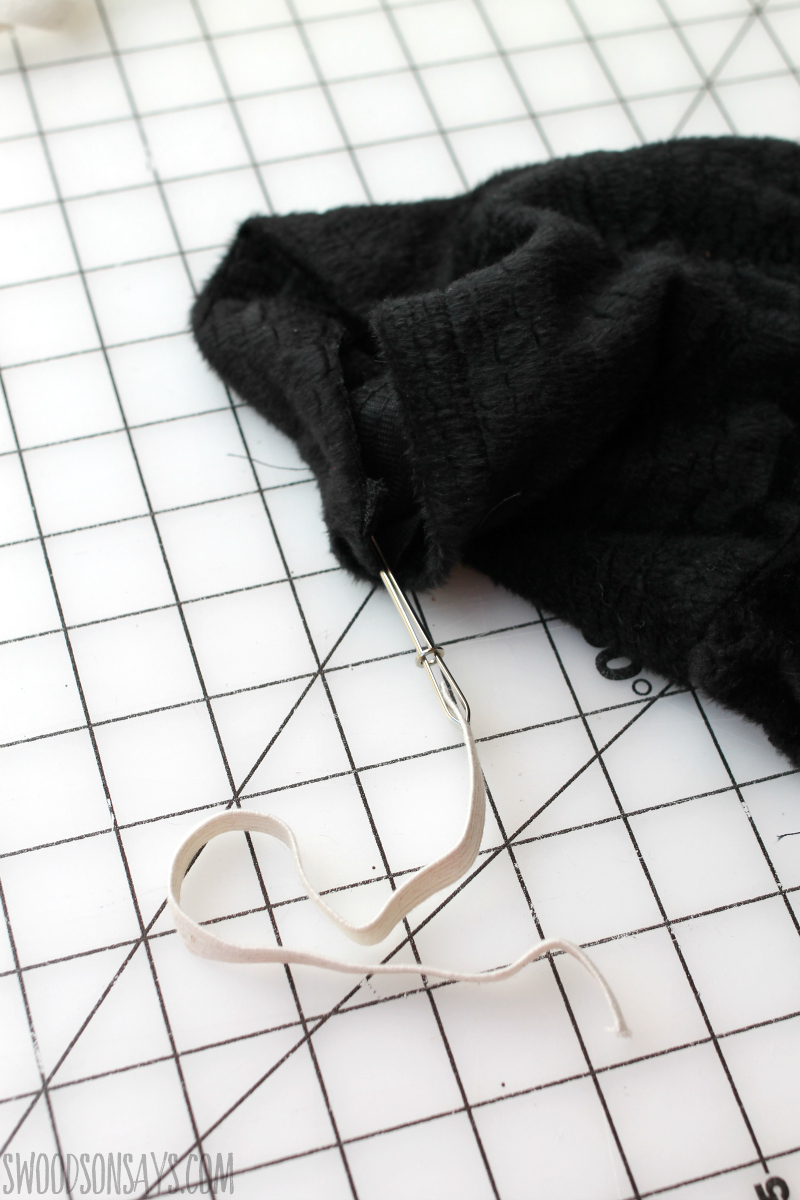
Step 11- To make the feet cuffs, I chopped them off with about 4 inches above the feet. I folded over a 1″ hem and sewed around, leaving a 1″ gap. I used a bodkin and elastic that was roughly 3/4 as long as the cuff’s opening, threading it in and sewed it closed. I then sewed the hem shut, leaving it as a bootie that stayed up!
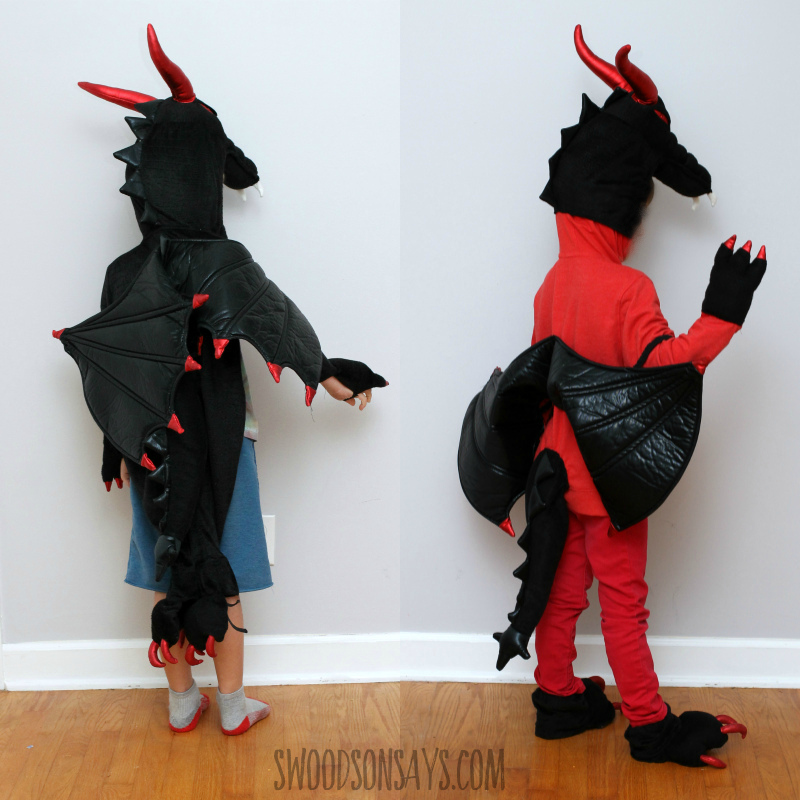
Done! While you might not find a costume exactly the same as this, I hope sharing the steps I took can inspire some of you to upcycle old costumes this year or next!