
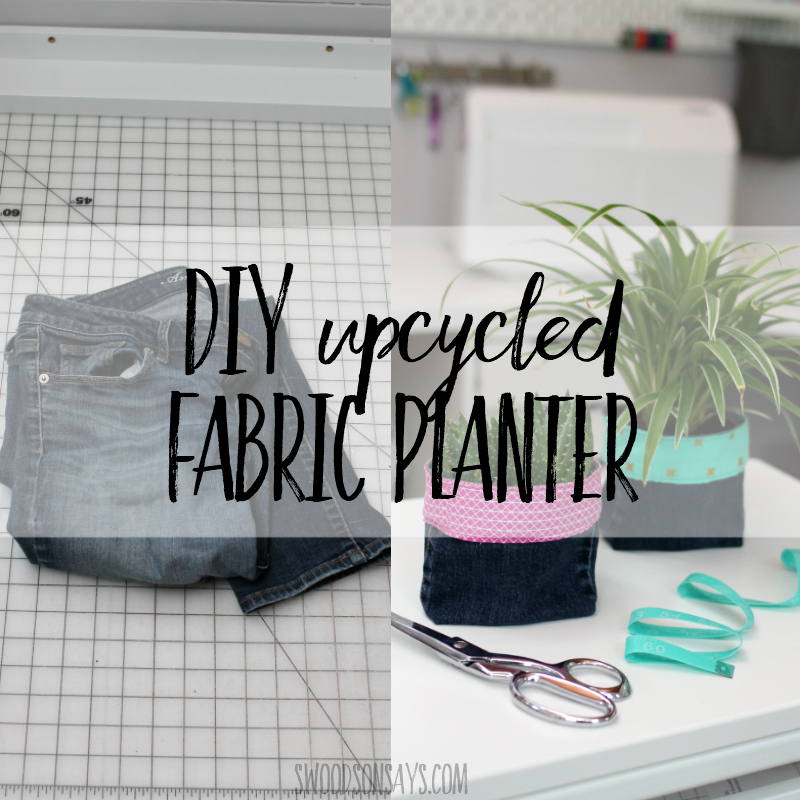
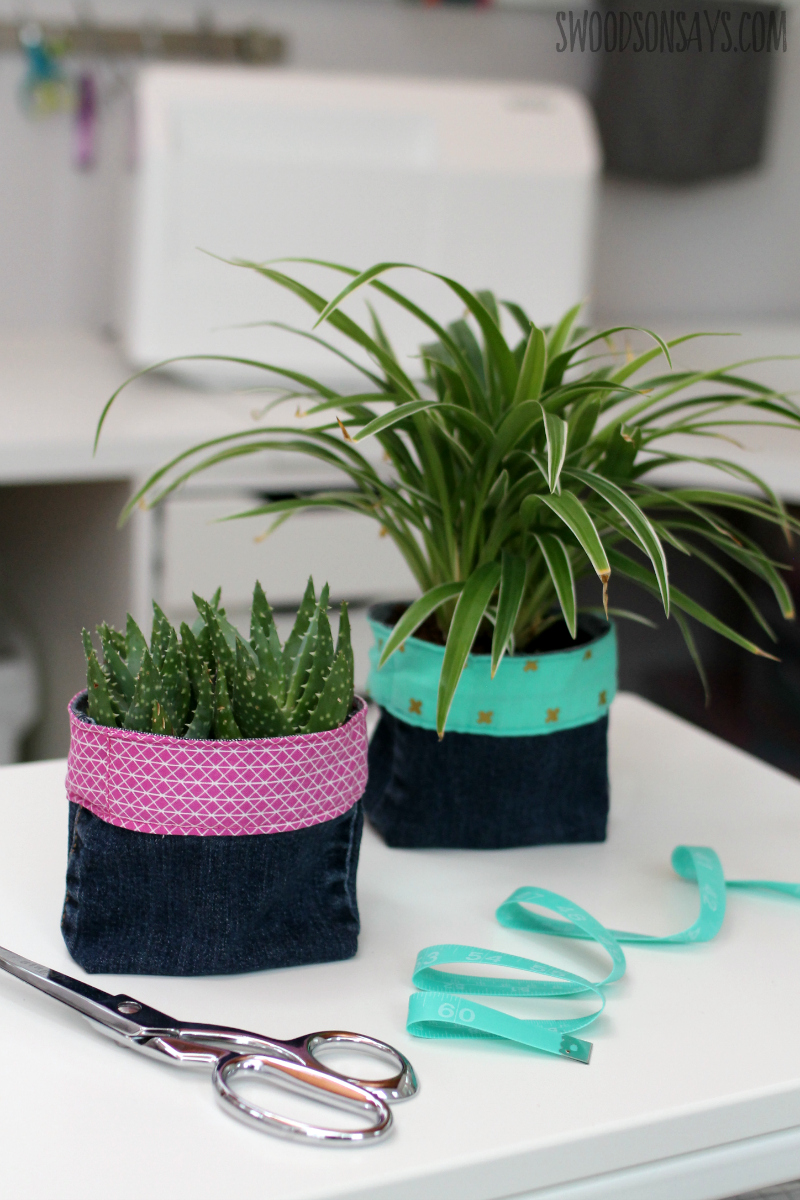
 Looking for easy, fast, cheap gifts to sew? This is day 1 of 12 Days of (upcycled) Christmas tutorials! I have a photo tutorial showing how to sew an upcycled DIY fabric planter made from old jeans. There are so many ways you could customize this idea with stencils, paint, trim, special fabrics, or beads. I have amassed quite a collection of plants since we moved in, and I’m happy to jazz them up with the samples from this tutorial!
If you like this project, you need to check out these posts too!
- 45+ ways to use up old jeans
- An easy home dec sewing project and another one too
- A plant sewing project that hangs on your tree
- Another plant basket option, round fabric basket tutorial
I will share the caveat that this project isn’t as easy as working with new fabric because there are so many variables. How thick and how stretchy your jeans are will affect things. Every pot is a different shape and width. So, I highly recommend two things when making these: 1. Cut long! It is easy to cut off a little more, it is not easy to sew it all back on. 2. Baste! Use the longest stitch length your machine will allow to box the corners and make sure they look even. It’s easy to rip them out and try again when they’re long!
Pin this tutorial for how to sew an upcycled DIY fabric planter using this link or photo:
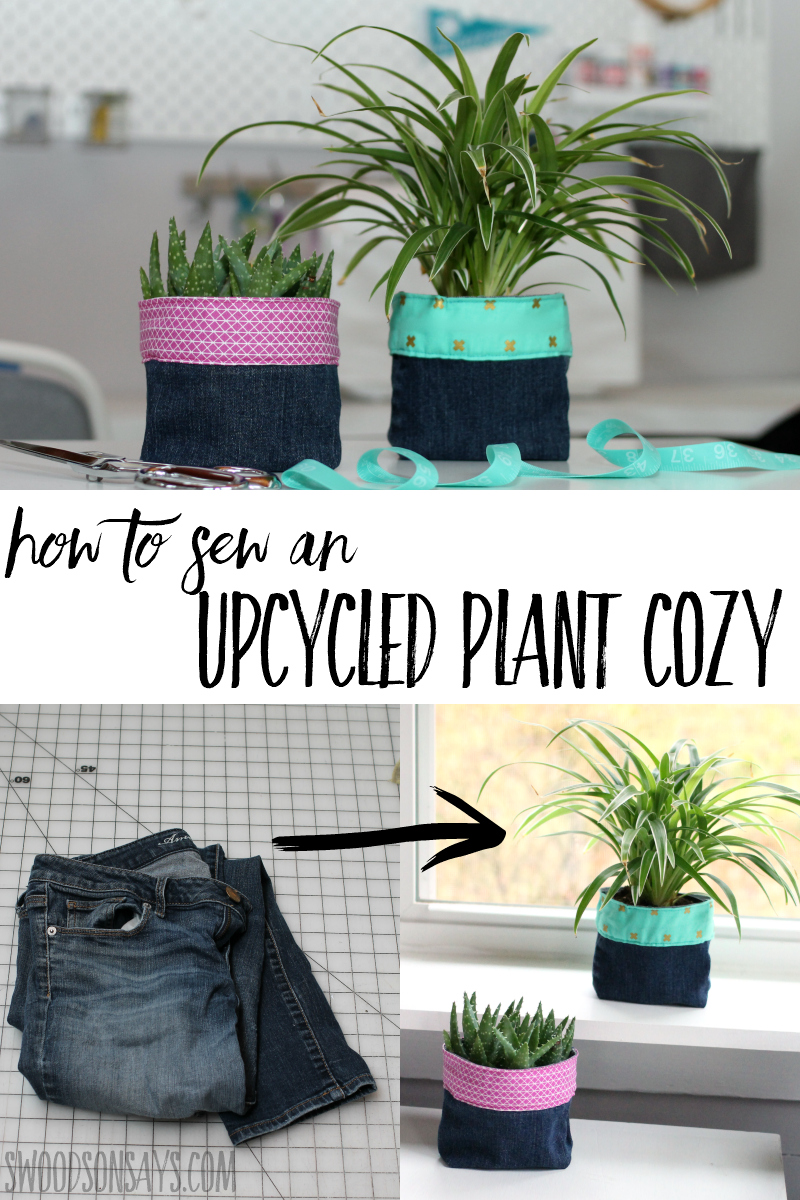
How to sew an upcycled DIY fabric planter
Supplies
- A pair of old jeans – I prefer lighter-weight with a bit of stretch to them. Straight leg will be easiest!
- Sharp scissors
- Coordinating thread
- Fat quarter of quilting cotton – these are Cotton + Steel prints
- Quilting ruler
- Rotary cutter
- Pen
- Pins
- Iron
- Denim needle
- A small plant in roughly a 4-5″ tall pot
Steps
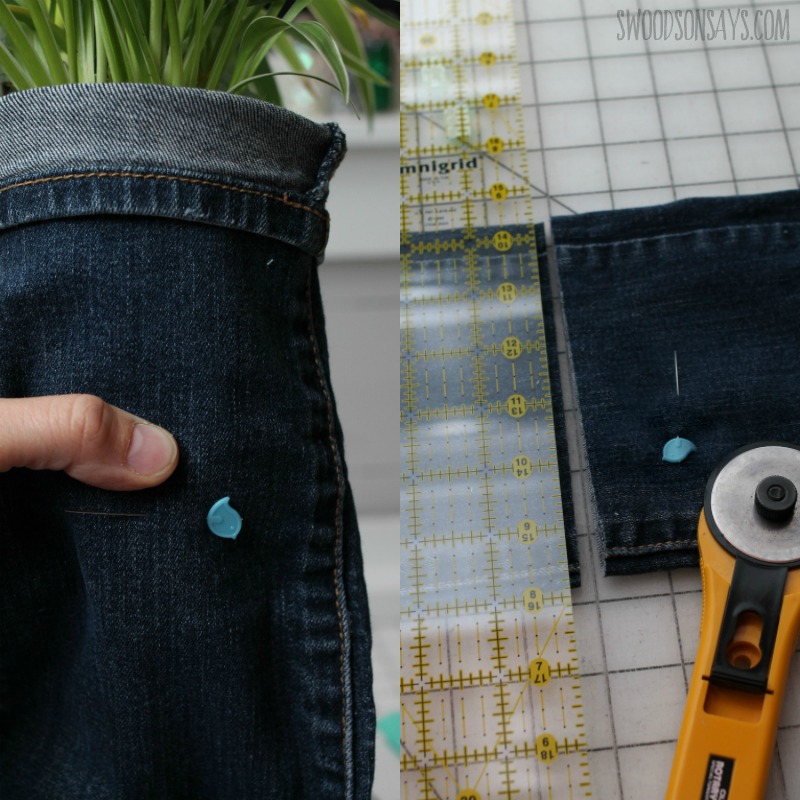
Step 1– Fold the top hem of your jean cuff down about 1.5″. Slide your plant into the pant leg and mark where the bottom hits with a pin. Lay the jeans down and cut a straight line roughly 1″ below where you pinned.
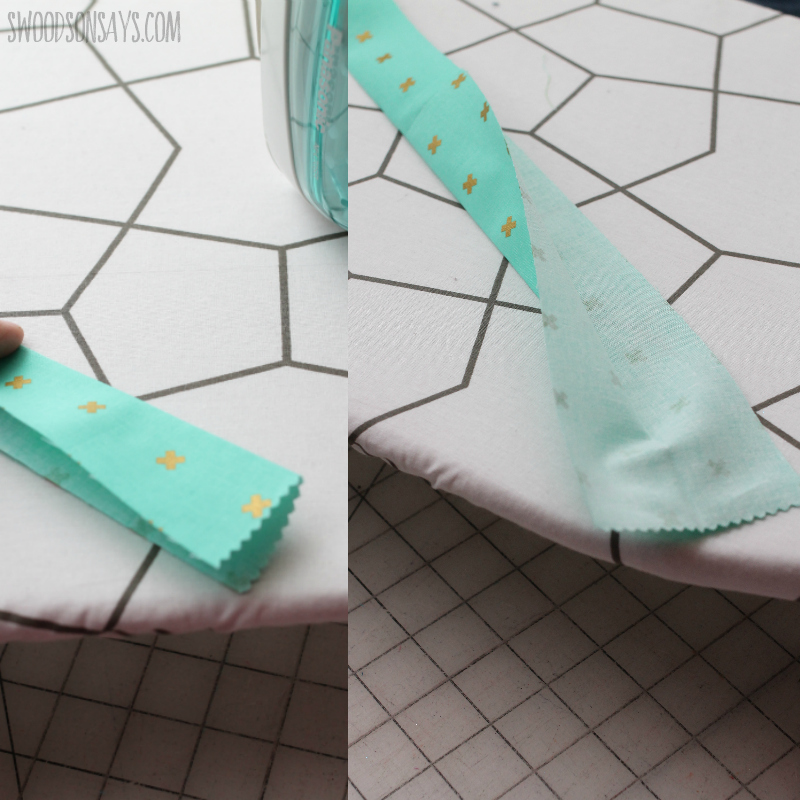
Step 2- Cut a piece of the quilting cotton that measures roughly 20″ X 3″ wide and use the iron to lightly press it in half, length-wise. Open it back up.
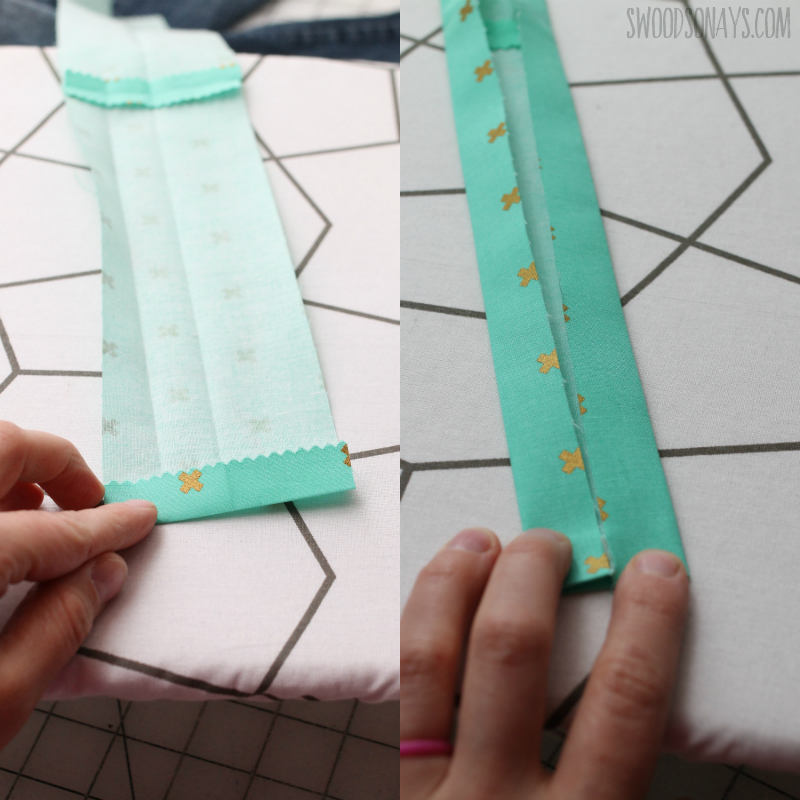
Step 3- Fold up one short edge and press it down. Then, fold each long side towards the center crease you created in Step 2. Press the entire thing this way.
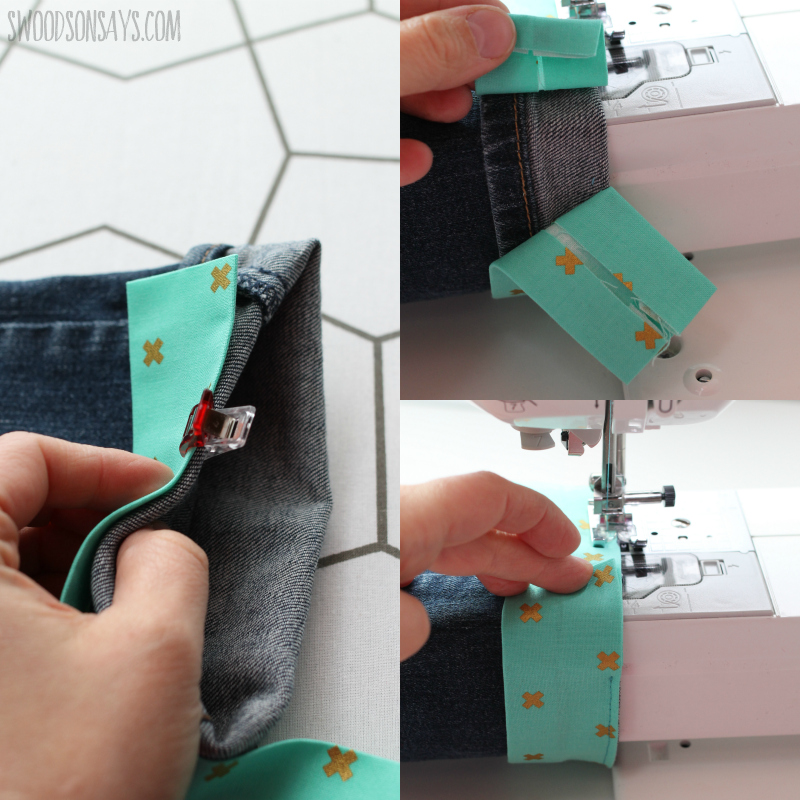
Step 4- Pin or clip the fabric rectangle on to the top of your jean cuff, leave a “tail” and starting to sew roughly where the red clip shows. You may need to gently pull from behind the needle when it comes to the bulky seams. Sew all the way around slowly, until you are back in sight of where you started. Trim fabric as needed, fold down the short end, and lay it flat with the other side overlapping, finish sewing to match up where you started.
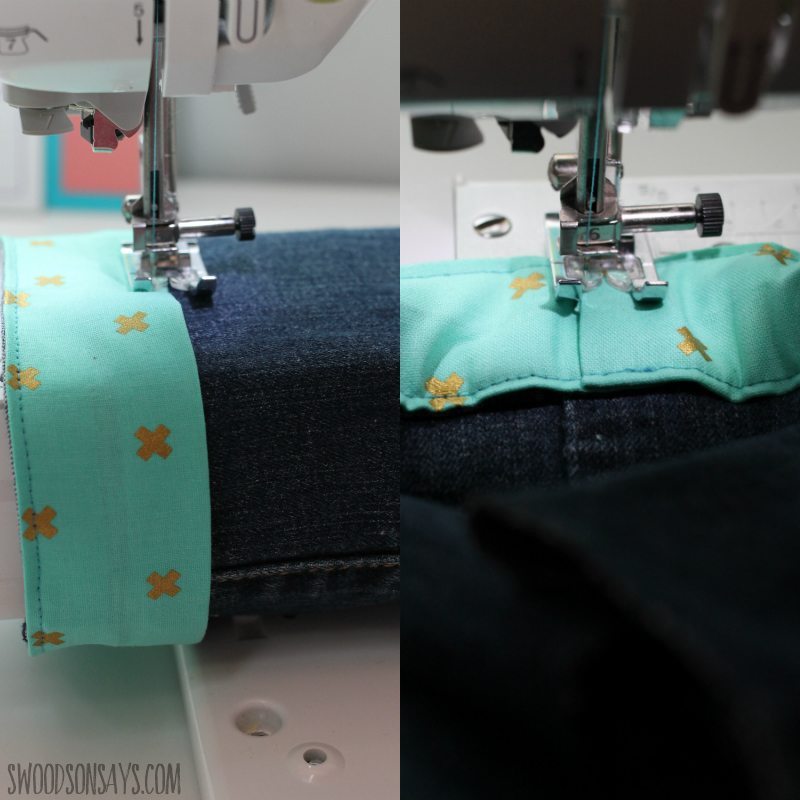
Step 5- Flip the cuff to the other direction and sew around the bottom band. If desired, sew down where the short ends meet, if you prefer how that looks.
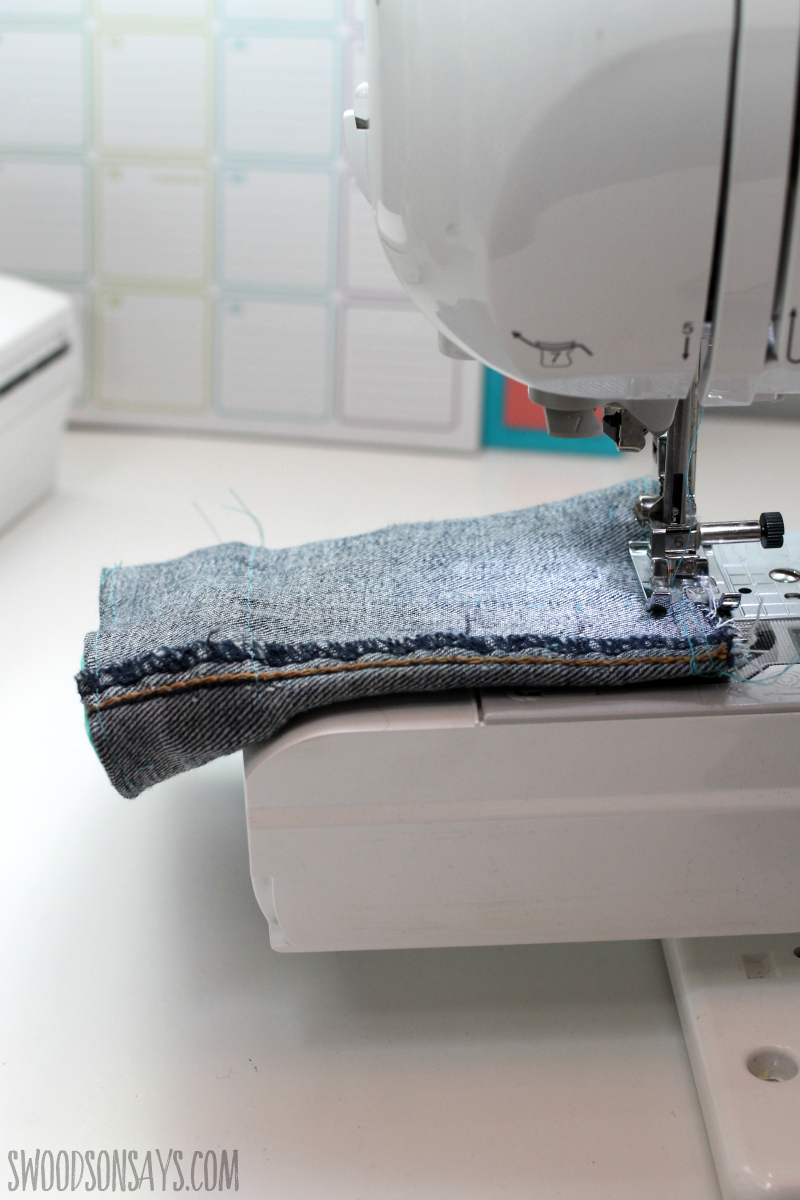
Step 6- Turn the cuff inside out and sew with 1/4″ seam allowance straight across the base.
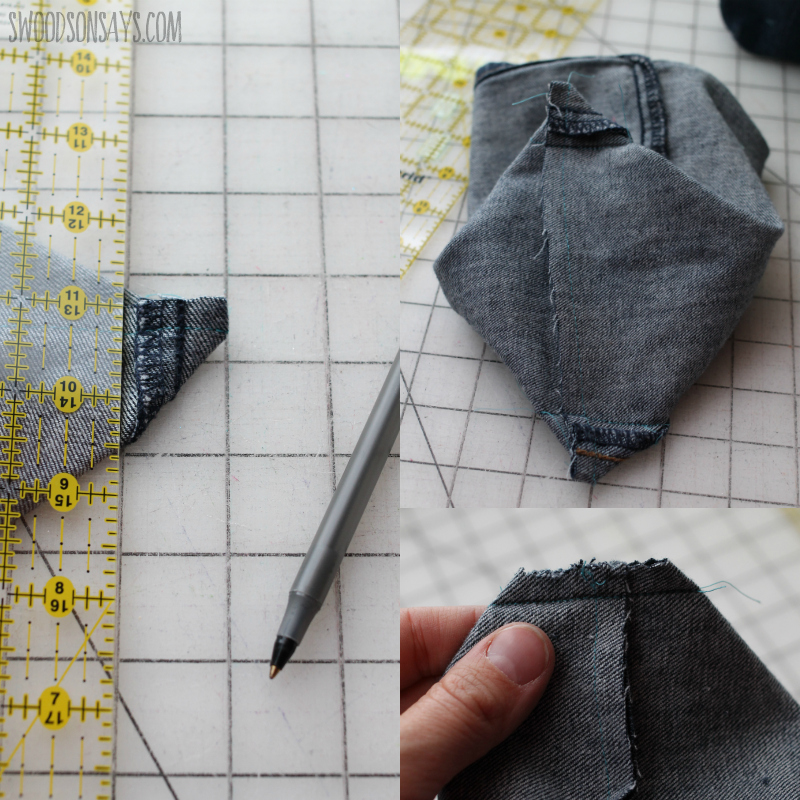
Step 7- Time to box the corners! This is a little tricky because of the bulky jeans seams; but you basically need to flatten it out with the seam you created in the middle, then draw a line 1″ to the left of the corner. Repeat on the other side, making sure the bottom seam is facing the same direction. Trim off the excess fabric outside your stitching and you’re done!