
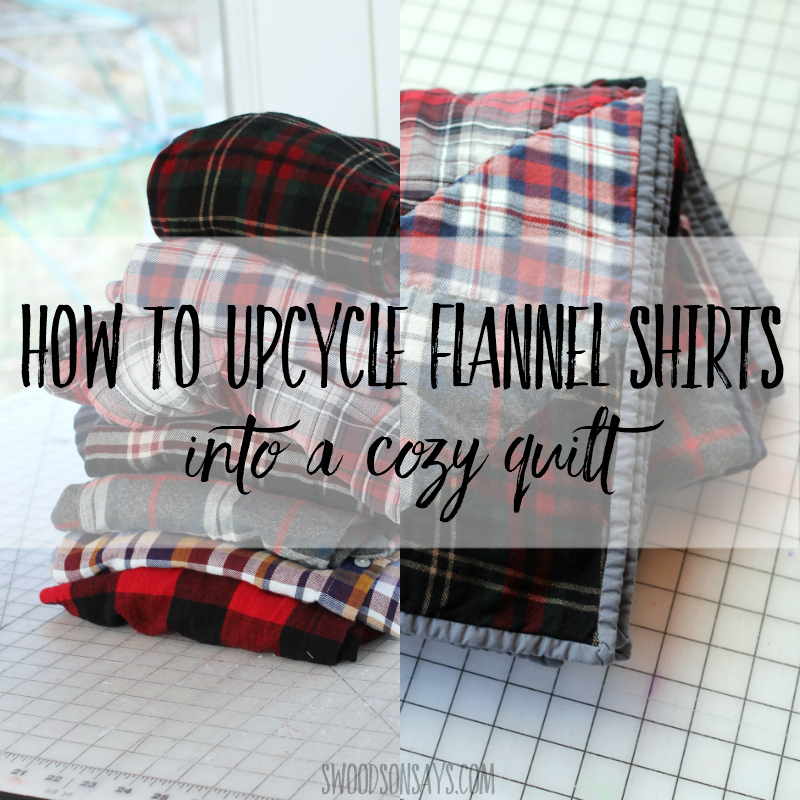
 I spent over a year collecting the materials from this project from Goodwill Outlet and now I’m sharing how to turn upcycled flannel shirts into a cozy quilt! If you’ve never sewn a quilt, I’m here to tell you this is a great way to start because the stakes are low! I’m not an expert quilter but I will walk you through all the steps with photos.
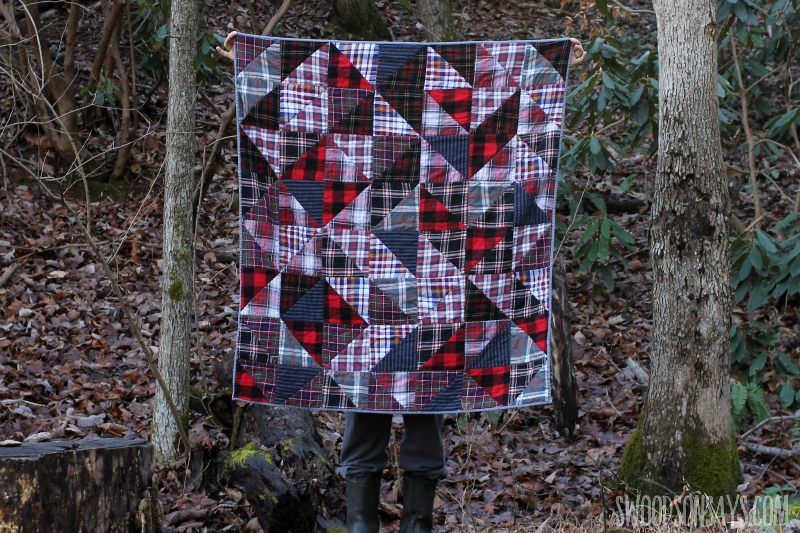
The finished quilt was roughly 50.5″ x 56″ which is a tiny bit smaller than the average throw quilt size, but you can adjust and add more rows to your heart’s content. This is a really fun upcycled flannel shirt project that makes a great gift!
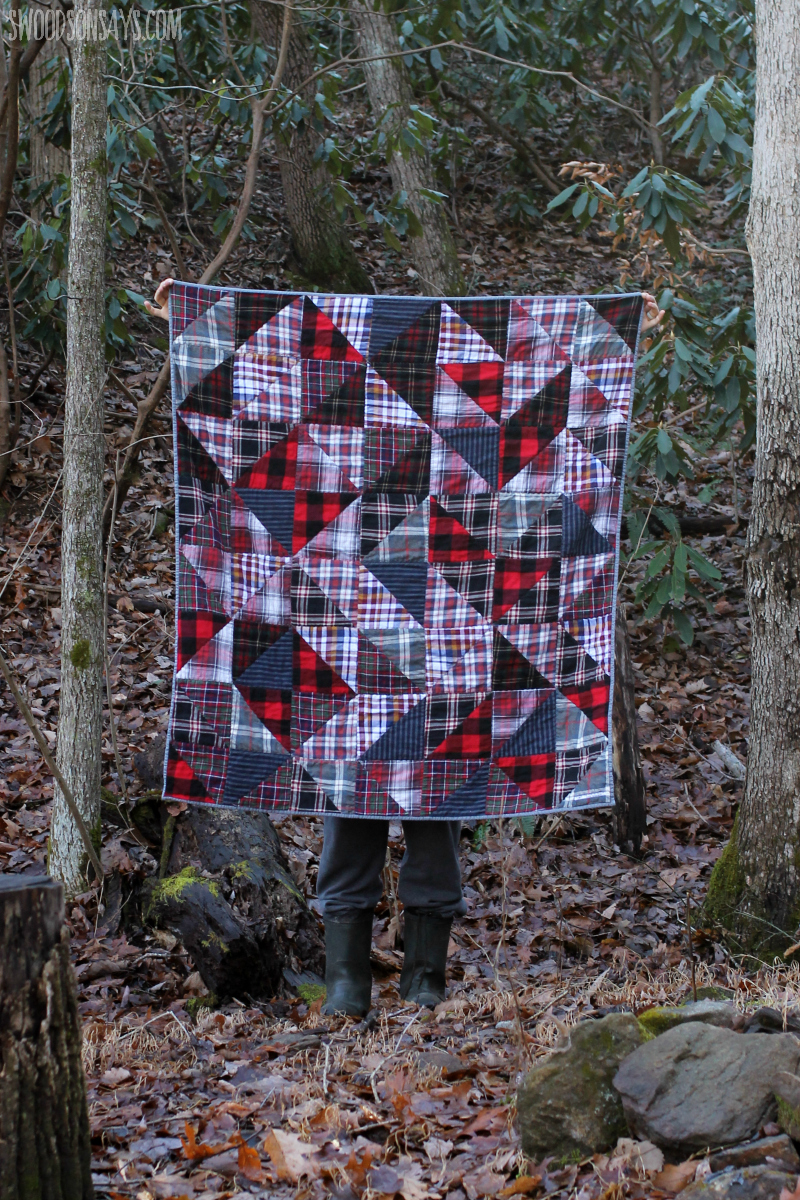
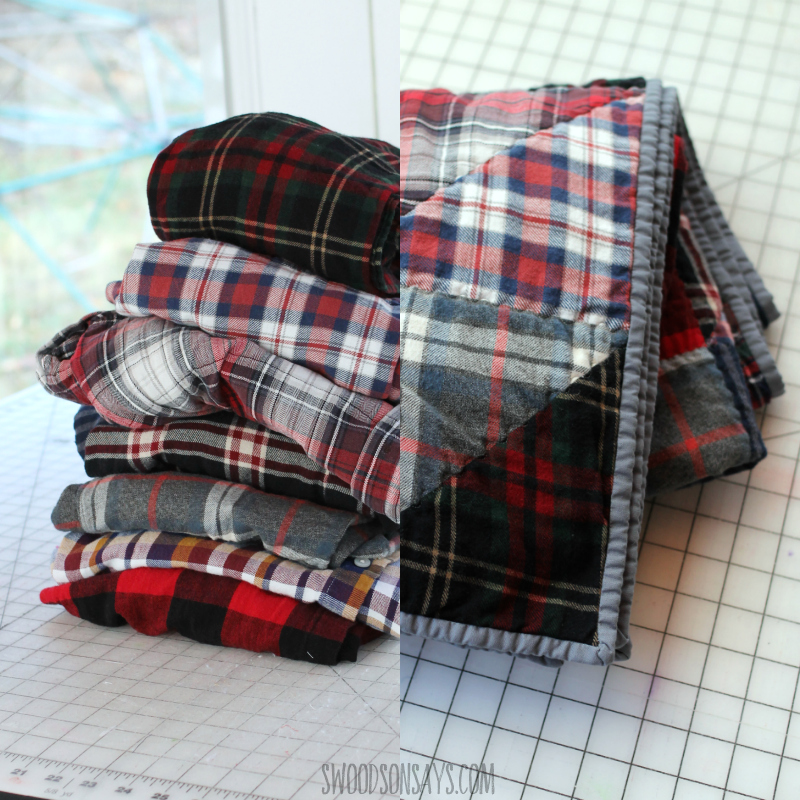
I used 1 pair of pants and 8 different shirts, giving me a nice mix of patterns and colors. HST or half square triangle quilts are fun and easy to sew (my very first quilt was HSTs), I enjoyed playing with the pattern placement and options.
You might also be interested in these posts!
- Upcycled flannel shirts – 15+ creative ideas
- 20+ of the best flannel projects to sew
- 25+ upcycle sewing tutorials that make great gifts
- 13+ winter hand embroidery patterns
- See how to make a blanket out of sweaters
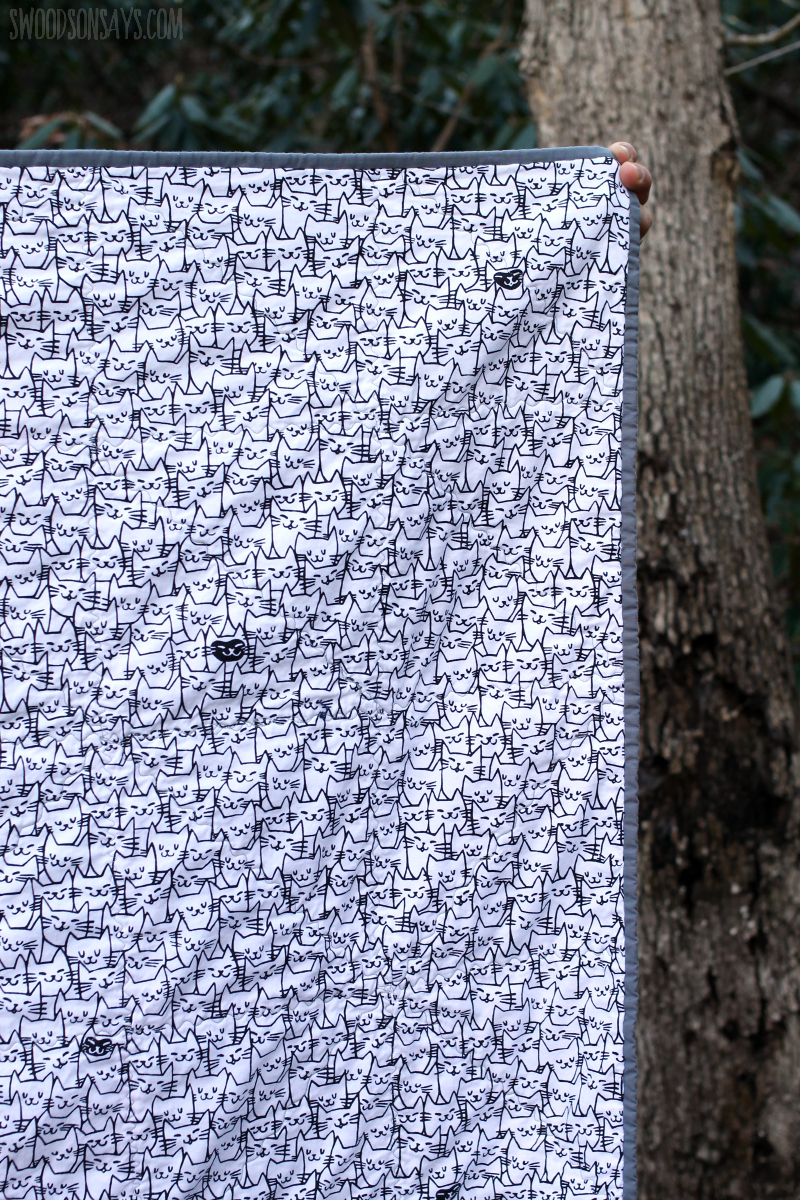
I thought about using an upcycled sheet for the back but couldn’t find one that matched well, and I love this wide back cotton I found to use instead.
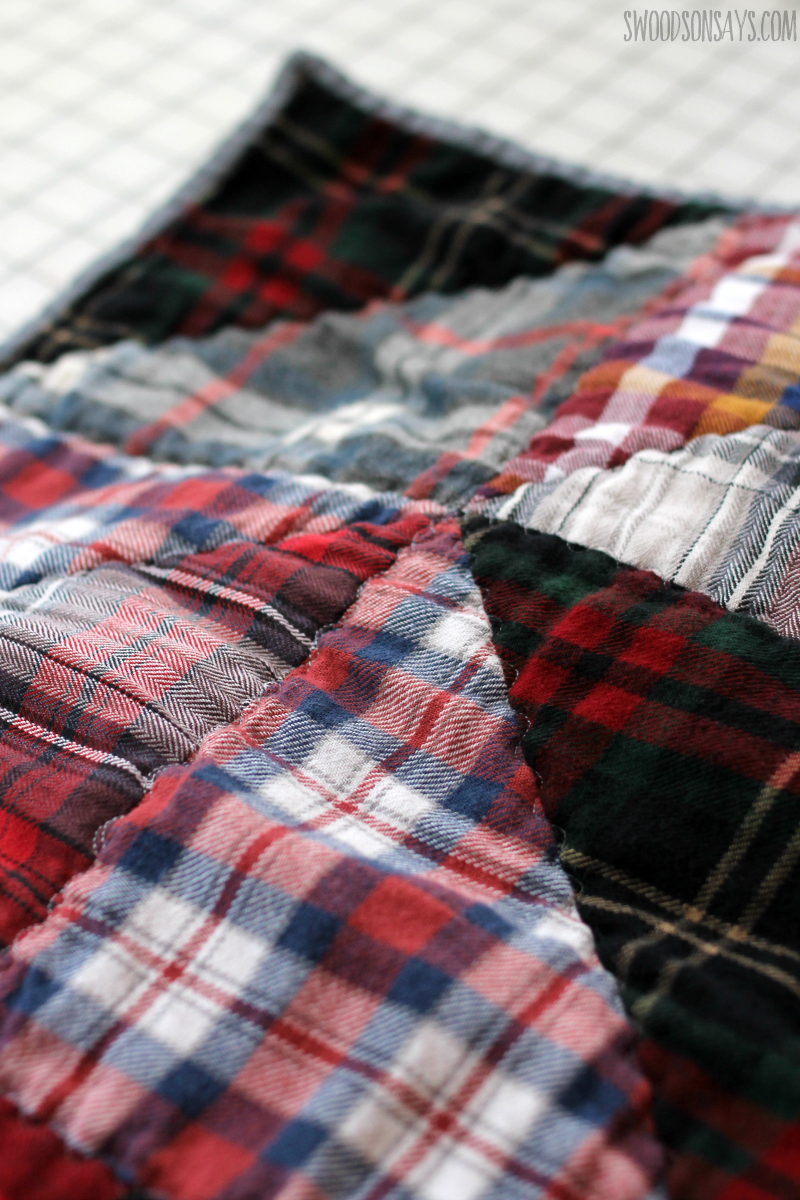
Don’t you want to reach through the screen and pet it! All those washed & worn soft shirts felt soft and huggable. I gifted this to my friend along with a handmade love note sharing about what I did while I was making it!
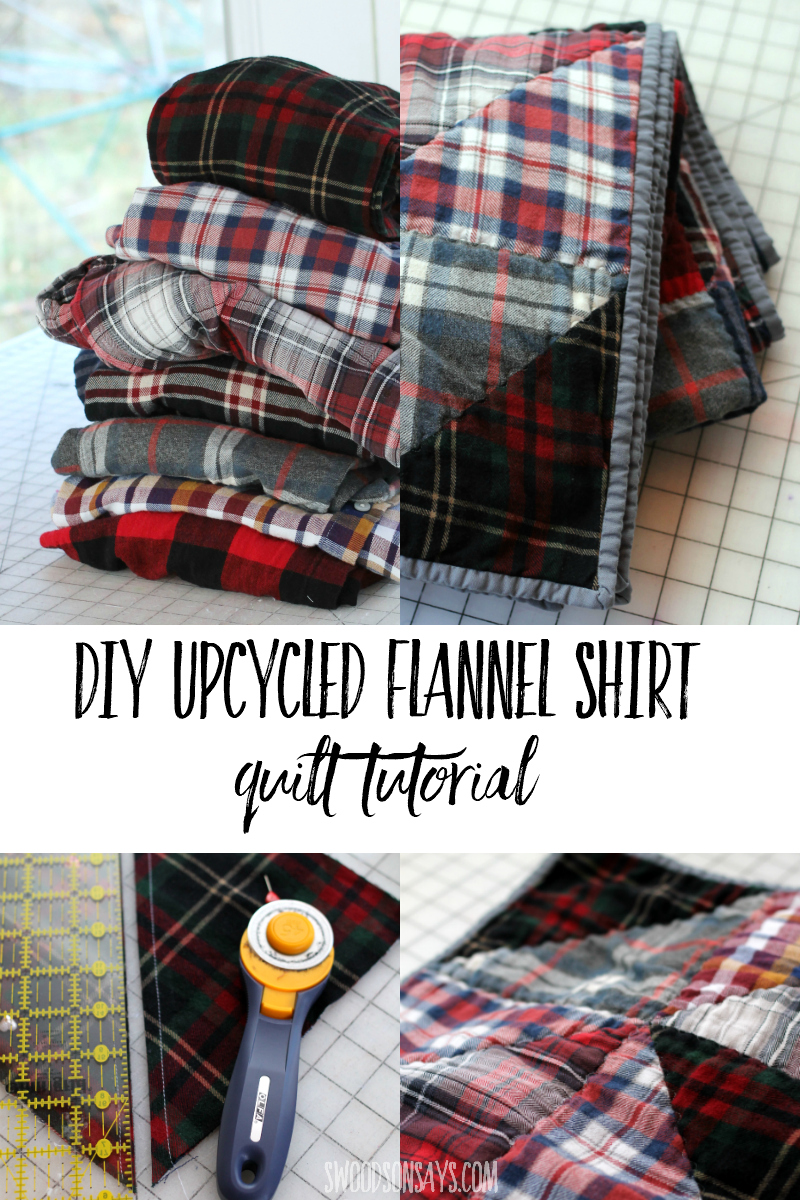
Pin this tutorial for how to turn upcycled flannel shirts into a cozy quilt with this link or collage image:
Ready to make your own?
How to turn upcycled flannel shirts into a cozy quilt
Supplies
- Batting – I use this stuff
- Best Press
- Quilting Clips
- 9-11 100% cotton flannel shirts
- Cotton thread
- 1/2 yard cotton fabric for binding
- Iron
- 8.5″ Square template
- Acrylic ruler
- Rotary cutter
- Rotating cutting board (optional but handy)
- Walking foot
- Seam allowance marker (optional but handy)
- Safety pins
- Regular pins
- Fabric yardage for the back of your quilt or an old sheet- I used this wide back cotton so only required 2 yards
I used a 1/4″ seam allowance everywhere; I’ve read that some folks prefer 1/2″ since flannel can fray easily, but I’m hoping my seam quilting holds it together just fine.
Another note is that my preference is to not prewash new fabric for the binding or backing, instead letting it get a nice “crinkle” once it is washed and dried for the first time. I would prewash the shirts to make sure you’re not sewing with dirty fabric, and they are already preshrunk I’d guess.
Steps
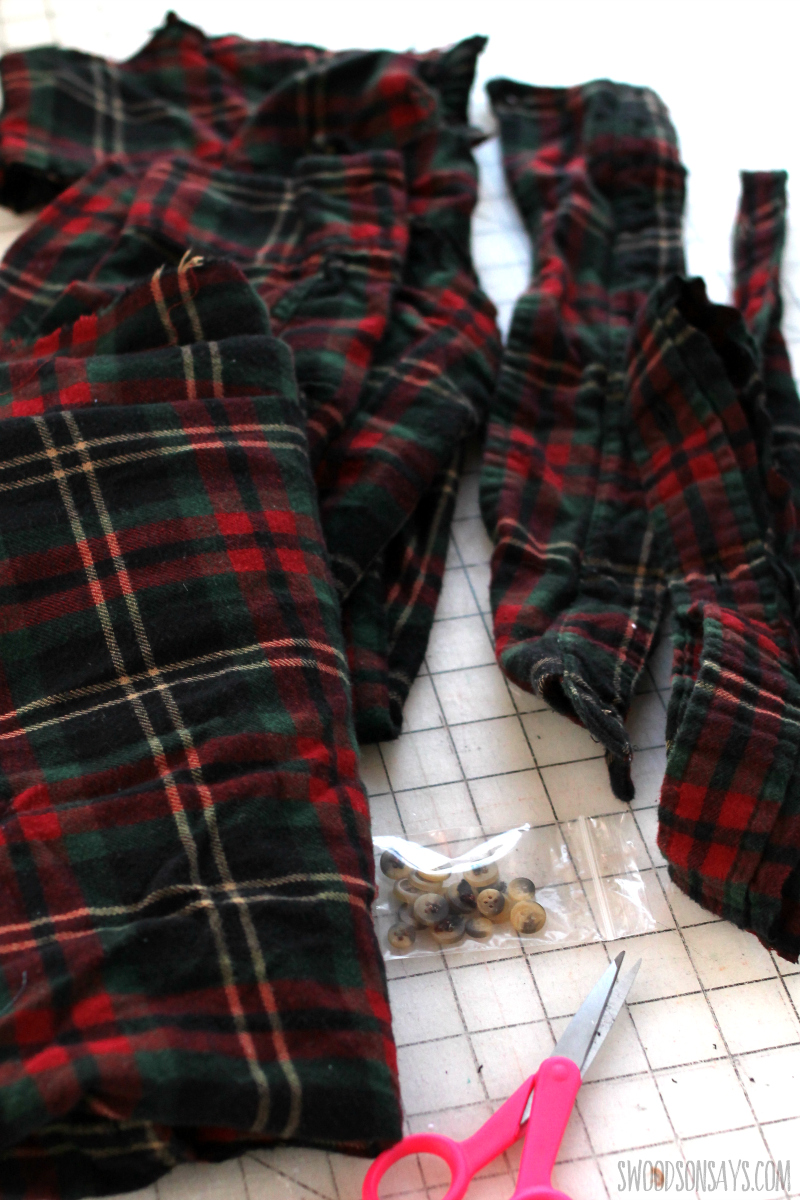
Step 1– Deconstruct all your shirts! I snipped off all the buttons and bagged them together for future projects and then cut along seams, focused on removing the bodices from the sleeves. You could also piece together smaller strips from other parts of the shirt.

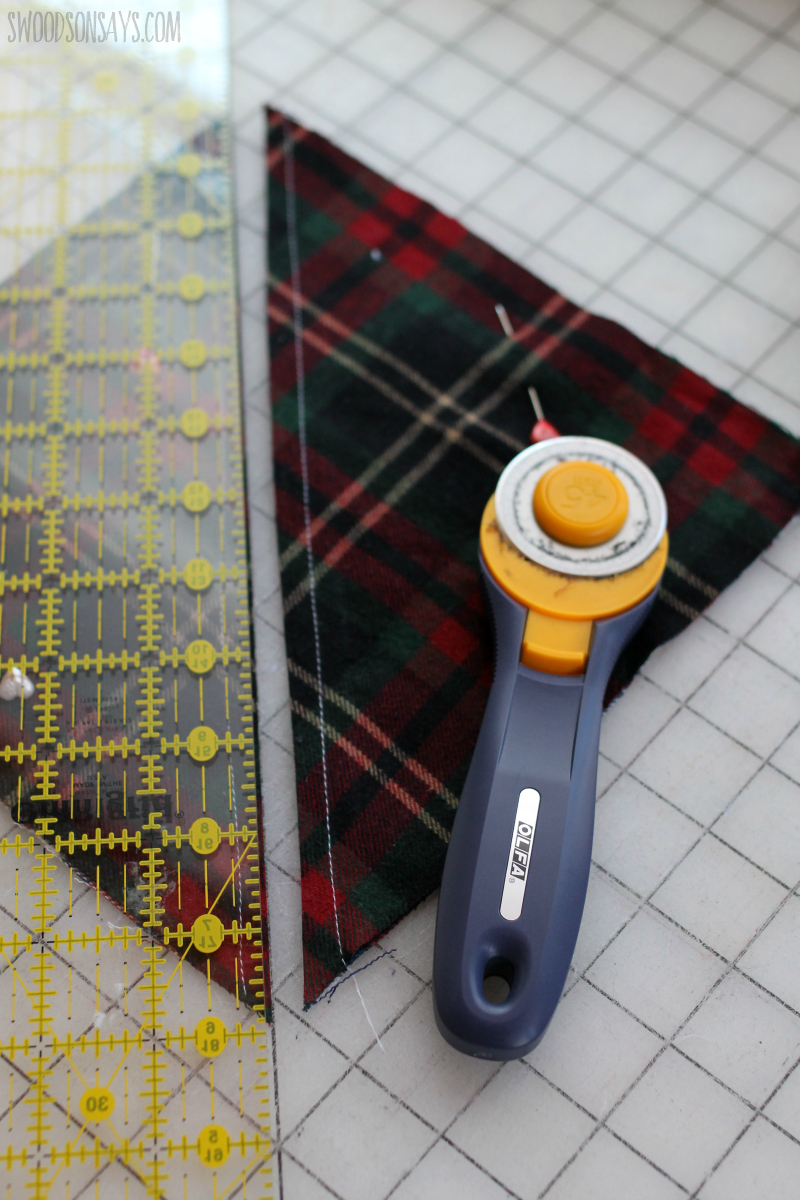
Step 2– Most of these shirts were slippery so I used Best Press spray and my iron to firm them up! If you are a perfectionist you may want to use lightweight interfacing before cutting. Use your square template and start cutting squares! This is an 8.5″ block. I cut 56″ squares for this project.
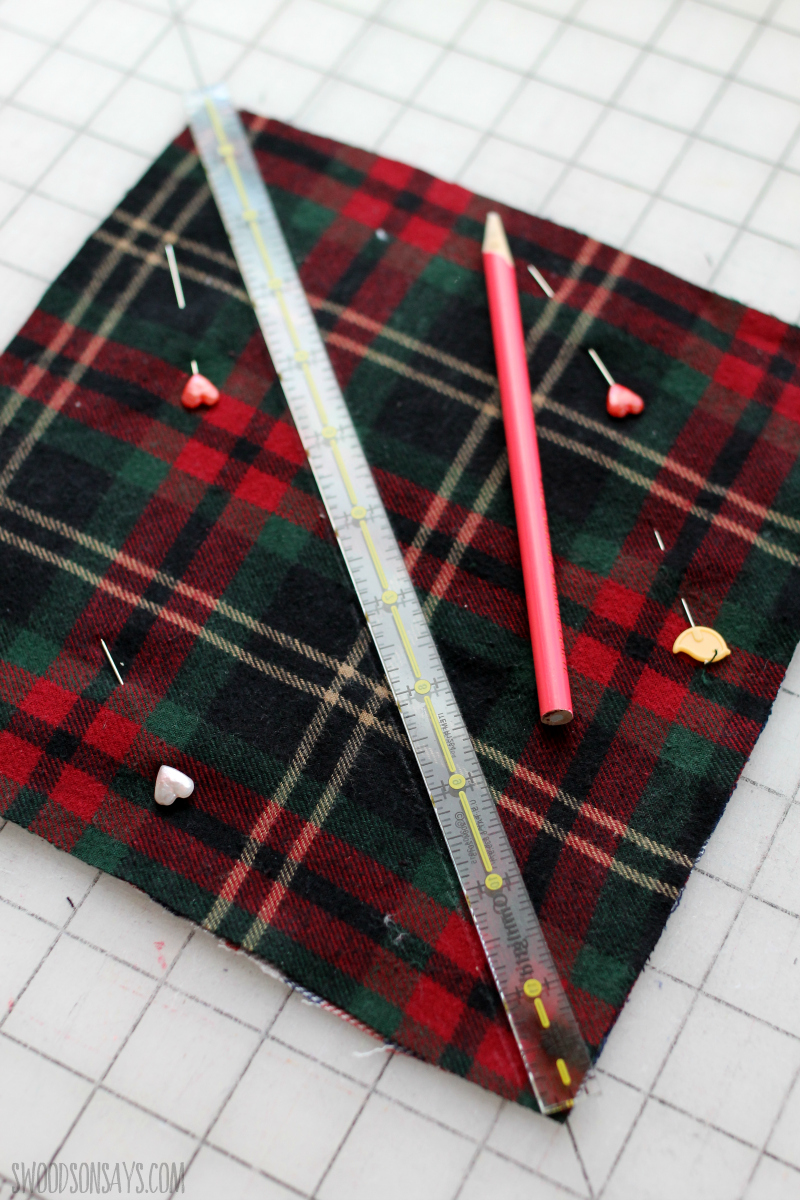
Step 3– Pin two squares together and draw a middle lines and then a line 1/4″ away from the middle line, on either side.
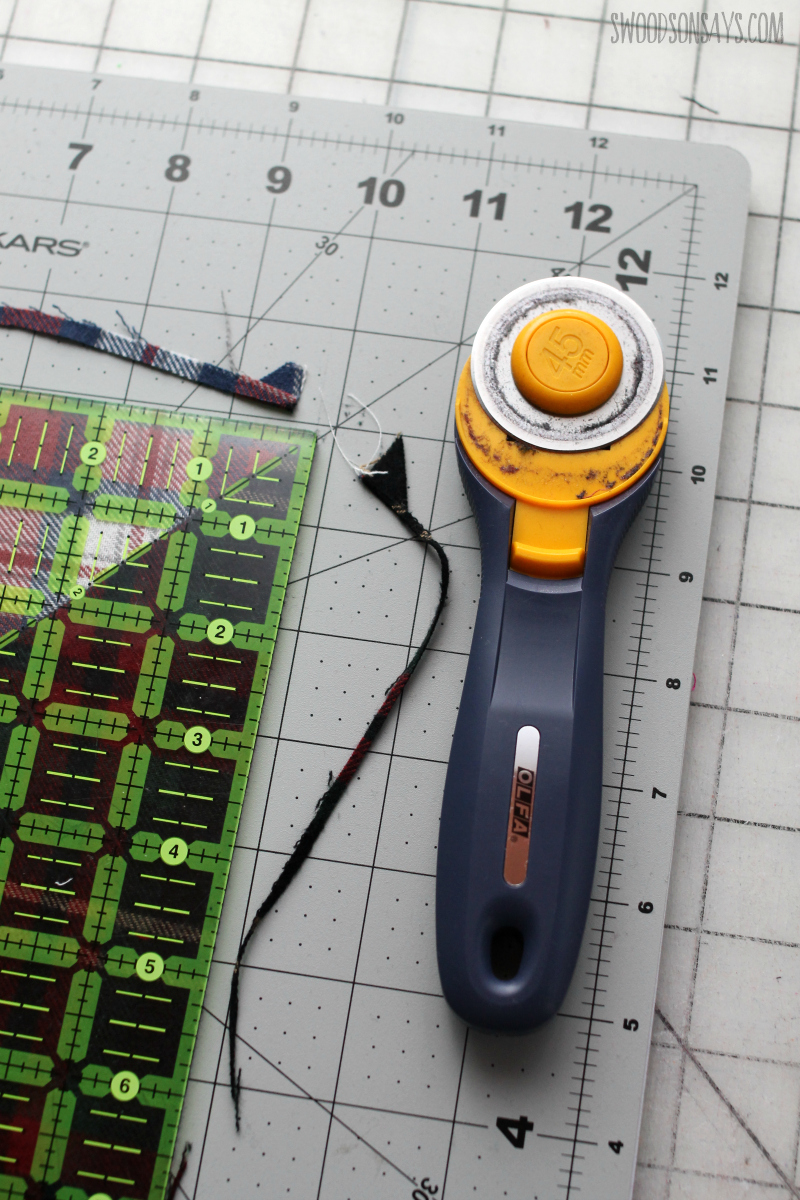
 Step 4– Sew on both parallel lines and then cut down the middle for each square.
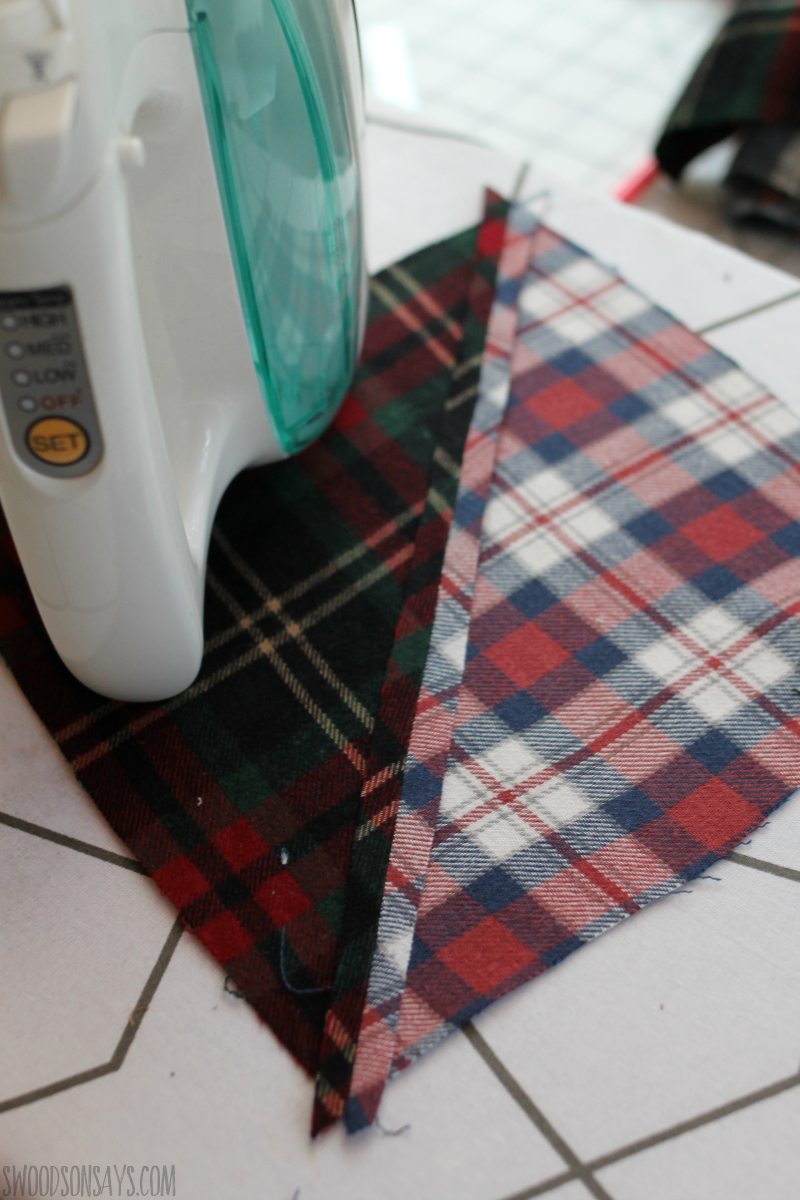
Step 5– Press that seam open.
Step 6– Trim each square to the same size; I trimmed mine to 8.25″!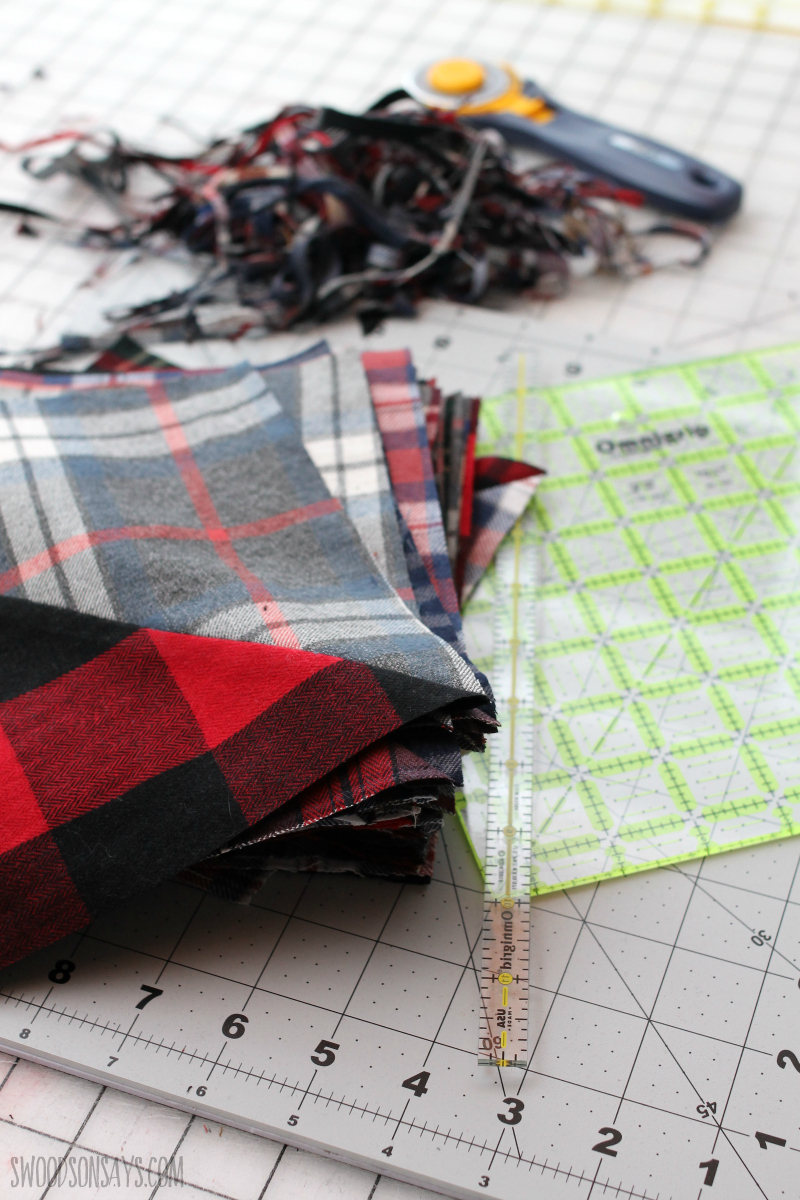 Step 7– Repeat over and over until all your squares are stitched and turned into half square triangles.

Step 8– Time to audition layouts! Pay attention to dark/light, patterns, and colors. Take a photo of your finished layout before you move anything, just in case!

Step 9– Sew each block in a row together, pressing seams open.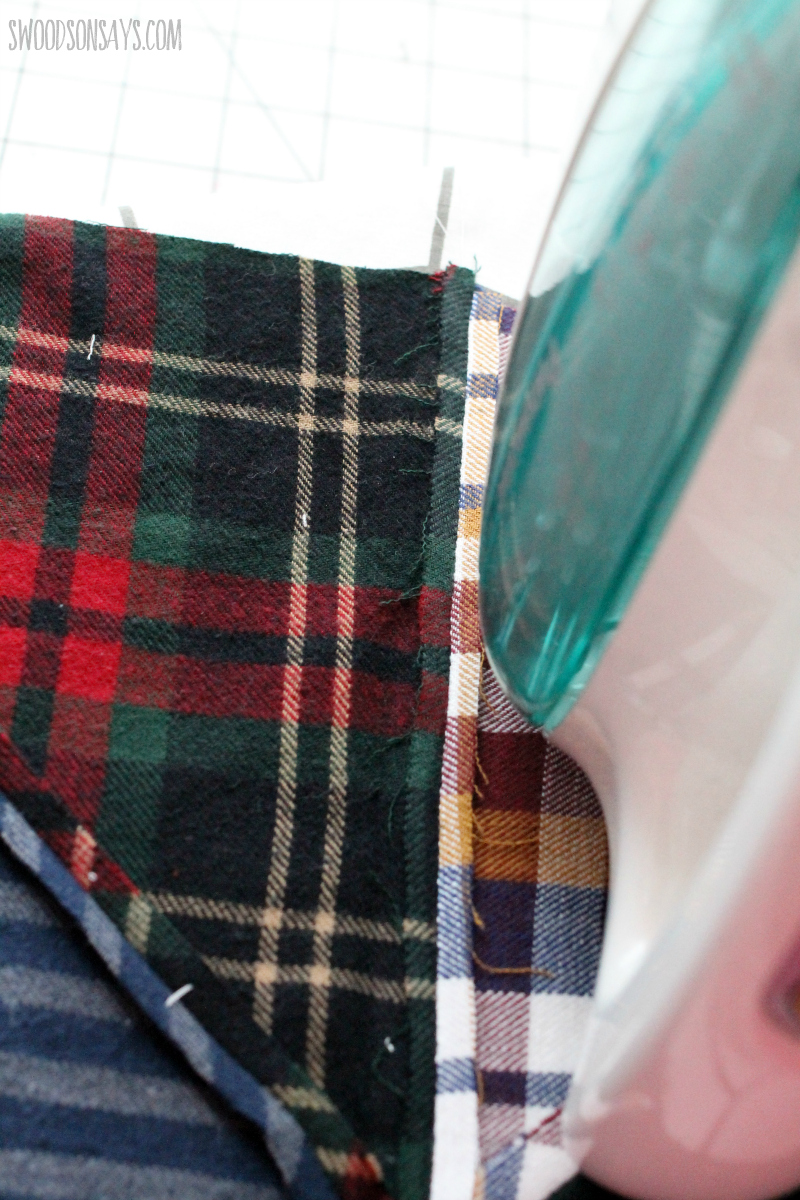 Step 10– Sew each row together, pressing seams open, until you’re done.
Step 11- Measure or lay out your completed quilt top and get ready to prep your batting! You want it to be at least 2 inches outside the quilt top on all sides. I bought non-wide batting so I stitched two pieces together to get the right width.
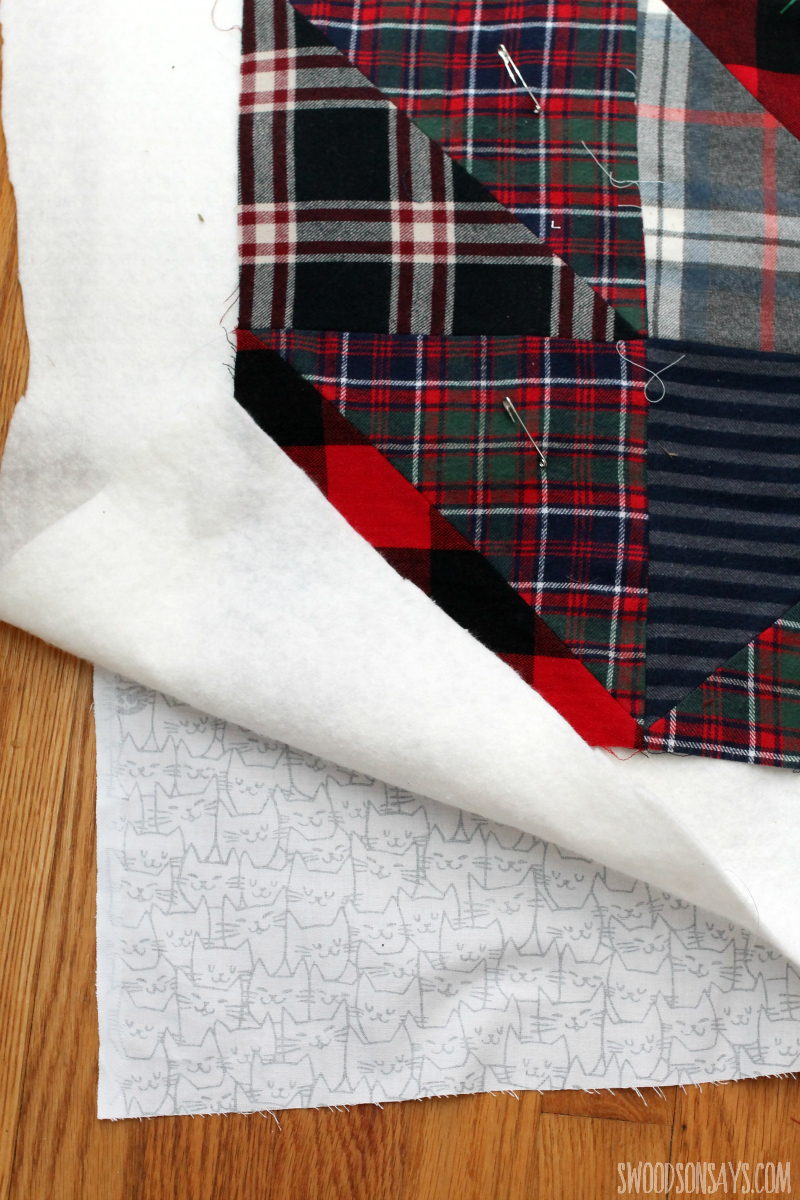
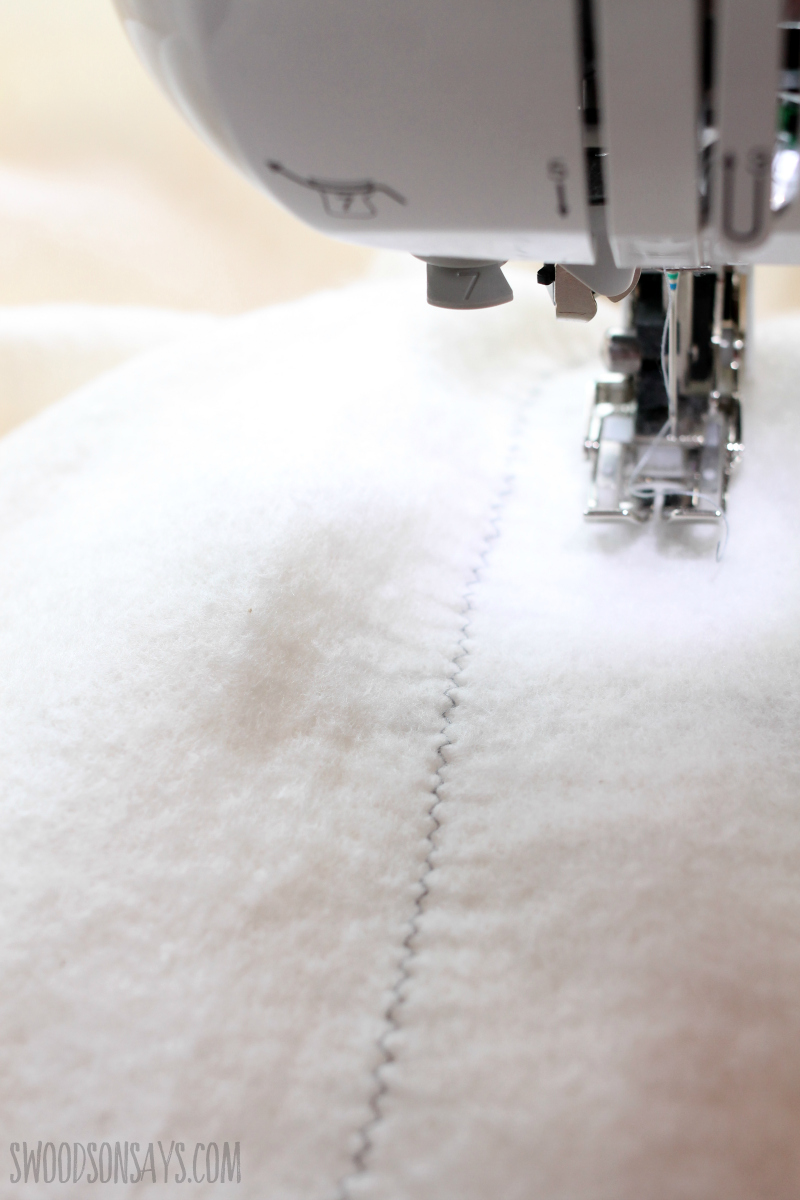
Step 12- Layer your quilt backing right side down, batting, then the quilt top on top. Use safety pins and start from the middle, pinning out so nothing shifts! I used one on each triangle. Then it is time to quilt! An important note is to look at your batting, which will tell you the maximum distance between quilting lines that it can tolerate. I used a simple wavy stitch, following along all the lines in the quilt.
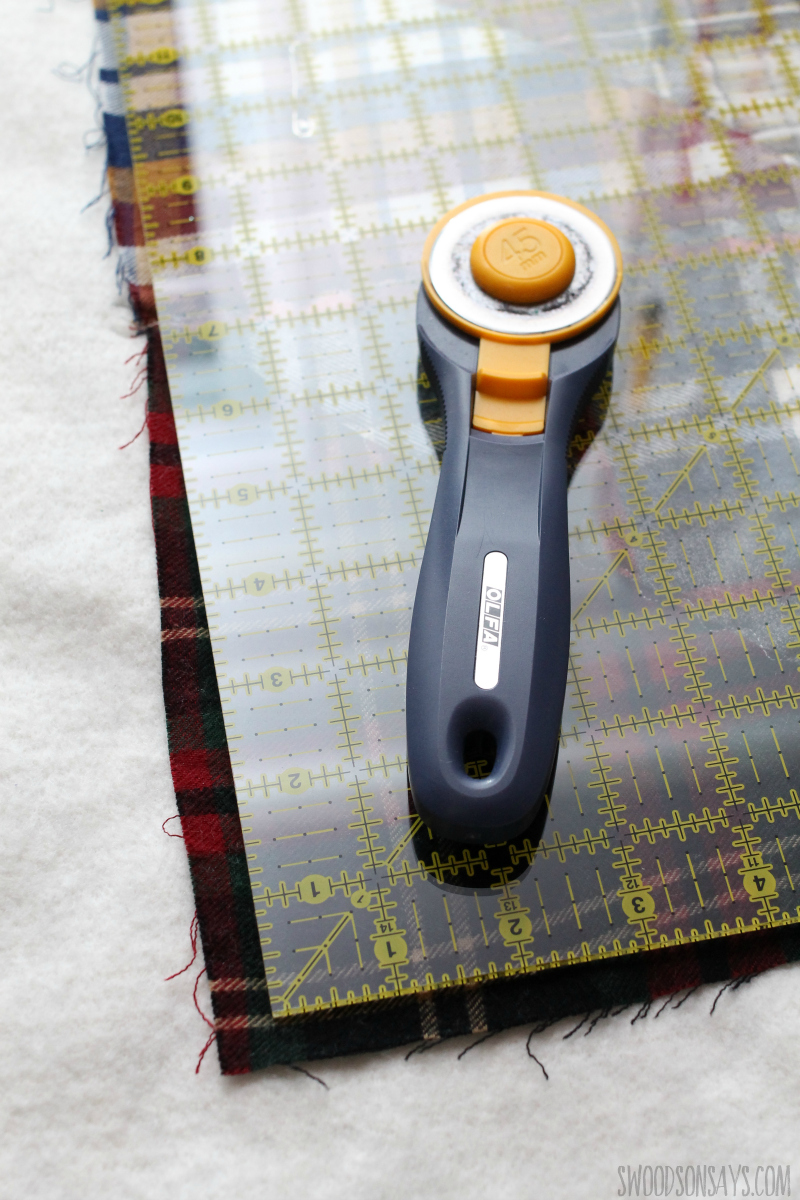
Step 13- Time to square up! Trim along the lines to keep the corners nice and crisp.
Step 14- Binding is the last job and the only step I’m going to farm out because I just use her tutorial! Wash and dry and you’re done!
Lara
Friday 23rd of September 2022
This is very cute. I used flannel and upcycled jeans to make a king size quilt for my husband and I. It's heavy but warm. I kept the back pockets of the jeans along with some of the tags to use as squares.
Susie
Friday 29th of April 2022
Love your very detailed tutorial! I have a 20 year old handme down Singer and have taken to sewing since the Covid pandemic, small projects, tissue holders, grocery bags and over the stove potholders. But need to make this flannel quilt. I've made several table runners where I didn't bind them, just folded over the backing to bind it. Thanks again for all your references! I need to get to GoodWill and buy some flannel shirts! Keep on sewing♥
Stephanie - Swoodson Says
Friday 29th of April 2022
Susie, thanks for leaving such a sweet comment!! I love working with flannel, I hope you find some great upcycle prospects :)
Brenda
Wednesday 8th of January 2020
I am very new to this and I really appreciate your very helpful tutorial. I am really excited about trying this and feel so much better knowing where I can go for advice and support. I am not able to start yet as I don't have the tools or materials but at least l know what I need to do and can start collecting. I hope to keep in touch and will keep you posted on my progress. Thanks again
Stephanie - Swoodson Says
Sunday 12th of January 2020
Glad to hear it!
TAMMY PLUMLEY
Tuesday 7th of January 2020
Could you please show how you did the binding? I've made one baby quilt so I'm pretty new at this . Thank you for any help!
Stephanie - Swoodson Says
Tuesday 7th of January 2020
I linked Wendi's tutorial because that's where I learned how to do it! https://www.shinyhappyworld.com/2011/05/video-how-to-bind-a-quilt.html
Steff
Tuesday 7th of January 2020
This is absolutely adorable!!! I truly DID want to reach through the screen and feel the snuggly softness of the worn flannel. Well done!
Stephanie - Swoodson Says
Tuesday 7th of January 2020
Thank you so much, you made my day with such a kind comment!