
This is a sponsored conversation written by me on behalf of Cricut. The opinions and text are all mine.
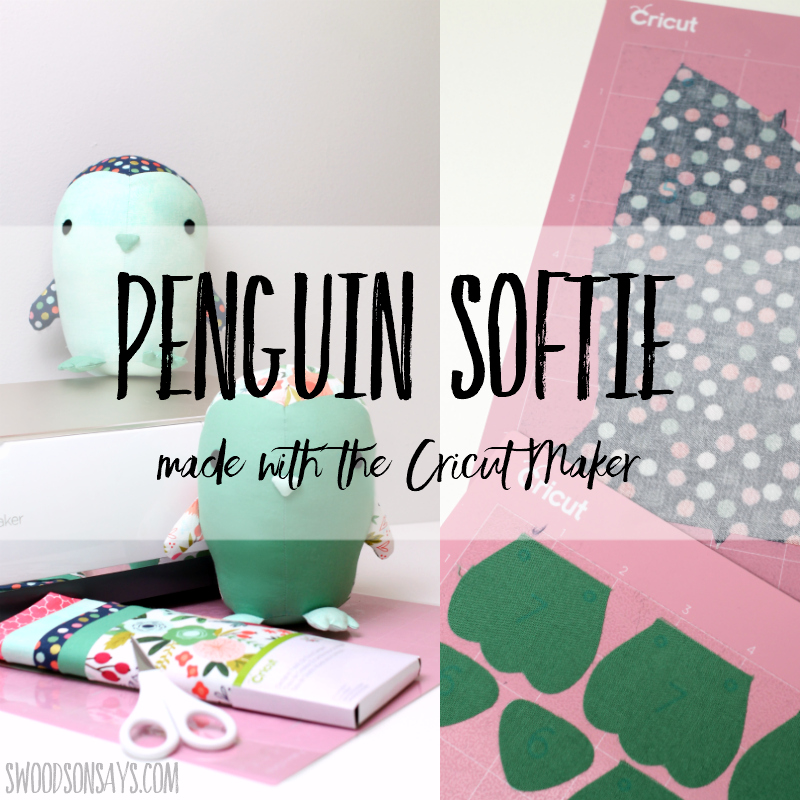
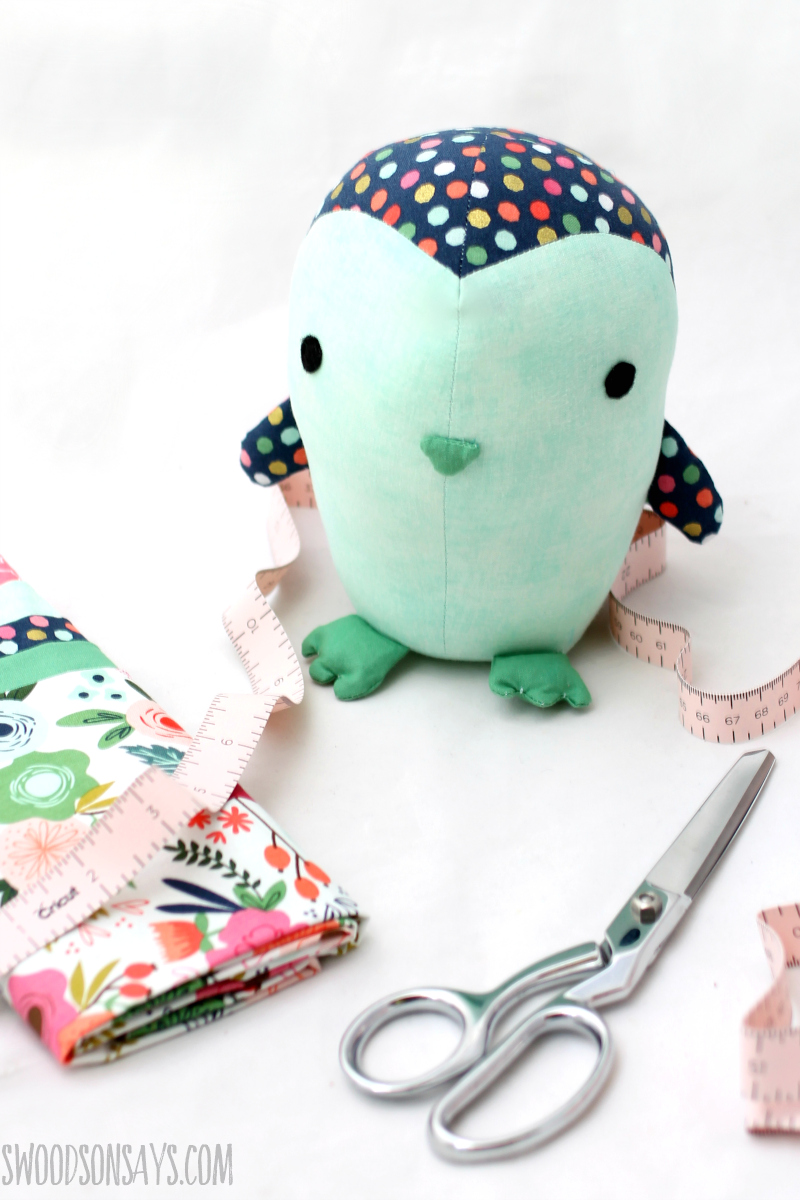
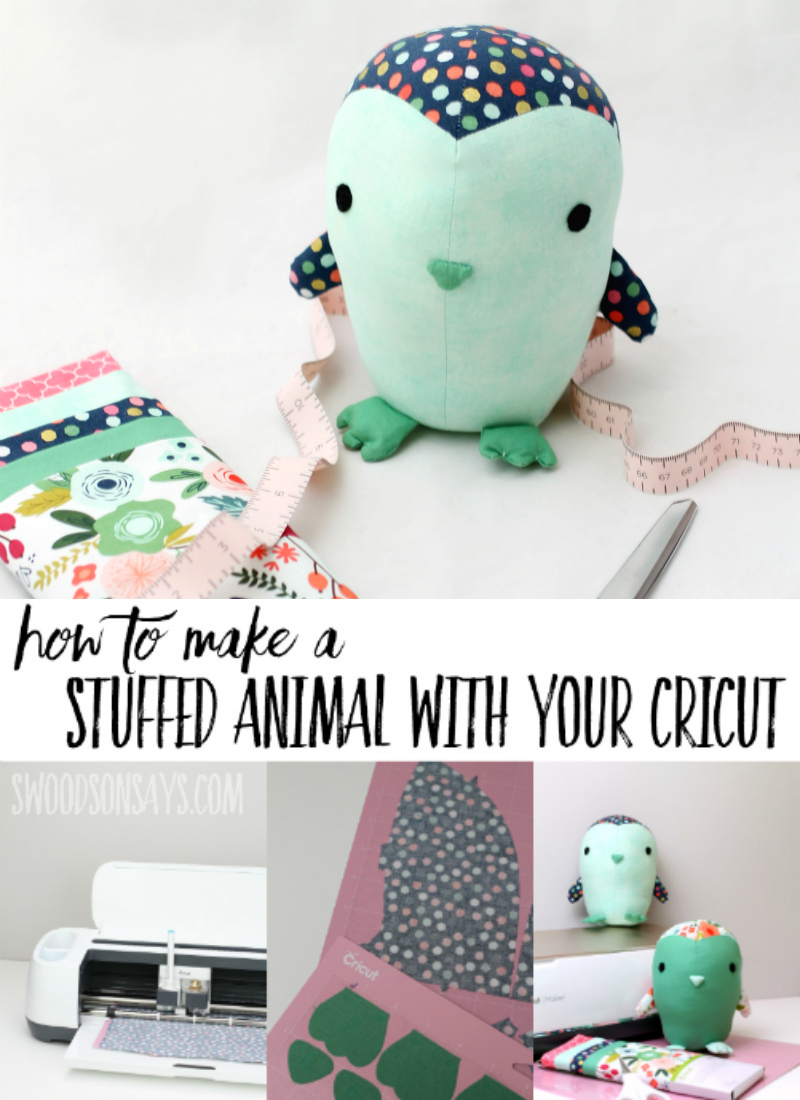
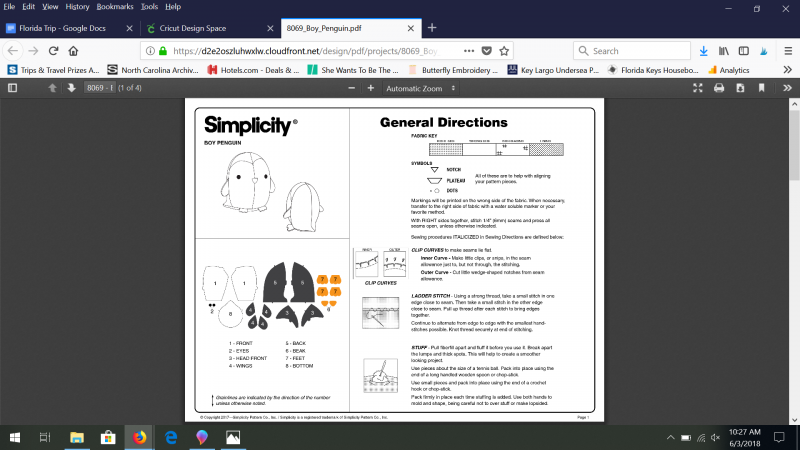
My kids have been waiting with bated breath for this post to publish because they can’t wait to play with the sweet penguin sewing pattern I sewed up! Simplicity 8069 in paper format, and originally designed by DIY Fluffies, this pudgy penguin is super huggable and faster to sew than I would have guessed.
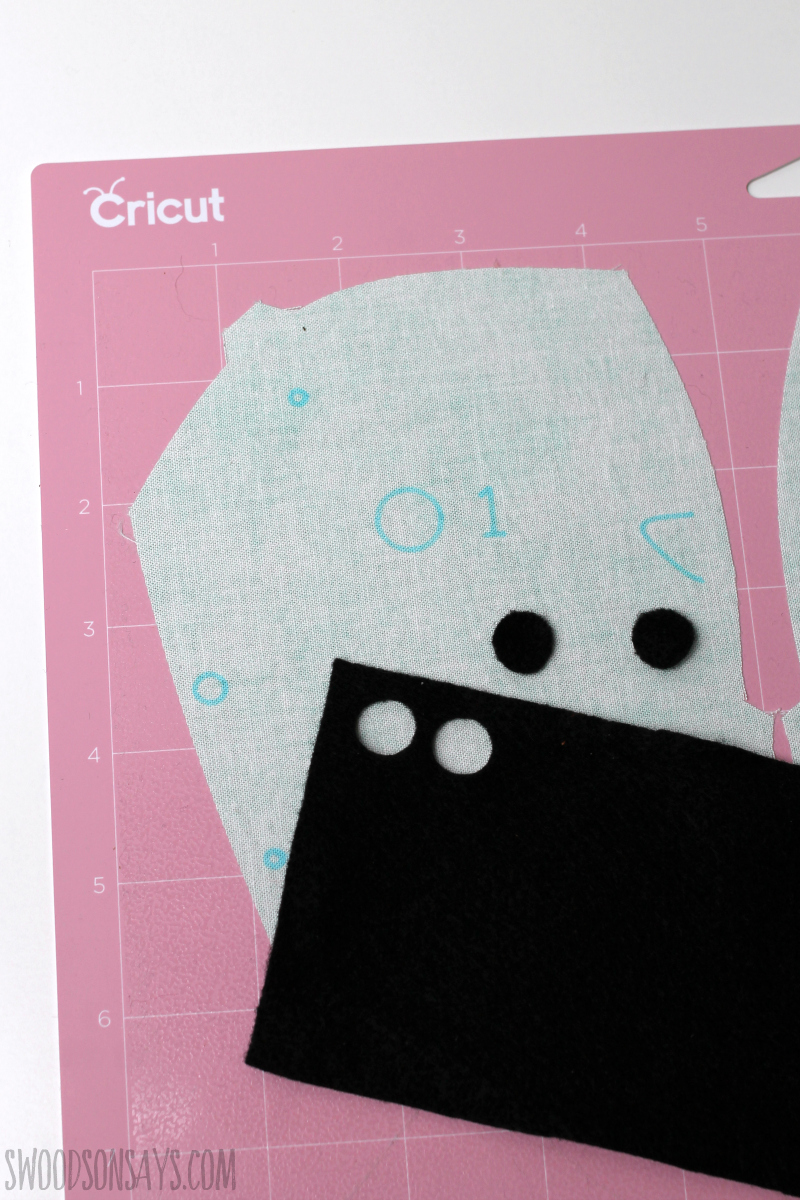
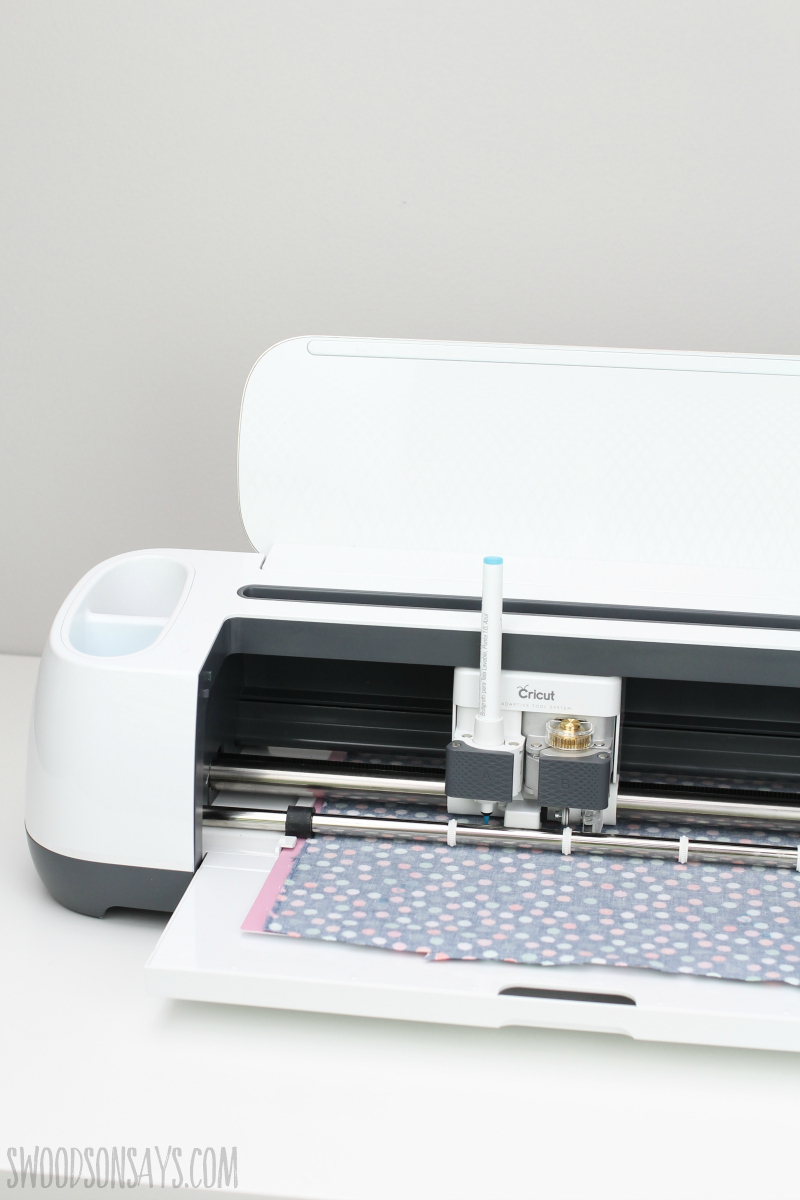
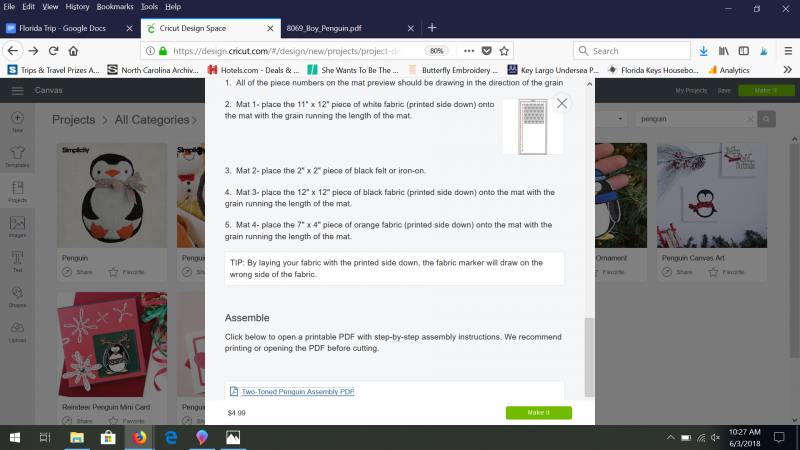
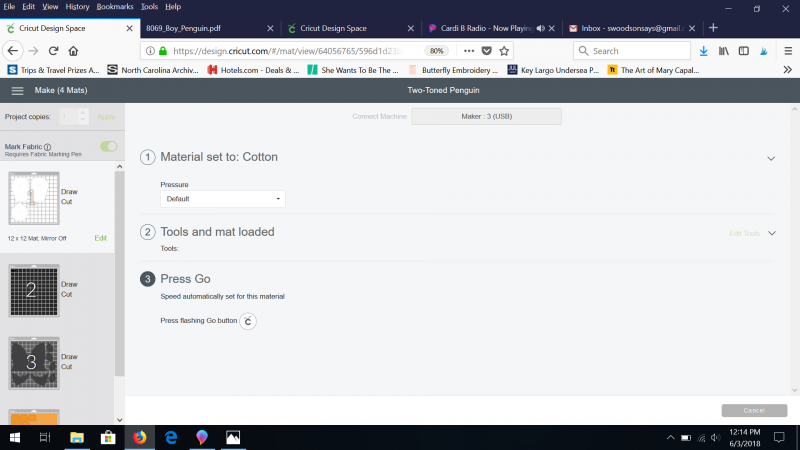
Part of the reason it was so fast to sew is because I didn’t cut out any of the pieces! Simplicity Patterns are well known to anyone who sews and now they’ve partnered with Cricut to bring their patterns into the Cricut Maker library. Instead of cutting the tissue paper, laying it out, cutting the fabric, you just download it and click a button to end up with perfectly cut and marked pattern pieces that are ready to sew. You can read my full review of the Maker machine here!
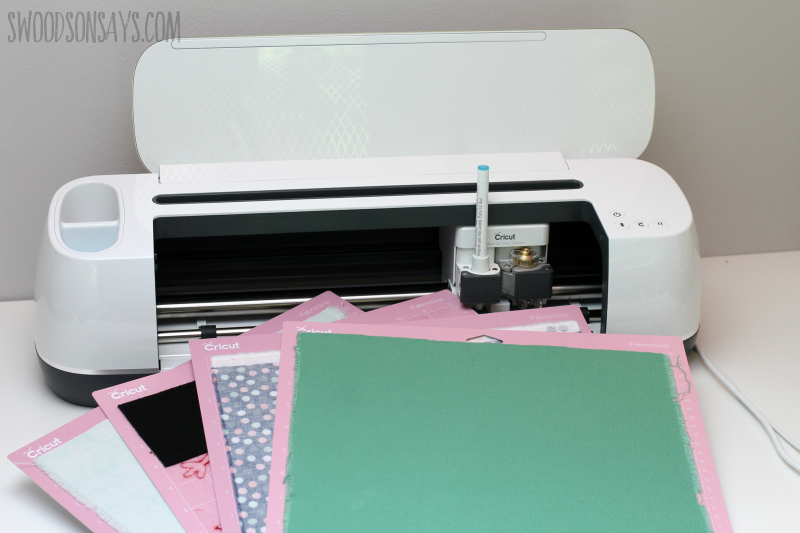
I was a little skeptical at first if it would actually save me time since you have to load the fabric on to the mats, but it was definitely quicker than printing out a PDF pattern and taping it together, and the pieces were more precise than anything that I’ve cut by hand. I think using the Maker to cut pieces would be especially useful for anyone who sews to sell at craft shows or on Etsy; the machine cuts the fabric while you can work on something else!
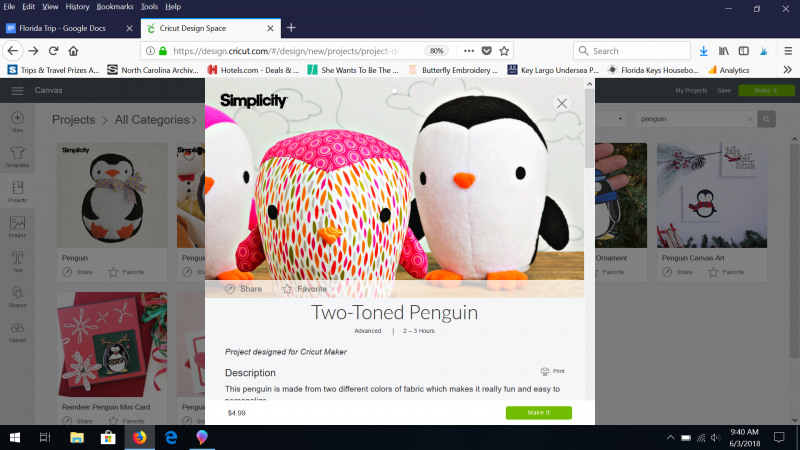
There is a large selection of Simplicity patterns preloaded in Design Space that you can buy now, with more on the way. Of course I jumped at the chance to sew up a stuffie (my favorite!) and I love how it turned out.
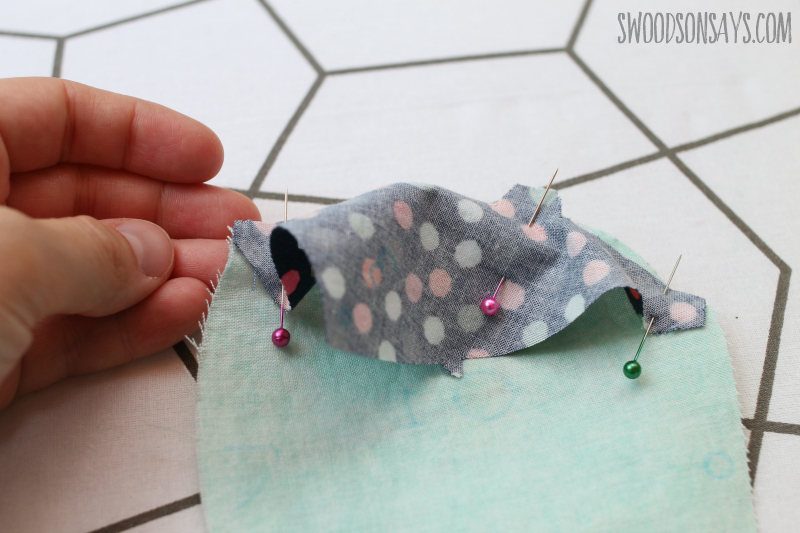
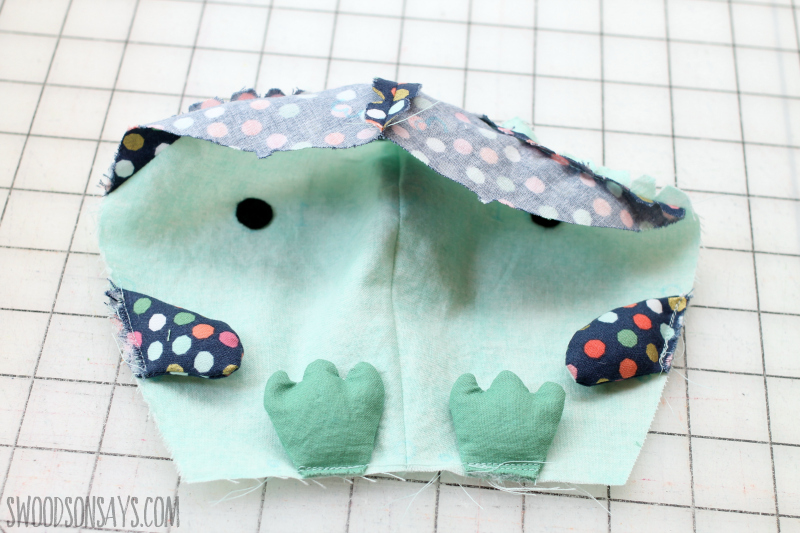
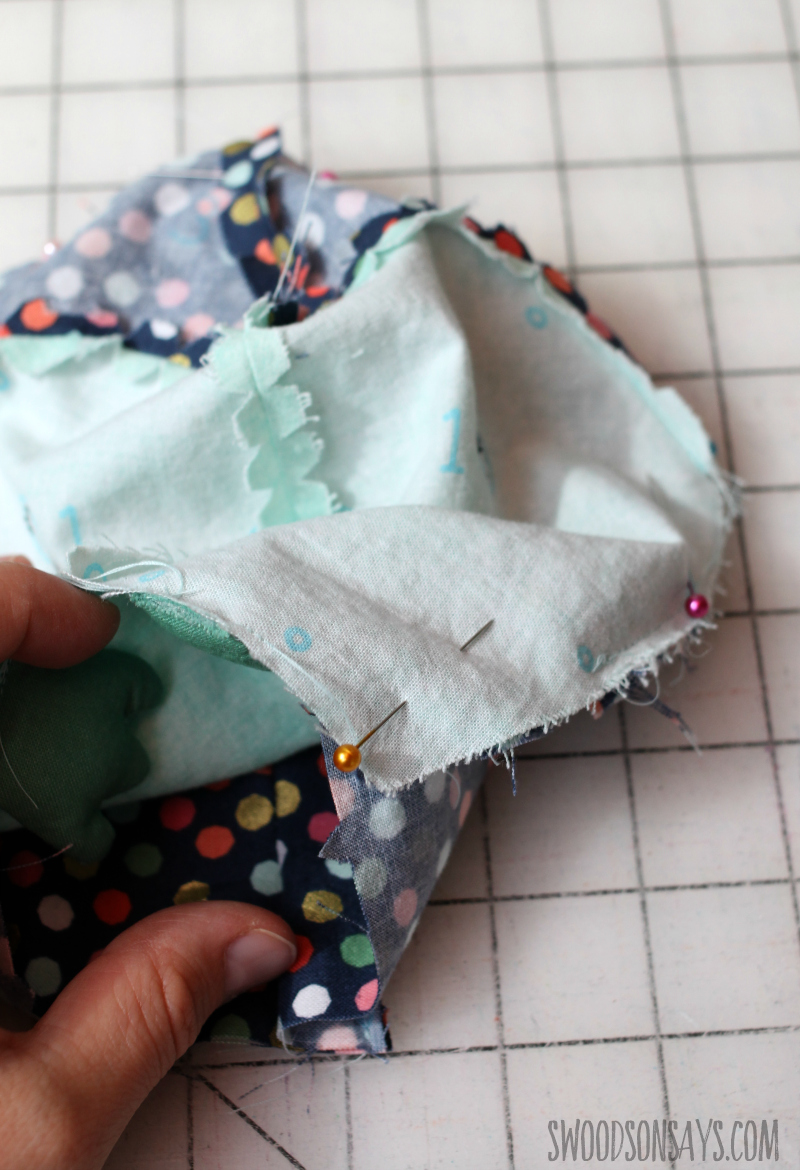
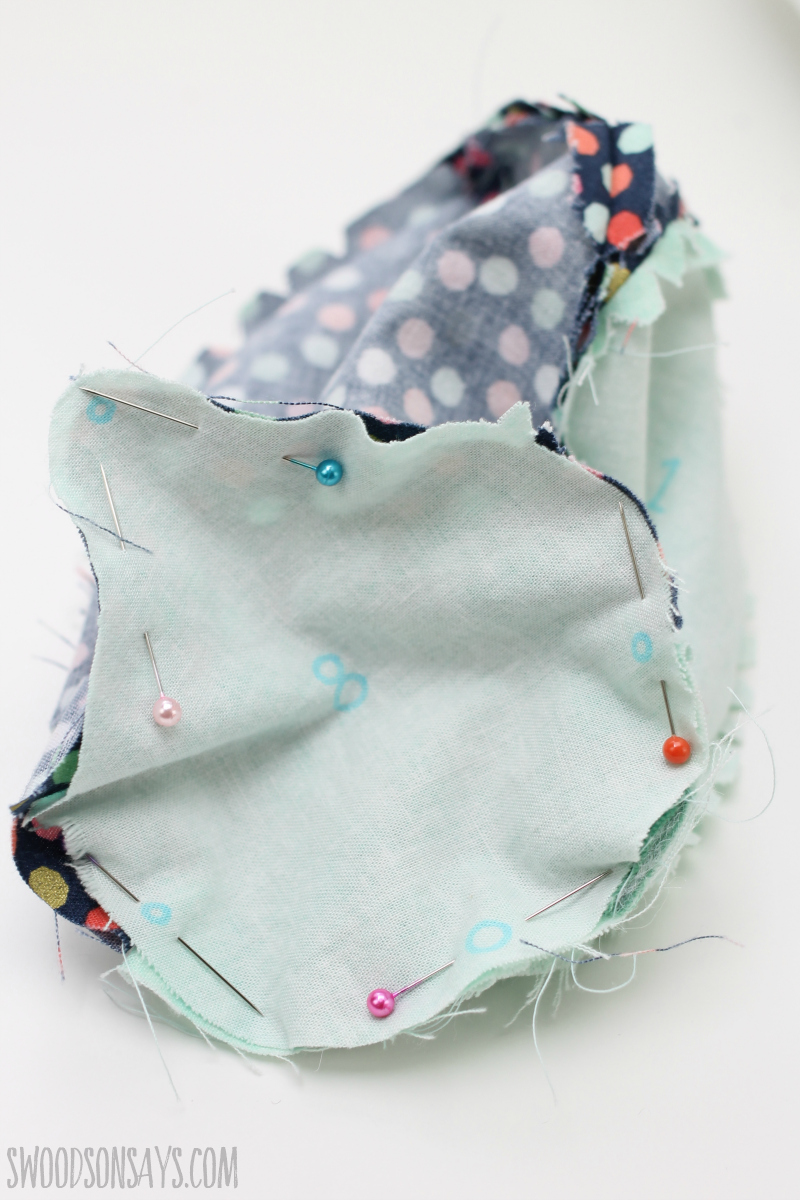
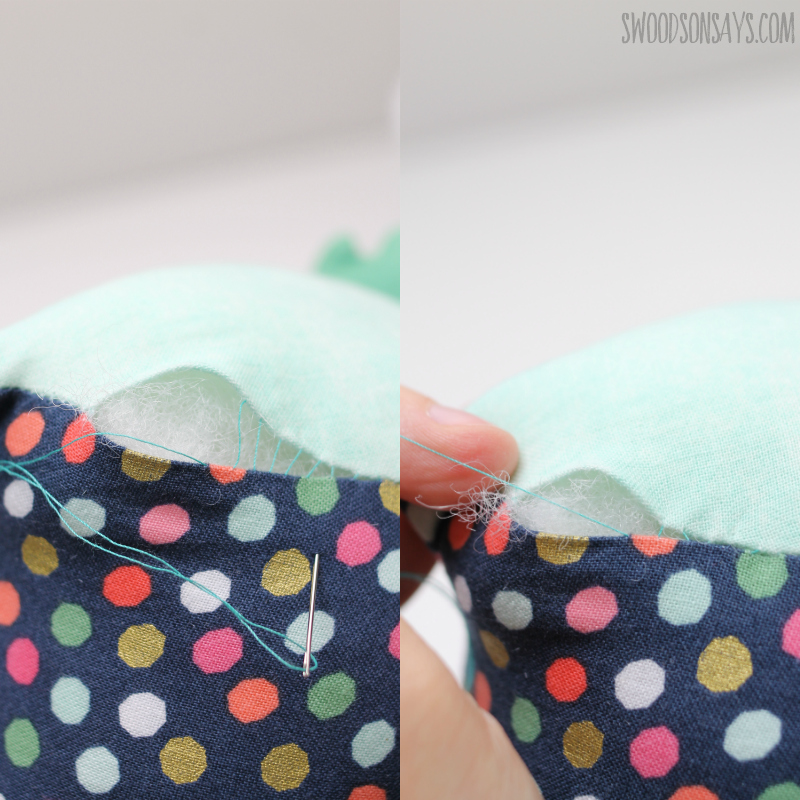
Each project has a difficulty rating and estimated time to complete; I found the 2-3 hours and advanced label to be true! The pattern looks deceptively simple but the curves are pretty tricky to ease into each other, even with the 100% precise pieces, and sewing the small nose and feet definitely takes patience and experience. When I sewed my second penguin it was closer to an hour and a half since I already knew what I was doing.
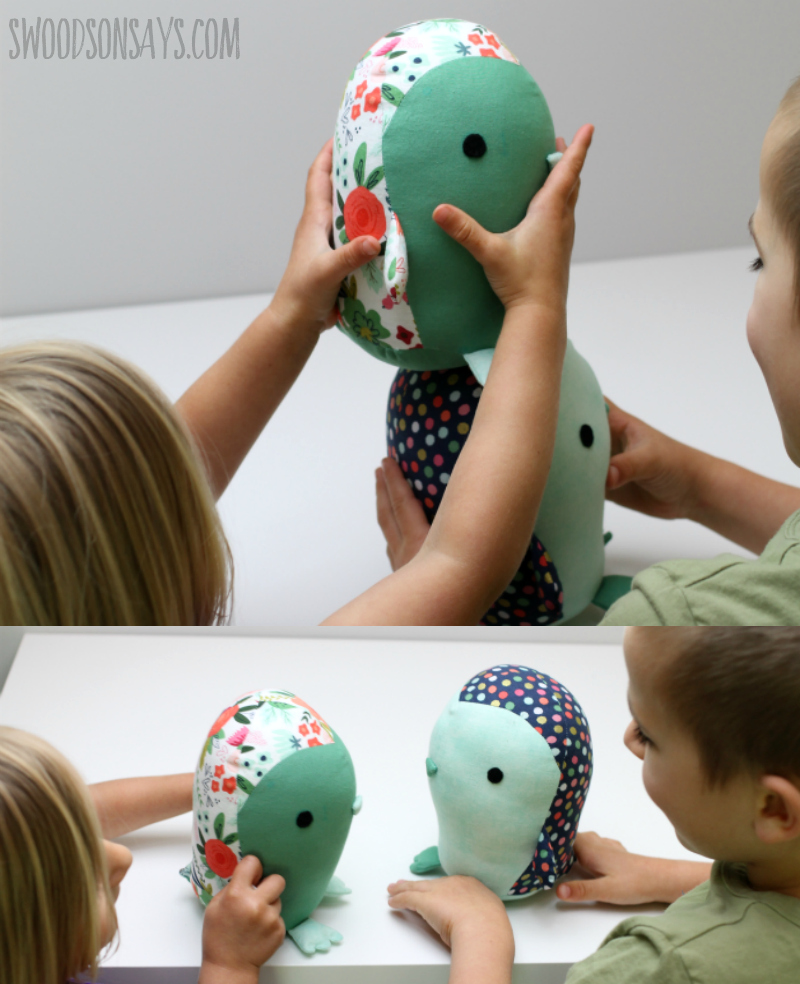
Aren’t they sweet? My kids were so excited to finally play with these penguins, they had all sorts of fun with them.
If you’d like to make your own but aren’t sure where to start, I have a picture tutorial and a little video showing you how easy it is to sew this penguin sewing pattern with your Cricut Maker.
Pin this penguin sewing pattern for later, here:
See the video here:
Penguin sewing pattern
Supplies
- Cricut fabric bundle -Riley Blake Designs brand
- Cricut Maker machine*
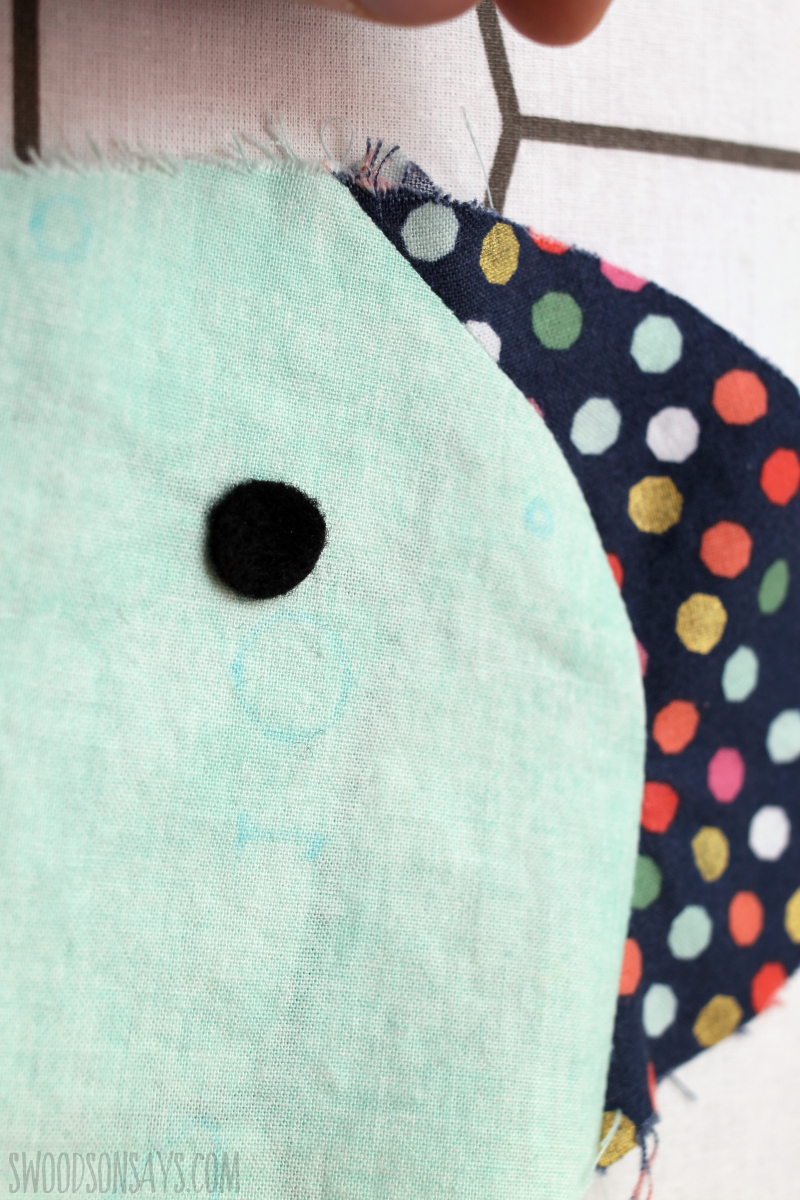
- Black felt scrap
- Pink 12″ Cricut cutting mat
- Simplicity penguin pattern from design space
- Washable fabric pen
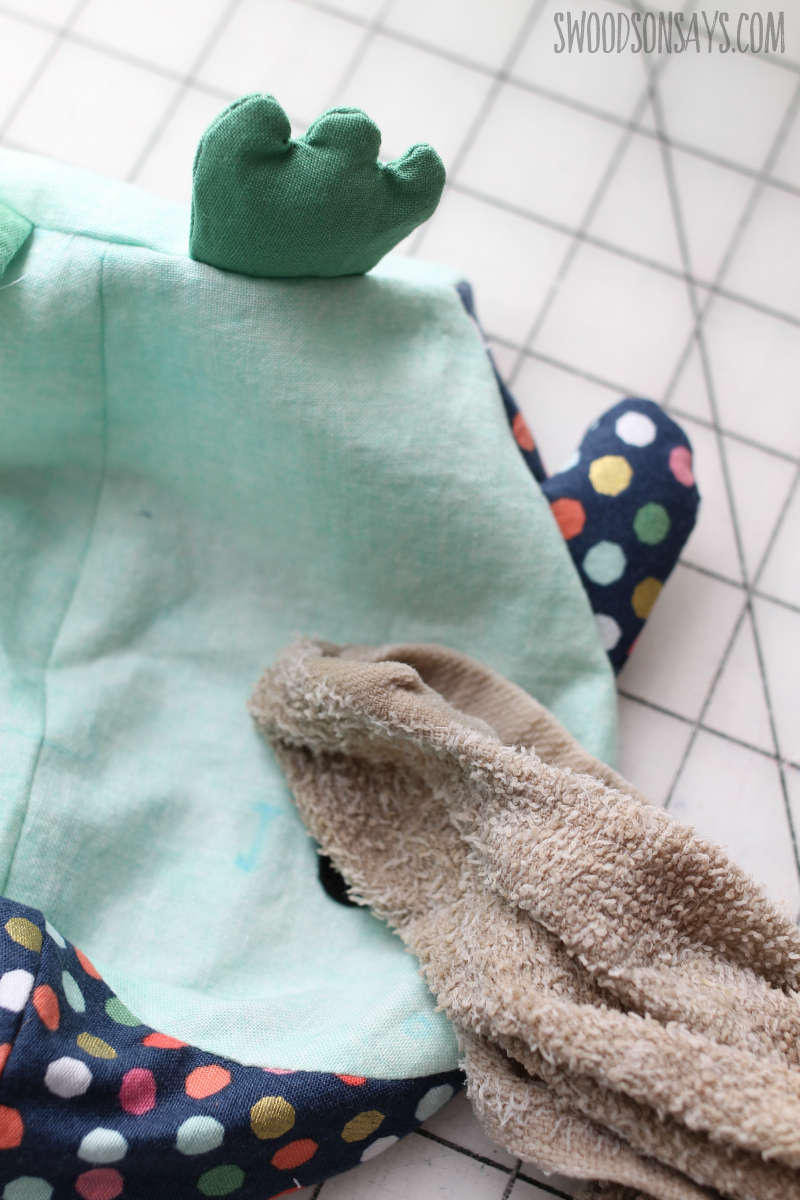
- Poly-fill or other stuffings
- Seam ripper or crochet needle (for poking out corners and guiding fabric through the machine)
- Hand sewing needle
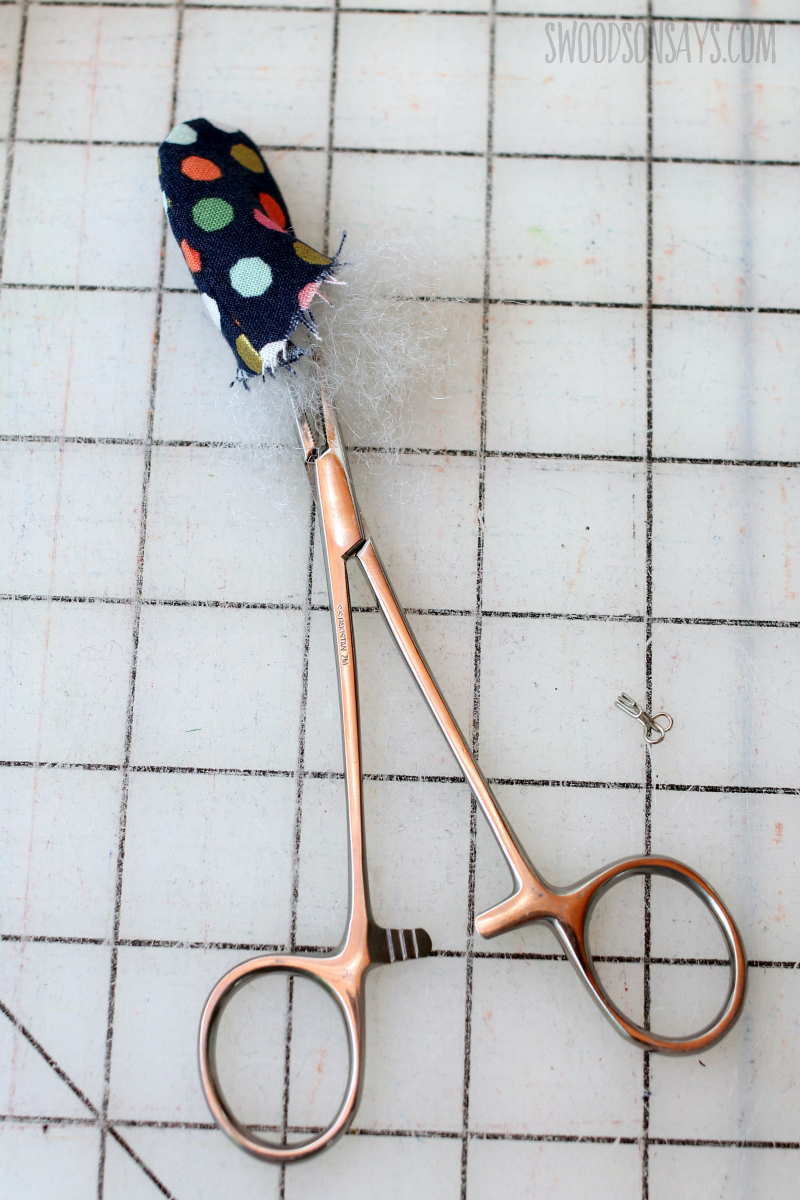
- Hemostats – optional but I love using these for stuffing, they make it super easy
- Sewing machine
- Sharp scissors with a small tip, like these
- Warm water & a rag
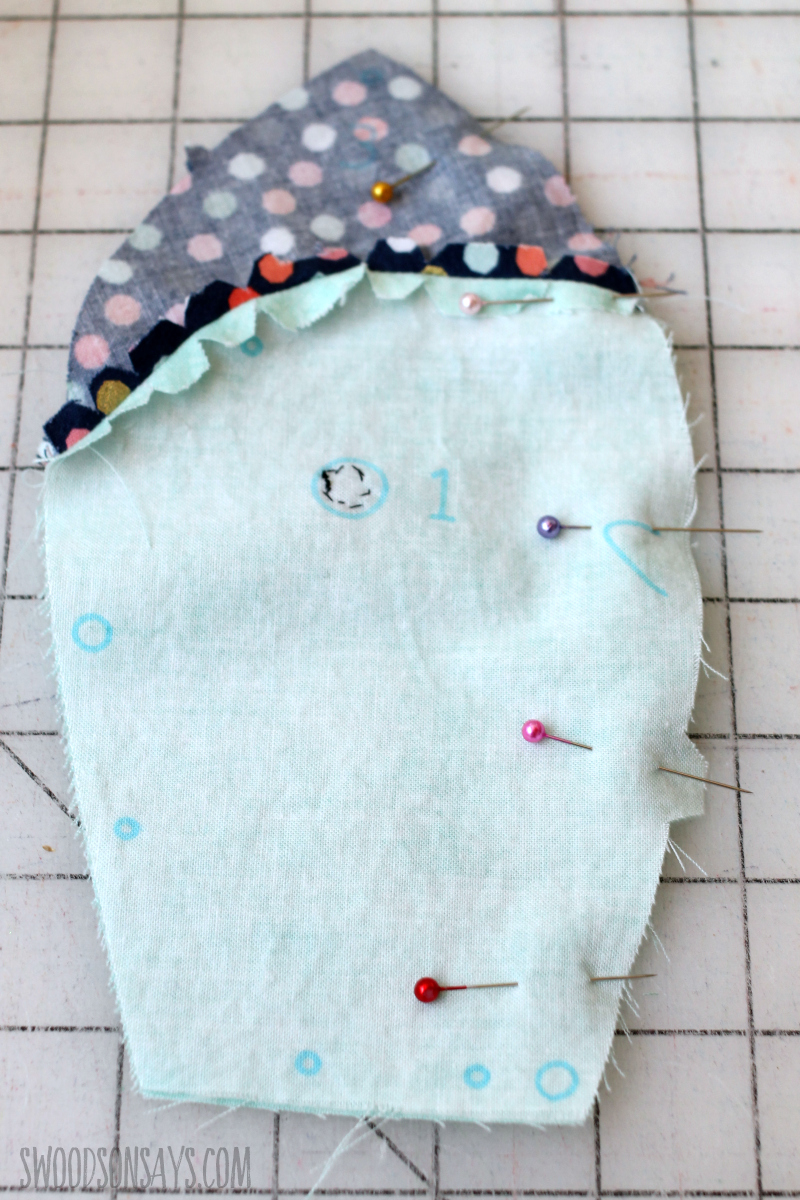
Steps

jennifer
Tuesday 8th of June 2021
hi hi!
Thank you for sharing this! I only have a cricut explore air, but just wondering if i can use the same pattern and get it cut on cardstock?
Stephanie - Swoodson Says
Tuesday 4th of July 2023
I'm not sure!