
Sewing straight lines and huge pieces of fabric can be intimidating! I thought I’d share the two tips that I think make sewing DIY blackout curtains way easier. I opted for the easiest style, connecting them to the ring with hanging clips. If I ever decide to change them, I can reuse the fabric as a quilt back or something!
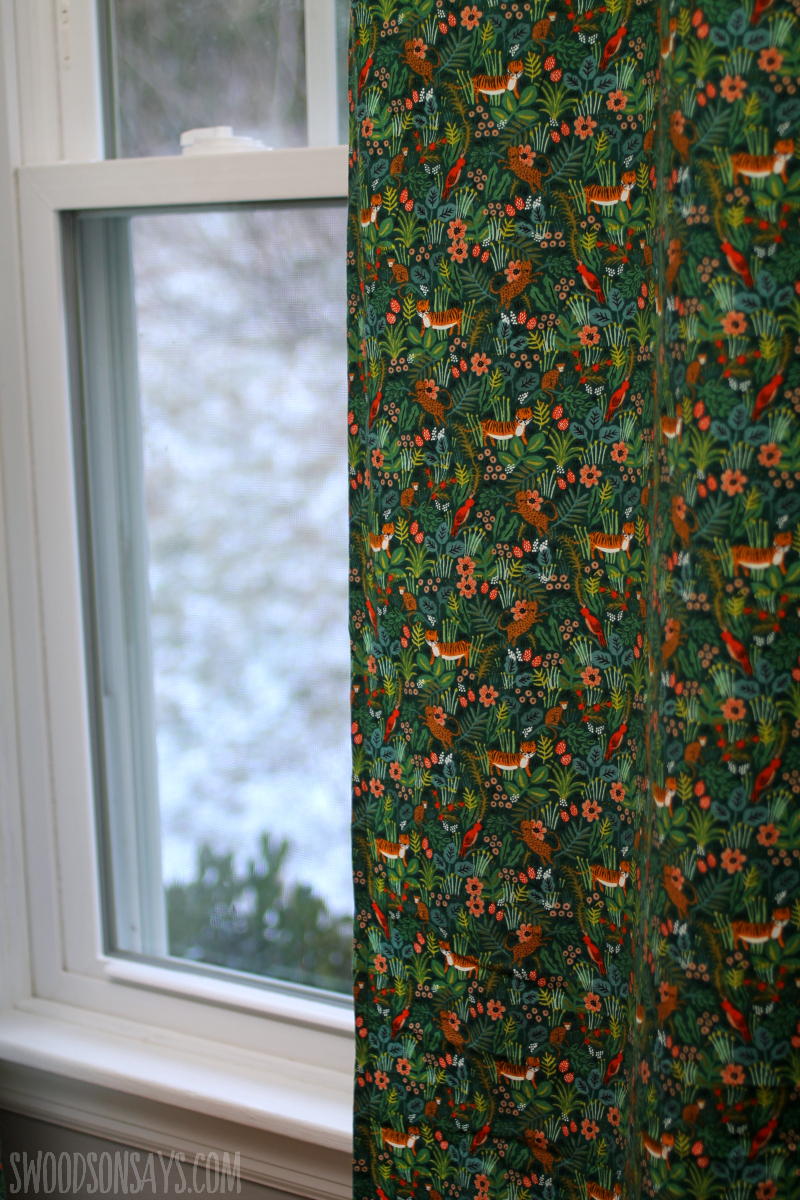
I used ‘Menagerie’ fabric by Rifle Paper & Co., which is a quilting cotton. It was super see through so I added some blackout material behind them. Instead of sewing it in, I just cut it smaller than the finished curtain and clipped it right behind. Again, this makes it faster to sew them and easier to reuse the fabric when we decide to change styles.
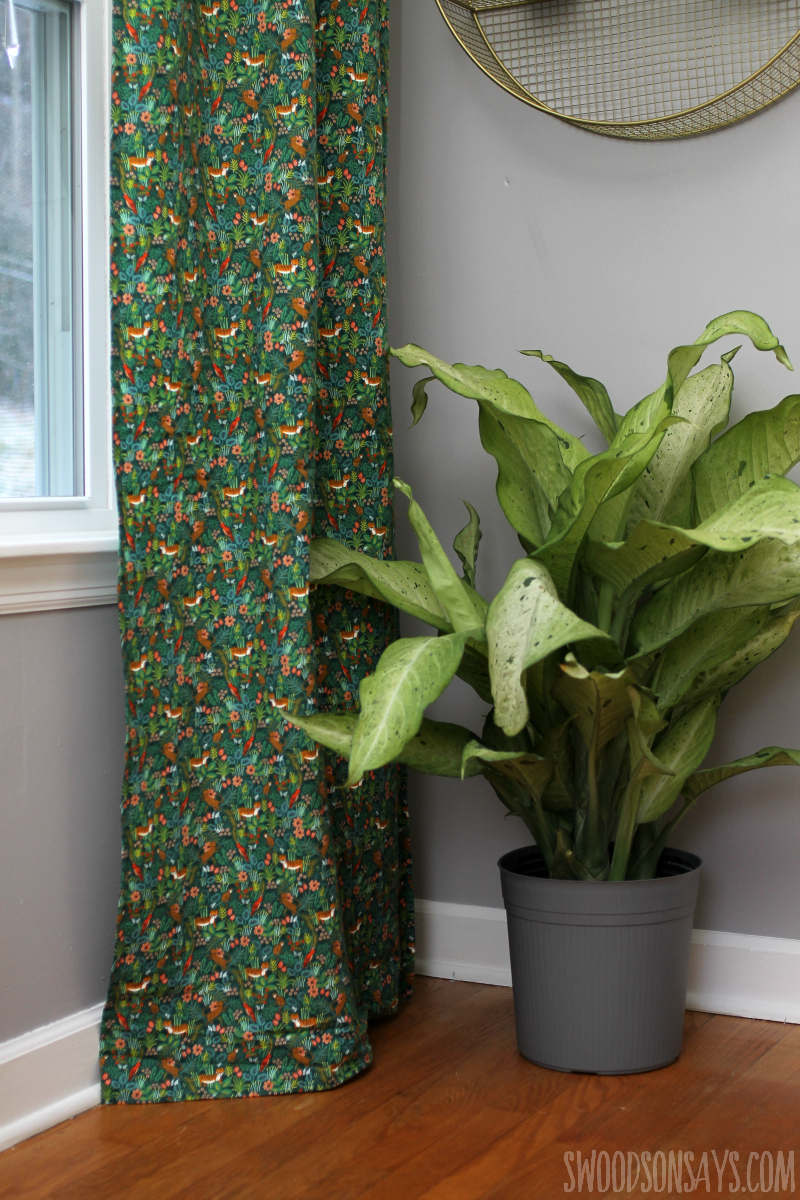
I bought this fabric so long ago and finally got around to making them, it feels great! I can see that I should’ve ironed the bottom a little better; after sitting around for several months some wrinkles formed.
Looking for more home decor projects? Check these posts out!
- How to make a doorstop
- The easy way to turn a t shirt into a pillow
- DIY no sew stamped blanket tutorial
- How to make a shibori indigo tie dye blanket
This isn’t a super precise, measurement taking tutorial for absolute beginners but it is perfect for people who would prefer a more laid back approach or who already know how to sew and want to save some time with my two tips!
Pin this tutorial for how to make your own blackout curtains for later with this link or collage image:
How to make your own blackout curtains
Supplies
-
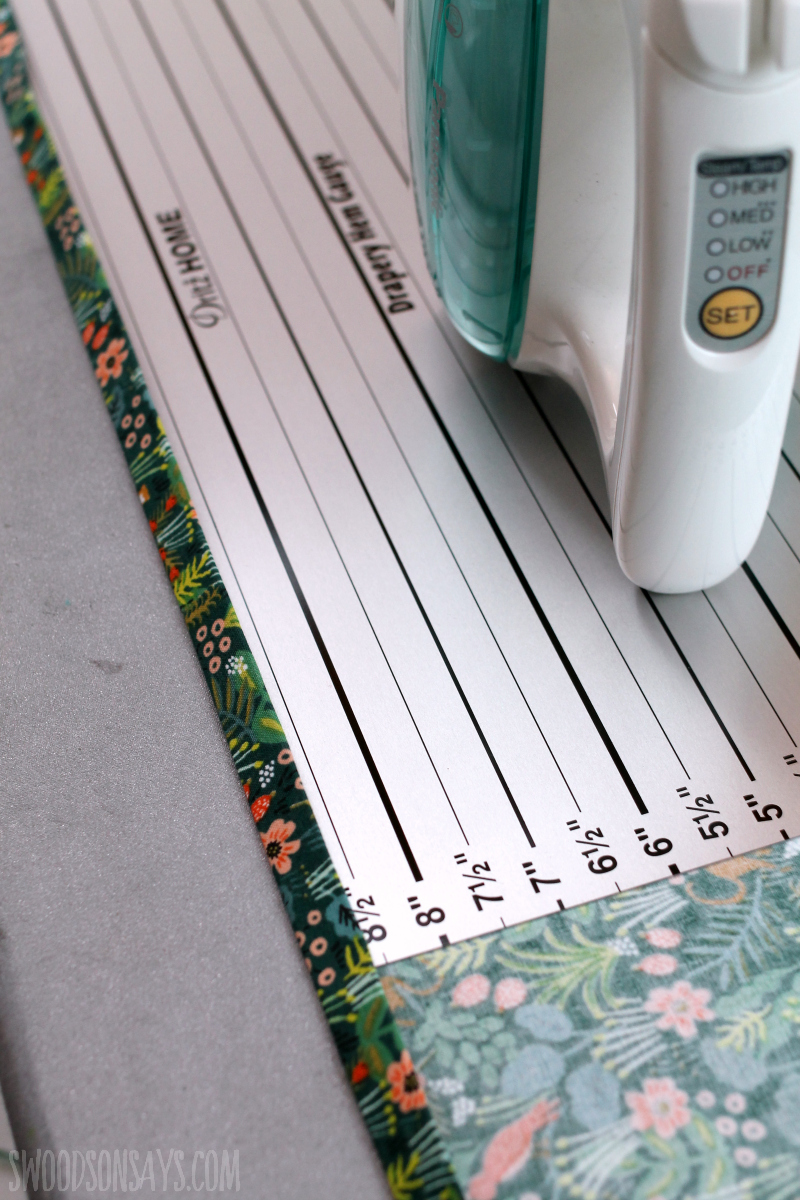
- Dritz Drapery Hem Gauge
- Measuring Tape
- Coordinating Thread
- Home dec or woven cotton fabric
-
- Blackout fabric
- Wonder clips
- Scissors
- Iron
Steps

Step 1– First, prewash your fabric if you ever want to wash your curtains! I like to periodically so dust doesn’t build up. It’s hard to tell you how much yardage to buy since everyone is going to have different height walls; so I suggest using a measuring tape and seeing how long you’d like your curtain to be, adding the seam allowance in, then adding about 1/2 a yard cushion to account for shrinkage. The first tip is to RIP your cotton, not to cut it with scissors or a rotary cutter. Just snip a tiny cut past the selvage and tear! It follows the grainline and will be 100% straight. Tear off/straighten one short end & each selvage side off the curtain piece.
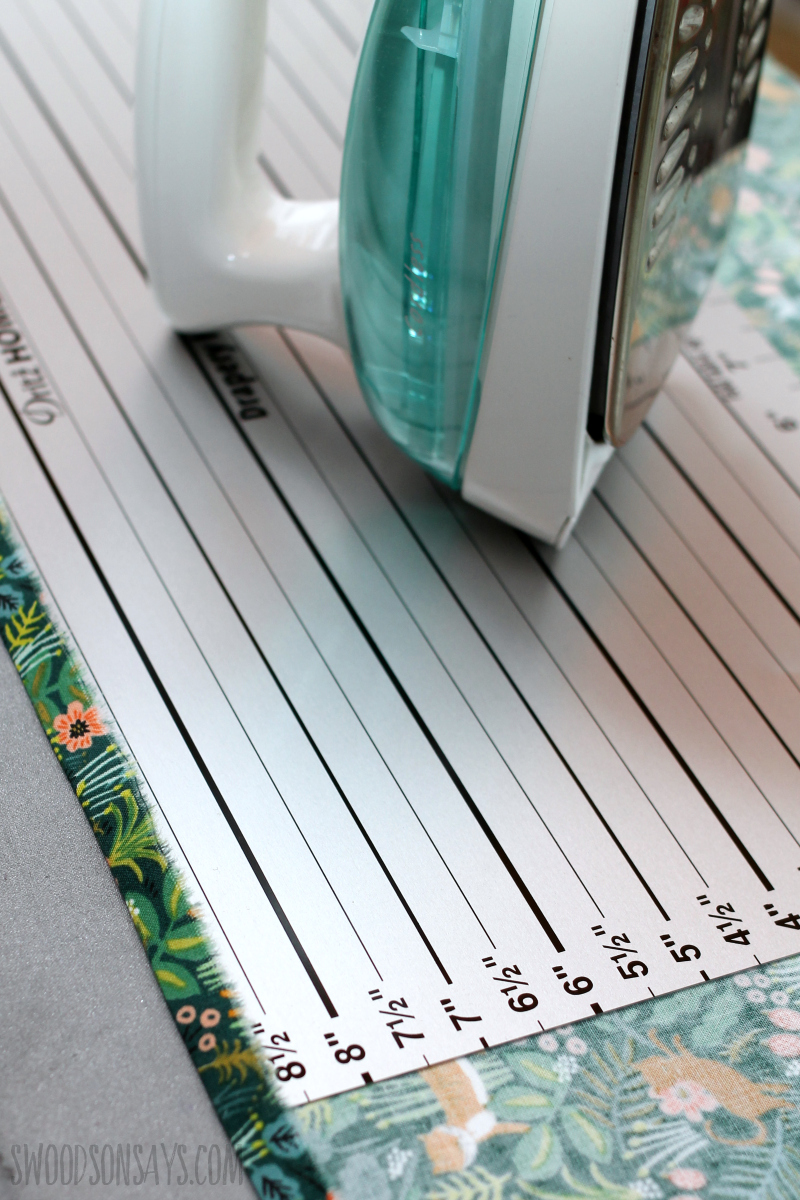
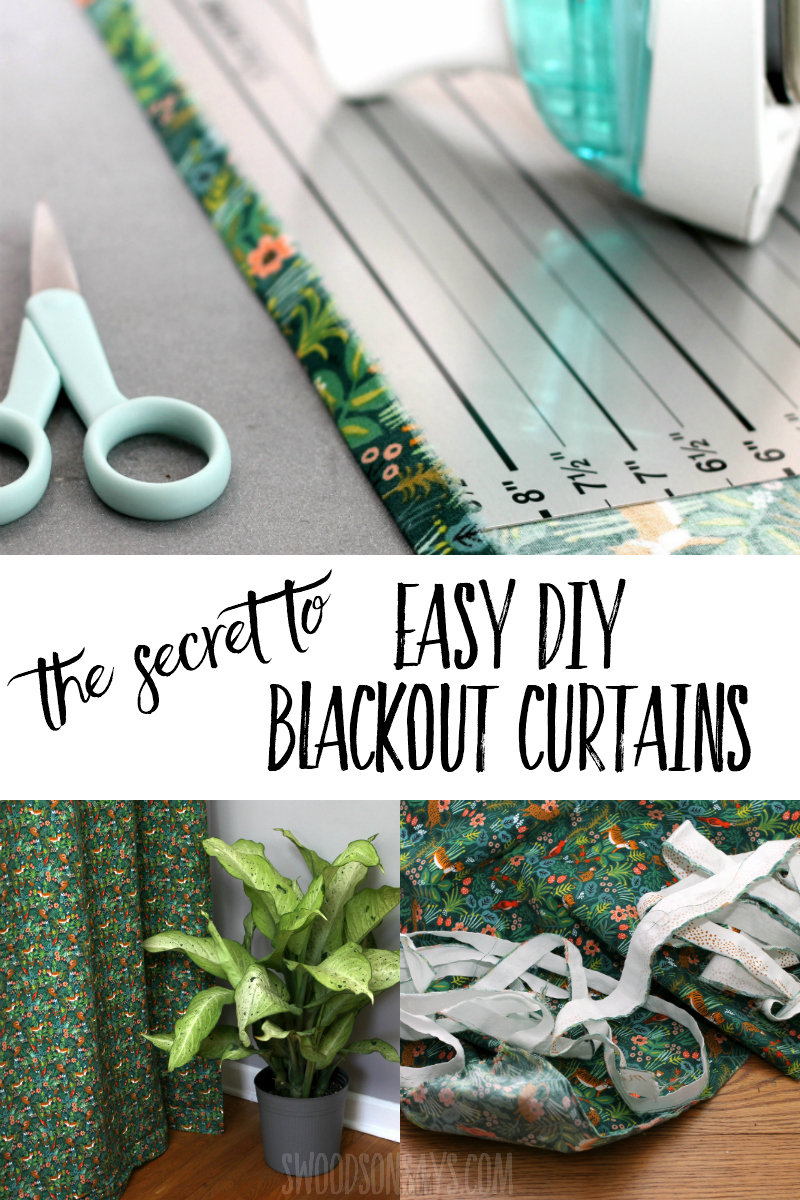
Step 2– Here’s the second tip, buy this handy dandy curtain hem gauge! I just happened to spot it at JOANN in the clearance rack but it made hemming curtains so much easier. I straightened it after this picture; ironing down a 1/2″ hem on all 3 sides that had been ripped.
Step 3– And again! Fold the hem up another 1/2″ and press, on all 3 sides.
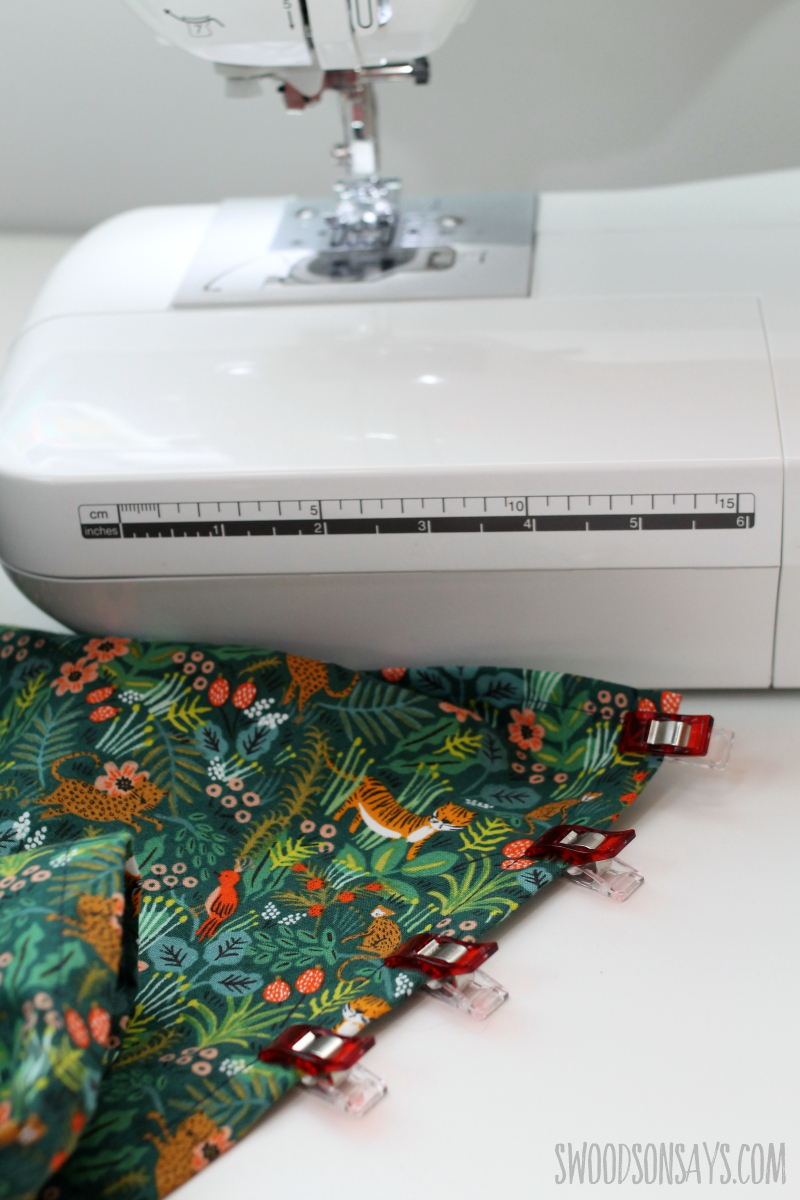
Step 4– Time to sew all 3 sides! Wonder clips can be helpful if you need them; I honestly just zipped through most of mine because the fabric was pressed well and didn’t slip around.
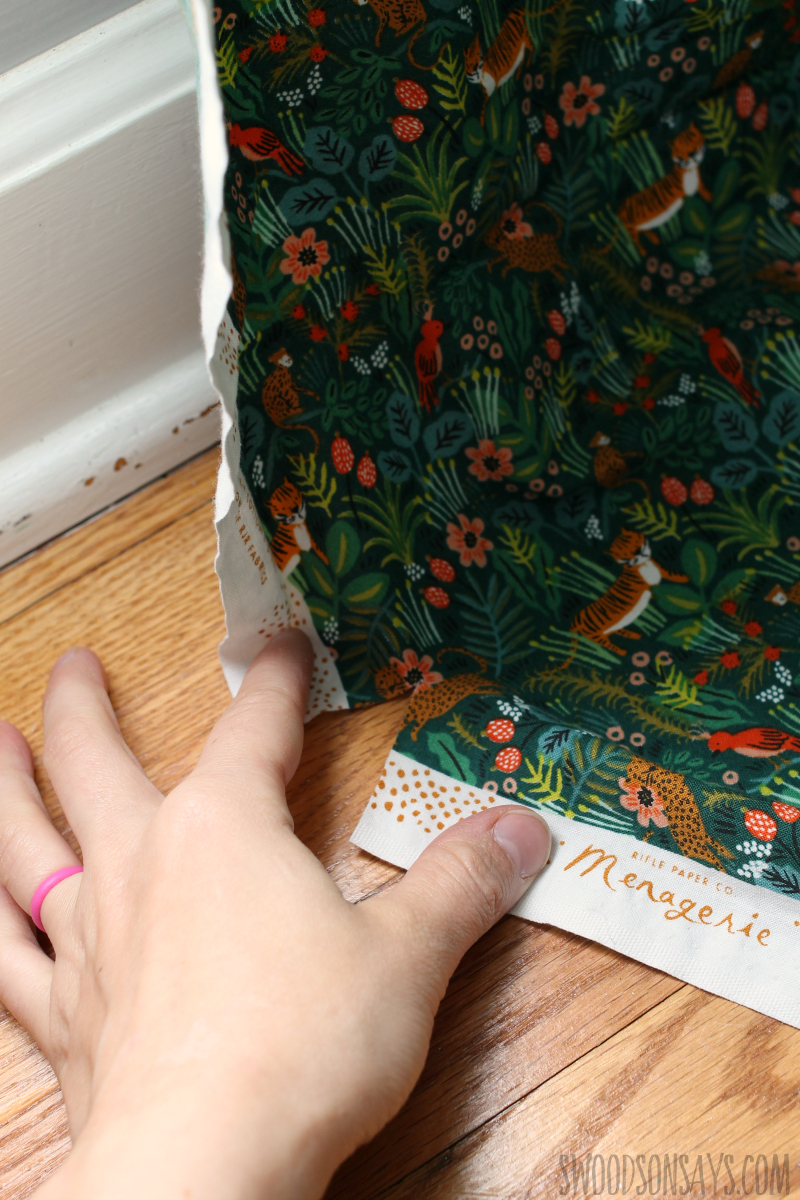
Step 5– Hang your curtain on the ring and let it hit the floor, keep in mind your hem seam allowance and rip the last edge, repeat the above steps to hem it.
I didn’t take a picture of the next step, but I just laid the black out material on the ground, laid the finished curtain on top, and cut about 1/4″ inside each hem, and then hung it up with the clips! If you wanted them to lay flush, you could cut the blackout material to the same size and sew it on, or use fabric glue to adhere. I find that they hold together well and don’t show, making them super easy blackout curtains.
angela
Saturday 17th of August 2019
where did you get this fabric? I love it
Stephanie - Swoodson Says
Tuesday 20th of August 2019
it's linked in the top of the post :) hard to find though!! 'Menagerie' fabric by Rifle Paper & Co