
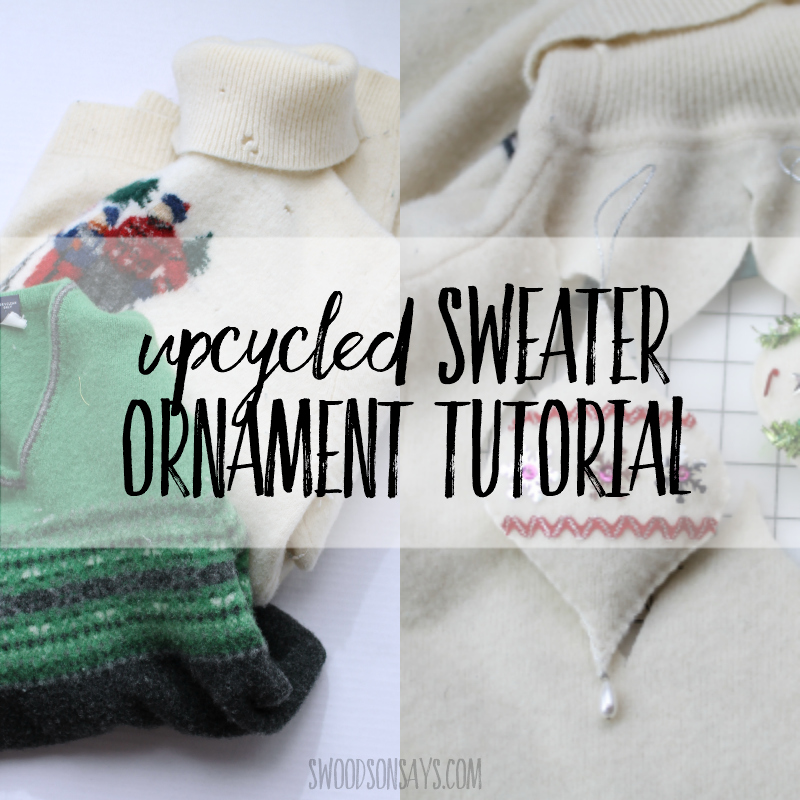
I have been sharing free ornament tutorials every friday in November & December, and this week I have an upcycled sweater Christmas ornament tutorial! Using up those super thick, shrunken sweaters that went through the washer and dryer, you can sew soft, festive ornaments with inexpensive trims.

I had fun digging into my vintage trim stash for this! It would be fun to work on with kids designing them, as well.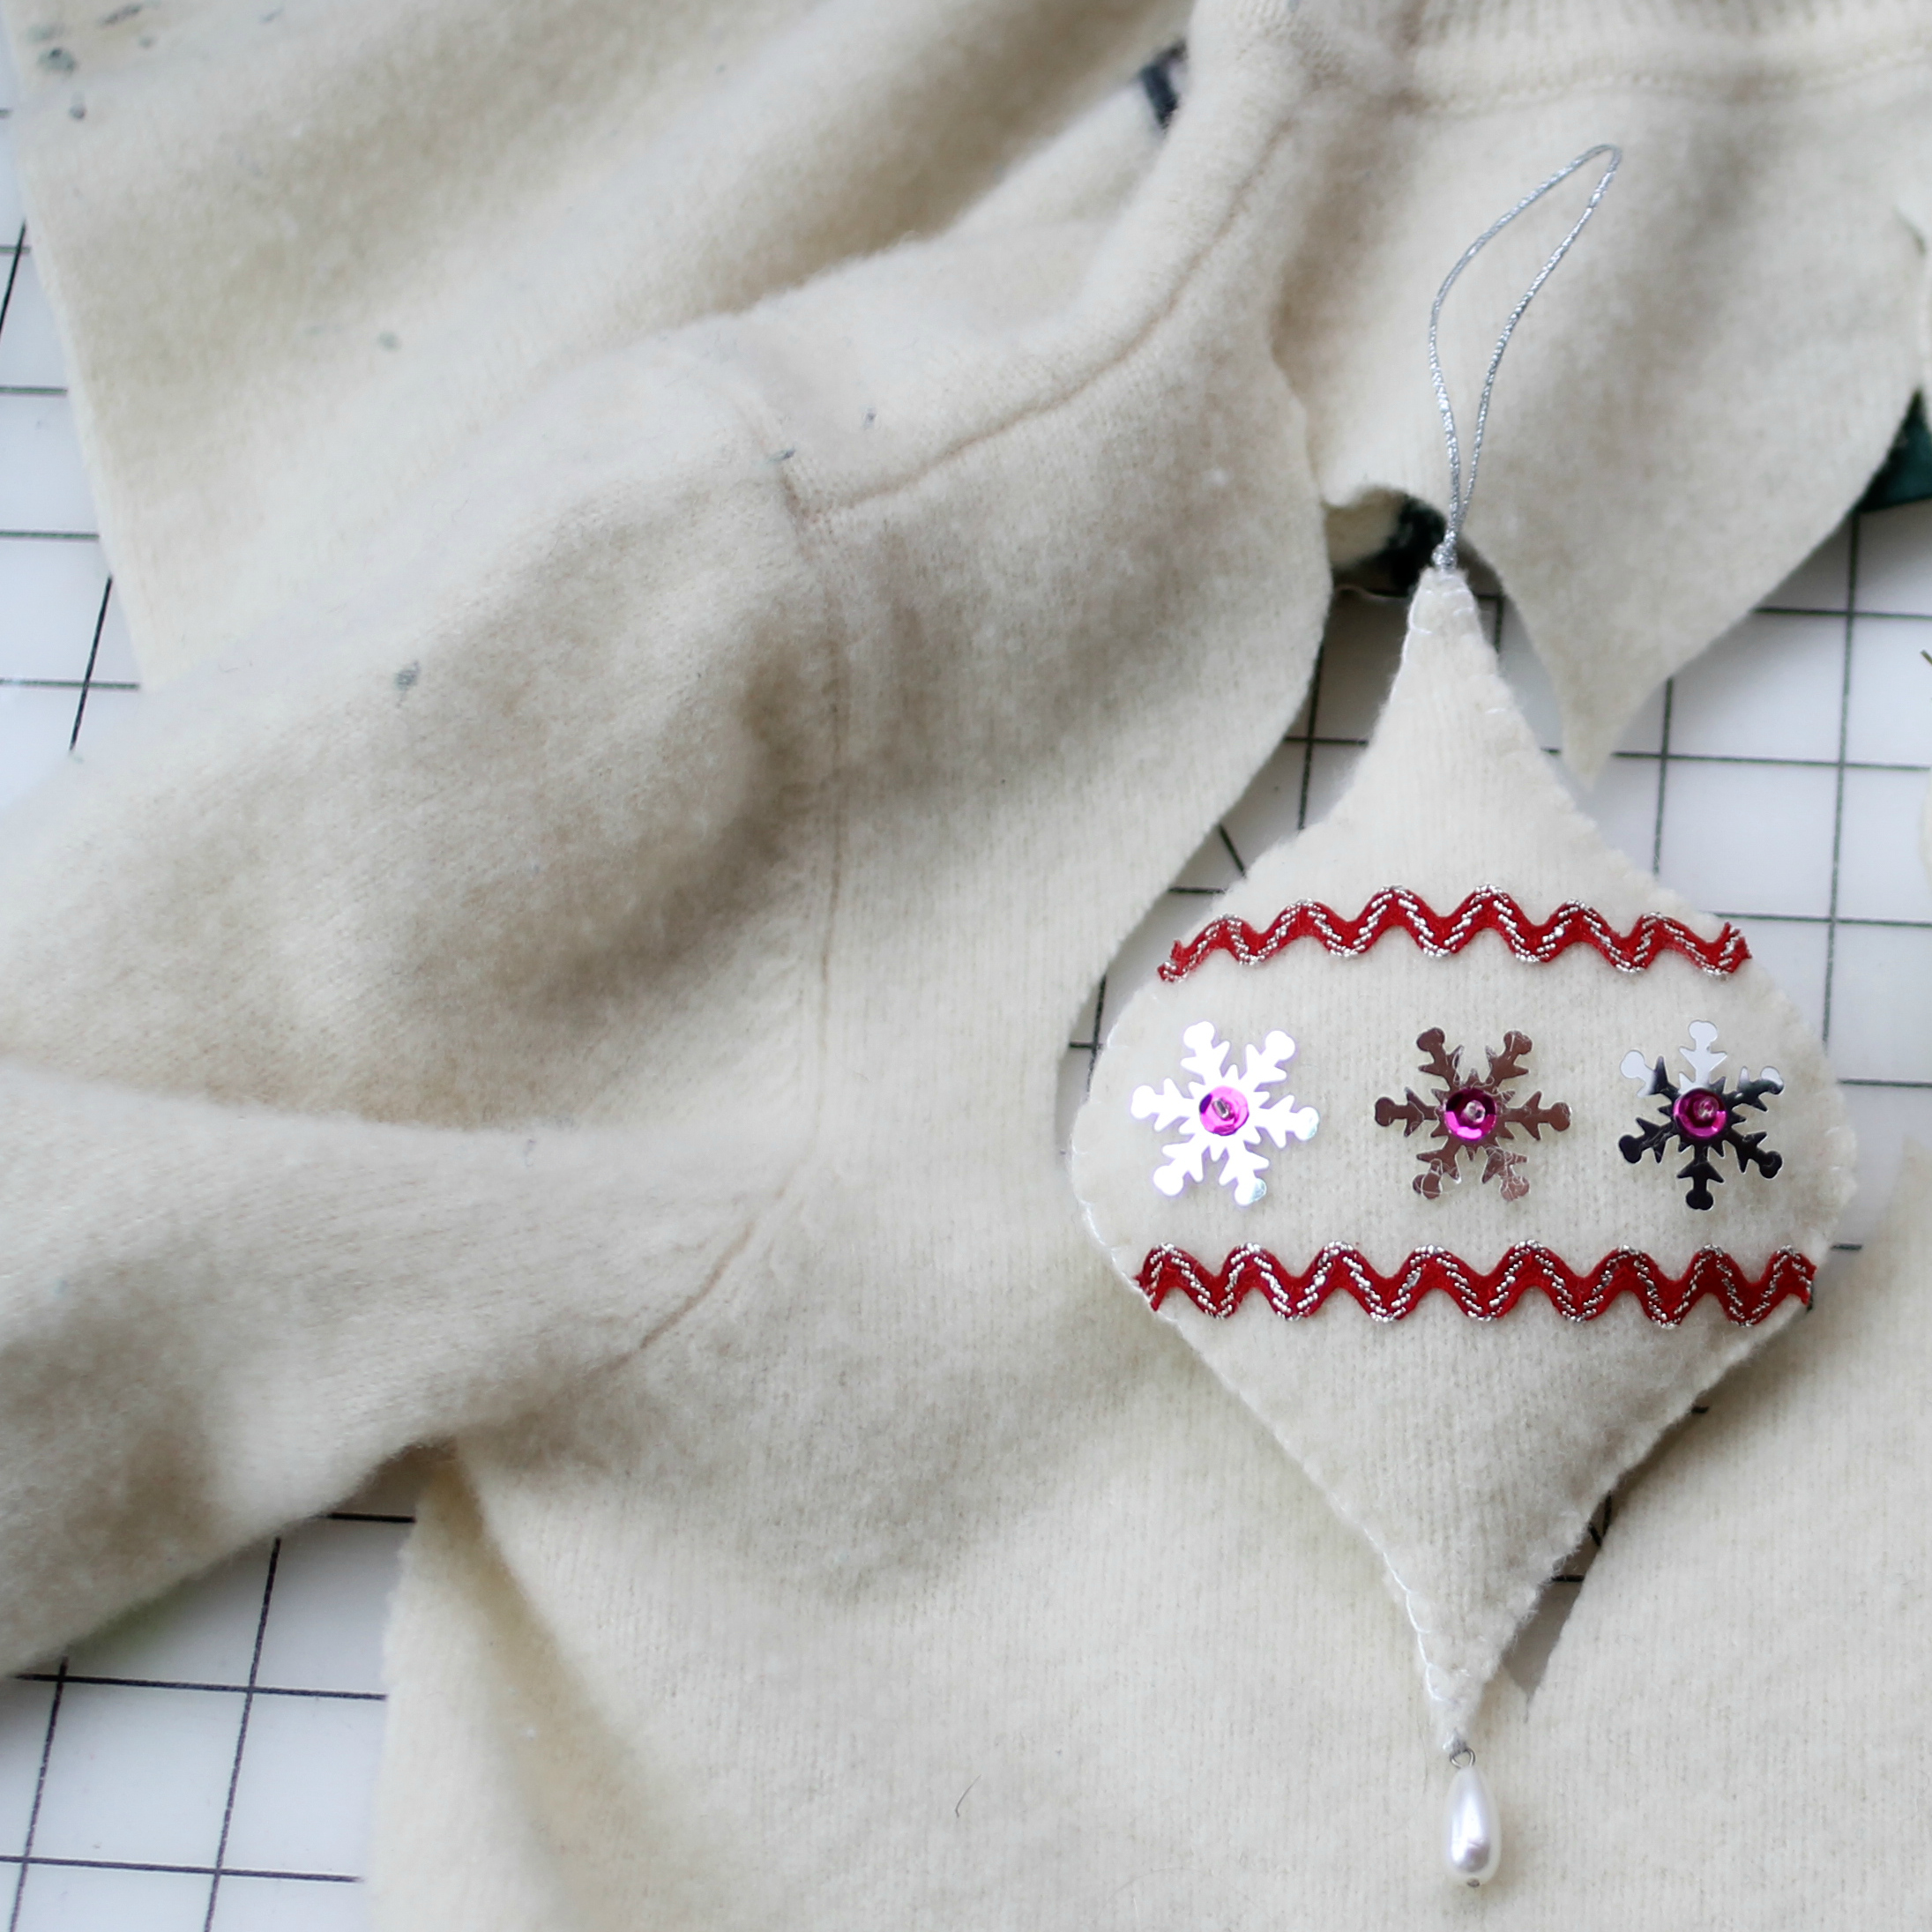
This is a Ralph Lauren sweater with about 500 moth holes in it. But I found enough space to cut out two ornaments!
This is the second one, to give you another idea for embellishment, but I realized after finishing it that the sequins are 100% crooked. I was rushing to finish before we left on vacation, moved up by a snow storm, so please forgive me! There are so many creative ways to embellish the plain template, I can’t wait to see people sewing them up.
Pin this upcycled sweater Christmas ornament tutorial for later with this link or collage photo:
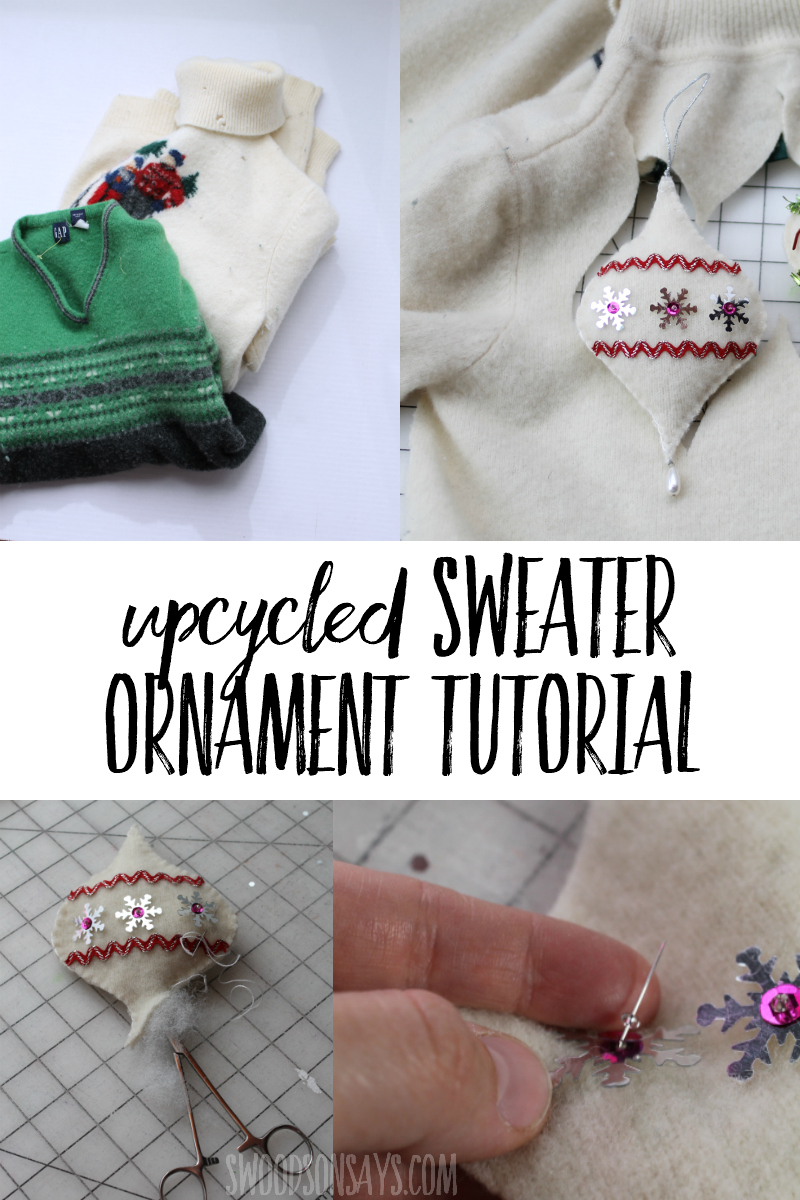
Upcycled sweater Christmas ornament tutorial
Supplies
- 1 old 100% wool sweater
- Stuffing
- Vintage ric rac & trims
- Decorative buttons or sequins
- Needles
- Floss & thread
-
Free ornament pattern- sign up for my newsletter and get the free download once you confirm your subscription! If you’re already a subscriber, you can access the pattern with the password in each newsletter, in the resource library.
Steps
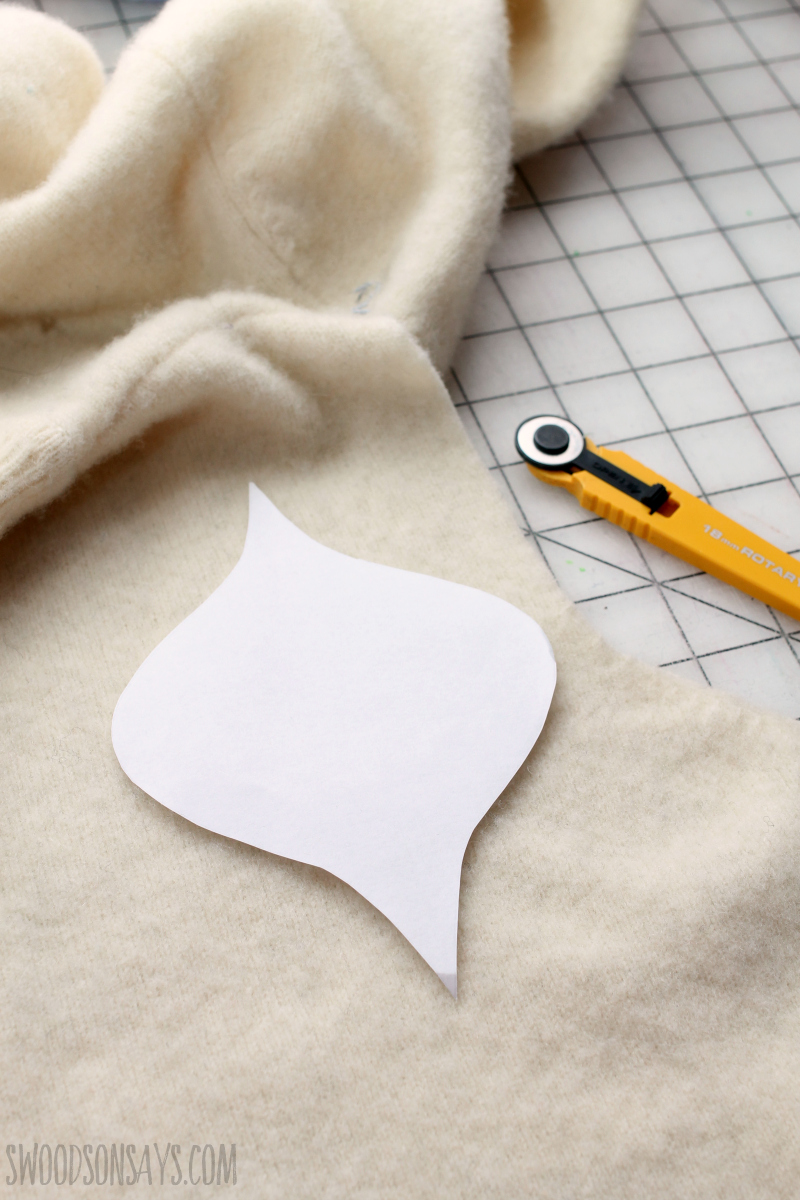
Step 1- Cut up the side seams of the sweater and find a good spot to cut 2 different ornament shapes.
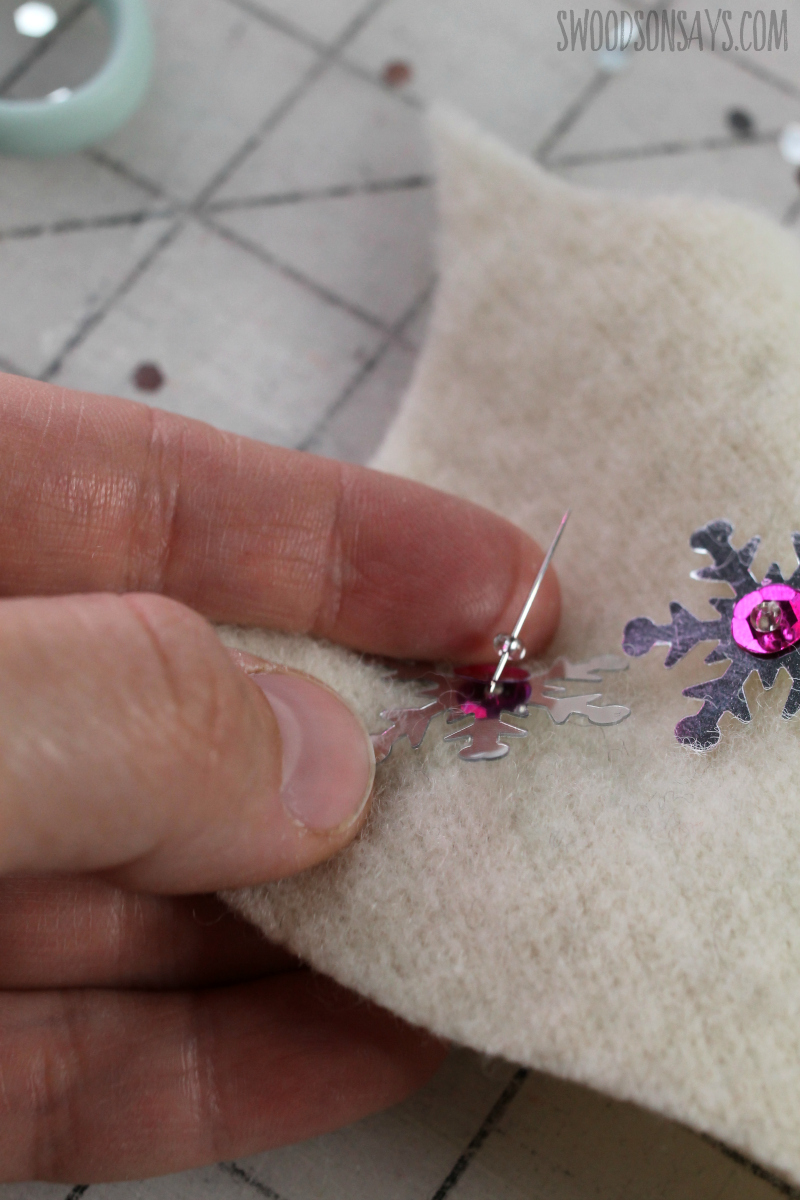
Step 2- Sew on trims! This is definitely the fun part.
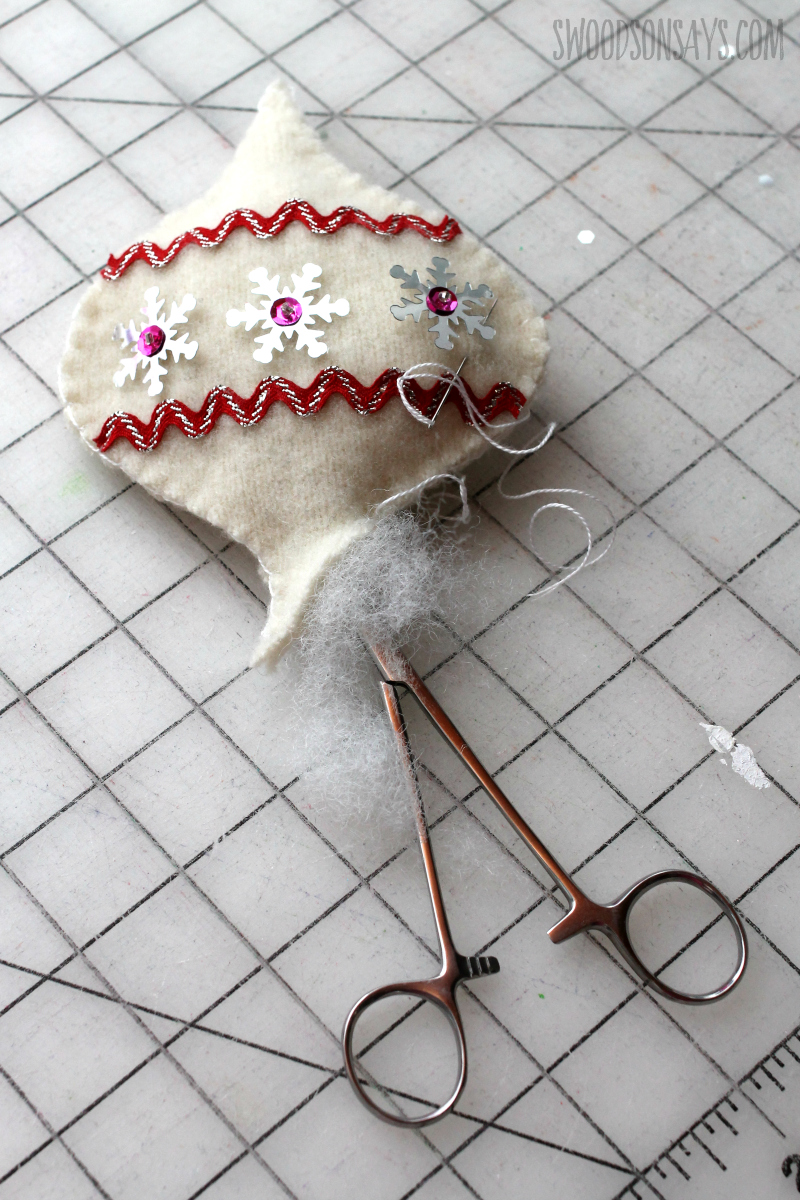
Step 3: Blanket stitch or running stitch around the edges, pausing to add some stuffing and then sewing all the way around.
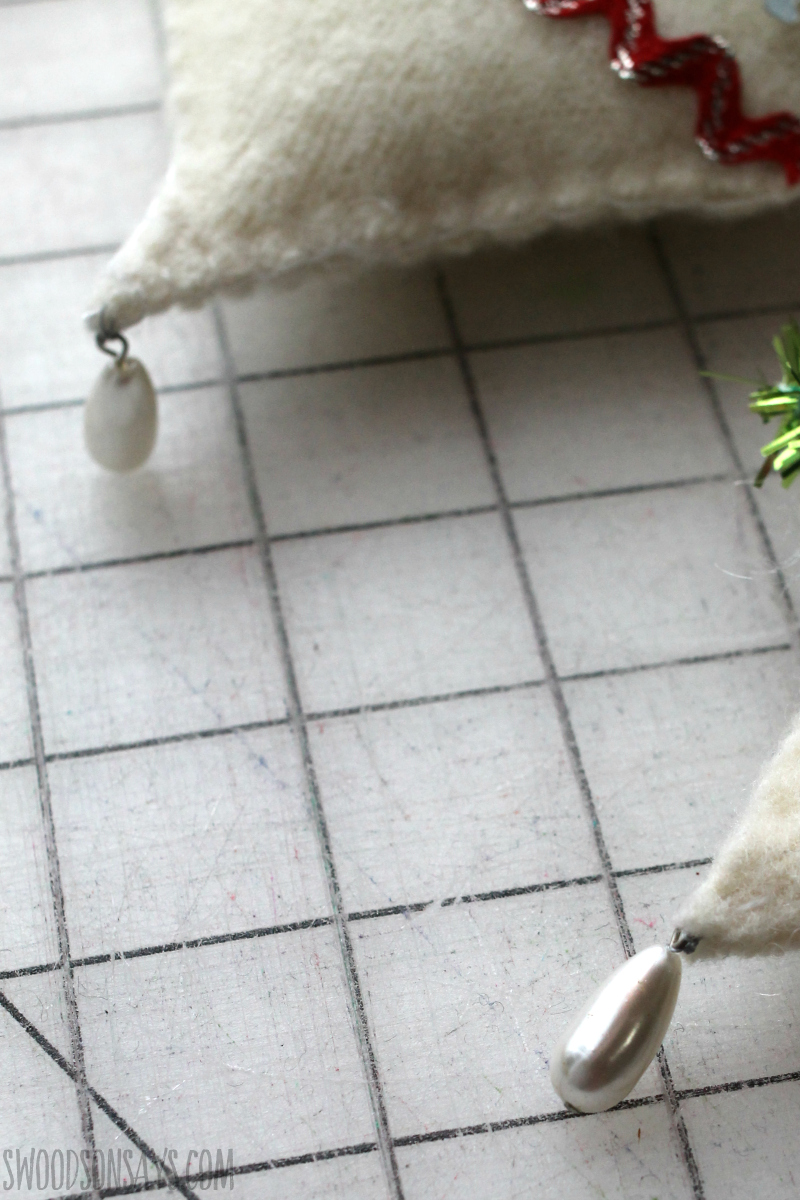
Step 4- Add any extra beads and sew on a hanging thread, and throw it on your tree!
Lora
Monday 5th of February 2024
I just love the ornament! I ask myself why I didn't think of that!! Thank you for sharing.
Stephanie - Swoodson Says
Monday 25th of March 2024
happy to hear it :) :)
Betty Flores
Thursday 16th of June 2022
Beautiful, great idea to share with kids, looks like it will be lots of fun to make for all crafty friends.
Stephanie - Swoodson Says
Tuesday 28th of June 2022
thanks Betty!!
Juana
Tuesday 18th of December 2018
Me encsntan todas esas ideas
Marcia
Friday 14th of December 2018
That's a beautiful & great idea!
Stephanie - Swoodson Says
Sunday 11th of August 2019
Thanks Marcia! I am excited to make some more this year :)