
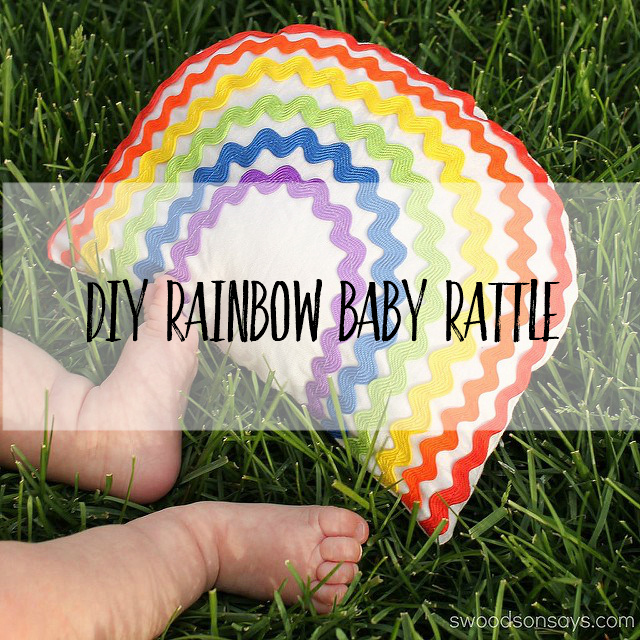
Spring has brought beautiful weather and I have rainbows on the brain! This is a free pattern for a rainbow baby rattle; it’s so simple to make but looks bright and fun. Handmade toys and softies are my favorite! Anyone can sew this soft rattle pattern, it is beginner friendly and quick to make. The finished toy is approximately 6.5 inches tall X 9 inches wide.
If you like this post, you’ll probably want to check these out too!
- 100+ free baby sewing patterns
- How to find time to sew with young kids around
- 75+ most popular free PDF patterns to sew
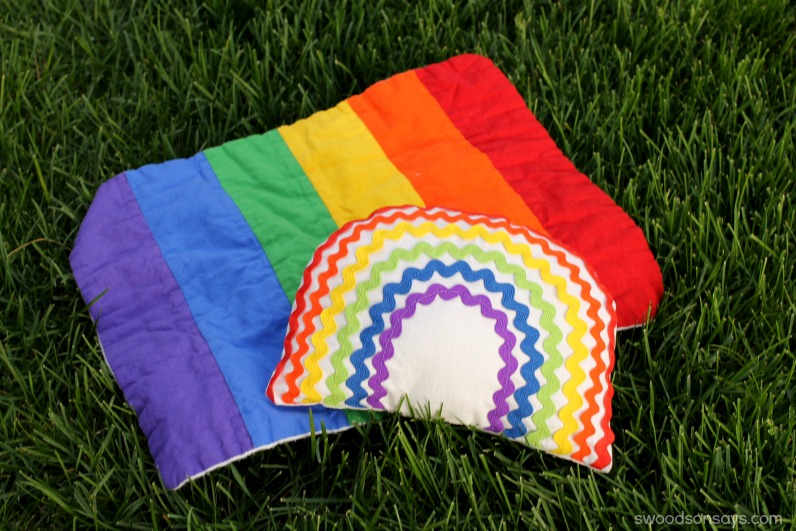
I paired it with a rainbow burp cloth; see how to sew a baby burp cloth in my other post here. I’m wrapping it up with a few of my favorite Eric Carle books [this one & this one] and sticking it in this denim tote I made a while back and boom, perfect new baby gift, right?
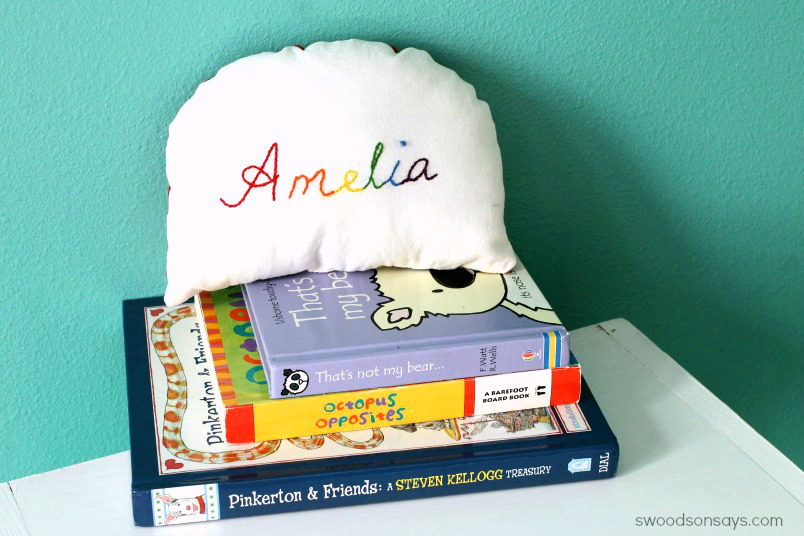
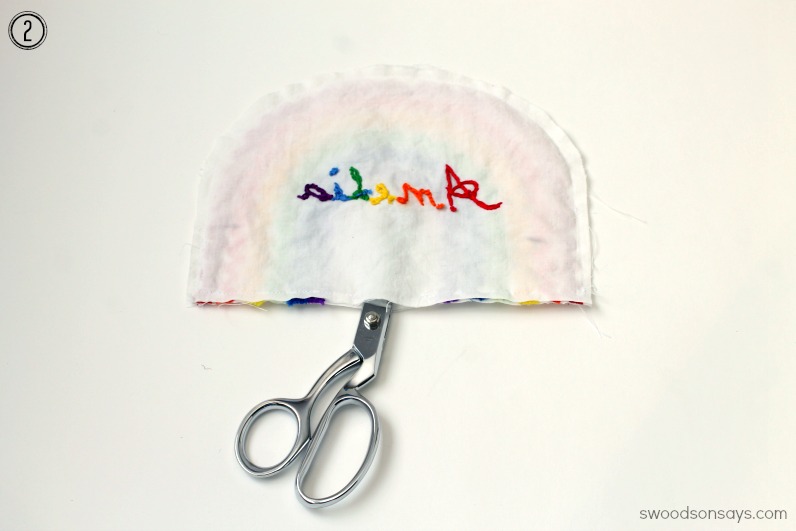
The Mom announced baby’s name on Facebook the other day so I decided to embroider it on as a fun touch – you could also do a second rainbow on the back or make it rainbow patchwork with fabric pieces.
Pin this free soft rattle pattern for later using this link or collage photo:

How to make a soft rattle pattern
Supplies:
- Polyfill or other soft stuffing
- Rattle insert
- Chopstick or point turner
- Glue stick
- 1/2 yard of white quilting cotton or light canvas – be sure to prewash!
- Coordinating thread
- Hand Sewing Needle
- Scissors
- Ric rac – one package of each color (red, orange, yellow, green, blue, purple)
- Cut the following lengths: Red: 18.5″ — Orange: 16.5″ — Yellow: 15.5″ — Green: 13.5″ –Blue: 11.5″ –Purple: 11″
- Rainbow pattern piece –sign up for my newsletter and get the free download once you confirm your subscription! If you’re already a subscriber, you can access the pattern with the password in each newsletter, in the resource library.
Steps:
Trace & cut two rainbow shapes from your white cotton. Project is sewn with 1/4″ seam allowance.
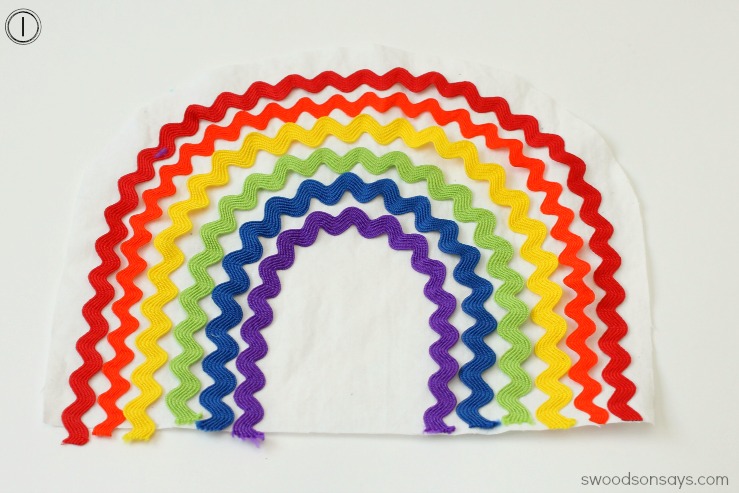
1. Starting with red, gently curve each ric-rac piece around and secure with a glue stick every two inches or so. Be sure to leave room for a 1/4″ seam allowance around the edges and top! Continue in with each color. Let the glue dry for a few minutes and then sew each color on, staying in the middle of the ric rac.
If you are doing a decoration on the other side of the rainbow, do it now!
2. Place both pattern pieces right sides together and sew with 1/4″ seam allowance around, leaving a small gap at the base in between the purple ric rac.

3. Cut small divots out around the entire curve (example shown in red text), making sure not to cut through the stitching line. Clip the corners.
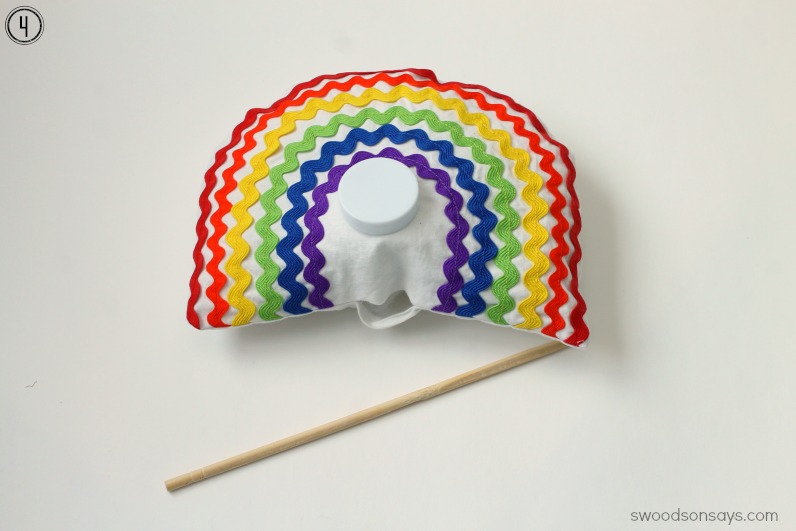
4. Gently pull the rainbow right side out through the gap you left and press. Use a chopstick or other instrument to poke the corners out, stuff, insert rattle, and then use a ladder stitch to close the gap. You’re done!
Cecilia Fogarty
Wednesday 17th of May 2017
In the #4 photo what is that bottle top that is one the white material for?
Cecilia
Stephanie - Swoodson Says
Thursday 25th of May 2017
Hi Cecilia! I'm sorry it took me a while to respond, this got trapped in spam. That is the rattle, not a bottle cap!