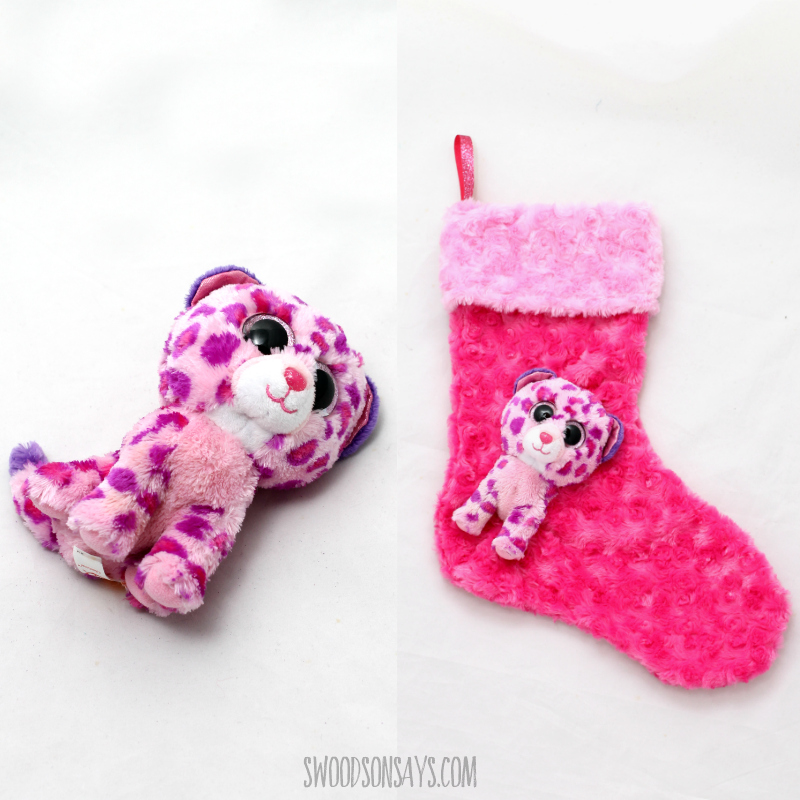
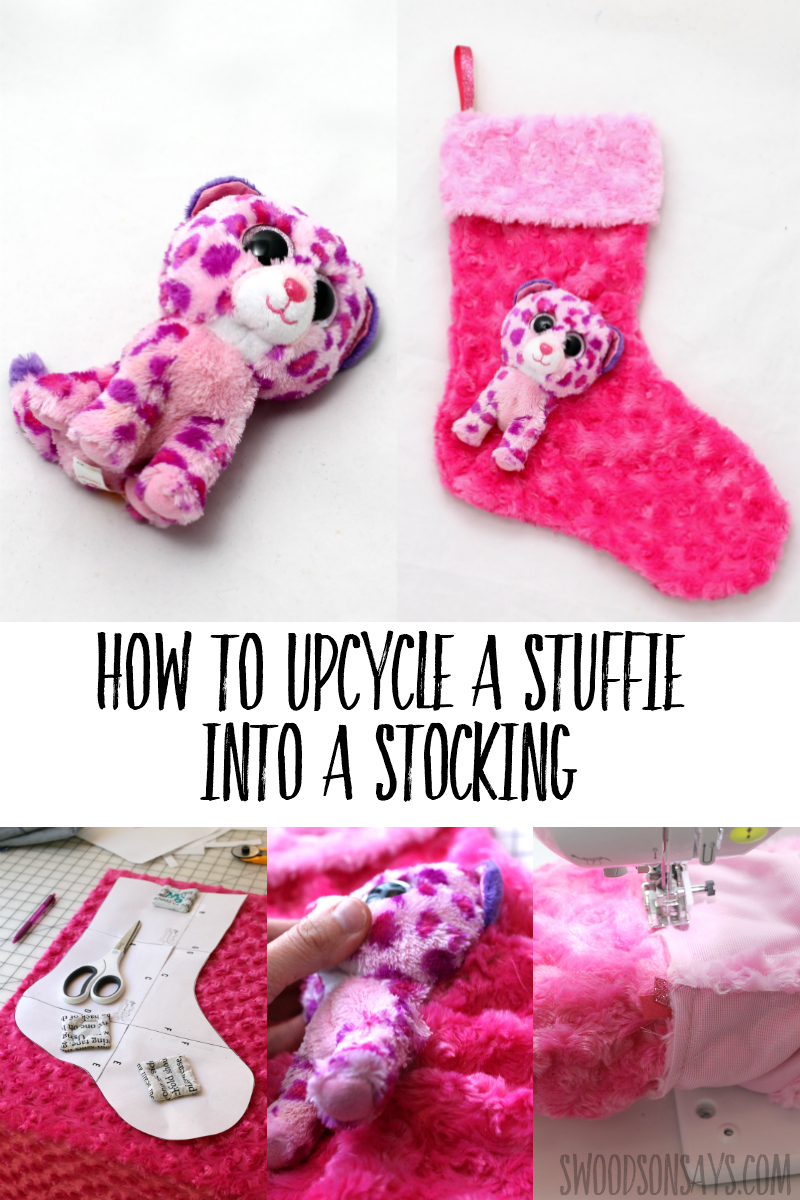
Is there any household that has children in it, and a sane amount of stuffed animals? I swear they multiply overnight! I’ve been trying to think of fun ways to upcycle stuffed animals and decided to try and incorporate one in a DIY faux fur Christmas stocking after seeing a similar (and more tasteful) version from Pottery Barn. My daughter is so excited about how this turned out and I think it is super cute!
I included this in my round-up of free Christmas stocking patterns too, so click through if you want to find more options!
If you’re looking for other Christmas sewing inspiration, check these posts out:
- Christmas tree skirts to make
- Felt animal ornaments to sew
- Modern Christmas quilt patterns
- Christmas hand embroidery patterns
- 20+ super fun Christmas sewing projects
When I cut the stuffie in half, my kids were aghast! It’s so cute nestled in the stocking though, right?
Please pin this collage image of a free Christmas stocking pattern with this link, and click through to the original designers’ pages to pin individual images:
Ready to make your own?
Diy Christmas stocking with an upcycled stuffed animal
Supplies
- Rotary cutter
- Acrylic quilt ruler
- Clips
- 1/4 yard each of fur/velour – I used this pretty stuff
- Ribbon
- 1 beanie boo stye stuffed animal that will be easy to cut in half.
- Free stocking sewing pattern -sign up for my newsletter and get the free download once you confirm your subscription! If you’re already a subscriber, you can access the pattern with the password in each newsletter, in the resource library.
A few notes before you start! I wrote the tutorial assuming you’re using fur like me but it could be used for other fabrics. I chose to have a hemmed cuff instead of a doubled one that wouldn’t have a seam, because the fur felt bulky, but you could certainly double it up like a traditional cuff instead. I hand sewed the animal on after sewing the stocking to be sure of placement; you could also do it before assembling the stocking if you prefer.
Steps
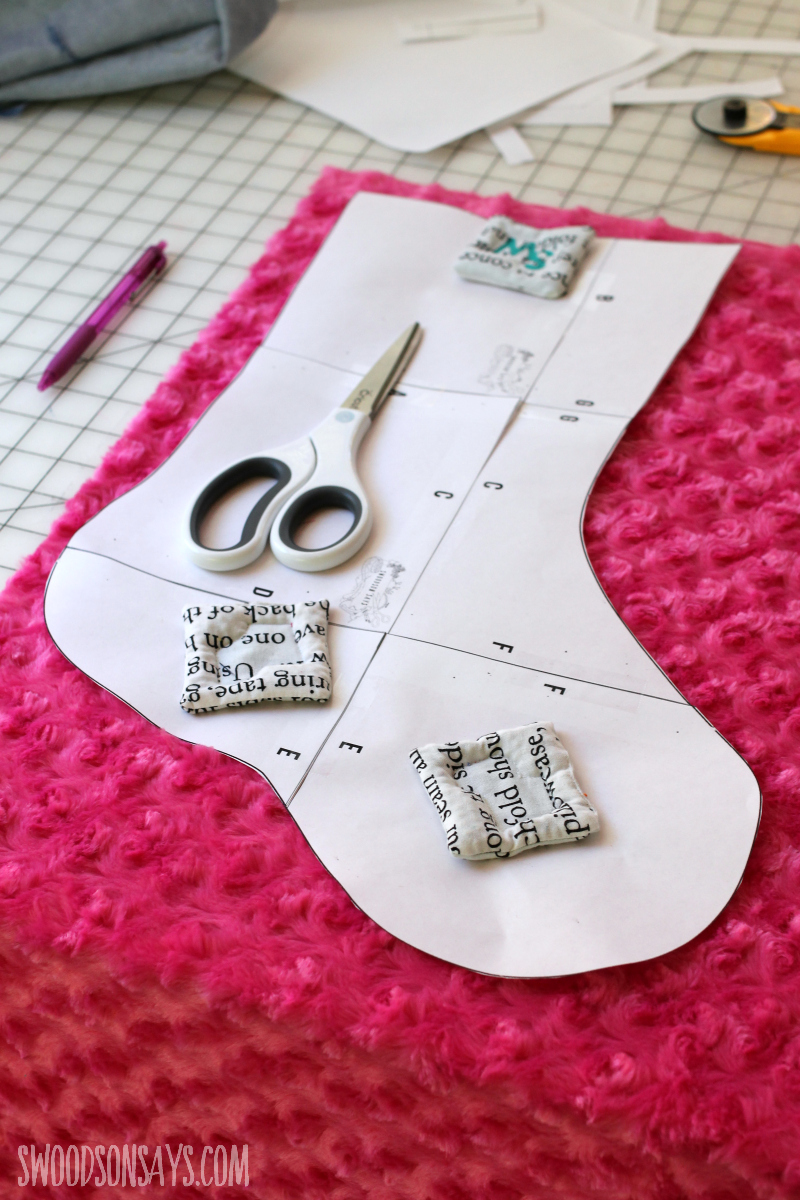
Step 1– Print & assemble the PDF pattern! Cut out two, mirrored pieces with it – which means you need to either flip the fabric or the pattern to the other side before cutting it out. Make sure the fur is going the same way on each. Repeat for the cuff.
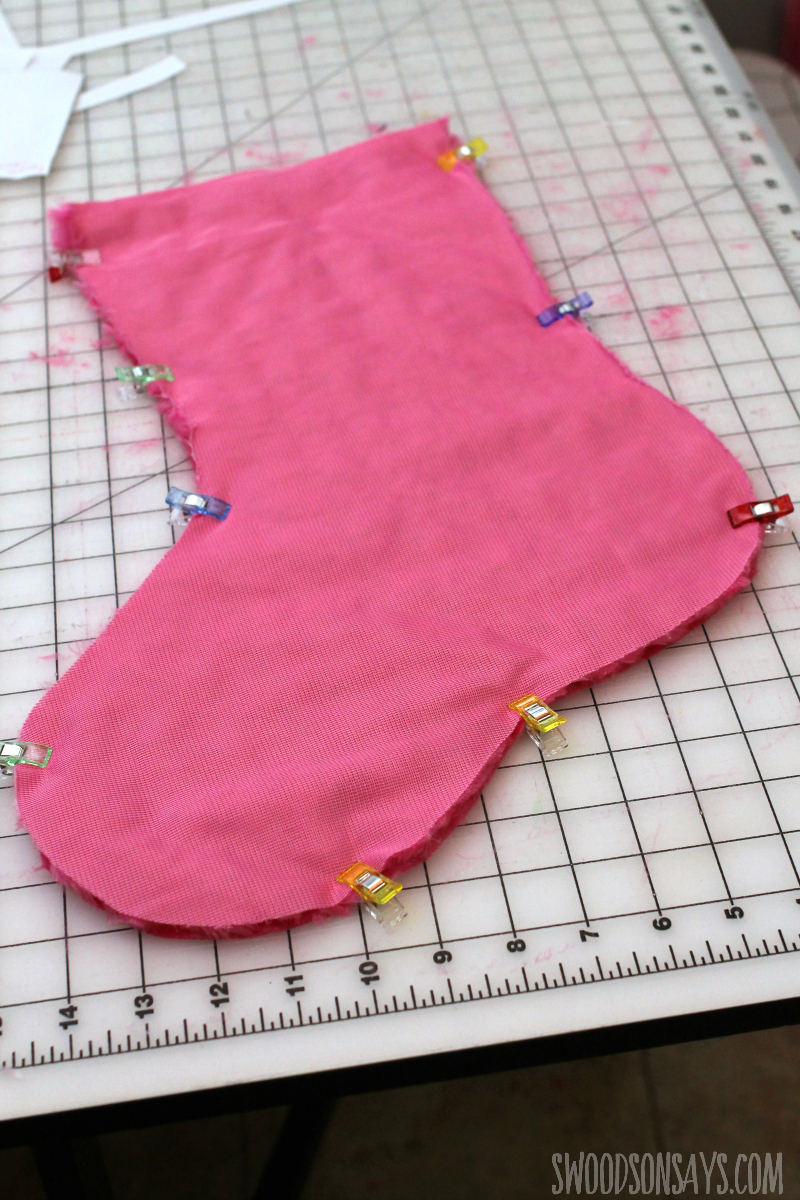
Step 2– Put the right sides together, clip, and sew with a 1/2″ seam allowance. Repeat for the cuff.
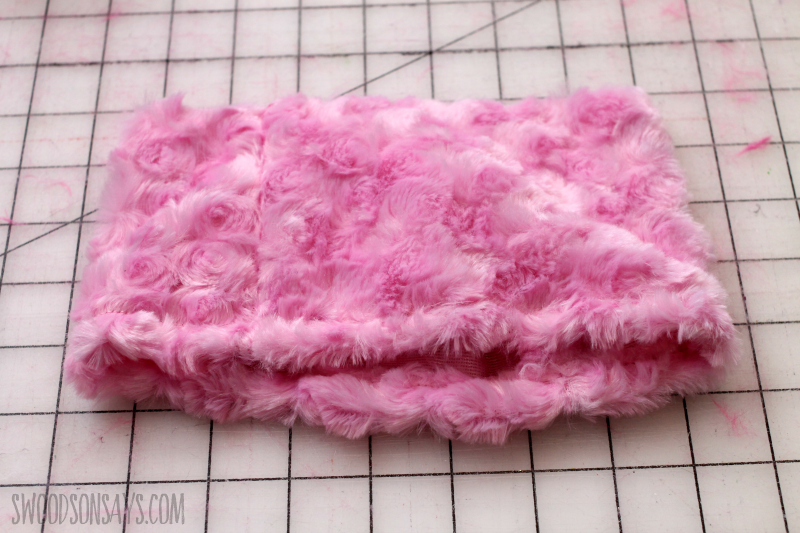
Step 3– Hem the slightly longer, top side of the cuff, turning it down 1/2″ and sewing.
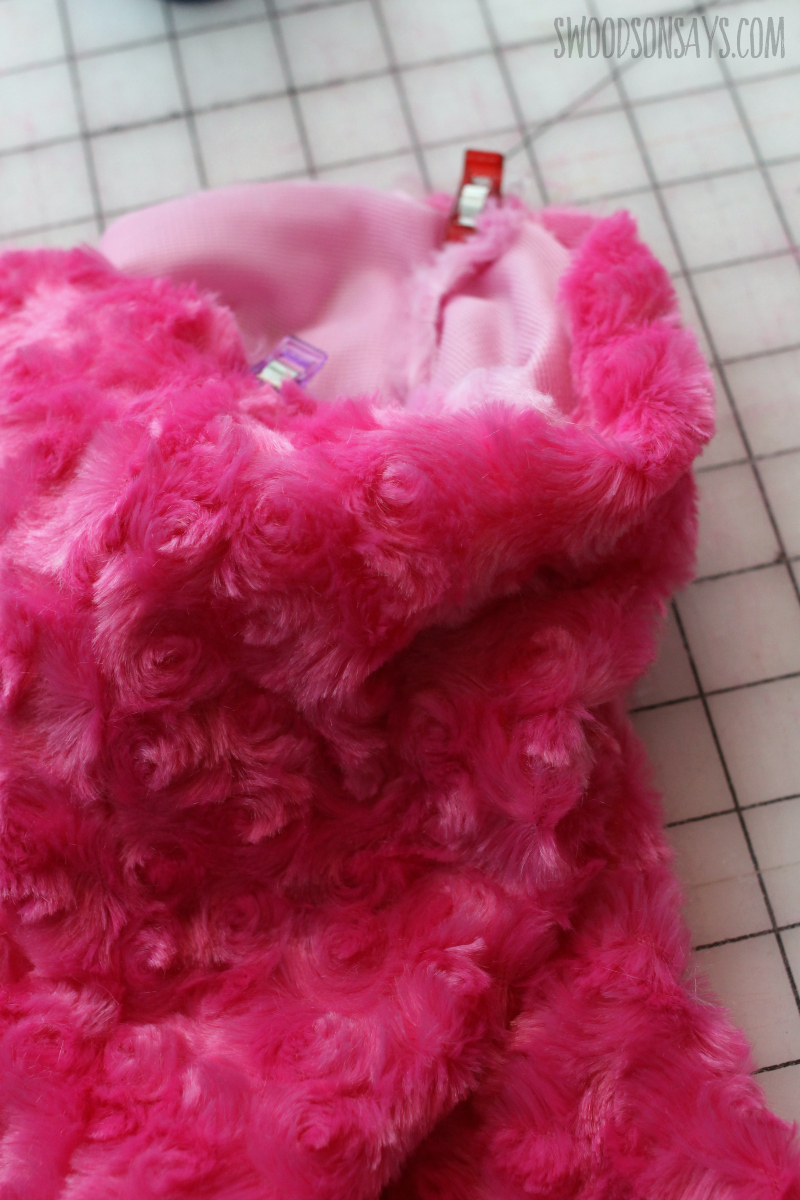
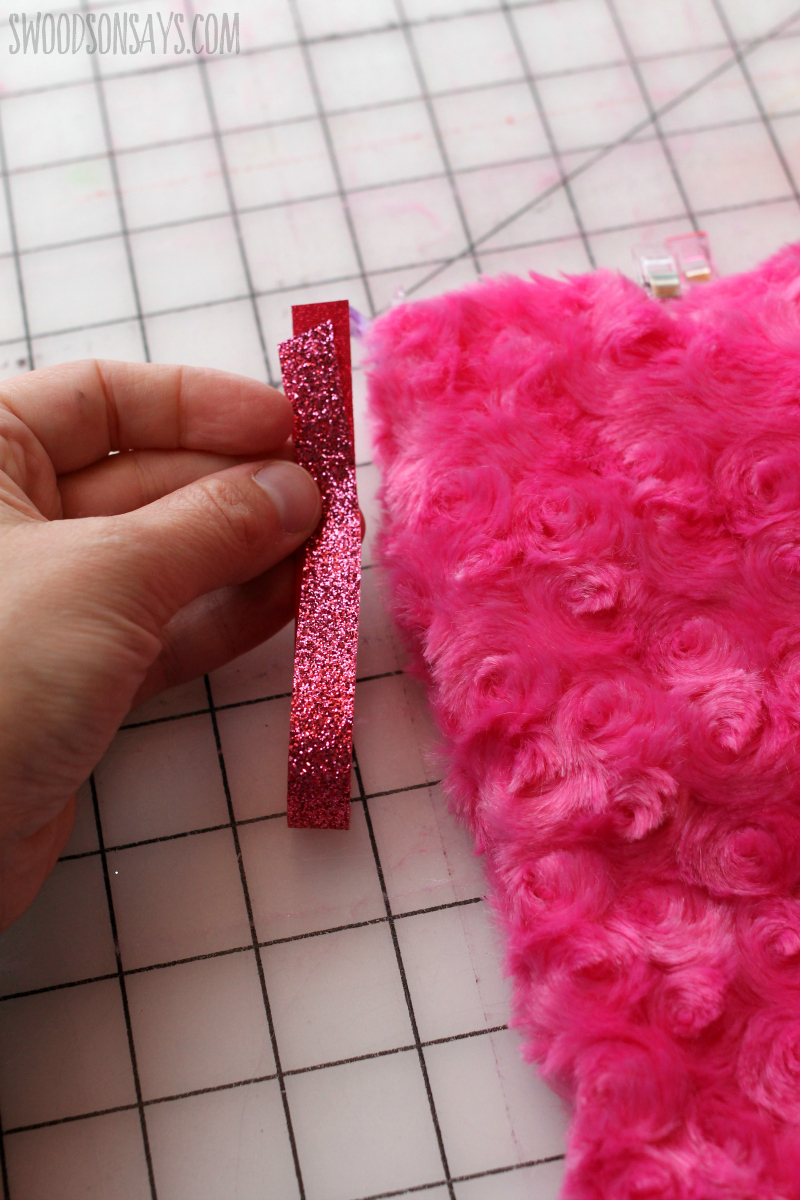
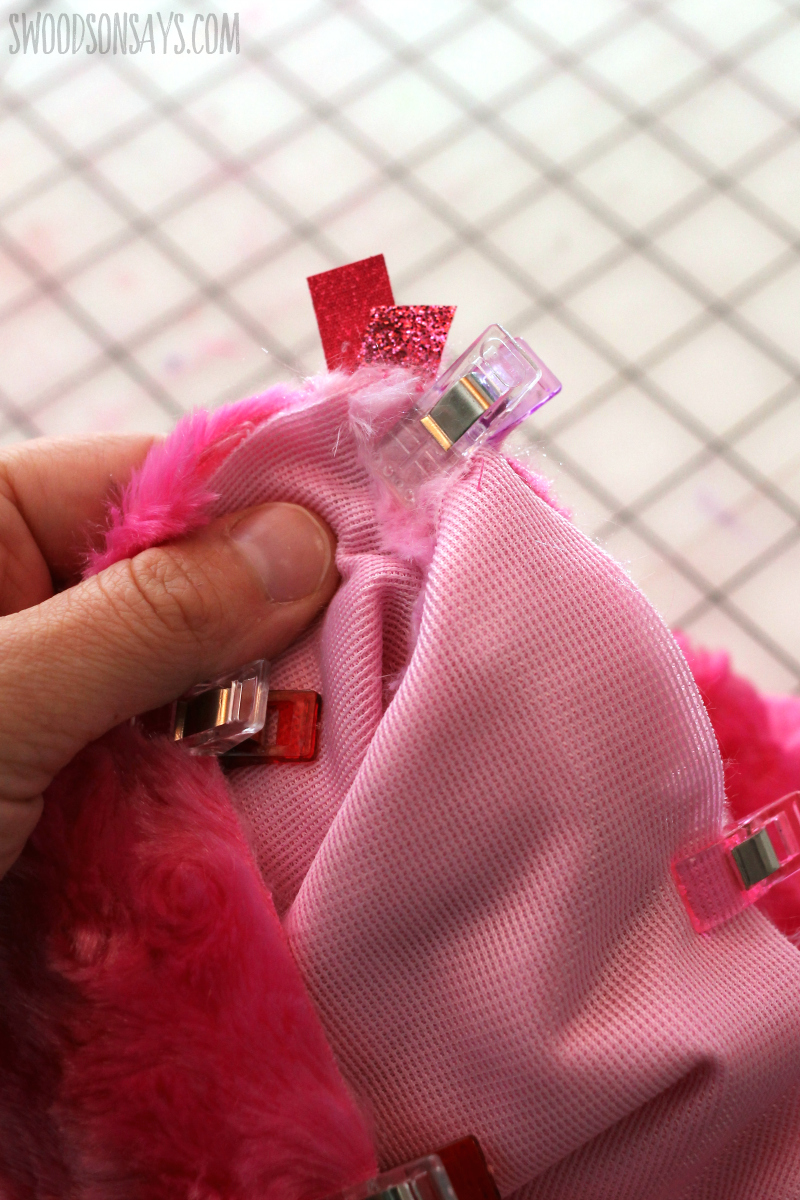
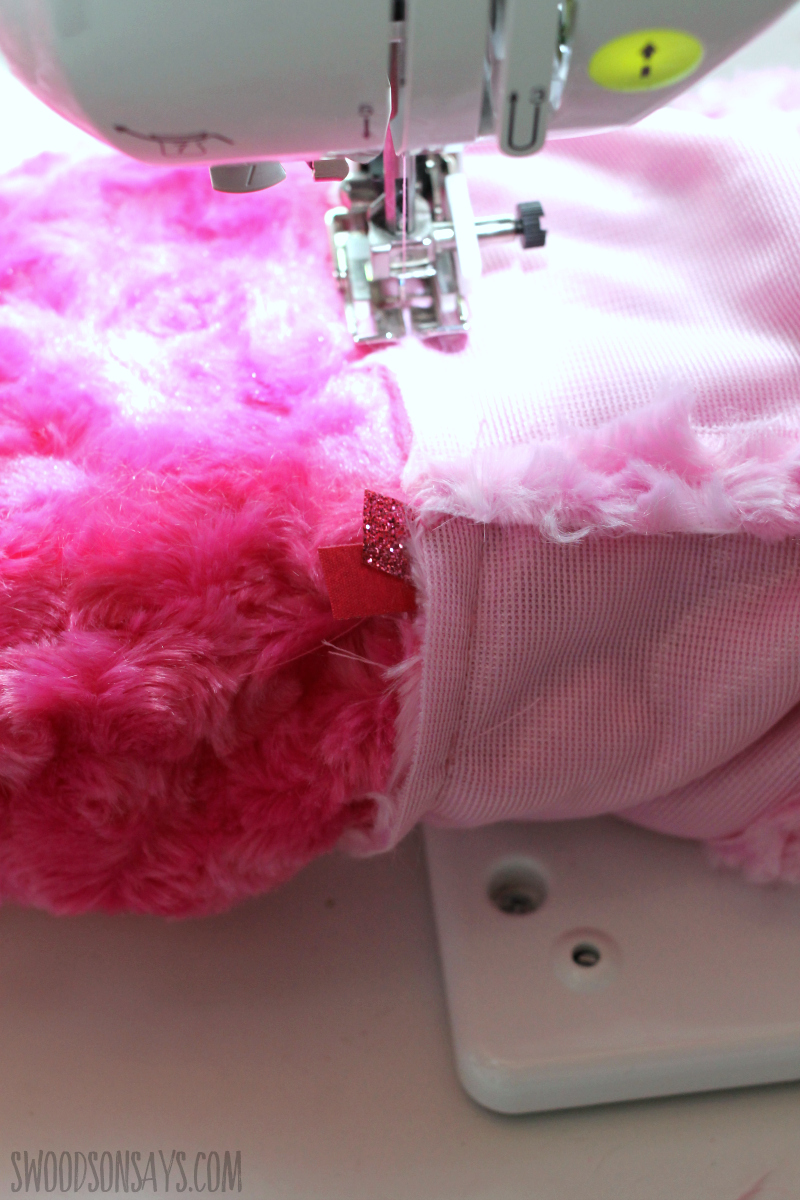
Step 4– Cut a roughly 8″ loop of ribbon to use for hanging. Slide the cuff in to the stocking so the right side is facing the wrong side of the stocking. Pin, matching the side seams. Slide the ribbon in, leaving tails hanging up, at the back side seam. Sew with 1/2″ seam allowance.
Step 5– Pull the cuff all the way up and smooth the seam allowance down towards the stocking and sew, keeping it secure and from slipping around. Then fold the cuff over.
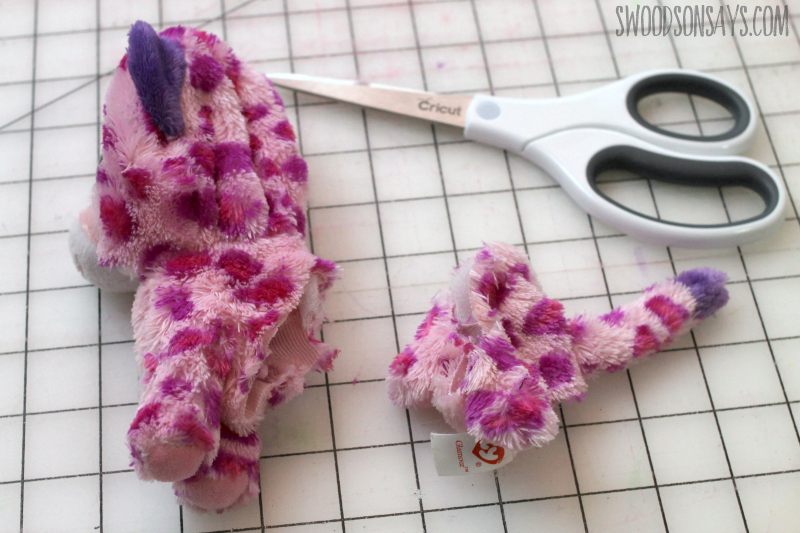
Step 6– Chop your stuffie at its natural middle and remove some of its stuffing.
Step 7– This is what it looked like before I started hand sewing!

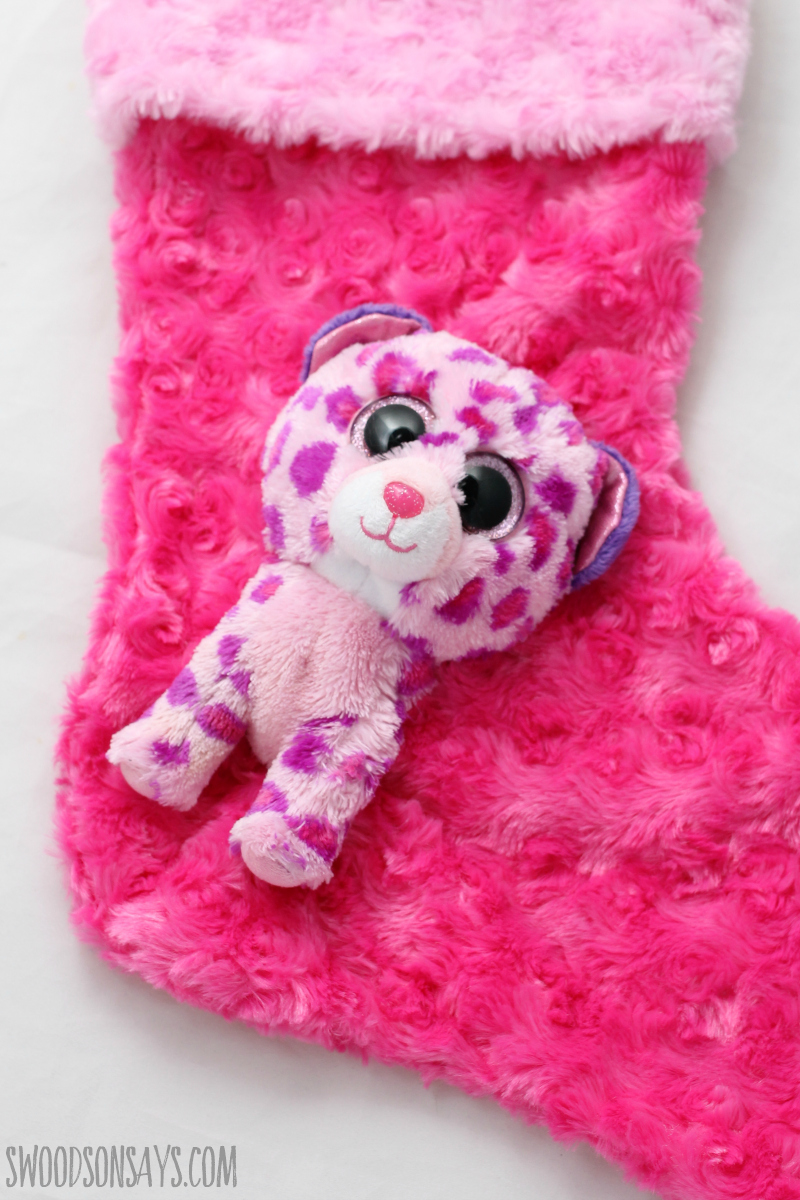
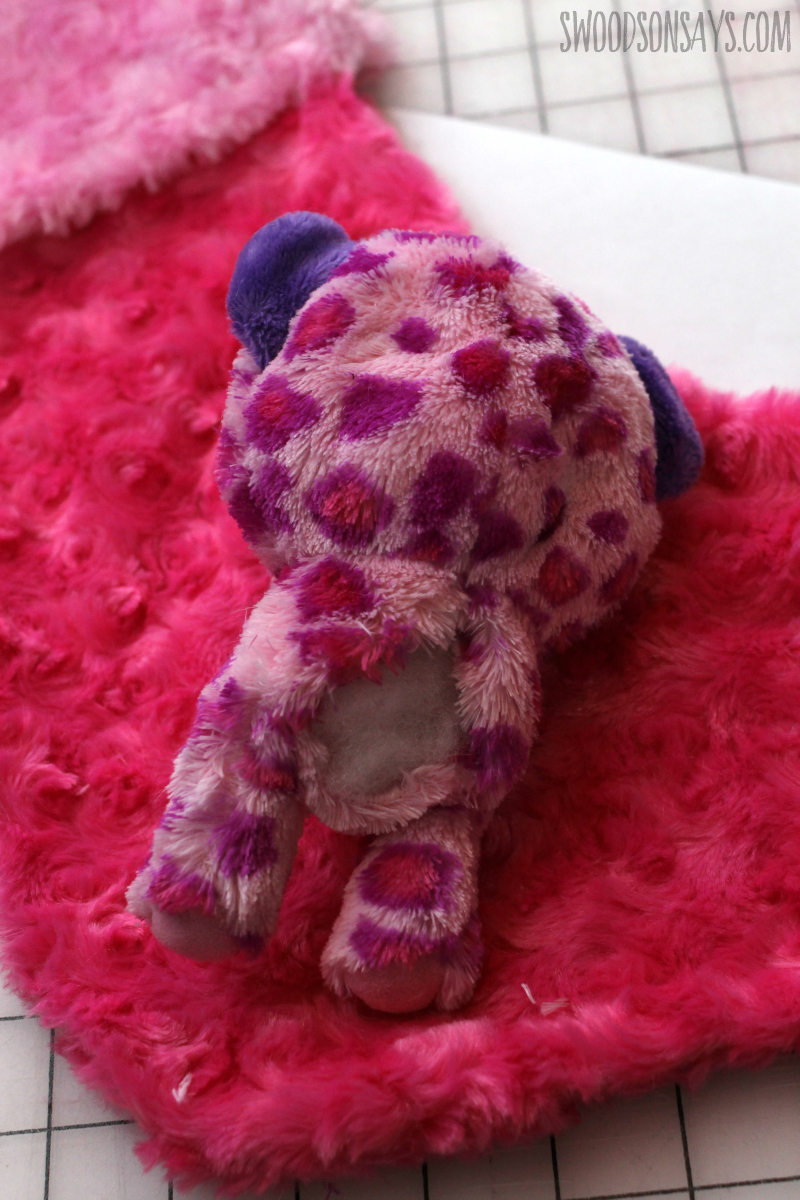
Step 8- Sliding one hand in to keep the layers separate and using the other to sew, I hand stitched the stuffed animal to the stocking, making sure to not create any wrinkles as I went. The fur hides all the stitches easily so go for security over aesthetics, it will turn out looking great!
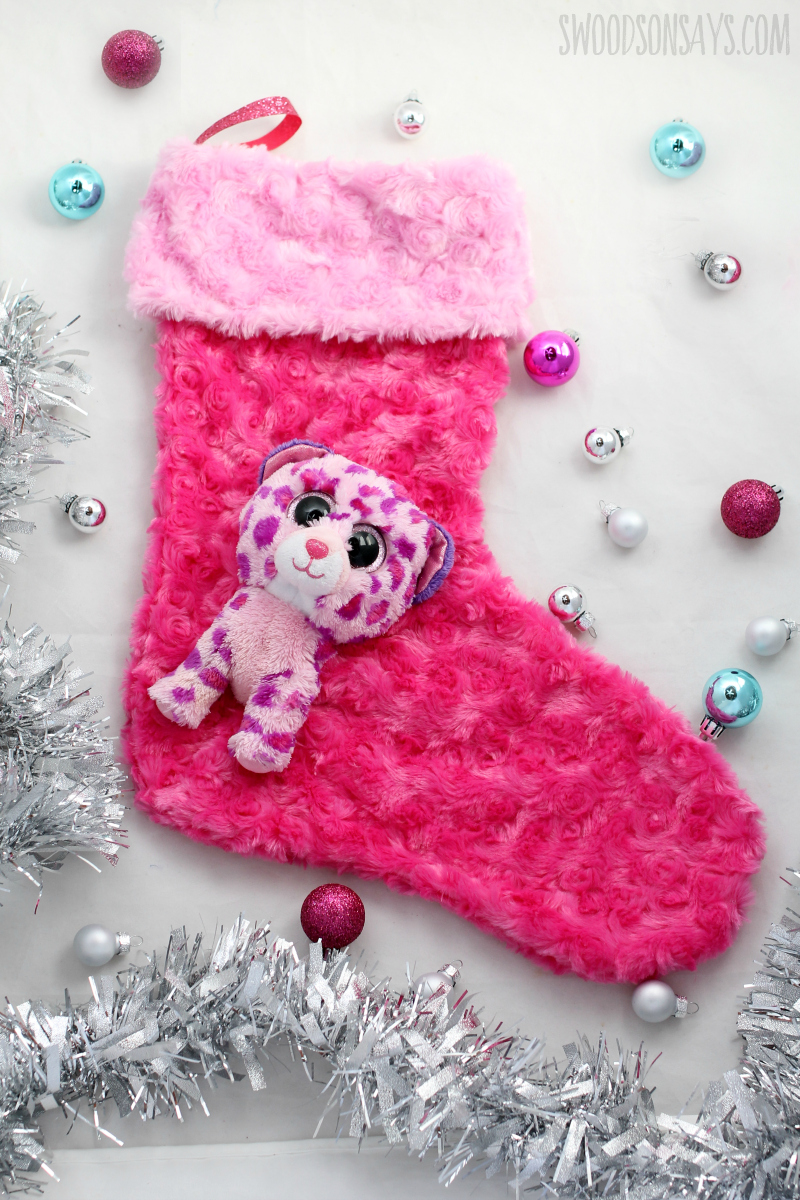
You’re done!