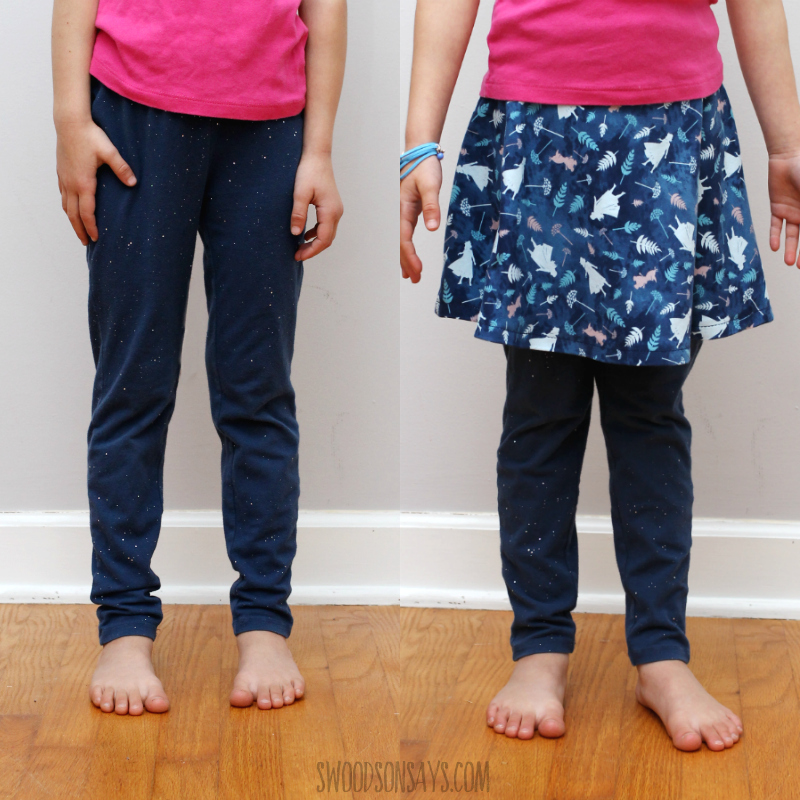
 My daughter is over the moon about my latest refashion, a DIY sewing skirt to leggings tutorial! She has been wearing the same two pairs of skirted leggings at least two sizes past when they actually fit, and I haven’t found any replacements secondhand. While I could make them from scratch, it is much faster and cheaper to add a skirt to preexisting leggings instead!
Even better, I got to use new Frozen 2 fabric; this post was sponsored by JOANN, which means they supplied materials and compensated me for my time, but all opinions are my own.
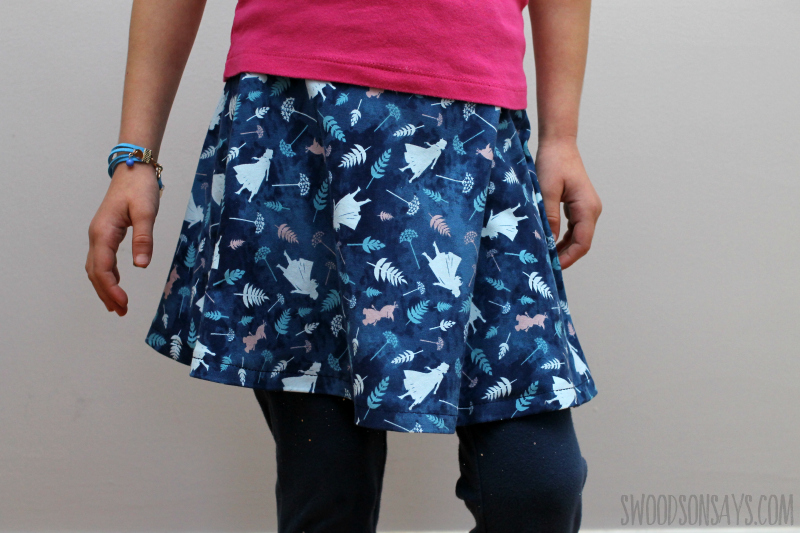
You’re adding a half circle skirt for this DIY sewing skirt to leggings tutorial, which takes less fabric and hemming time than a full circle skirt. It’s twirly and fun!
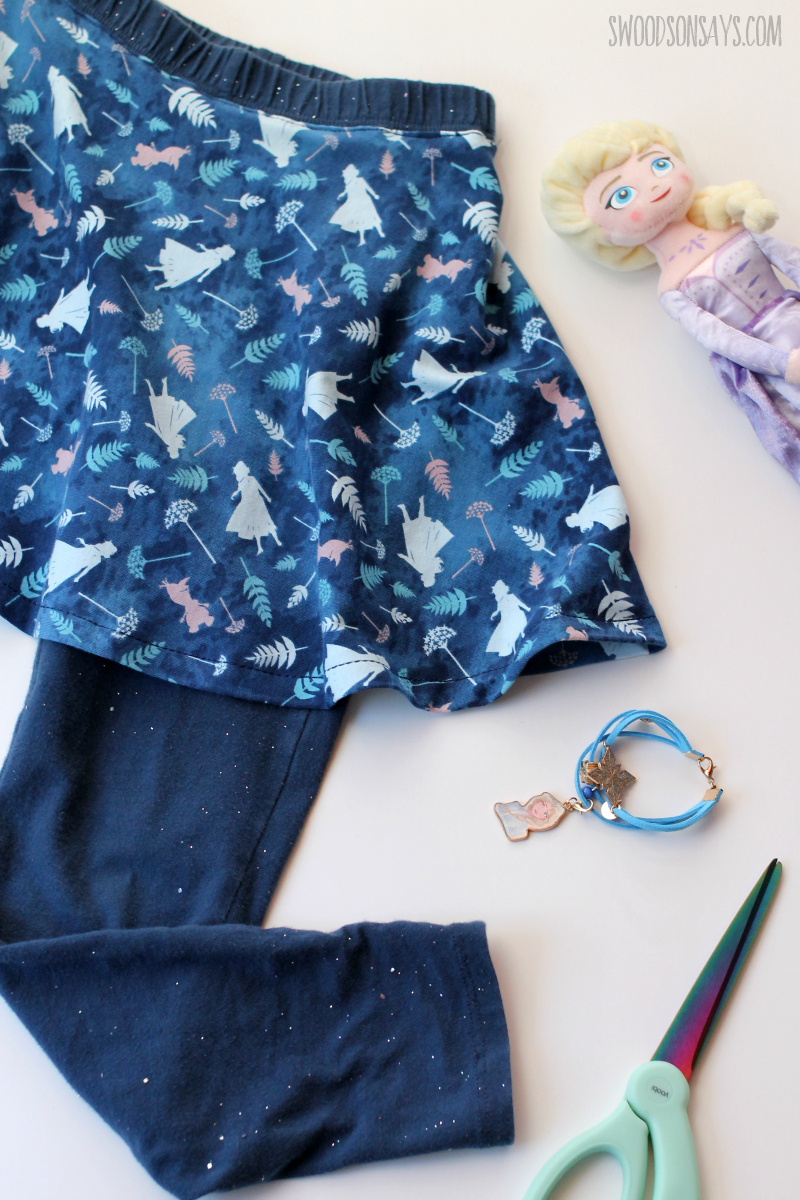
This cute Frozen knit from JOANN is fantastic fabric, it will hide stains well, has nice stretch/recovery and a really cute design. It sewed really nicely and is a nice weight.
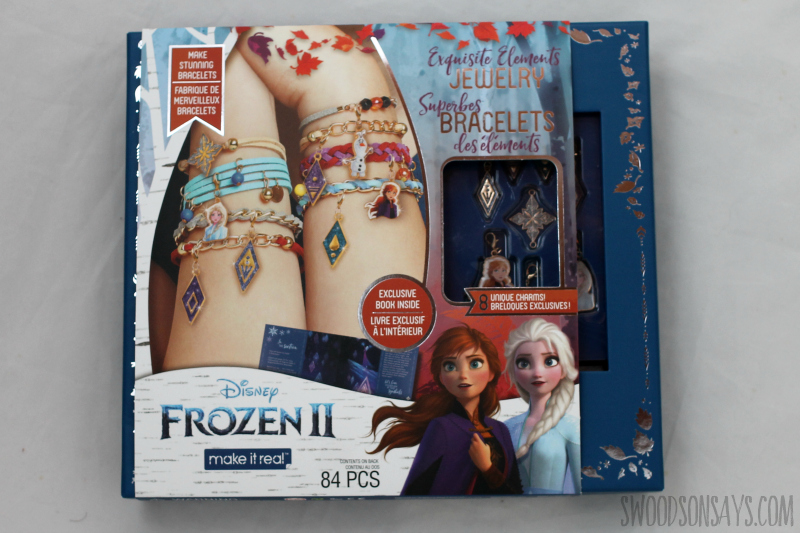
JOANN also sent me a fun jewelry kit with Frozen beads, that’s in stores now!
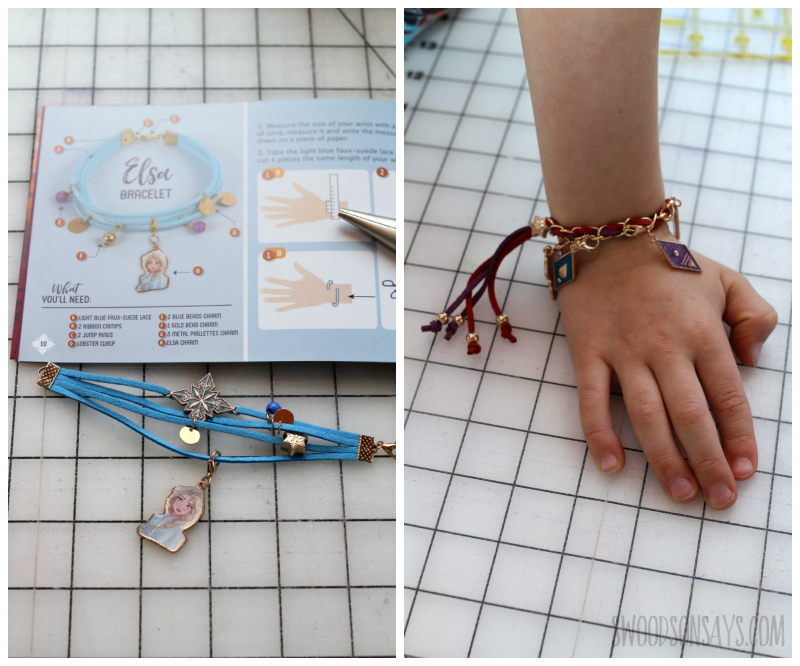
The kit has clear, easy instructions and lots of options; both my kids made a bracelet with some help from me. Threading those beads on and lacing through the chain was great fine motor practice!
If you like this post, check out these other posts while you’re here!
- 13+ T-shirt refashion ideas
- 25+ Free women’s shirt sewing patterns
- Tips for sewing refashions & upcycles
- Tips for thrift shopping to refashion or upcycle
- 13+ modern books on refashioning clothing & upcycle sewing
Pin this tutorial for how to add fabric to a shirt to make it bigger with this link or collage image:
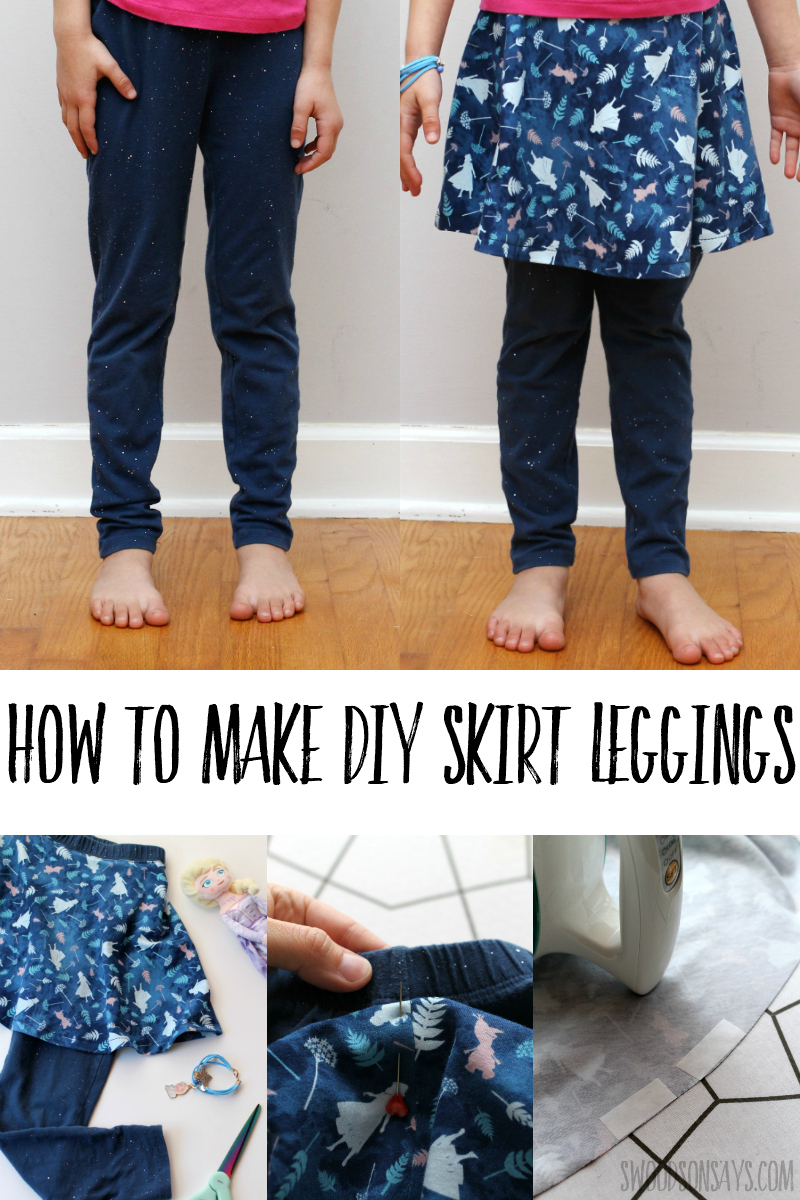
Ready to make your own handmade skirt leggings?
DIY sewing skirt to leggings tutorial
Supplies
- 1 yard of knit fabric that is similar to your original tshirt in weight – I used this cute Frozen knit from JOANN. Bigger sizes may require more fabric, do the math in step 1 to be sure what length fabric you’ll need, and take into account shrinkage!
- HeatnBond Soft Stretch Lite Tape
- Ballpoint needles
- Marking pen
- Coordinating thread
- Iron
- Rotary cutter
- Fusible heat n bond tape that is sew-able and 5/8″ wide
- Scissors
- Pins
- Quilt ruler
Steps

Step 1- Time for a little math! Lay your leggings flat, double their width laying flat – mine were 9.5″ laying flat, so my number was 19″. Divide your number by 3.14 (pi), this number equals your waist measurement. So 19″/3.14= 6″ for my pair of leggings.
Figure out what length you want the skirt to be, then add 1/2″ to that for the top hem and 1.25″ for the bottom hem. Take that final sum and add it to your waist measurement, equaling your length measurement, which was 18″ for my pair of leggings.

Step 2- Fold the fabric so the selvages are touching, then trim them off. Use your ruler (or a premeasured piece of string) and measure from the corner out, hitting your waist measurement from the math you did earlier. Continue to adjust the ruler to show the same distance, in several points, marking each one.

Step 3- Repeat step 2 with the skirt measurement.

Step 4- Draw a soft curve, connecting all the dashes you drew out in step 2 & 3. Cut along the lines you’ve drawn.

Step 5- Sew together the raw, short ends of the skirt you just created with 1/2″ seam allowance. Press it open.

Step 6- Time to hem! You can use your preferred method; I like using fusible tape but you have to cut and adhere it in small sections since it is curvy.

Step 7- Fold the hem up over the tape and press to adhere, then sew using a stretch stitch, press the final hem.

Step 8- Turn over the top seam about 1/4″ and press.

Step 9- Match the back seam of the pants to the seam of the skirt and pin, just below the elastic.

Step 10- Continue to pin along the waistband and then sew right along the edge, with a stretch stitch. Press with the iron. You’re done!
