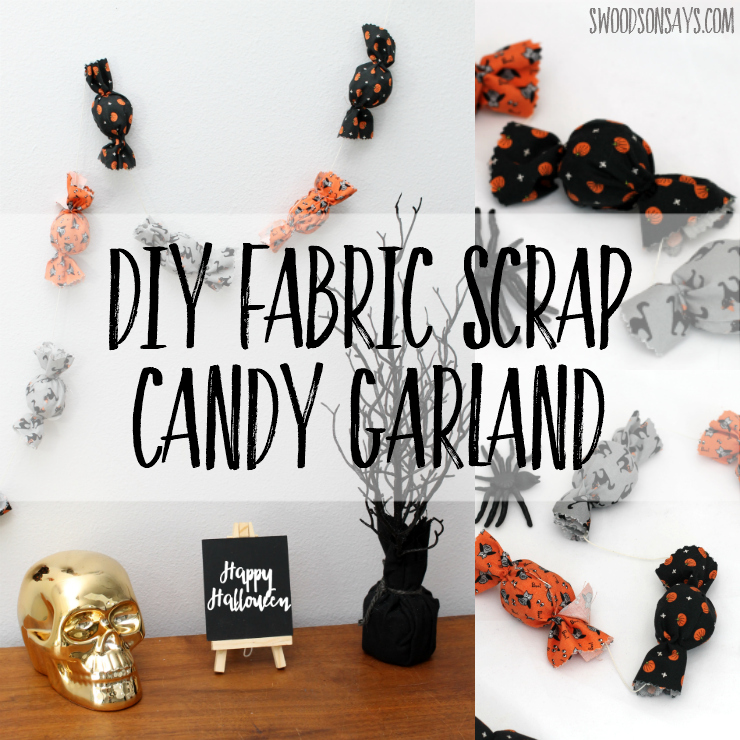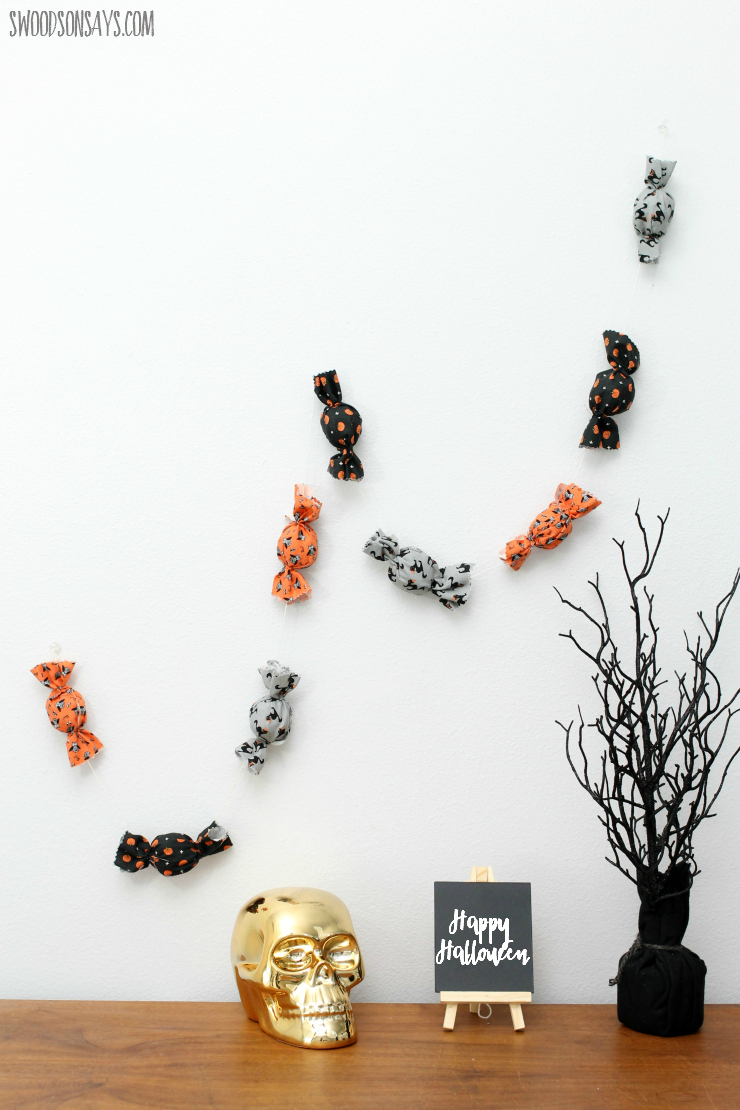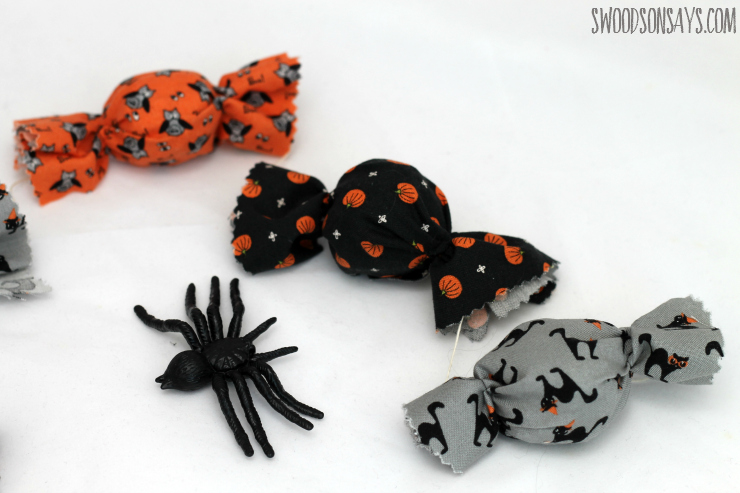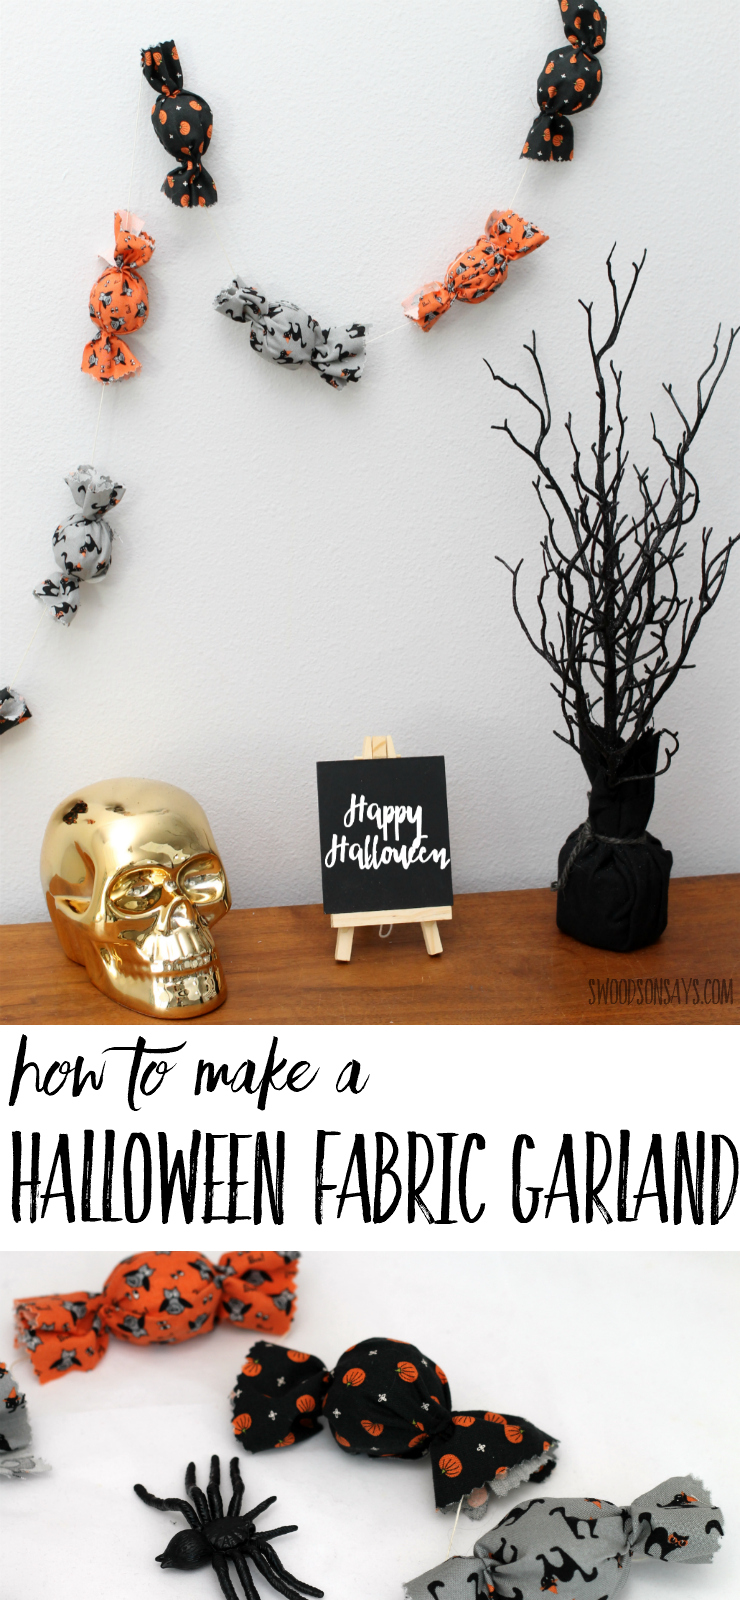
To complement the simple Halloween banner I made last week, how about a super quick fabric scrap Halloween garland! It took me less than a hour to make this but I love how it turned out. I’m all about fast and easy holiday sewing – we just pulled out the handmade astronaut costume I made my son and it took me about the same amount of time as this. You could make this as long or as short as you’d like; I don’t have a fireplace mantel to display garlands on but it sure looks cute up on the wall. I can totally picture this in Christmas fabric, and Valentine’s Day too!
Fabric scraps are used inside to fill the circles but you could easily use scraps for the outside as well since it doesn’t require much yardage.

My kids were very disappointed to learn that they were just candy decorations, and not for eating.

If I’d thought of it, they would have had fun helping me thread the “candies” on to the string, and crumpling the tin foil balls up, it’s definitely a kid-friendly project.

Ready to make your own?
How to make a fabric scrap candy Halloween garland
Supplies
- aluminum foil (probably from your kitchen!)
- 3 fat quarters of quilting cotton
- Darning needle
- Hand sewing needle
- Thread
- Baker’s twine or crochet thread
- Fabric scraps
- Pinking shears
Steps

1-Tear off about 5″ of foil and lay it out, placing a golf-ball size amount of fabric scraps at the bottom. Roll it up and smoosh it into a ball. Repeat for as many balls as you want (I made 6), comparing them so they’re similar sizes. If one is too small, just add a little more foil around the outside.

2- Cut the fabric into rectangles measuring 5.5″ wide X 6.5″ tall. Lay the foil ball in the middle and roll up evenly.

3- Pinch one side and hand sew a few stitches to tack it down, take a few stitches along the back to hold the long open edge down and then come from behind to add a few more stitches on the other side. Tie off in a knot, repeat for all candy pieces.

4- Use pinking shears to trim the ends so all the lengths match.

5- Cut a long piece of thread and use the darning needle to sew all the pieces together! You can push straight through each end, but I found it easier to make a small stitch on each end. Tie it up and enjoy!
Ta-da! Hang up your garland (I used clear push-pins) and enjoy for the rest of October.

Amanda Lake
Friday 1st of October 2021
I love this idea. I also have packing peanuts. I will put my pretend candy in a dish. It won’t get stale 🙂
Stephanie - Swoodson Says
Friday 1st of October 2021
haha yes!! love it!!
Linda
Friday 1st of October 2021
Such a cute idea, and could also be made in other colors for other occasions!
Victoria Fisher
Saturday 17th of October 2020
Hi! I also used “packing peanuts” I had a kaziliion. My daughter came over with the grandkids- and it was gone- I didn’t even get a pic of it! But they loved it and all they could talk about was fooling their friends- with it not being candy? Thanks for the inspiration!
Stephanie - Swoodson Says
Sunday 18th of October 2020
Hi Victoria! I'm so glad you all had fun making it, what a lovely thing to start my day with :) THanks for taking the time to share!!
Sue
Wednesday 2nd of October 2019
As an alternative to the foil you might repurpose a chunk of polystyrene. Practically any appliance, large or small seems to have tons of polystyrene slabs or “peanuts” and they would make an equally light garland while keeping something out of the landfill 👏👏
Stephanie - Swoodson Says
Wednesday 8th of January 2020
that is a great tip Sue!!
Paula
Tuesday 17th of October 2017
This is so cute and perfect for Halloween decor. I love that your kids thought that there might be candy inside!
Stephanie - Swoodson Says
Monday 23rd of October 2017
Thanks Paula, they are optimists :)