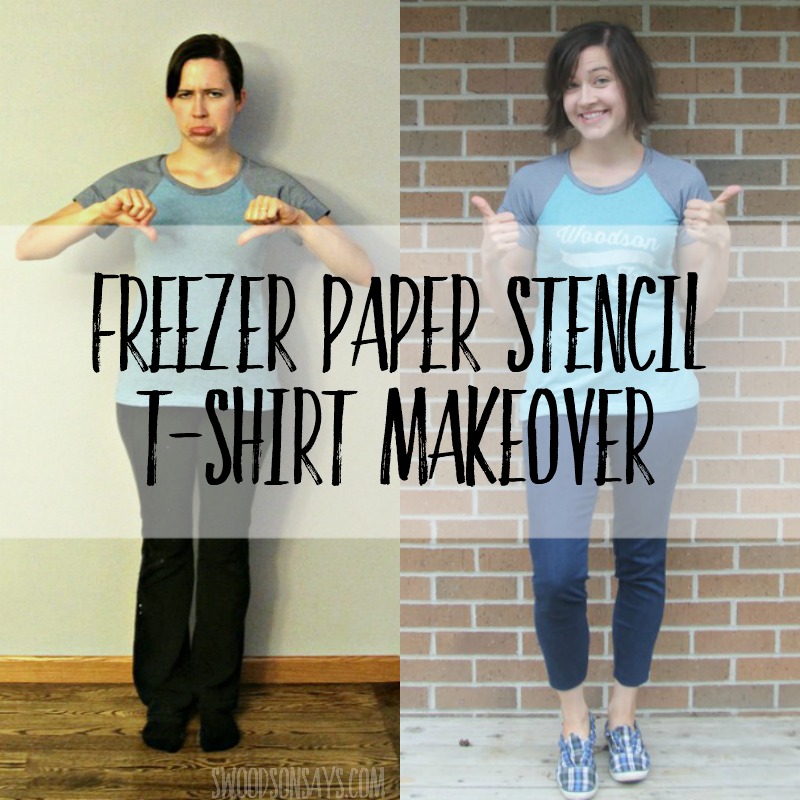
I pattern tested this Centerfield Raglan from Greenstyle Creations a few months ago and realized I’ve never blogged about it! I sewed up this plain version out of Target jersey sheets (my favorite!) but found myself not wearing it. I pulled it back out to jazz it up a little and thought I’d try out a freezer paper stencil. To be clear, it says ‘Woodson ZOO’ not ‘Woodson LOO’ like my husband suggested. If you haven’t tried using freezer paper, I have a quick tutorial at the end of the post but first I’ll share my thoughts on the pattern!
As a pattern tester, I received a copy of the pattern for free but all opinions are my own.
Check out 13+ t-shirt refashion ideas for more inspiration, too!
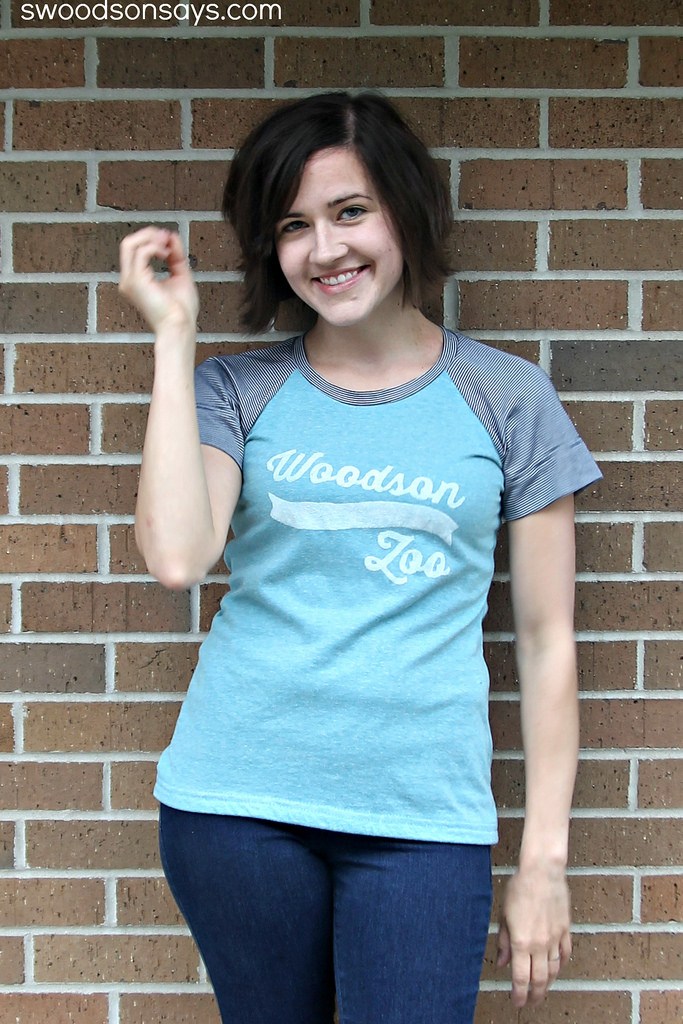
I have zero clue what I’m doing with my hand in this picture, but I liked how my hair looked, so I wanted to use it. (At least I’m honest?)
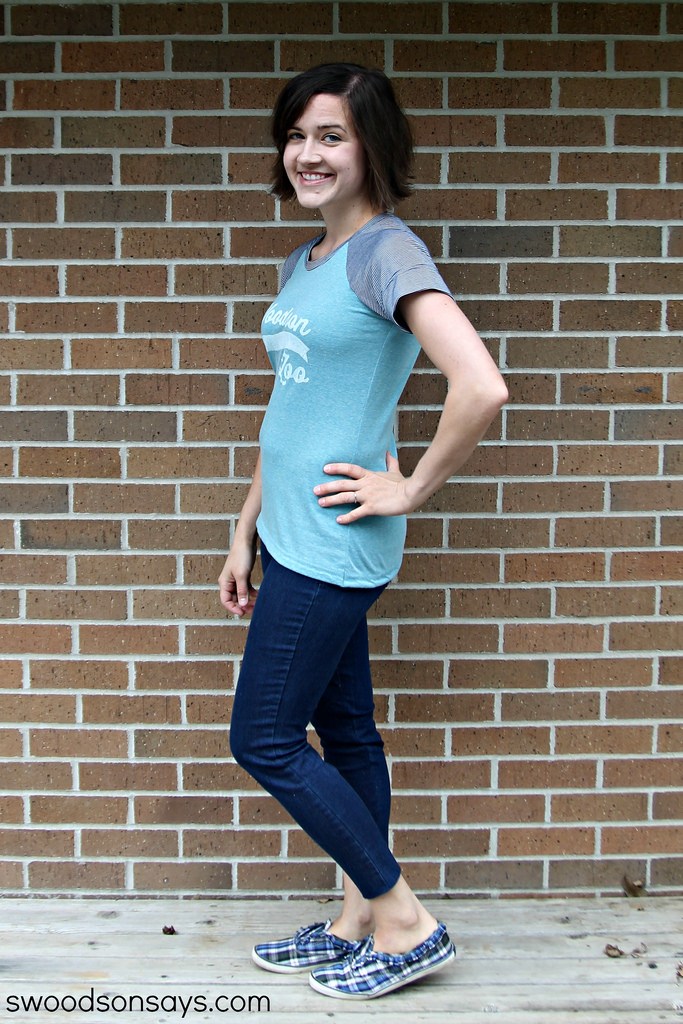
As you can tell, this is a very fitted shirt. If you prefer a more athletic look, size up! Or suck it in better than I am.
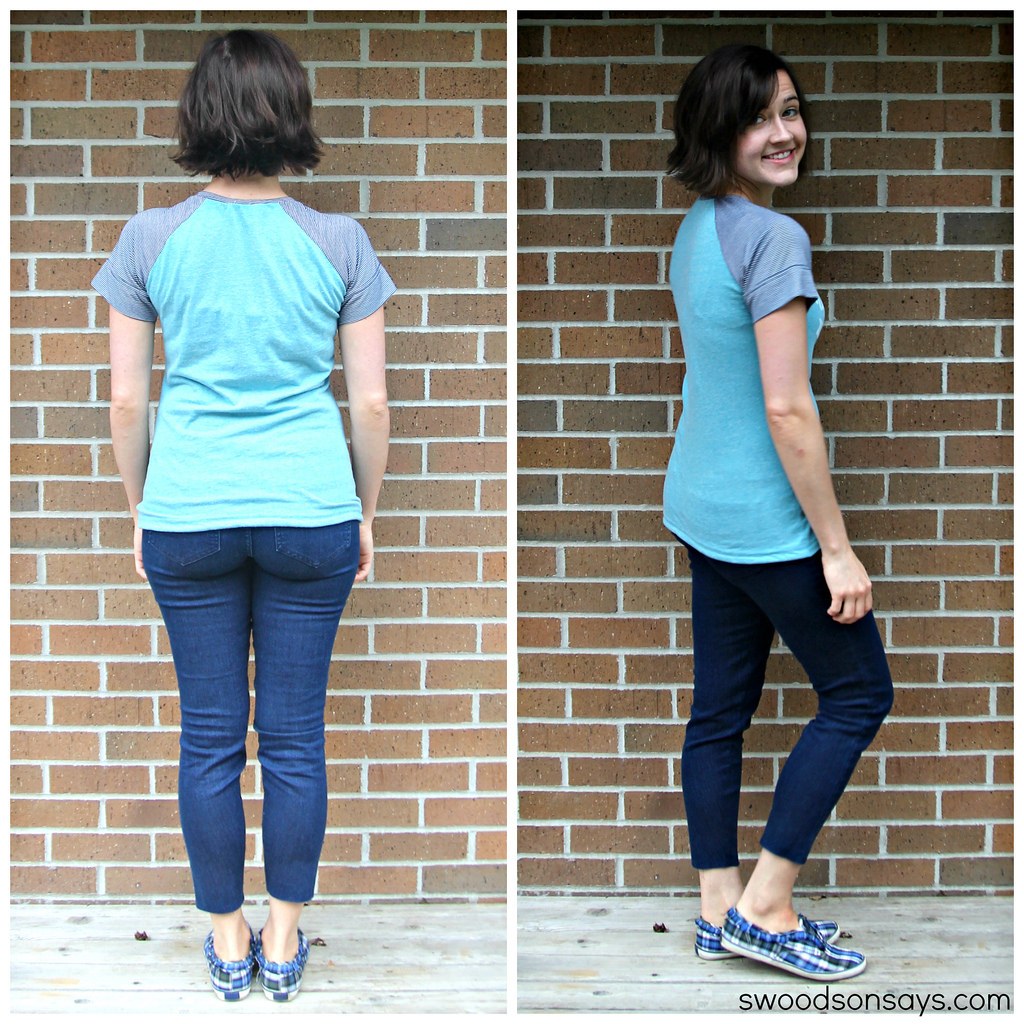
I didn’t embellish the back; just showing the fit.
Pattern: Greenstyle Creations Centerfield Raglan — Size Small — Short Sleeve
Fabric I used: Target jersey sheets
Changes I made: None
What I might do if I make it again: I think I will size up! Apparently I have become fluffier than when I pattern tested because the small is.. smaller.
Overall thoughts on the garment: I will definitely wear this often – raglan sleeves are my favorite for both my son and myself because they’re so comfy.
Overall thoughts on the pattern: Greenstyle patterns are great! It comes together so quickly, the neckband needs no adjusting, and the fitted curve at the waist is a nice touch.
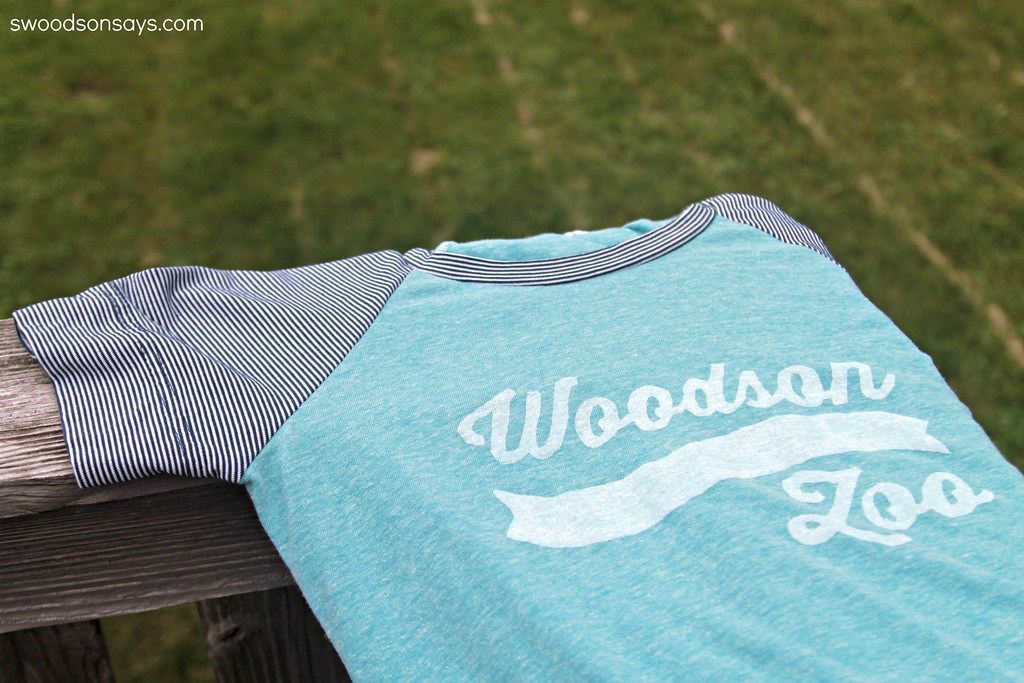
It’s no secret that my last name is Woodson – I love baseball-style graphics so I thought I’d add one of my own! Want to embellish or refashion your own shirt? It is super easy, using freezer paper* that you can buy online or find by the foil in your local grocery store (where it will be much cheaper).
I designed my ‘Woodson Zoo’ image in PicMonkey *, using the Thirsty Script Bold font and one of their graphics, and printed it out. You can see the next steps in the collage below; I used regular acrylic paint because I want it to chip and look vintage-y as it washes. but you could use fabric paint instead.
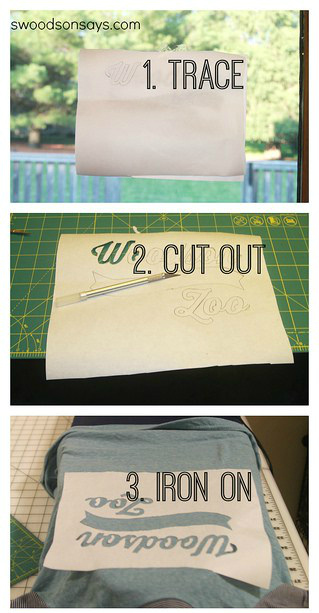
All pictures are shown with the ‘shiny’ side DOWN – that is what will adhere it to the fabric!
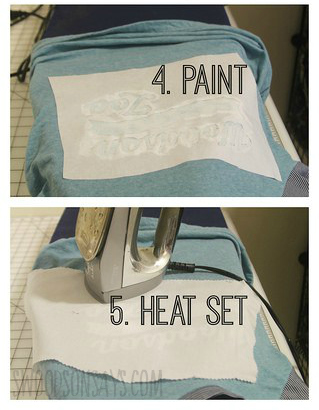
That’s it! Freezer paper irons on and pulls back off without any residue and you will feel like a magician. I don’t know why I waited so long to experiment with it.

Becca DuVal
Sunday 15th of November 2015
You are literally the cutest ever. And I have been going through my sewn stash to see what I have neglected to blog, too. Who knew I had so much free time to sew?? I thought everything I made was already blog-committed :-O
Stephanie - Swoodson Says
Tuesday 17th of November 2015
You're too kind! I have still a backload of things to be blogged. I love my kids but they make working linearly impossible, I constantly struggle with it!
lhunt
Saturday 29th of November 2014
Awesome review. Love the freezer-paper template. Must Try !
Stephanie - Swoodson Says
Sunday 30th of November 2014
You really should, it is so easy and satisfying! Thanks for stopping by :)
Miriam Schulman ( SchulmanArt)
Wednesday 30th of July 2014
The t-shirt looks great on you! Using freezer paper seems like a great idea!
Gina
Tuesday 29th of July 2014
Love this!!! I think I told you that on Instagram but the graphic is just perfect!!! Also...get your hubby to buy you a silhouette! Saves so much time on the cutting part! lol
Alicia @ Felt With Love Designs
Tuesday 29th of July 2014
I love freezer paper! I use it for transferring my patterns too. It's amazing. You can also print directly onto the freezer paper, you just have to cut it the size of a sheet of paper so it fits through the printer. Eliminates the tracing step :)