
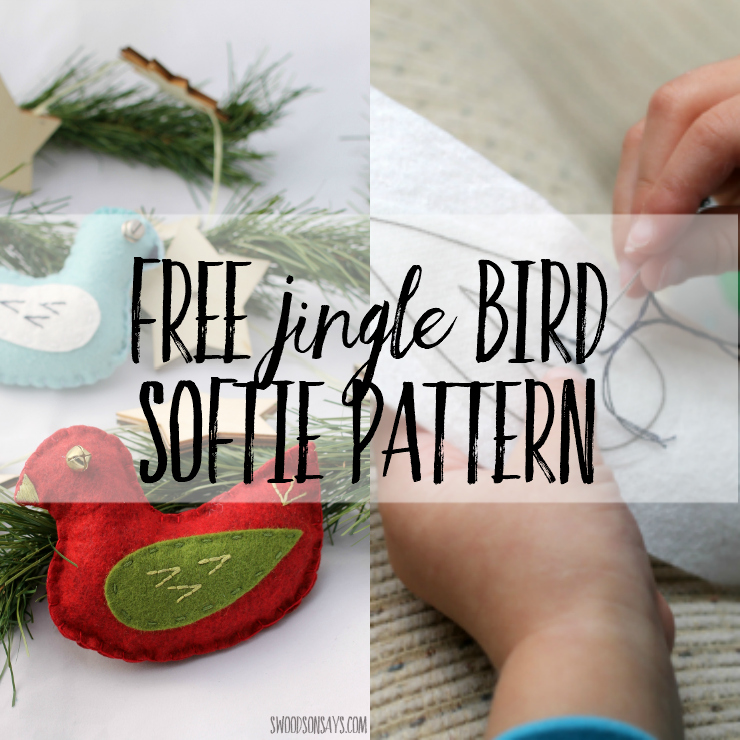
I have a fun, easy little bird pattern to share today, as a part of the Sew A Softie group. I love the Sew A Softie community – Trixi from Coloured Buttons organizes it and all over the world, bloggers share free softie patterns and organize softie sewing workshops. My goal was to design something easy enough for my 2 year old to help, and she loved it! You could easily add more complicated designs to the wing or let them freehand stitches as well.
You need to check out these related posts too!
- Where to buy wool felt online
- Tips for teaching kids to sew
- Big list of free felt ornament patterns here
- 20+ easy sewing projects for kids
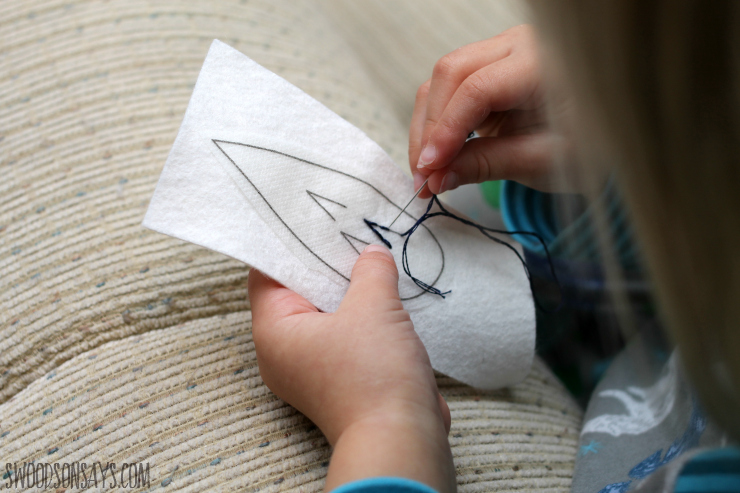
My kids love watching me sew, and this was one of the first times my 2.5 year old got in on the actions. She was very proud of the wing stitching she helped with!
Depending on the age and focus of your kiddo, they could certainly sew this entire thing. My kids ran off after wing stitching, leaving me to finish the rest. Adding some embroidery floss would turn these into ornaments quickly, but they are big enough to snuggle and throw, too!
Pin this tutorial for later with this link and image:

How to make a jingle bird softie
Supplies
- Glue stick
- 9 X 12 wool blend felt sheet for the main bird body, scraps for the wing (My favorite shops are Benzie Felt* & Busy Little Bird*)
- Embroidery floss (DMC is my go-to)
- Fabri-Solvy or other transfer method (see how to use Fabri Solvy in this post!)
- Jingle bells (I used approximately 9 mm size*)
- Embroidery needle*
- Poly-fill or other stuffing
-
Jingle bird pattern download –sign up for my newsletter and get the free download once you confirm your subscription! If you’re already a subscriber, you can access the pattern with the password in each newsletter, in the resource library.
Steps
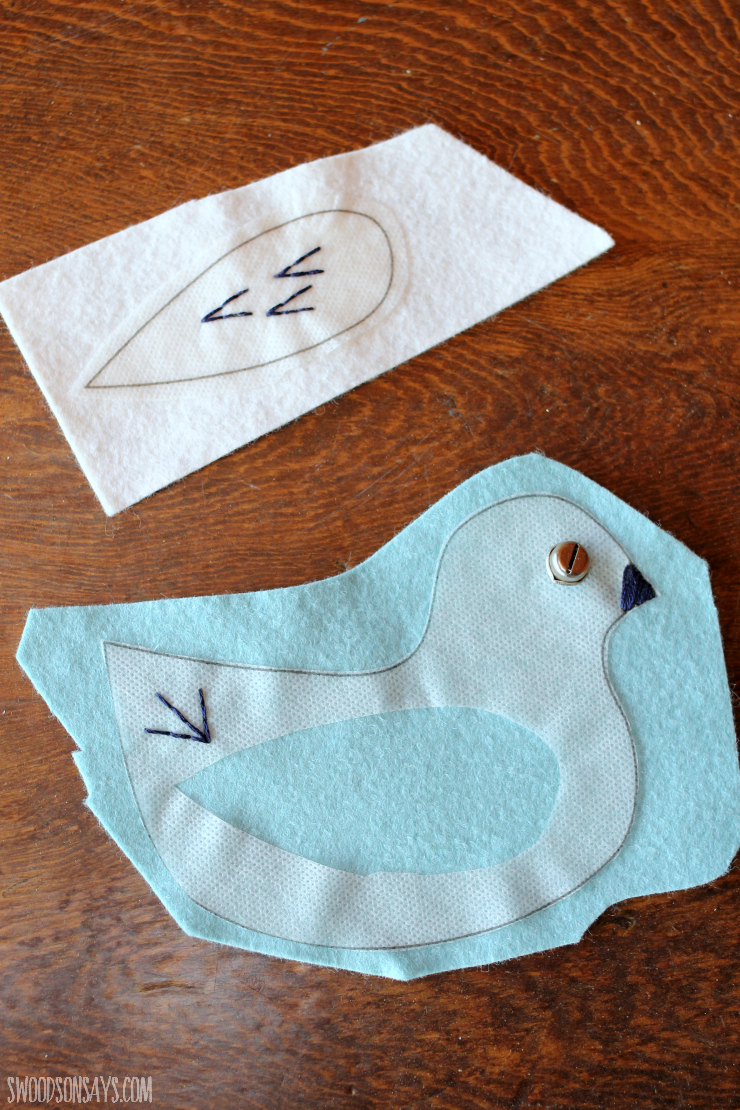
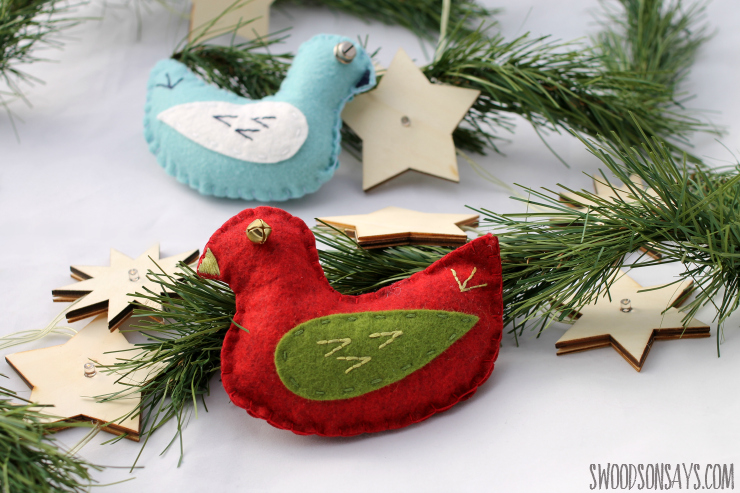
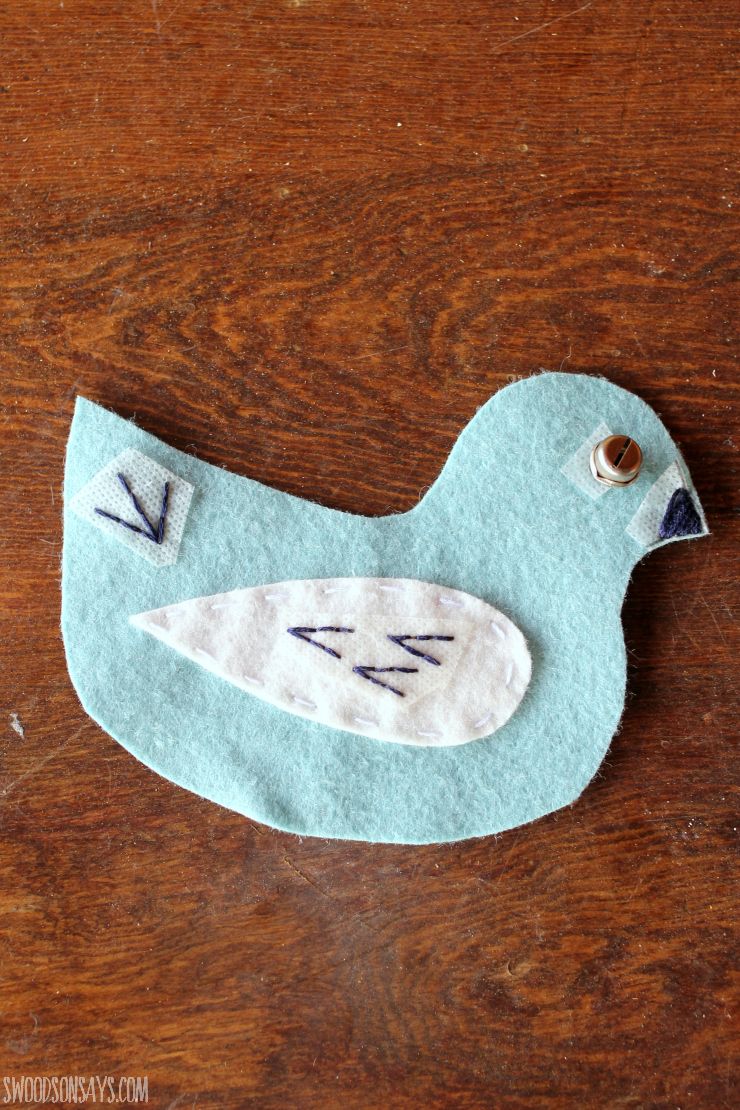
Step 1- Prep your pattern transfer and stitch the details. I used a simple back stitch for the wing and tail, satin stitch for the beak, and a jingle bell for the eyeball. This would be a great time for kids to add their own embellishments as well! The transfer method I prefer is shown, see how to use Fabri Solvy in this post!
Step 2-Attach the wing to the bird’s body, I used a running stitch. Use the bird’s body to cut an identical body piece as the back.
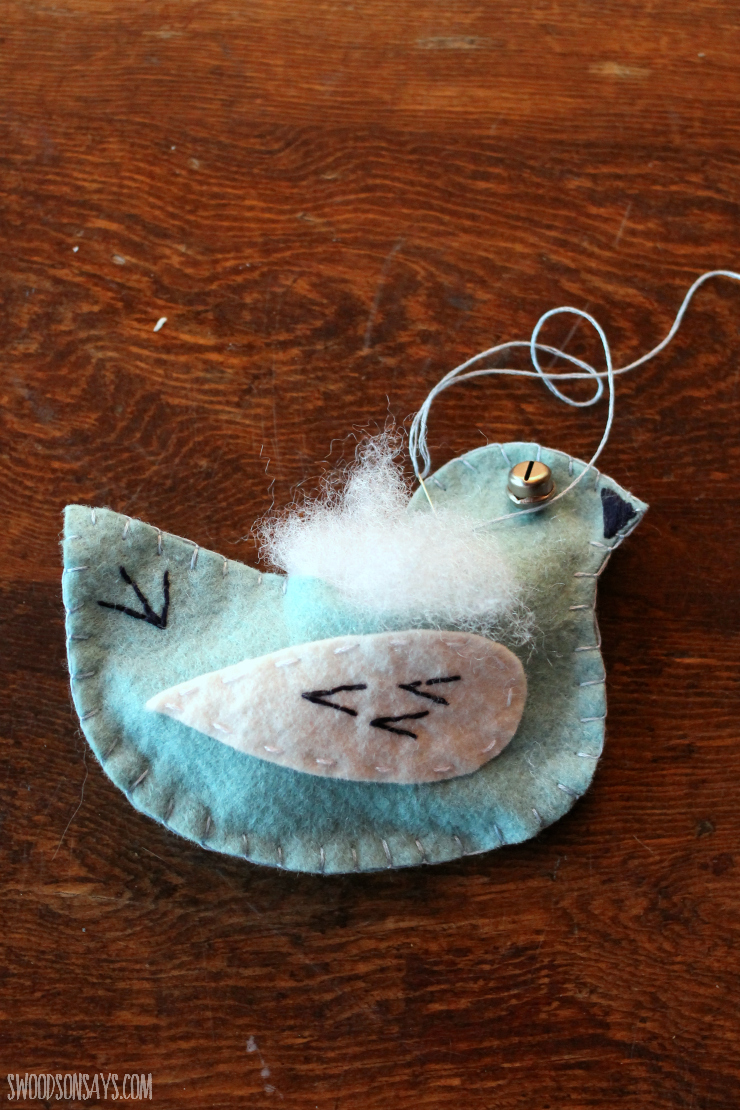
Step 3- Sew the body pieces, wrong sides together, and pause with a small opening to add stuffing. Finish sewing closed, and you’re done! I used a blanket stitch.
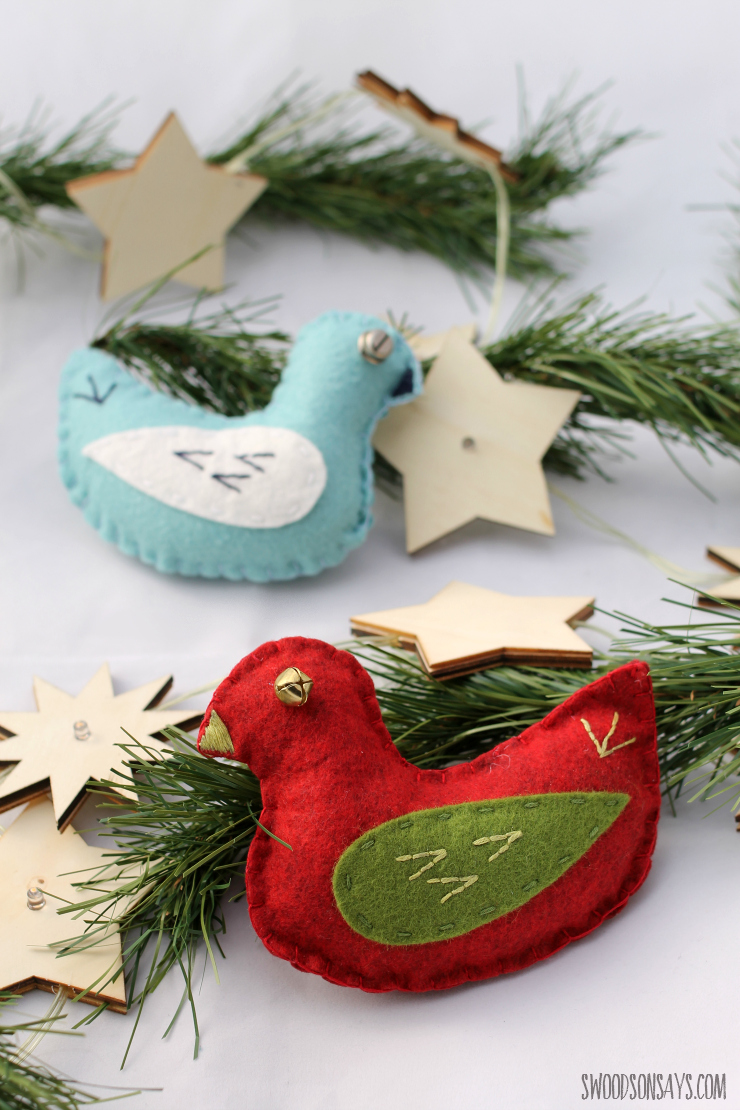
Go crazy and sew a whole flock! These jingle birds would look super fun as a garland, too.
Min
Monday 4th of March 2019
Easy to make and my nieces and nephews love it. In fact they were even able to help put it together by using craft glue instead of sewing it.
Stephanie - Swoodson Says
Wednesday 27th of March 2019
I'm so glad you all had fun with it! I'd love to see pictures if you have them :D