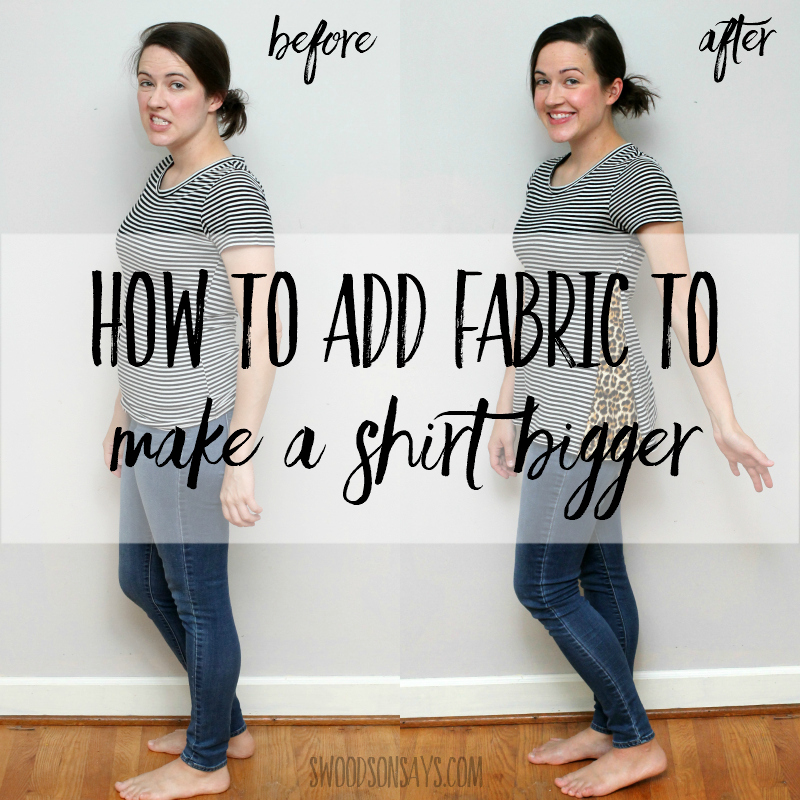
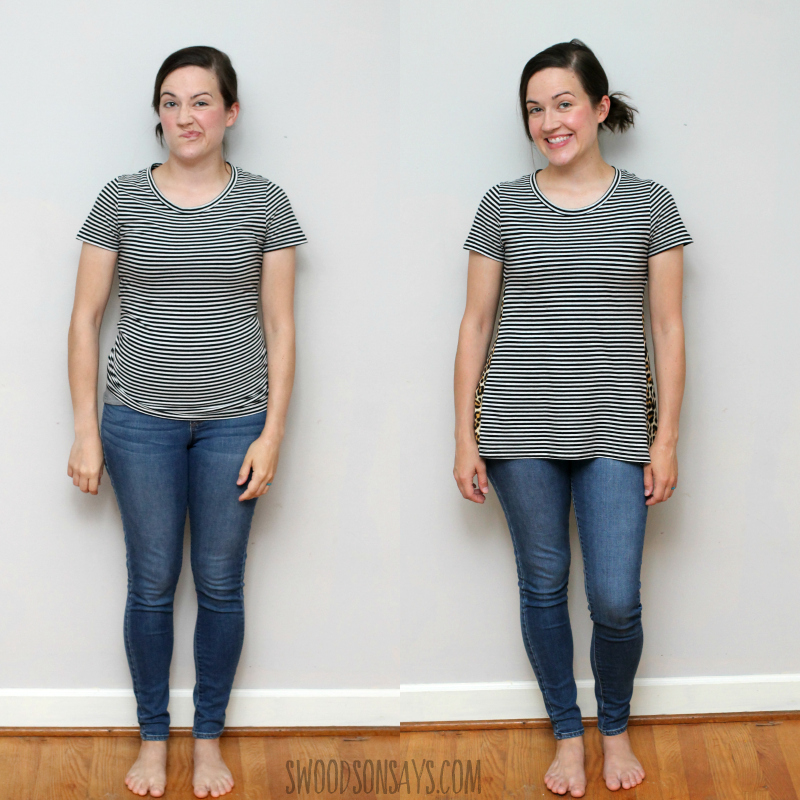
 Whether you’re looking to fix a too-tight shirt or simply want a swingier silhouette, I’ve got a super easy tutorial showing how to add fabric to a shirt to make it bigger (find more 20+ ways to refashion clothes bigger here)! My shape definitely changed after two kids (see this post for more about how postpartum self care & sewing has intersected for me!) and I feel much more comfortable with looser tops. Instead of scouring the thrift store racks for a shirt with the right cut, I can pick up whatever suits my fancy and it takes half an hour to add a fun accent fabric instead.
This post was sponsored by JOANN, which means they supplied materials and compensated me for my time, but all opinions are my own.
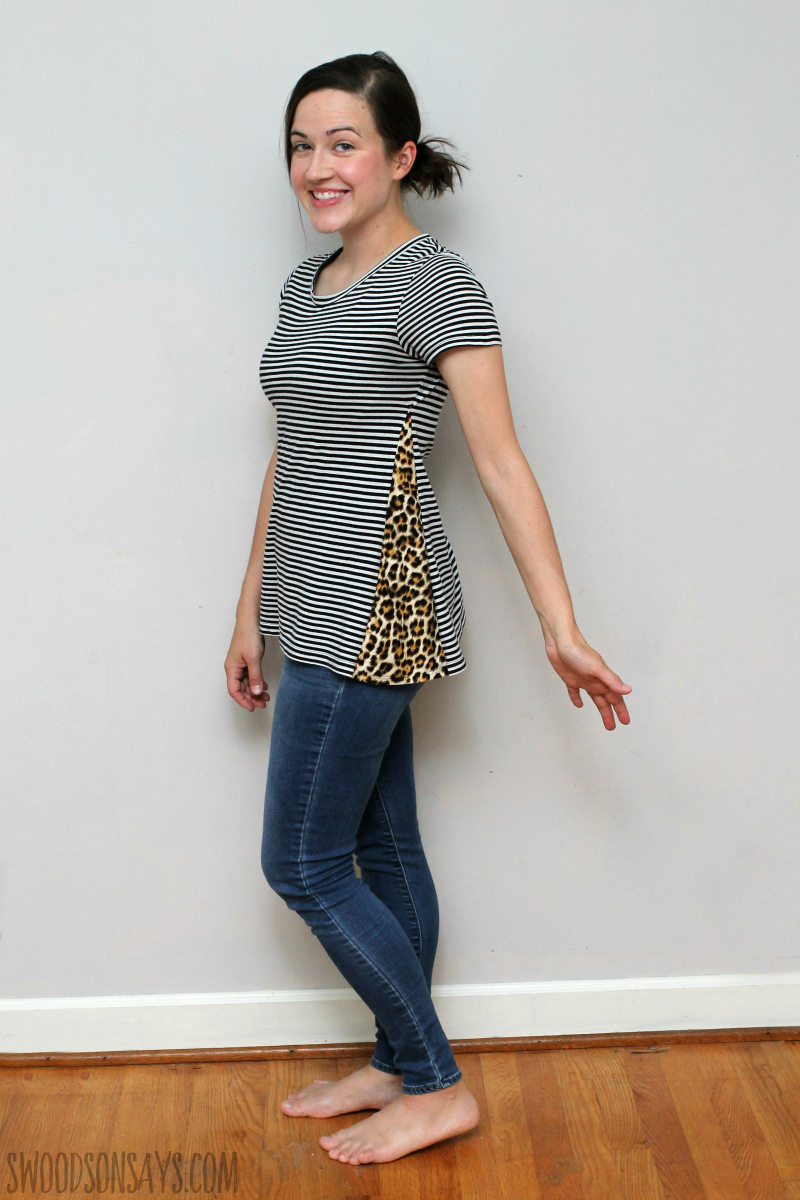
JOANN just released new knit prints for fall and I immediately jumped on this fun leopard one. It’s a nice, medium weight knit without any see through issues and felt comparable to my original shirt so I knew it would mesh well.
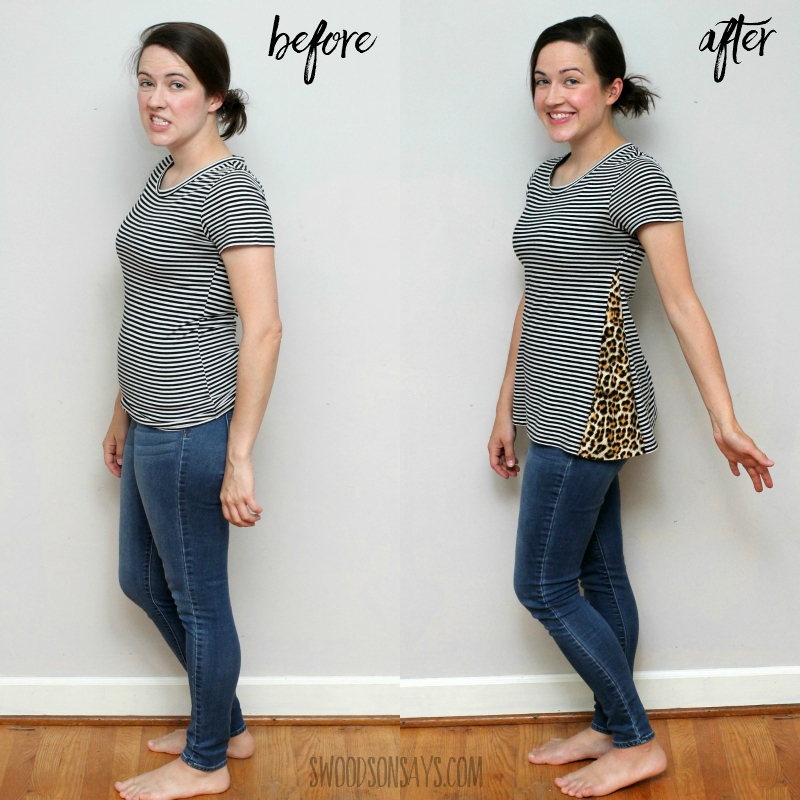
So much comfier! It’s a fun way to add an accent of leopard or another fabric you might not want to wear in an entire garment too.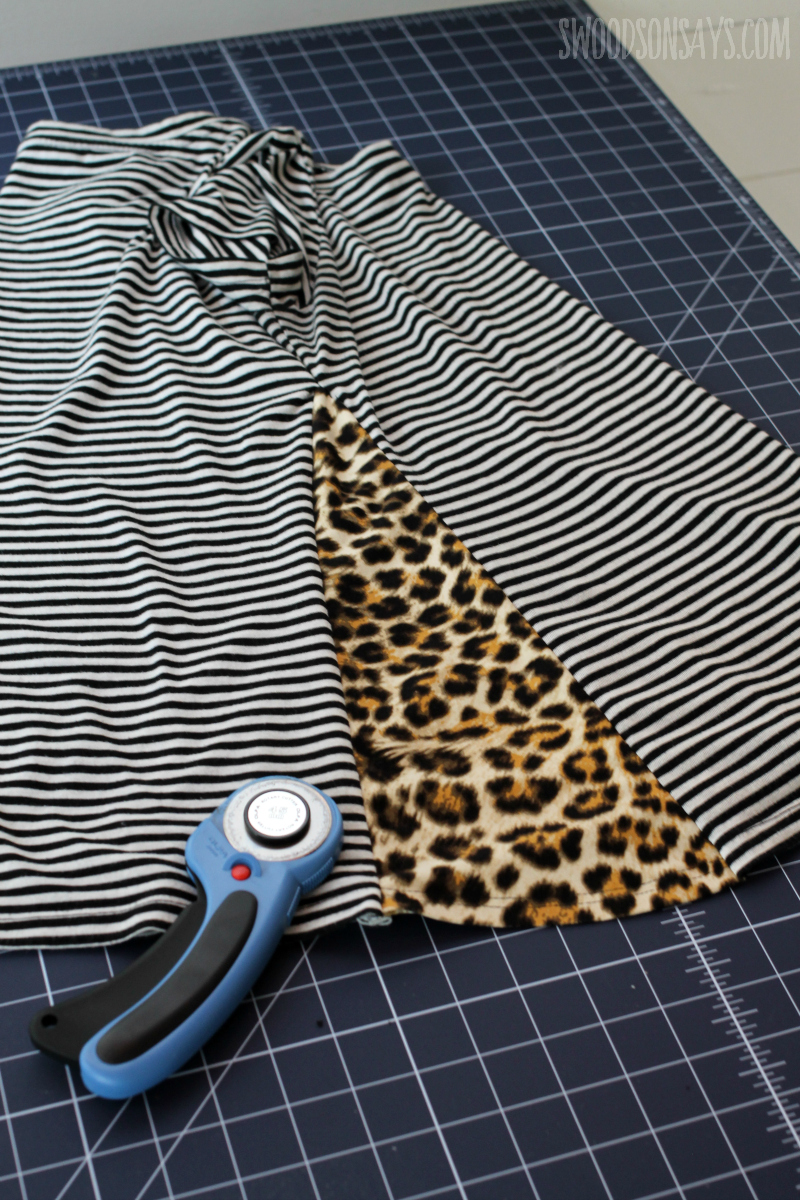
This is a very beginner friendly refashion tutorial, I took lots of pictures and spelled out every step. If you haven’t sewn much with knits, this is a great place to start!
If you like this post, check out these other posts while you’re here!
- 13+ T-shirt refashion ideas
- 25+ Free women’s shirt sewing patterns
- Tips for sewing refashions & upcycles
- Tips for thrift shopping to refashion or upcycle
- 13+ modern books on refashioning clothing & upcycle sewing
Pin this tutorial for how to add fabric to a shirt to make it bigger with this link or collage image:
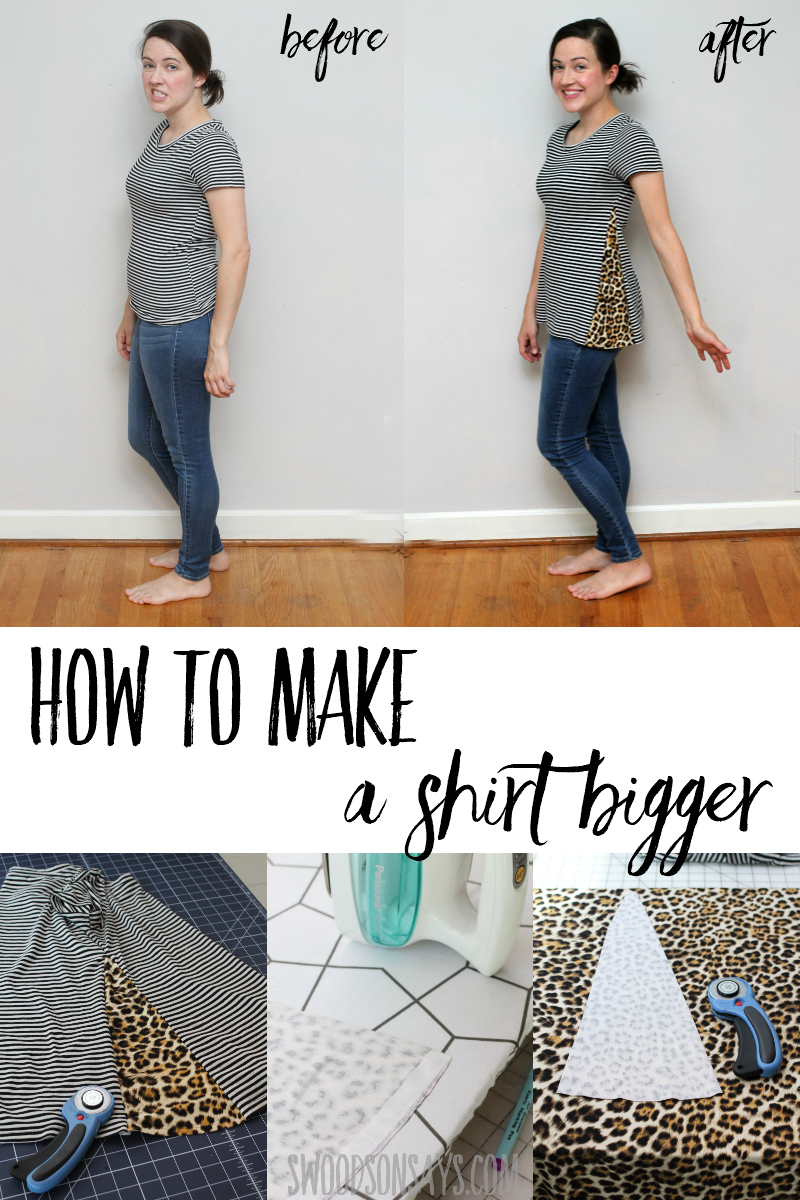
How to add fabric to a shirt to make it bigger
Supplies
- 1/4 yard of knit fabric that is similar to your original tshirt in weight – I used knit leopard fabric from JOANN
- HeatnBond Soft Stretch Lite Tape
- Ballpoint needles
- Coordinating thread
- Iron
- Rotary cutter
- Scissors
- Pins
- Air soluble marking pen
- Quilt ruler
Steps
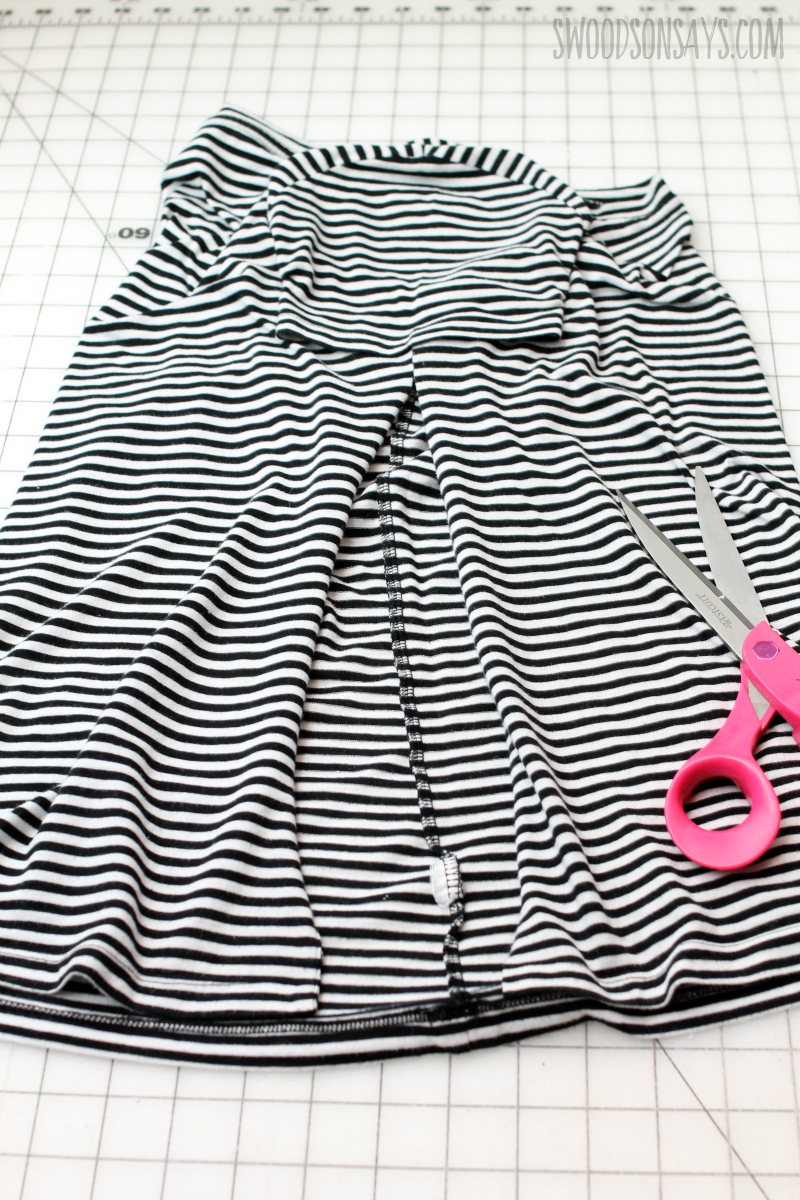
Step 1- Cut up the side seam of your shirt! You can go all the way up to the armpit seam but I opted to end a little below that, just based off the shape I was going for. 

Step 2- Lay out your insert fabric, making sure that the stretch direction matches up with your shirt. This will make sure that it hangs nicely! Lay it out flat and lay your shirt over top of it, pulling it as wide as you’d like. The wider the base, the swingier the shirt will be. The gap between my striped hems is approximately 6 inches wide. Use your marking pen to trace this opening.


Step 3- Time to draw our your hem allowance! You might want to consult your original tshirt to see if you want it to match; I was more concerned about ease of hemming. I used this fusible hem tape, so I laid it out and traced around, so that the finished edge would match up with the edge I traced out to match in between the striped sides. You could also measure if you prefer, I am more of an eyeball it person when it comes to refashions.
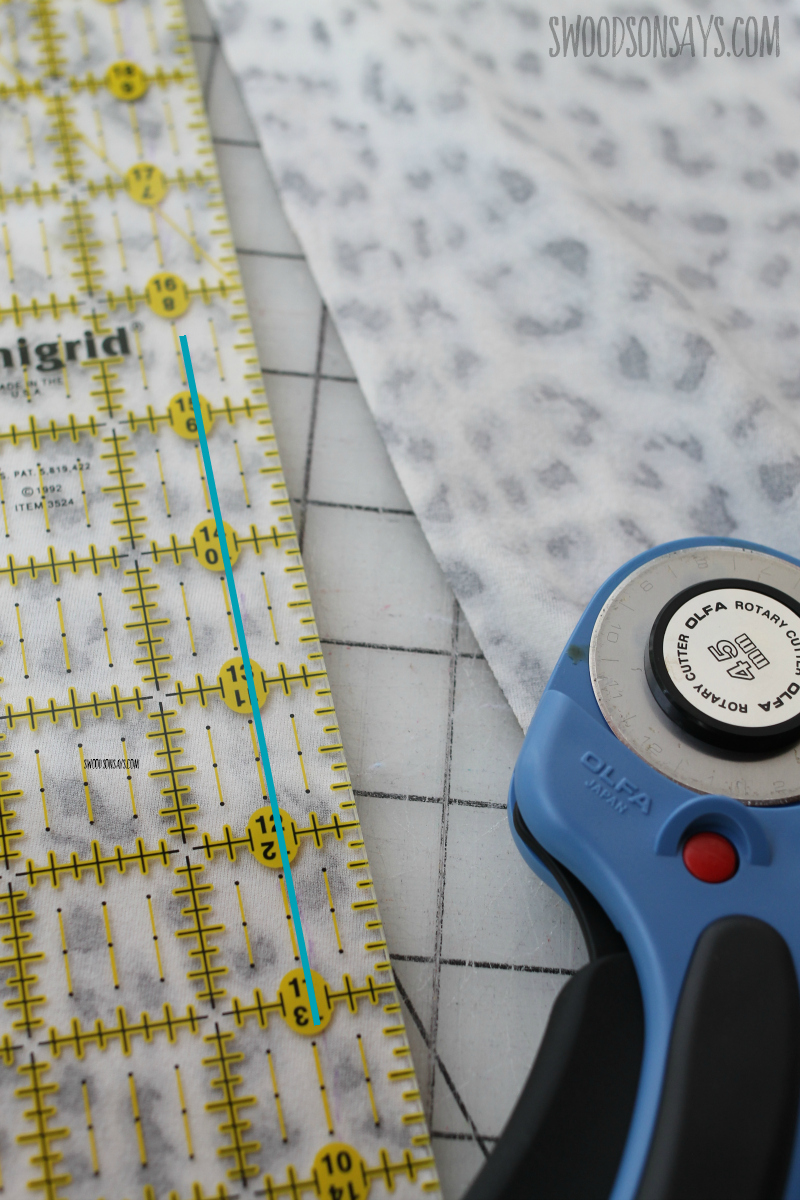
Step 4- Then it’s time to cut out the sides! You’ll want to add a seam allowance to each long side of the triangle you drew, extending past the top. I went for a 1/2″ seam allowance – so under the blue digital line was my marking pen line, and I measure 1/2″ past that, cutting it out along that line.

Step 5- Use the triangle you just cut out as a pattern, cutting a mirrored one of the same fabric, keeping in mind that the stretch is going the same way!
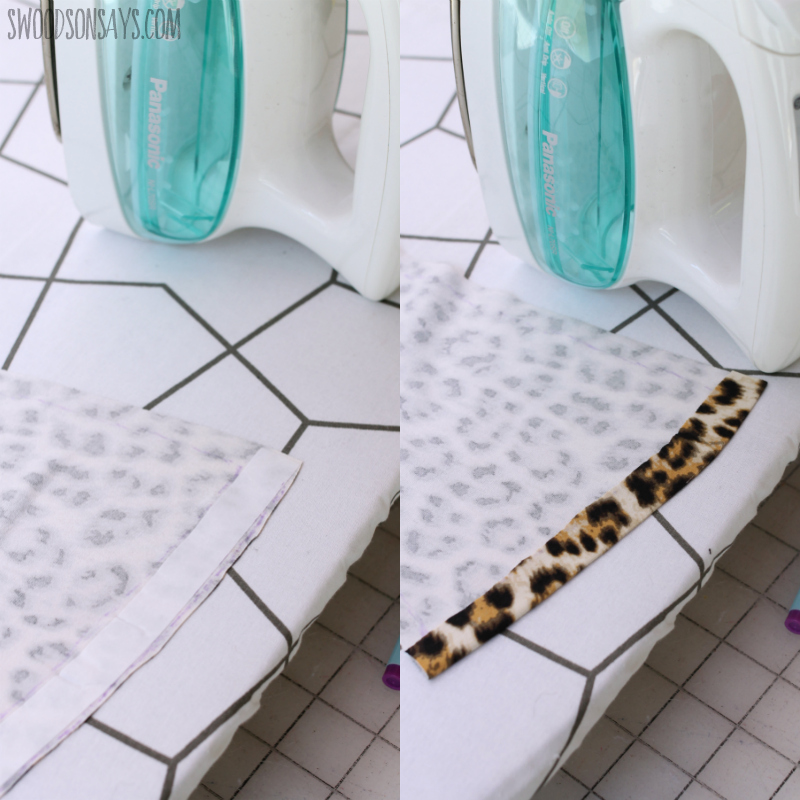

Step 6- Hem the bottom of both triangles, keeping in mind where you drew the hem allowance so it all matches up and you can line up stitching lines with the original shirt. 

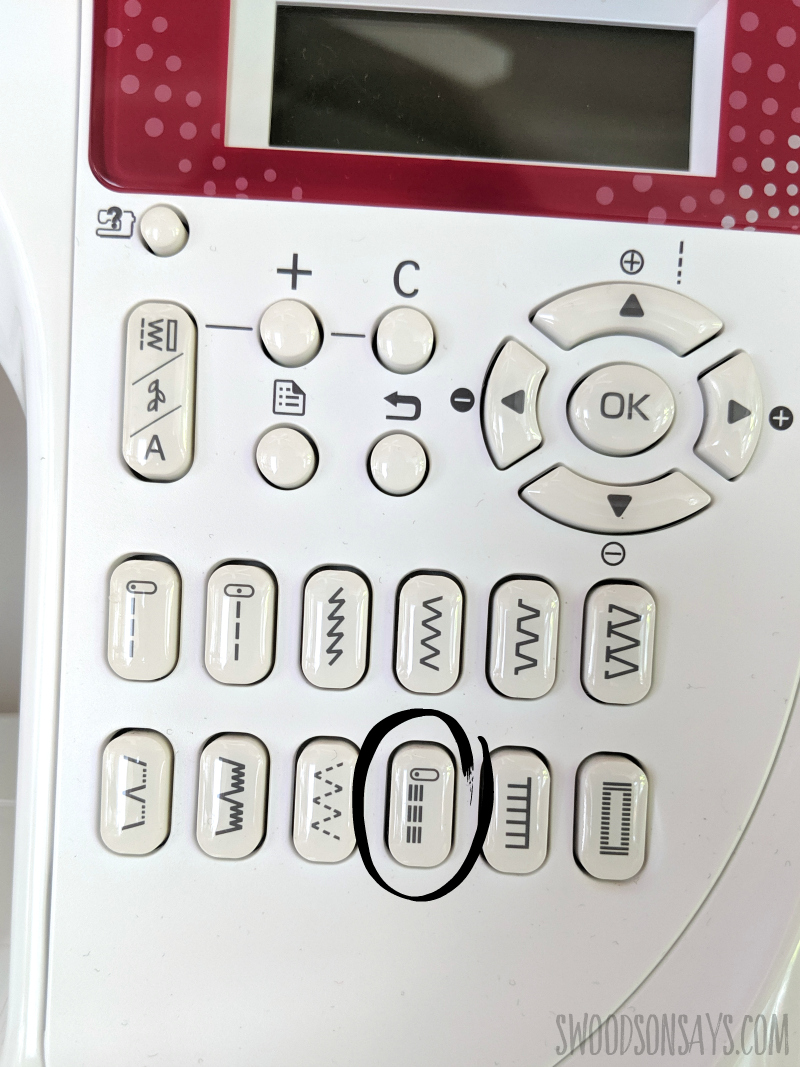
Step 7- Sew the insets in! Pin them right sides together and then stitch along the seam allowance line you originally drew. If you do not feel confident, try it with a basting (long as it’ll go) stitch so you can try it on and seam rip as needed. Once you’re sure it is how you’d like, I’d recommend using a stretch stitch like the triple stitch I used (shown below) or a zig zag. Do one side first.

and then sew the other side the same way! 
Step 8- Use an iron to press the seams to the outside on both sides. 
This is what the inside should look like.

Step 9- If you didn’t go all the way to the armpit seam like me, you’ll want to smooth out the seam allowance on the side. I put a white line just outside of where I actually stitched so it is easier to see; I went from the original armpit seam and gently went out at a diagonal until I met the stitching line from the inset.
You’re done! Try on your shirt and enjoy your roomier size!

Manindar
Sunday 3rd of March 2024
Thanks for sharing this extension, that's the one I was looking for a brand new top I have.
Stephanie - Swoodson Says
Monday 4th of March 2024
love to hear that!
Lisa
Wednesday 19th of July 2023
FINALLY tried this and it was awesome! Thanks for the detailed instructions with pictures.
Stephanie - Swoodson Says
Sunday 23rd of July 2023
yay!! i'm so happy to hear that, I'd love to see a picture :) stephanie at swoodsonsays.com
Lisa
Friday 31st of March 2023
This is a winner of a way to save money AND my favorite shirts. Would this work with cotton t-shirts as well? I have so many cotton and cotton blend t-shirts I'd like to make larger.
Thank you for the great tutorial! Big fan from Michigan
Lisa
Stephanie - Swoodson Says
Saturday 1st of April 2023
You're so kind Lisa!! The example is a cotton blend tshirt :) You just want to make sure the inset fabric is similar to the original tshirt - or you can experiment with lighter inset fabric but it may hang differently than you expect! I hope you give it a try!
Cate
Sunday 6th of March 2022
Love your tutorial!! One question: I am having trouble getting the point of the triangle to lay flat after sewing up the sides. Any words of wisdom?
Stephanie - Swoodson Says
Sunday 6th of March 2022
Hi Cate! Any time working with slightly fiddly angles like this, I like 'basting' (sewing with a super long stitch) and then adjusting as seems fit until it is laying the way I want, then sew properly, and press/steam heavily with an iron. I hope this helps!!
Sharon Anderson
Sunday 5th of September 2021
Great idea! Did you know that if you use a double needle to hem the bottom of a knit garment, such as a tee shirt or skirt, it will look exactly like the rest of the hem? It leaves a much nicer evenly spaced stitch. There are different spaced double needles so have one of each handy. Keep coming with the cute ideas...
Stephanie - Swoodson Says
Tuesday 4th of July 2023
you know, I have used one but am usually too lazy to swap it out :) great idea though!