

I went to a wedding for the first time in several years, and refashioned this dress to wear! I dug around for months hoping to find a really out of date dress to makeover, but this is the best I found. It was roughly 2 size too big, had a hole in the back, and was missing buttons so I thought I’d give it a new lease on life! I’m sharing a rough tutorial on how to alter a dress that is too big with some photos; I’m no professional tailor but that’s the beauty in refashioning; you can experiment without investing too much money!

Here it is on the actual day of the wedding, all dressed up!

I realized I didn’t take any side shots of the ‘before’, but this gives you an idea of how the finished silhouette looks from the side. Also, the first time I’ve worn high heels in years! My kids were fascinated, haha.
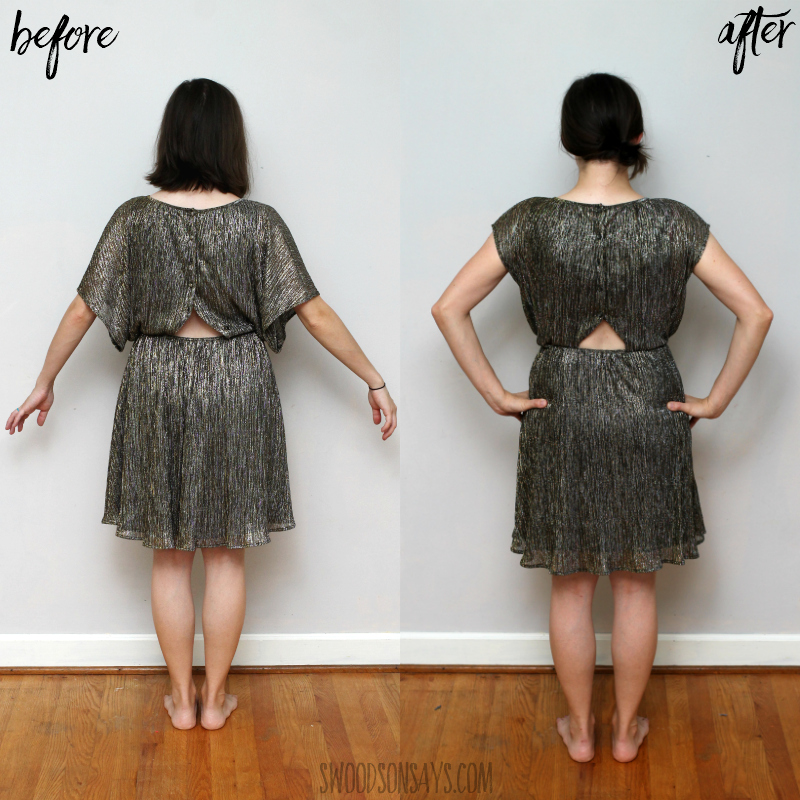
Here is a before and after of the back! I’ve never worn a dress with back showing but I really like this subtle little triangle.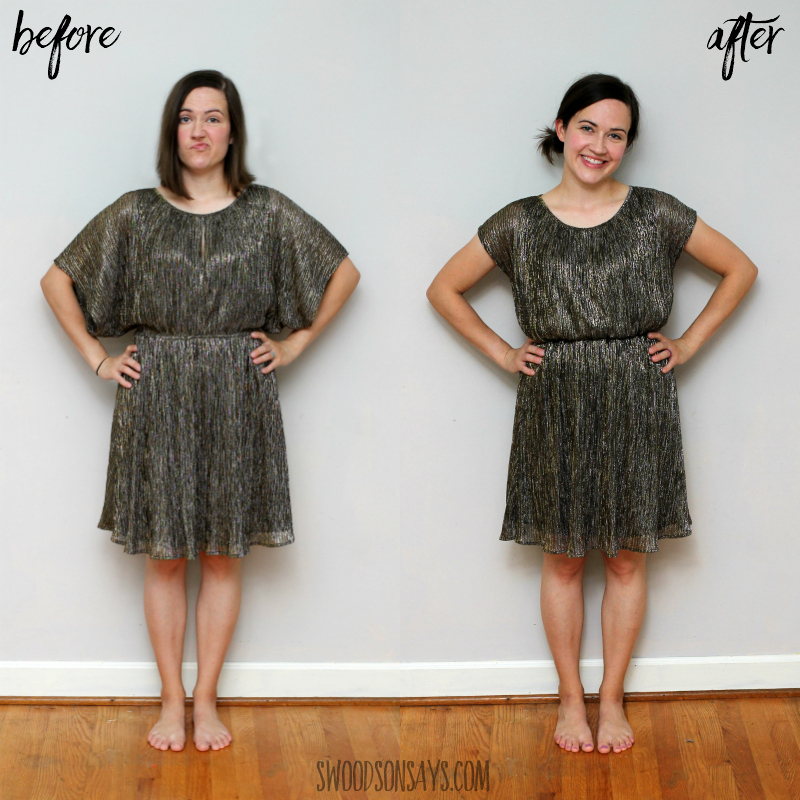
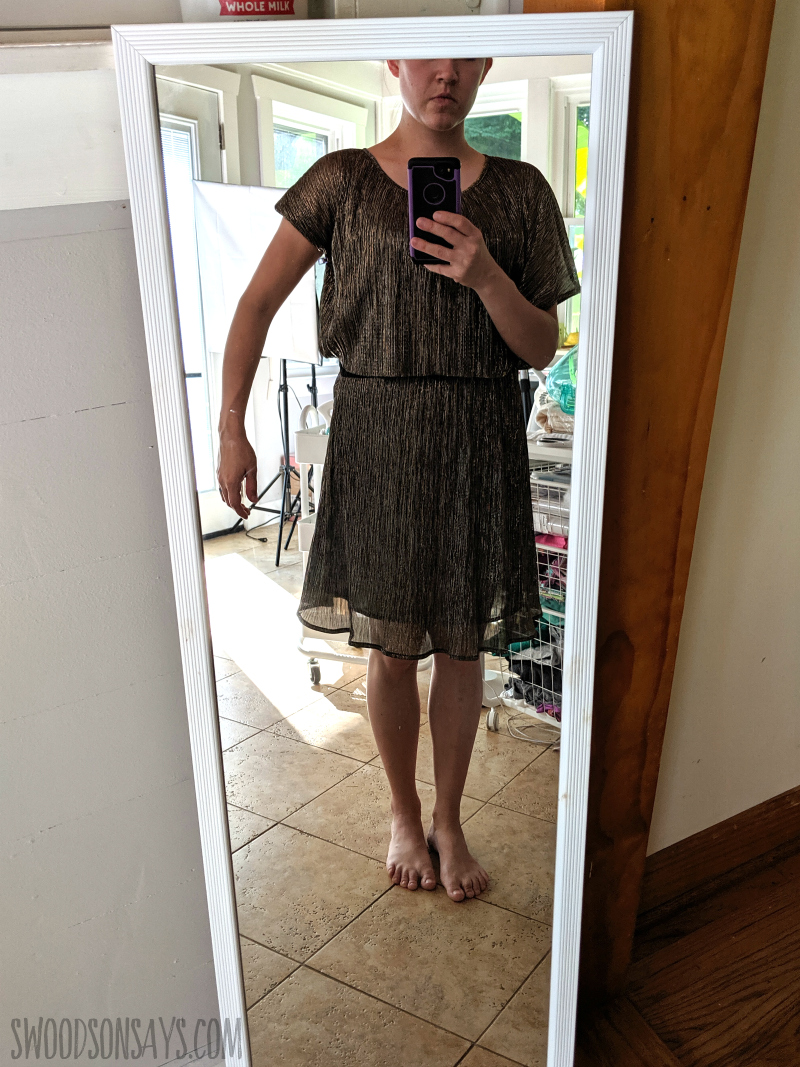
And from the front! I took in the waist, changed the bodice/sleeve shape, and shortened the cleavage gap so it didn’t go so deep.
If you like this post, check out these other posts while you’re here!
- 12+ thrift store dress refashion tutorials
- Five Tips for Thrift Shopping to Upcycle & Refashion
- 10 refashioning tips for successful sewing
- 13+ ways to refashion a plain t-shirt

This dress is a completely different color and silhouette than what I normally wear so it was a fun adventure. I got a lot of compliment on the dress, which felt good!
Pin this how to alter a dress that’s too big tutorial for later using this link or collage image:
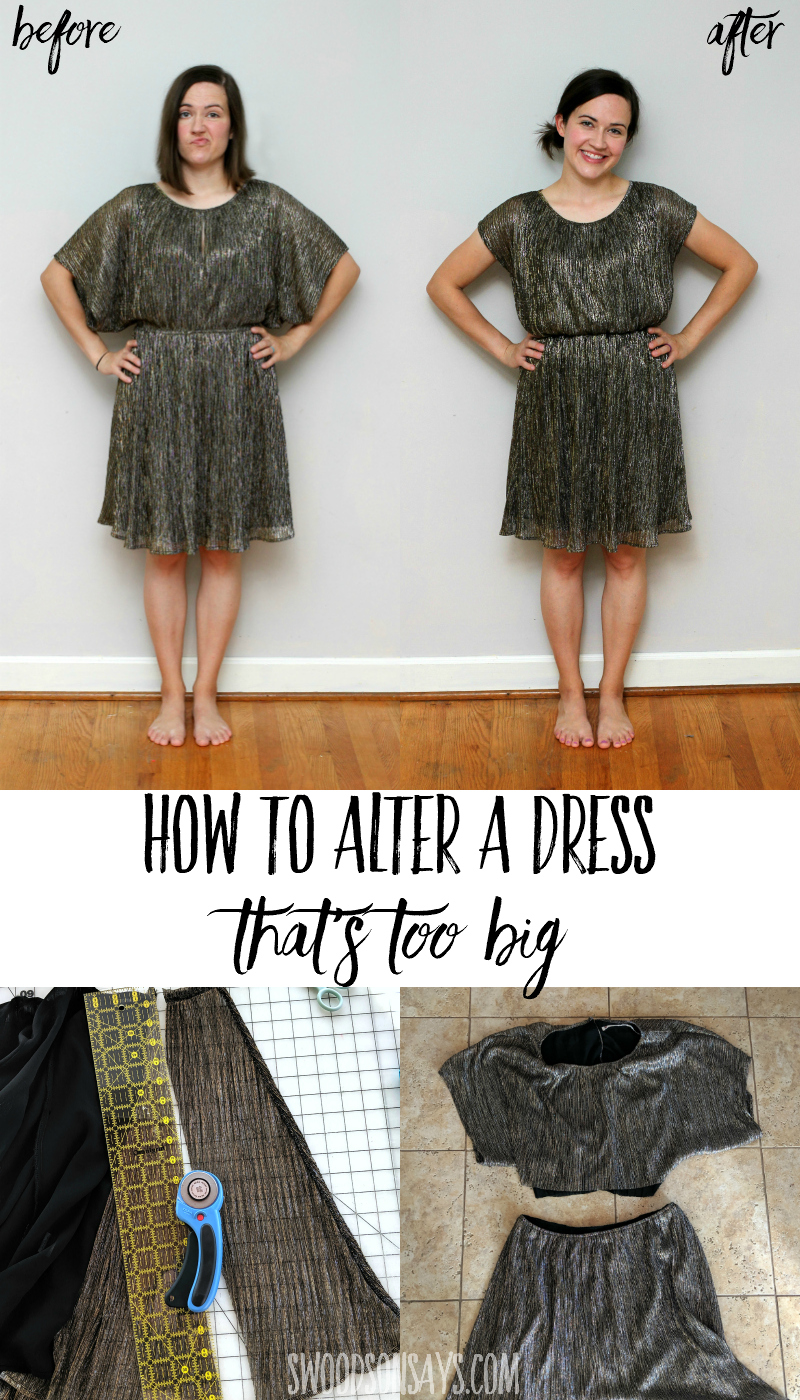
How to alter a dress that is too big
As with most refashions, it’s hard to imagine you’ll find a dress just like this to makeover, but I wanted to provide some process shots in the hopes that they’d help someone else. If you are working with a dress that is more fitted, I’d recommend being more precise with measurements (like making a pattern piece to remove from the skirt instead of just hacking away like I did).
Supplies
- Rotary cutter
- Acrylic quilt ruler
- Clips
- I didn’t use one but for many fabrics you’d need an iron, here is the one I like and use
Steps
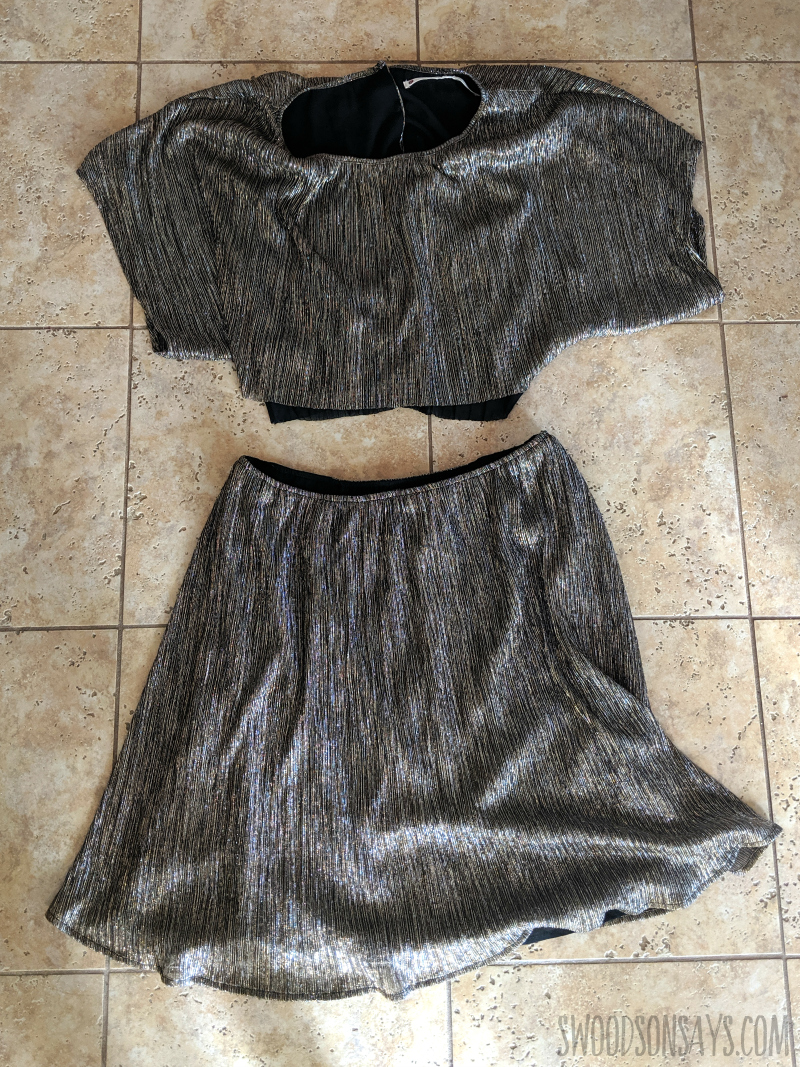
Step 1: Chop the top from the bottom, carefully!
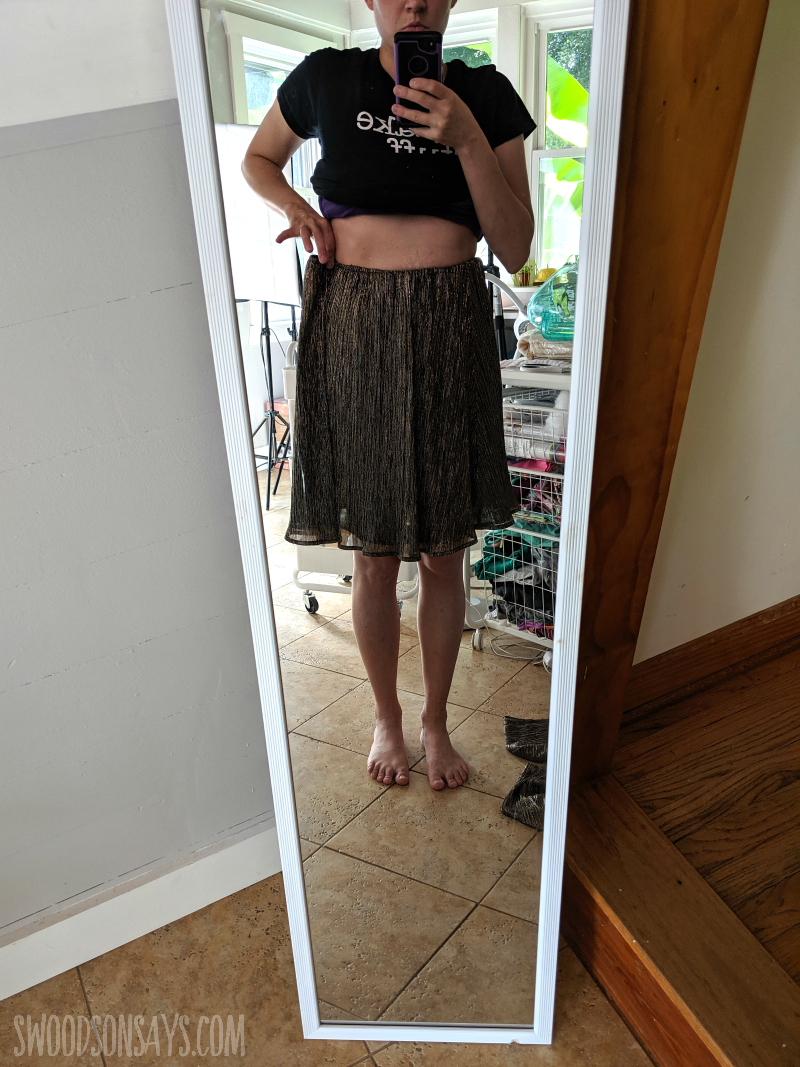
Step 2- Put the skirt back on and pin, marking where you’d like the waist to fall. Remember to account for seam allowance!
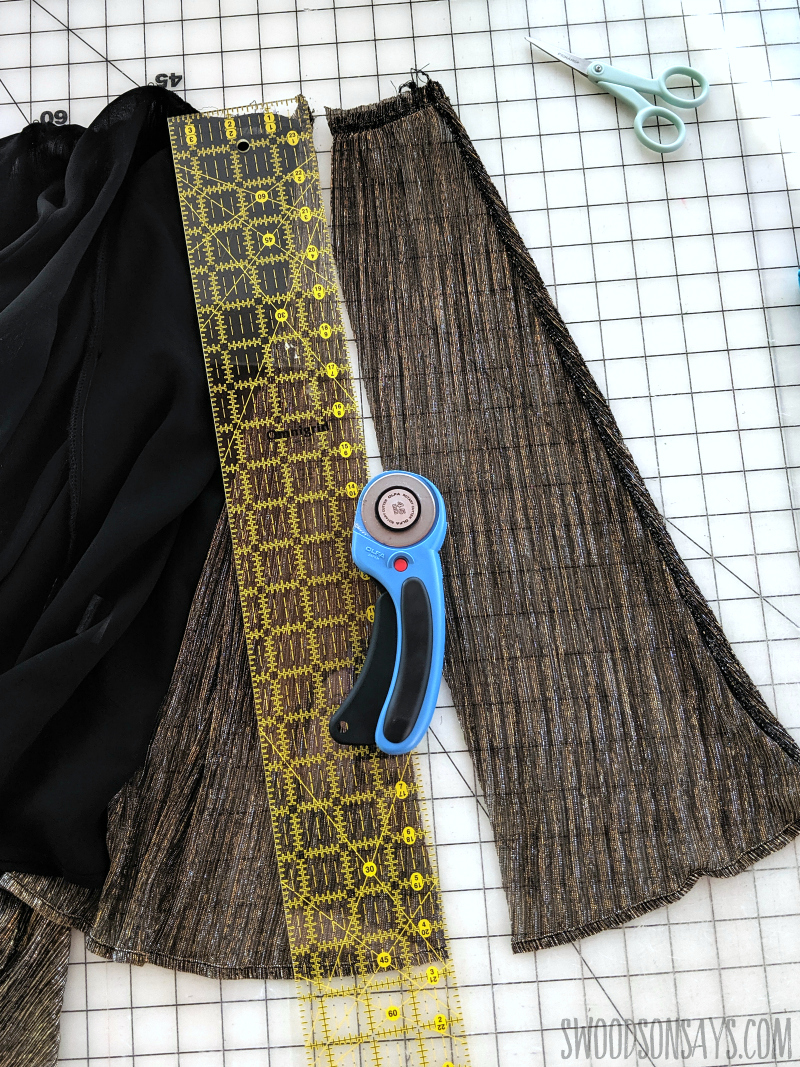
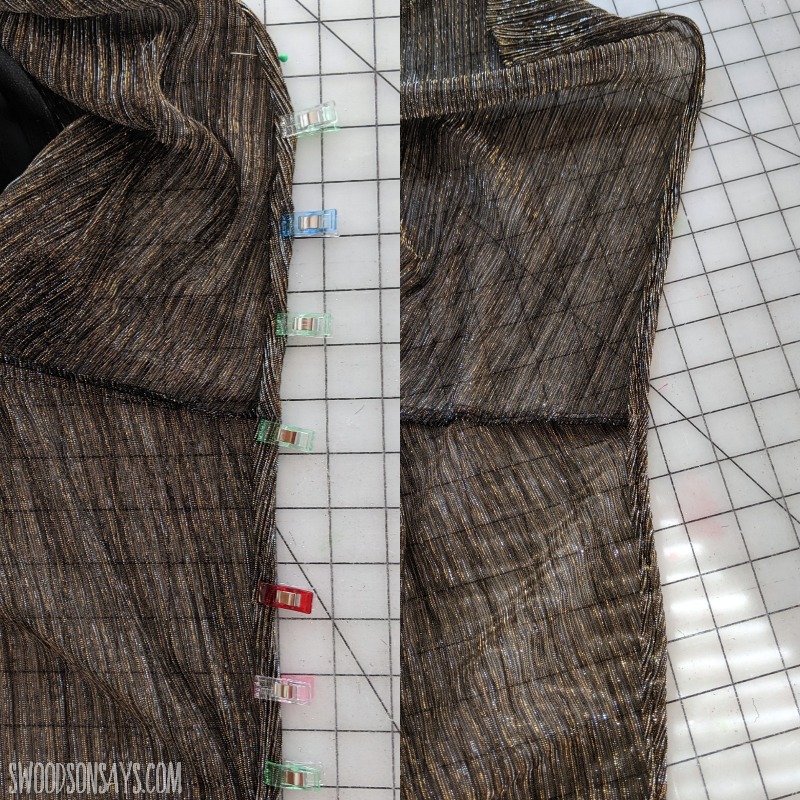
Step 3- Cut up along one side seam. If the skirt is lined, use a seam ripper to detach it from the skirt for a few inches away from your marking pin. Slice off a chunk from each side as you’d clipped, following the silhouette of the skirt. Save that piece and use it as a pattern piece to cut the same slabs out of the lining. Snip the elastic, trimming some of its length off.

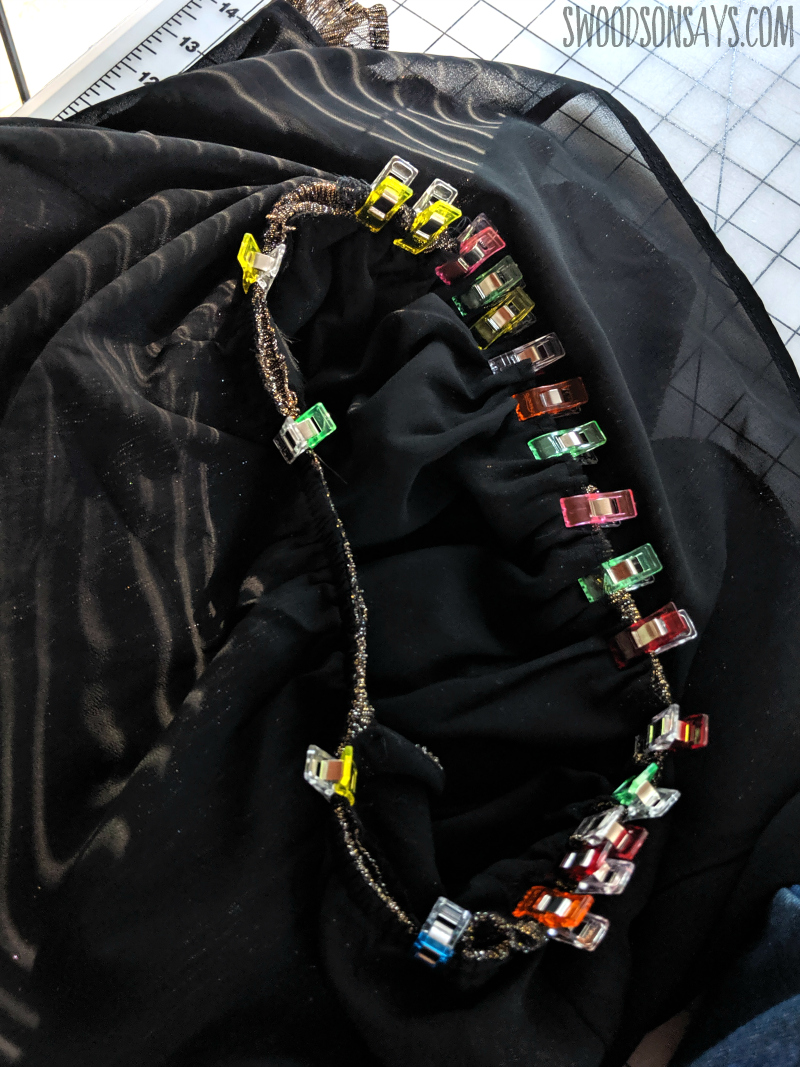
Step 4- Carefully sew back up your new side seams, reattach your elastic ends, and hand sew the channel back down over the elastic.
Step 5- Put the top back on and pin out where you’d like the sleeve to naturally hit; this is where you will know to put your hem and where to trim off.
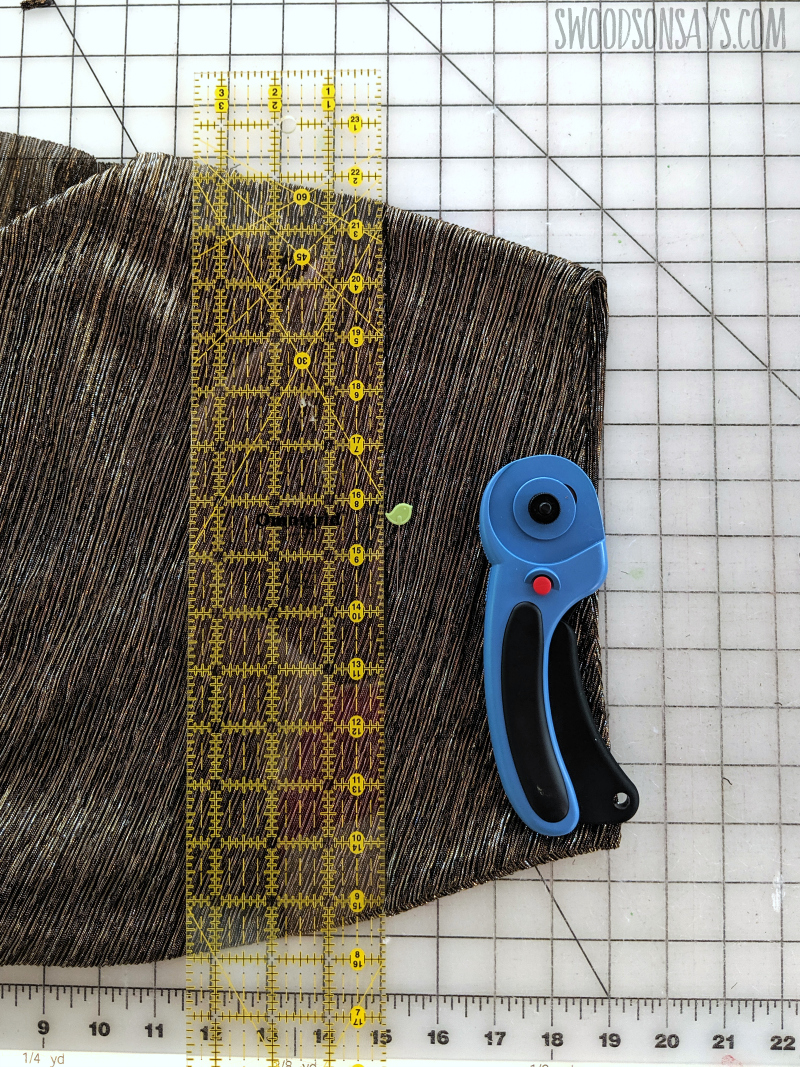
Step 6- Trim off those sleeves where you marked, taking into account a hem allowance! I then cut up the remaining bodice side seam so I could sew it back together in the new silhouette.
Step 7- Fold (and press if needed) a hem for each sleeve, sew.
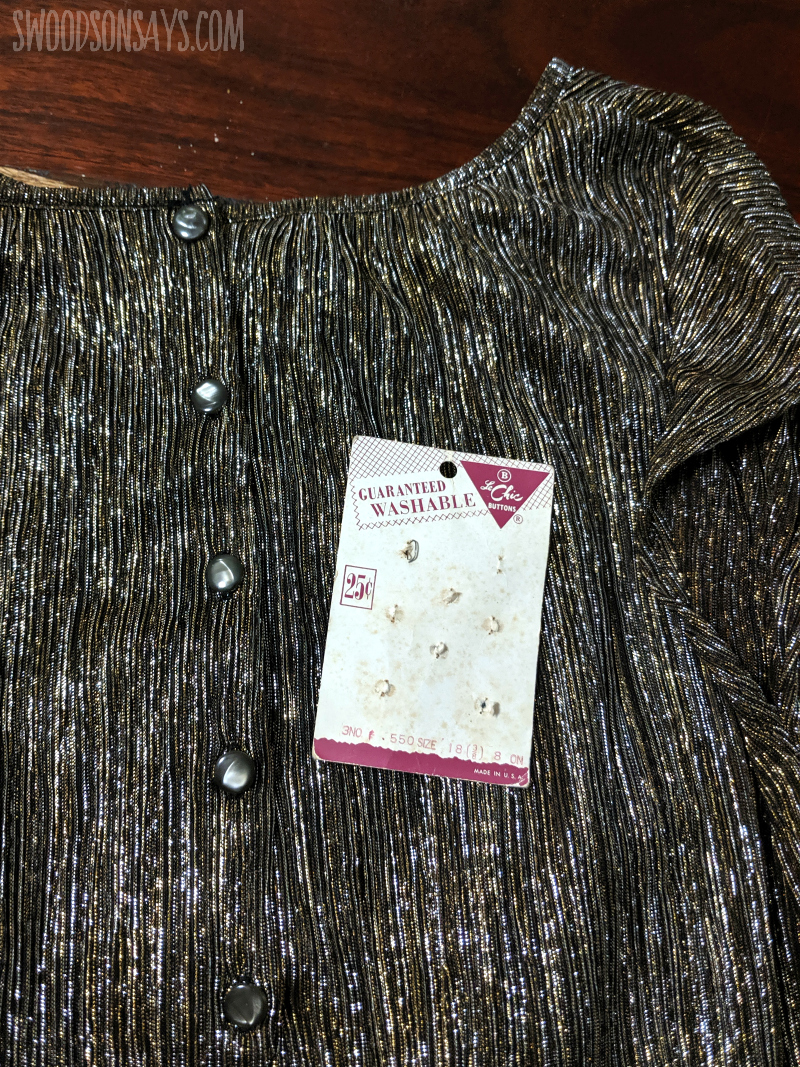
Step 8- Replace buttons and mend as needed! I was so lucky to find these vintage buttons in my stash because I couldn’t find any in store that matched.
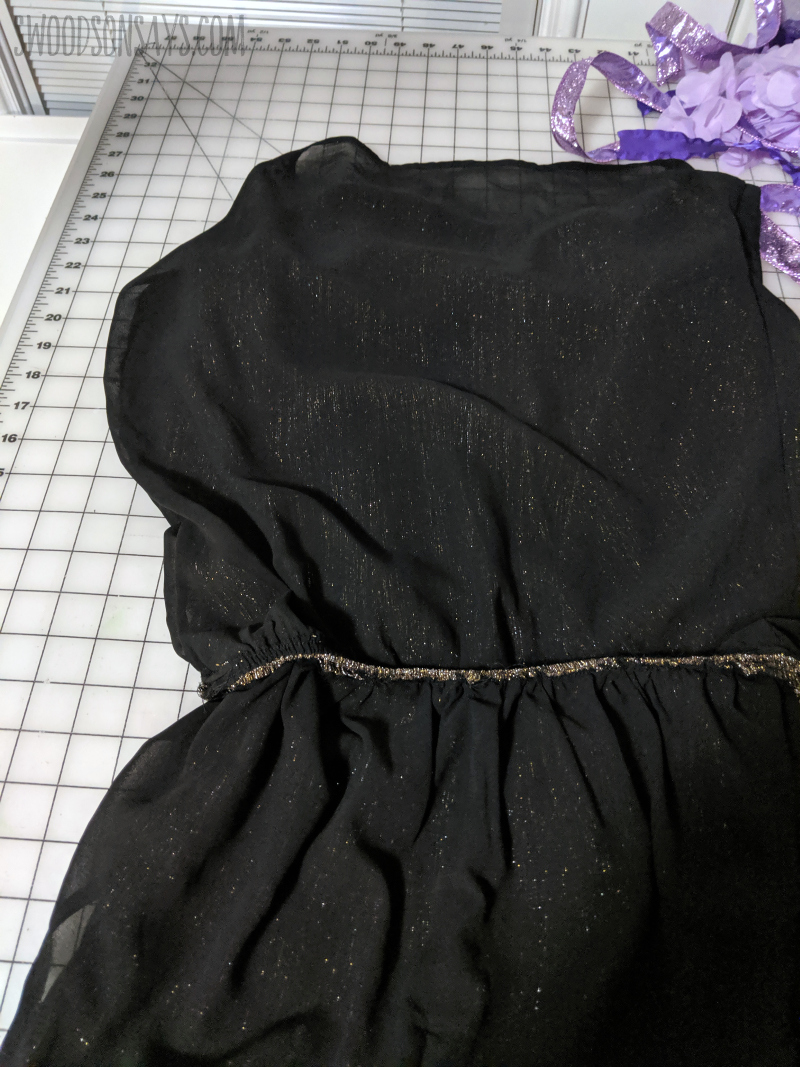
Step 9- Reattach the bodice to the skirt! Since the front bodice was gathered, I’d recommend using a basting stitch to keep the lining & fashion layers where they’re supposed to be, and then pin carefully, right sides together.
This is what the inside looked like! And you’re done!