This shop has been compensated by Collective Bias, Inc. and its advertiser. All opinions are mine alone. #BlueLizardSummer #CollectiveBias
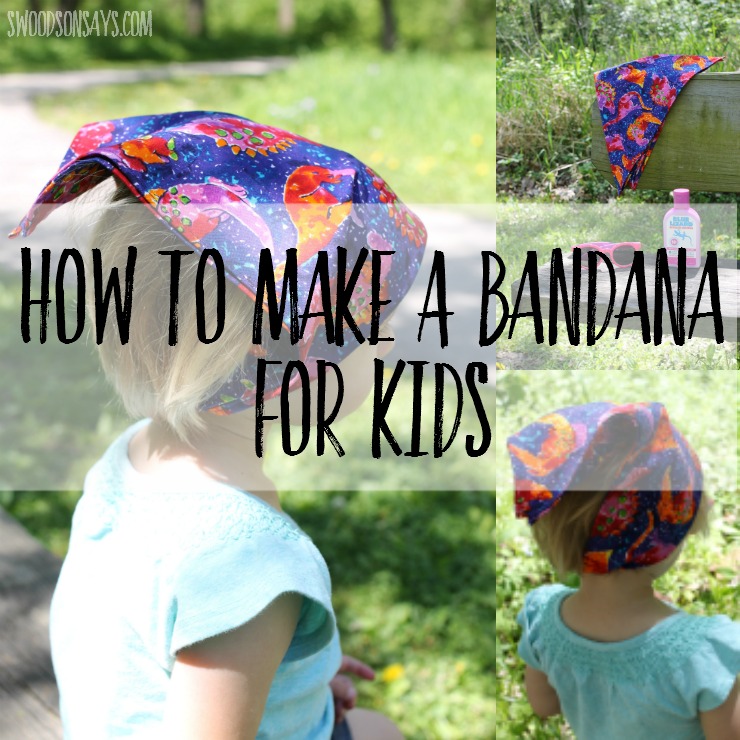
We spend lots of time outside year-round and protecting all of our skin from the sun can be exhausting. As we come into the summer season, I usually try to do a combination of sunscreen and skin covering. I have a tutorial for how to make bandana – kids and adults sizes – that I’m sharing thanks to Blue Lizard® Australian Sunscreen®, which will leave us totally covered for all of our family hikes!
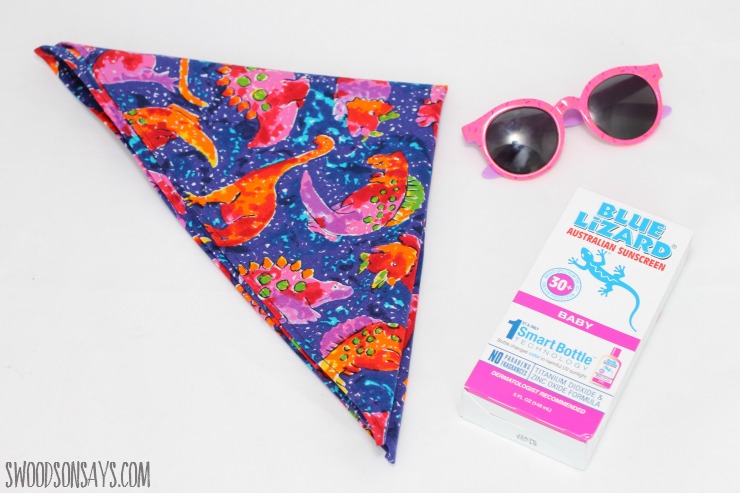
I always check skincare things on the EWG site and love that this brand gets the best rating! Blue Lizard® uses a zinc oxide formulation and provide broad spectrum UVA/UVB protection (SPF30+), but is surprisingly easy to rub in. Several of the zinc-based brands we have tried in the past have left us looking like ghosts!
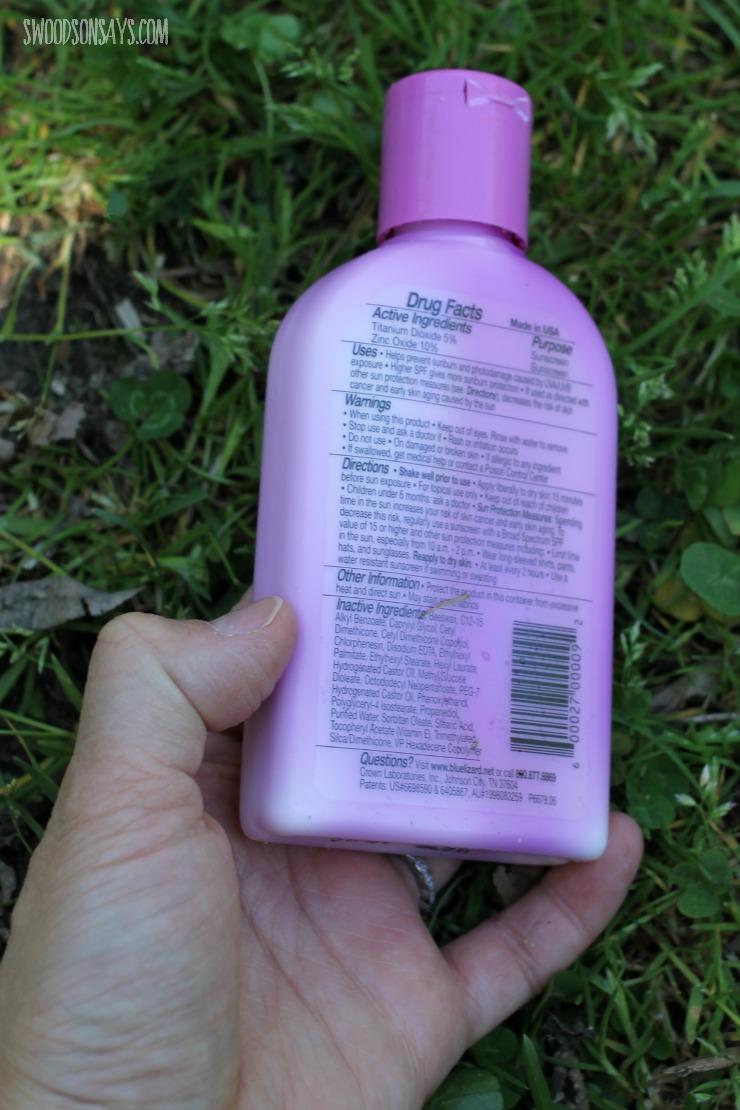
My kids got a kick out of the bottle; it changes colors when exposed to UV light, as a reminder to apply some! Easily found at Walmart (see the bottom of the post for an in-store photo and a special offer), we bought the Baby formula for my kids. My kids are older, but remember that parents should consult with their pediatrician before using any sunscreen on a child younger than 6 months
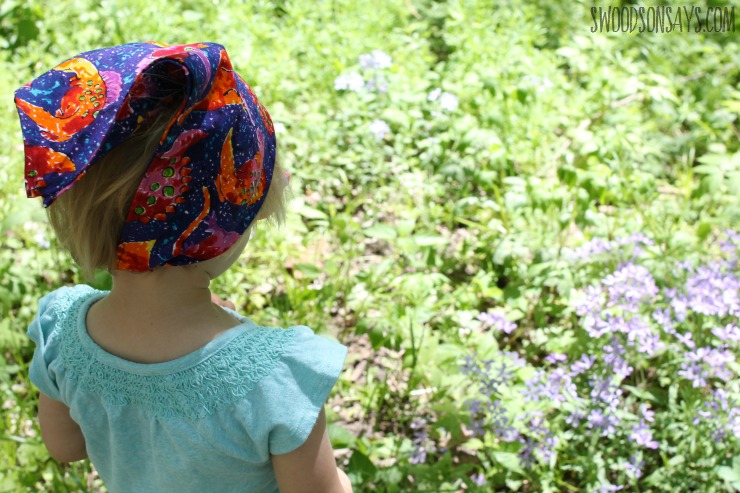
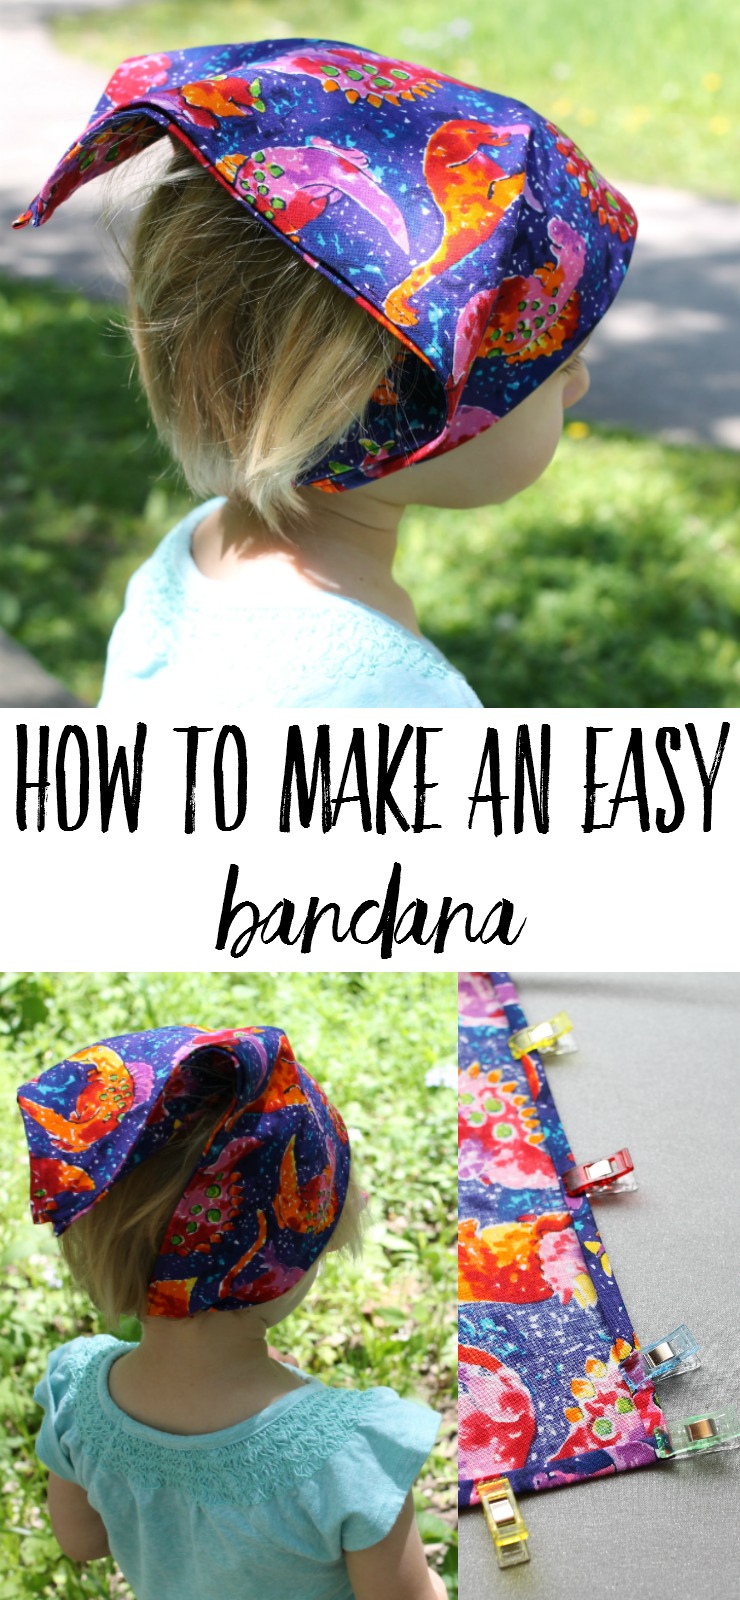
My daughter opted to wear her dinosaur bandana over her ears; you can also roll them and tie them like a headband, or drench it in cold water and wrap it around their necks!
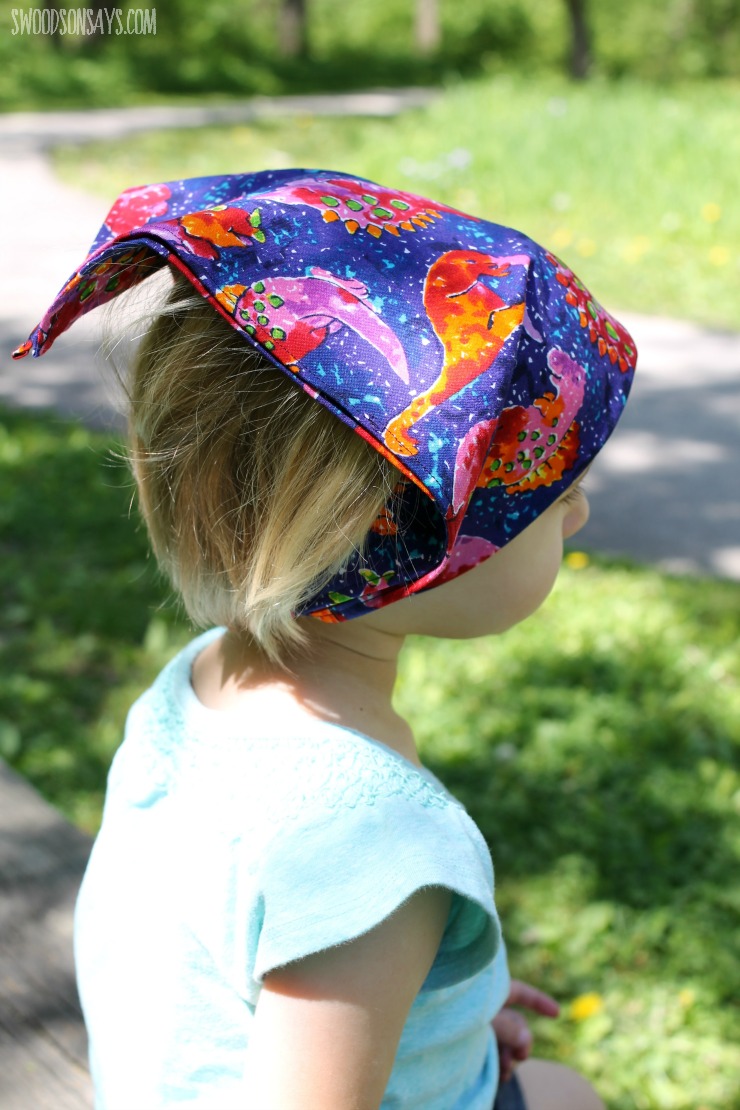
Be sure to use a lighter weight cotton or drapey woven, it’s not designed for stretchy fabrics and heavier weights would be too bulky.
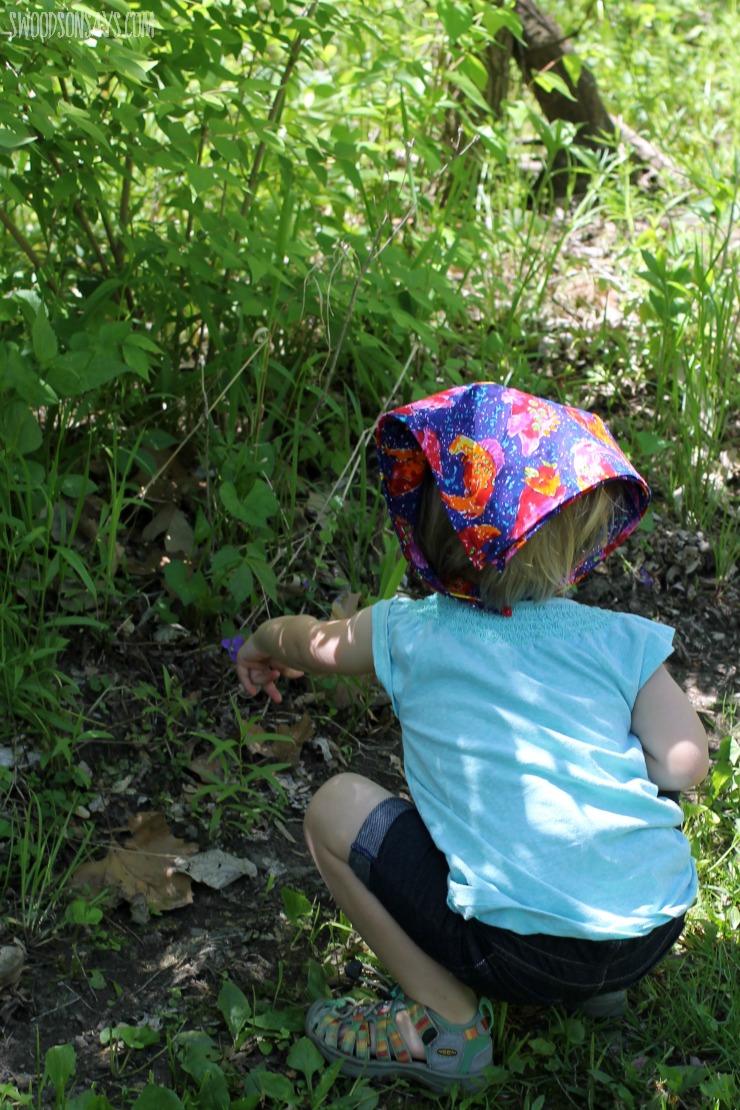
With fine hair, I appreciate that bandanas protect sensitive scalps. I think having the part of your hair sunburned is probably one of the most painful places!
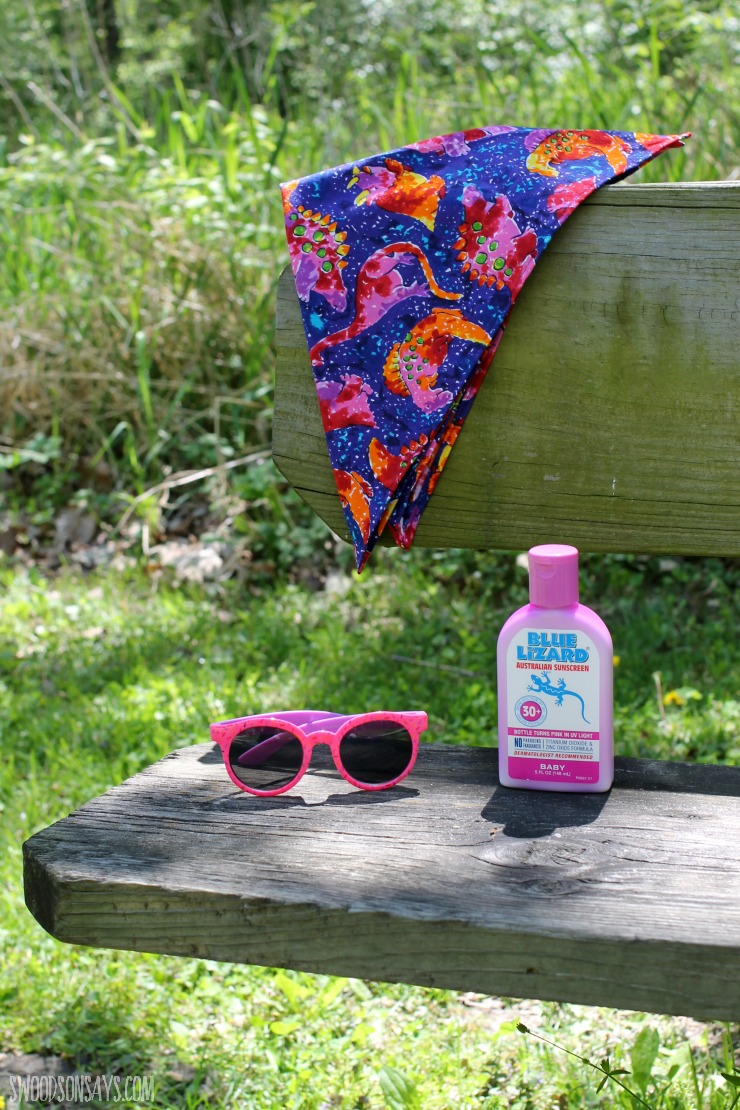
Summer hiking essentials, assembled!
Ready to make your own?
How To Make A Bandana
Supplies
- Iron
- 1/2 yard of quilting cotton or voile (thicker fabrics like denim, canvas, home dec weight cotton will not work, they are too bulky!)
- Pins or clips
Steps

1- For KIDS, cut your fabric into a 18″ square (this fit both my 2 & 4 year old). FOR ADULTS, cut your fabric into a 24″ square. Use your iron to press a 1/4″ hem, and then press another 1/4″ up, repeat on all sides.

2- Use clips to secure the hem – you can see how the corners work here. There are fancier methods for mitered corners but this is fast and easy.
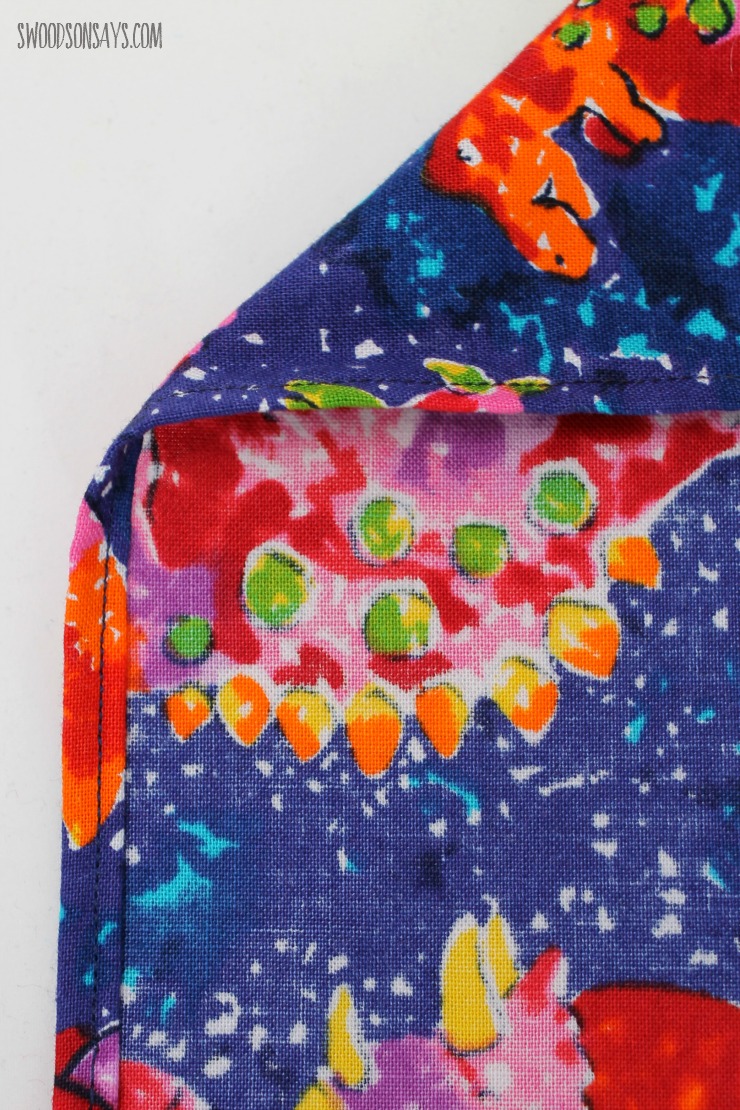
3- Sew along all of the edges, securing the hem. Iron all the hems and you’re done!
Pin this tutorial for how to make a bandana for later, here:
