
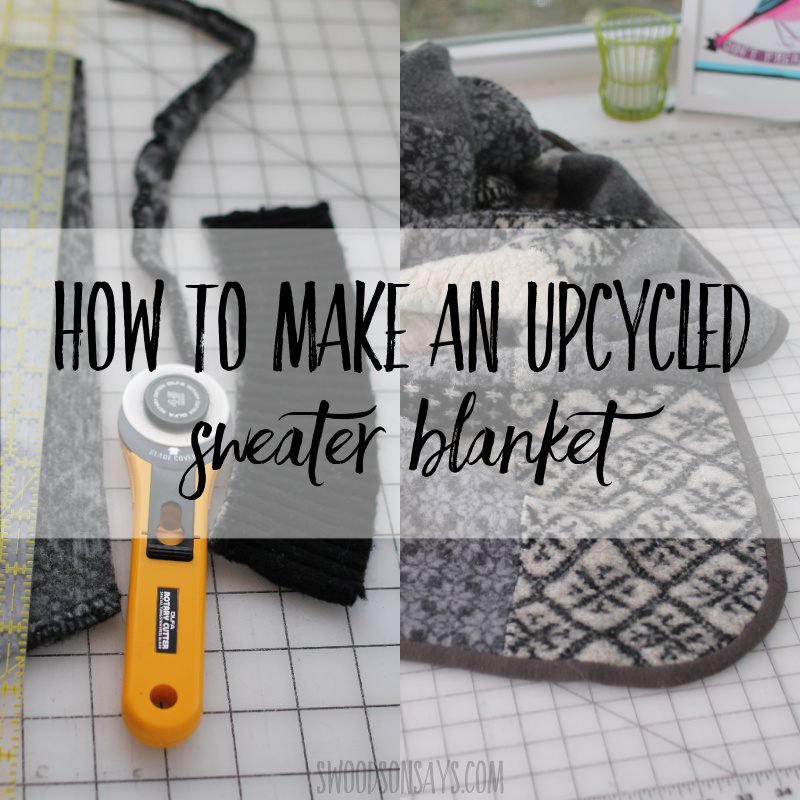
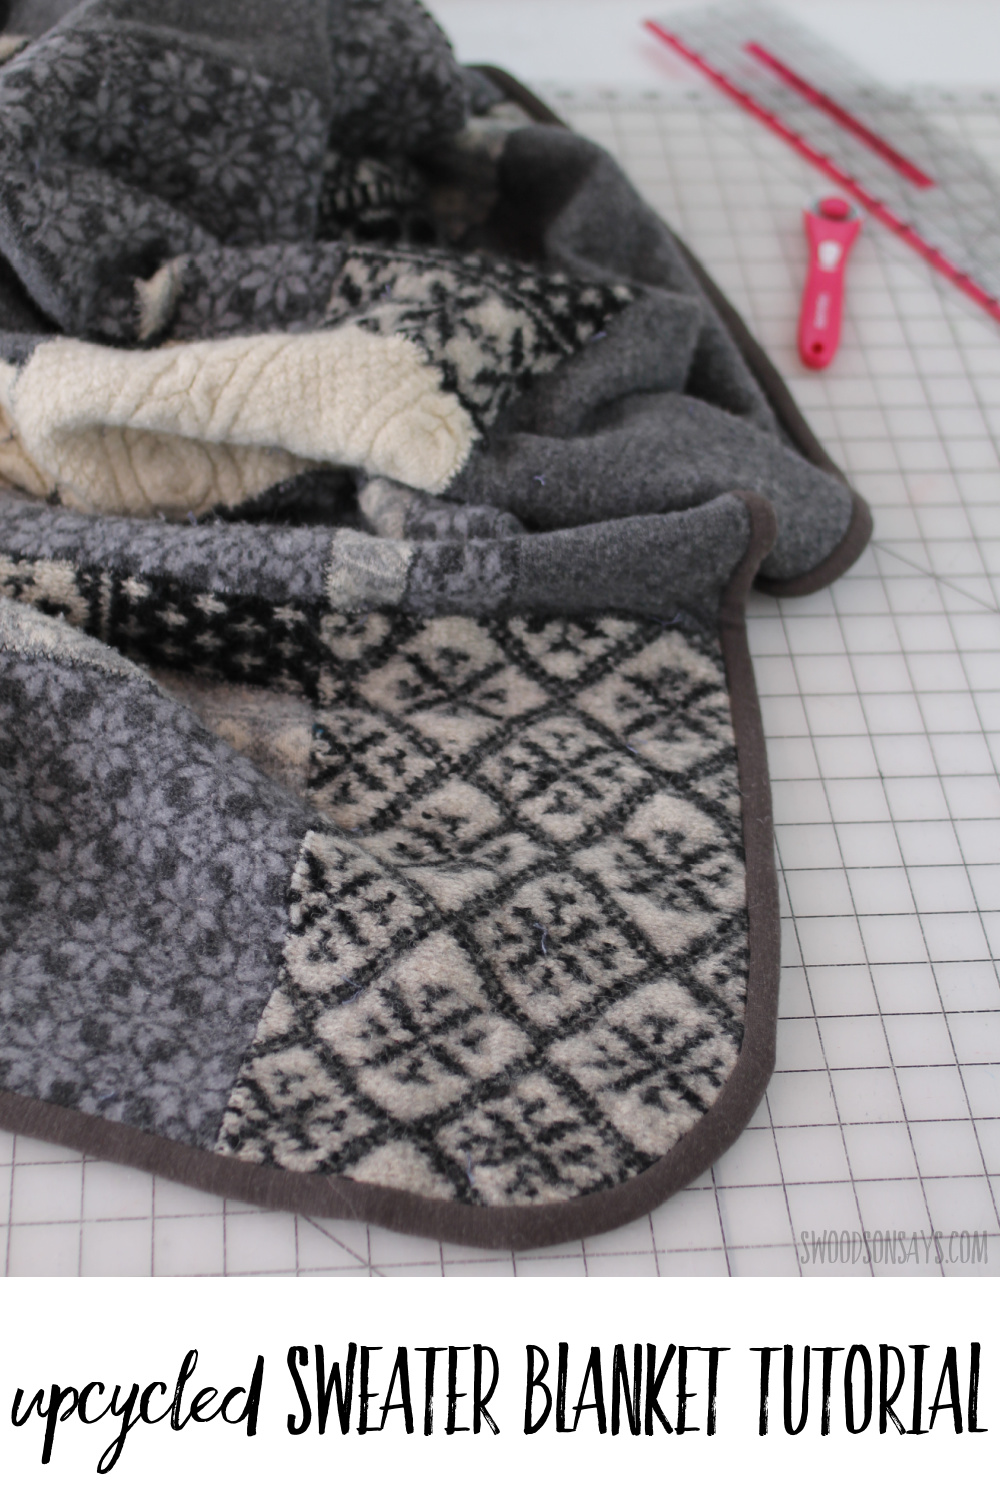
How to make a blanket out of sweaters! This project has been in the works for several years. I love thrifting and can’t pass up something that’s wool when it’s in the Goodwill Outlet bins and a buck or two, but 2020 has given me motivation to actually go through and make all the things I’ve thought about upcycling or refashioning! This is a great way to reuse sweaters that have felted or shrunk and makes for an extremely warm, cozy blanket. Keep reading to see how I turned a stack of 8 sweaters into a cozy diy throw!
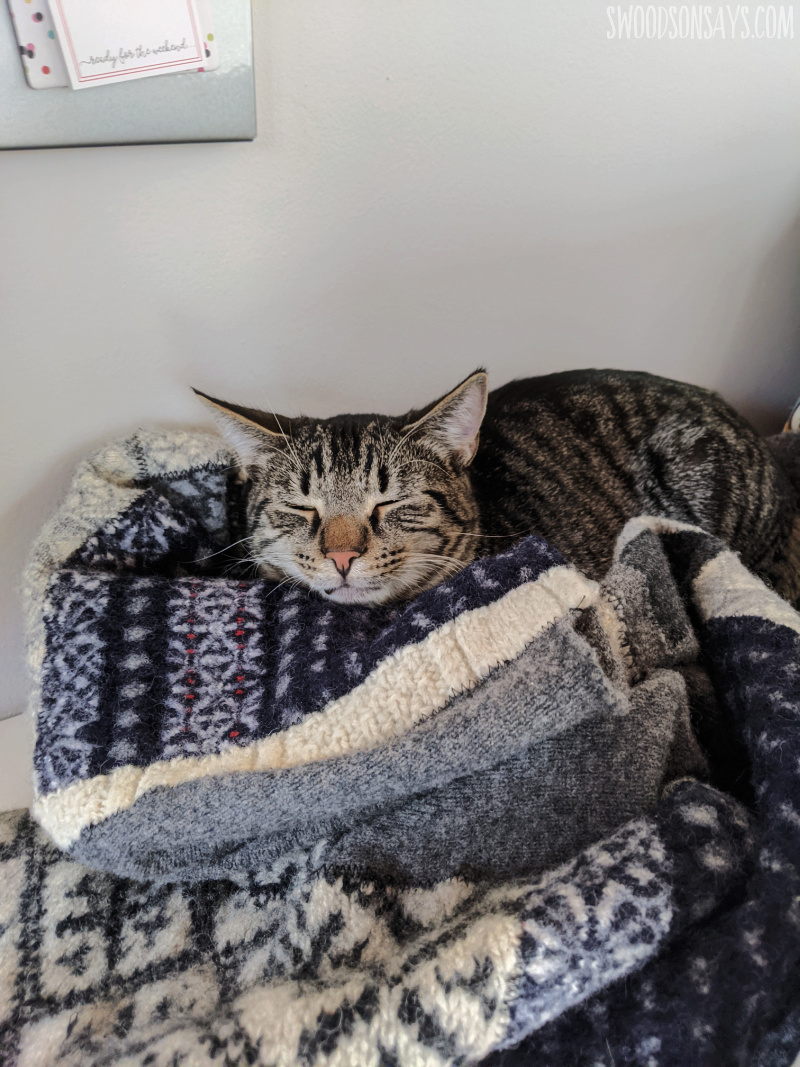
Embarassingly enough, I still have another whole tote of even more sweaters, but these were the thicker ones made from heavier weight wool. My two cats made this project twice as hard because they insisted on sitting on it constantly, including when I was trying to pin or sew it! I’ll share a full walk-through of how I made mine at the bottom, but don’t be afraid to experiment. Wool is pretty forgiving and the nice part about using upcycled materials is you aren’t out much money if the project tanks!
Some general tips for making diy sweater blankets, even if you don’t use my tutorial:
- There will be lint! Be sure to clean out your machine under the bobbin frequently
- Use scraps from the sweaters to test your stitches before you do them
- Use ballpoint needles or suffer lots of skipped stitches (I can attest to this firsthand)
- If all your sweaters are a similar weight and thickness, your life will be much easier; it prevents sagging and unevenness
- The less stretchy your sweaters are, the more neat and tidy your patchwork will look
- Be patient when collecting sweaters! Put a call out to friends and family, and slowly collect at the stores as you comb through the racks. Part of the fun is piecing together color combos you like!
I used a zig-zag with the edges of each piece flush against each other because many of my sweaters were very thick, but you could consider using them like quilting cotton if you’re working with thinner merino wool instead of thicker shetland wool.
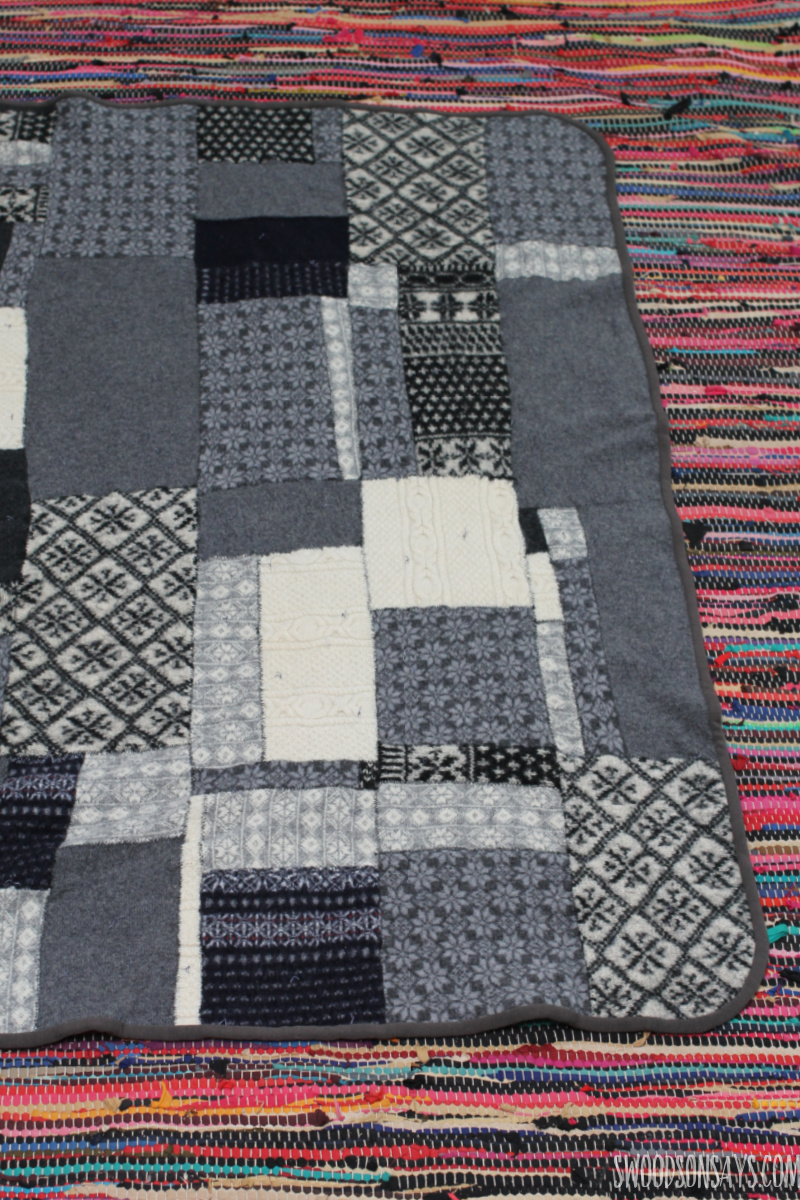
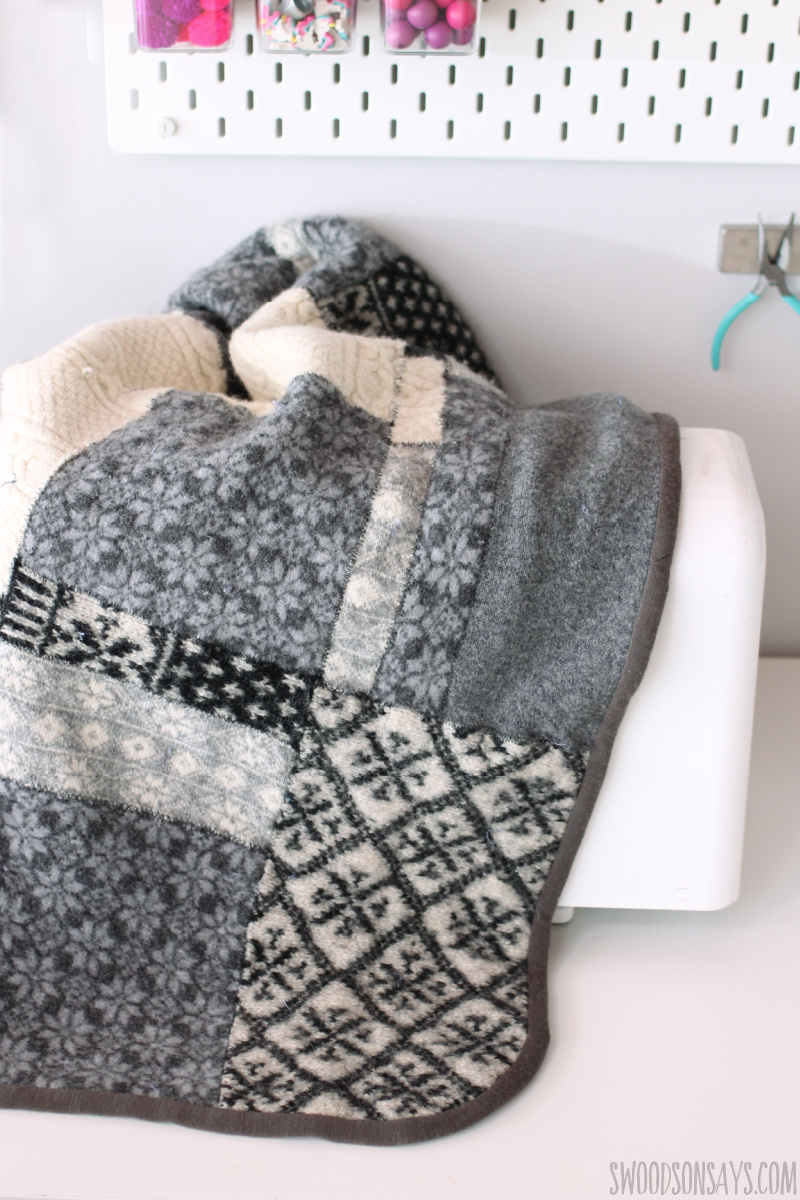
This blanket was impossible to photograph because holding it up super stretched and distorted with how heavy the entire thing turned out! I realize this isn’t the most flattering picture – you can see that even with the stabilizer, some things went a little wonky and the hand tied knots look like dust on those white panels. But I wanted to share the overall vibe, even if it isn’t perfect!
You can also see a touch of rippling especially with the plain grey pieces – that sweater was much lighter and stretchier but I liked its color better than the other felted options I had, so I sacrificed precision for prettiness! In an ideal world I would’ve gone out and found more felted sweaters but I was trying to work with what I had.
While you’re here, check out these posts too:
- 40+ ways to upcycle sweaters into something new
- 15+ sweater refashions to recycle old sweaters into new clothes!
- How to turn upcycled flannel shirts into a cozy quilt
Pin this how to make a blanket out of sweaters tutorial for later using this photo or link:
how to make a blanket out of sweaters
Supplies
- It will depend on size but 8+ 100% wool sweaters
- Sharp scissors: [Etsy – JOANN – Amazon]
- Wash away stabilizer:[JOANN – Amazon]
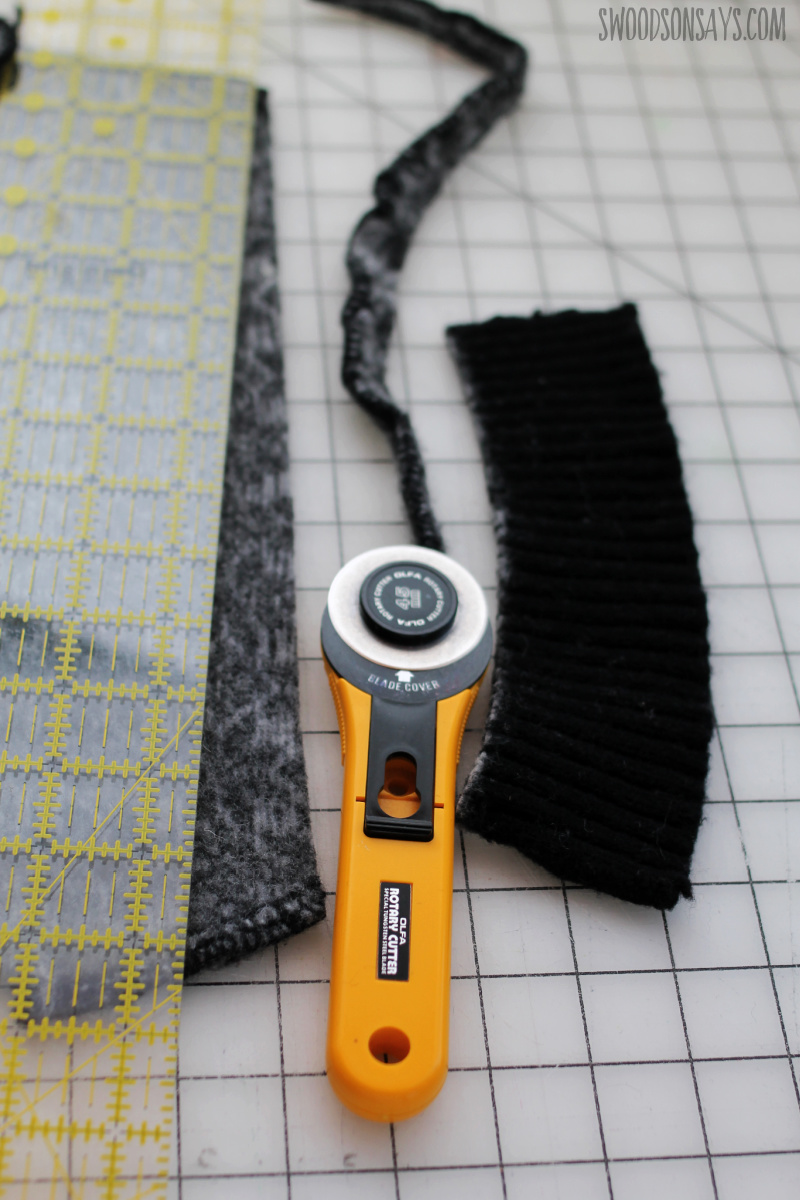
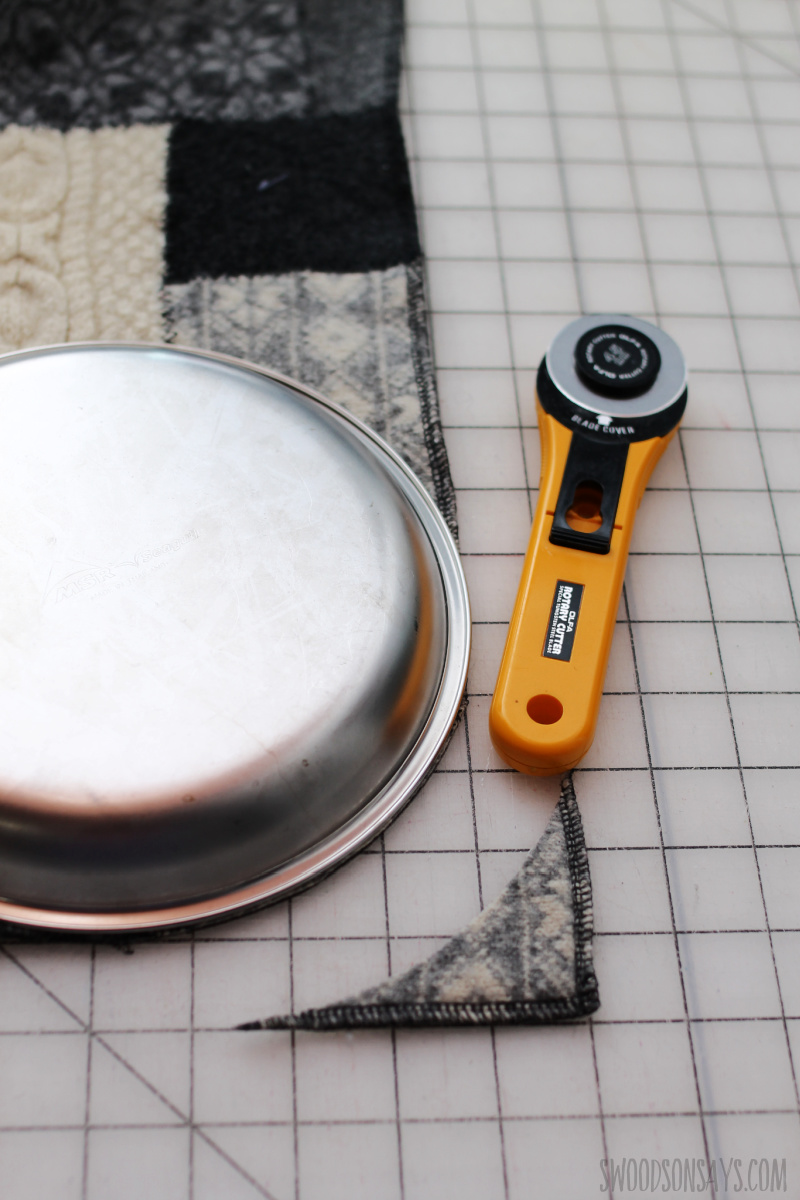
- Rotary cutter: [Etsy – JOANN – Amazon]
- Quilt ruler: [ JOANN – Amazon] – Shop cutting mat: [ JOANN – Amazon]
- Sewing machine – walking foot highly recommended; I use this one but they are machine specific!
- Iron: JOANN – Amazon
- Backing fabric & binding fabric
Steps
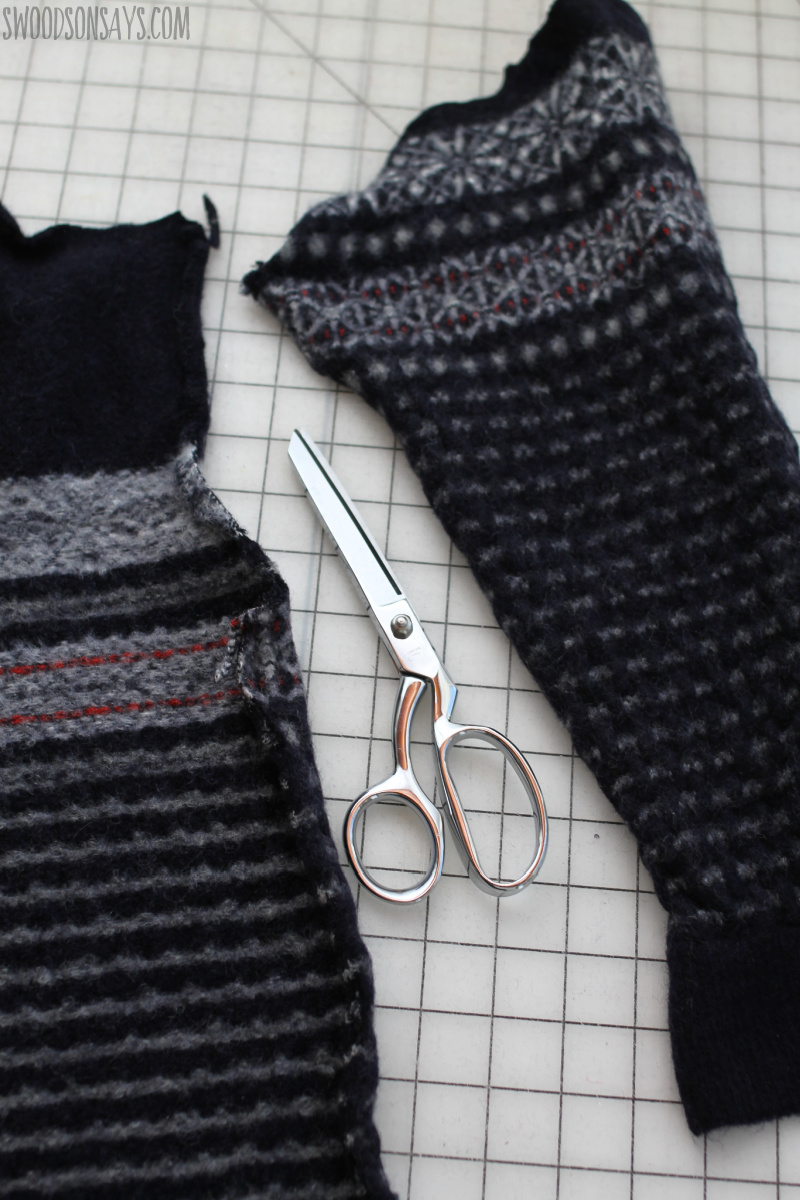
Step 1– Use sharp scissors and cut along all seams, then wash and dry all the sweater pieces however you’d like the finished piece to be washed and dried. For me, that meant on hot and high drying, just in case! This helps felt and shrink things up as well, too.
Step 2– Trim off cuffs and seams to see what large pieces you have to work with. My largest pieces were 16.5″ long by 9.5″ tall so I used that as my base ‘size’, cutting a few of those out wholecloth from sweater fronts and backs and then working to patchwork the rest of them.
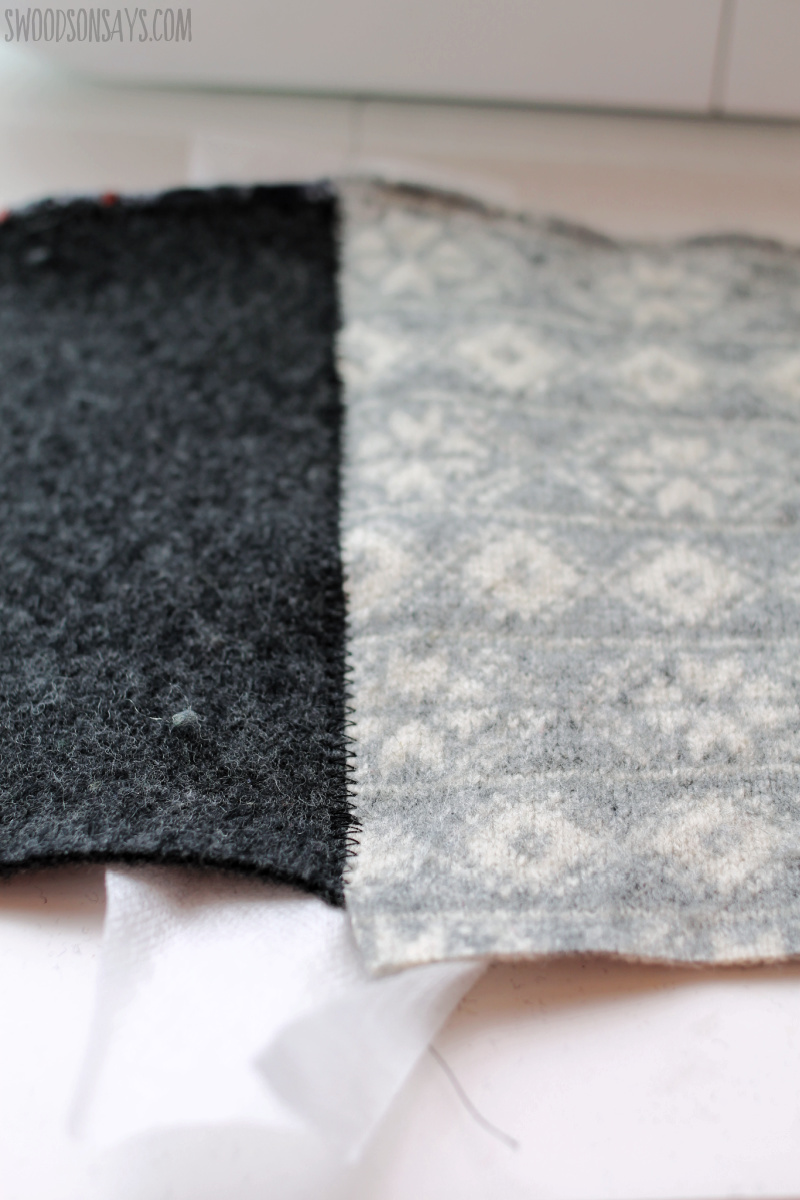
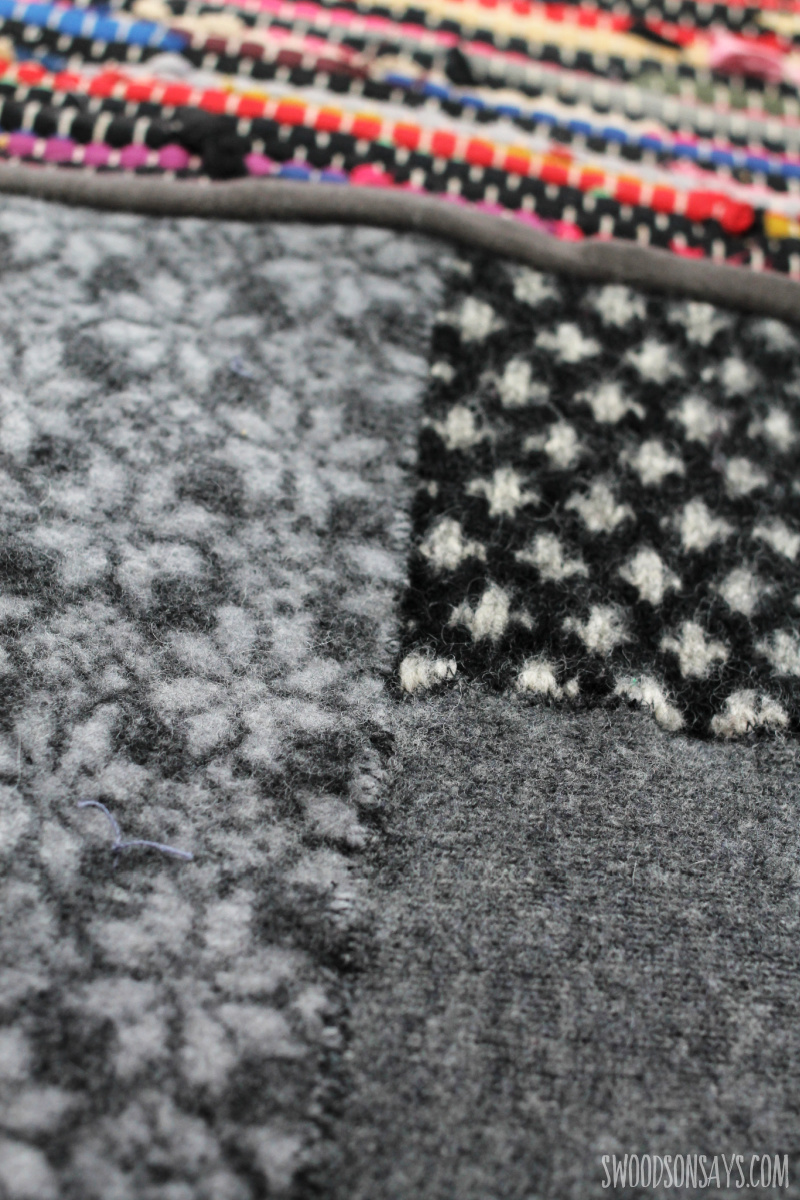
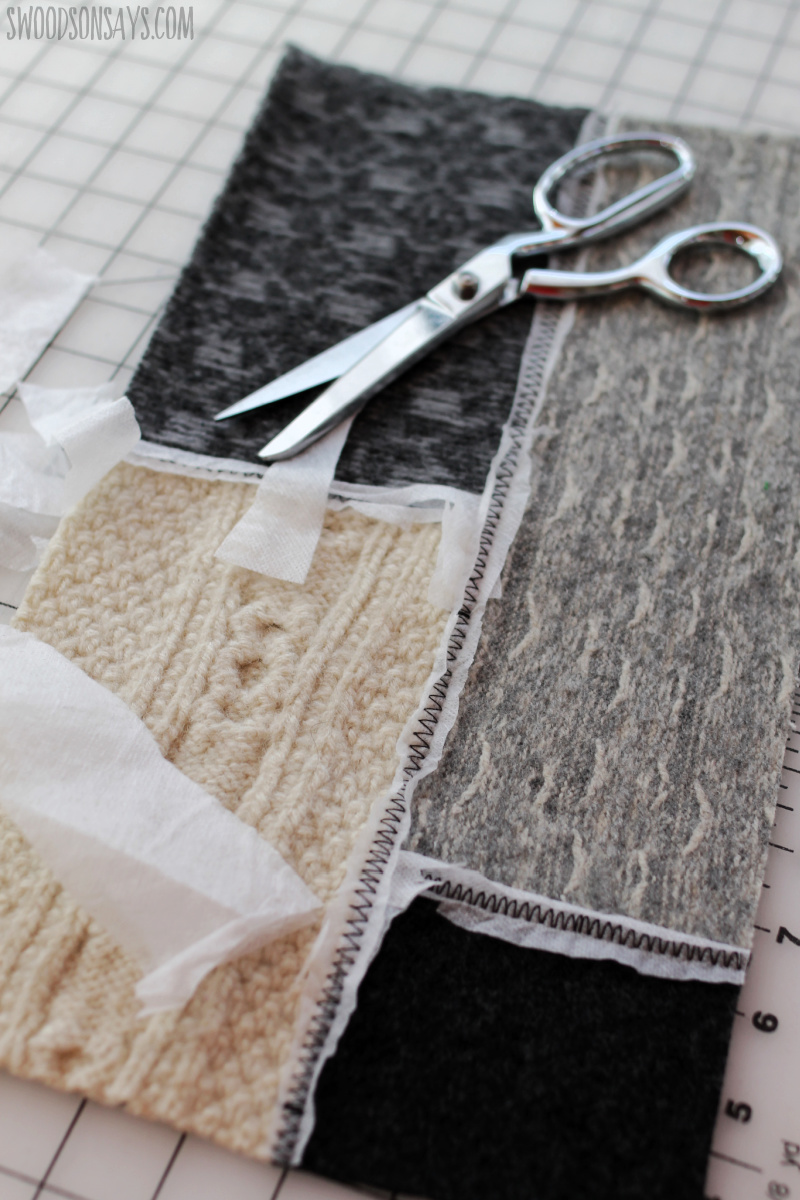
Step 3– When making the patchwork I just cut straight edges and then stitched chunks together, as shown. I put strips of the interfacing beneath the seam to cut down on rippling; if you have all thicker sweaters this is probably an unnecessary step. Iron everything as you go! Use steam and high heat to flatten everything out.
Step 4– Flip it over and trim excess stabilizer if you want; this just gives you a good view of the ‘back’ and how I pieced things together. Make each piece larger so you can trim it up and keep it straight.
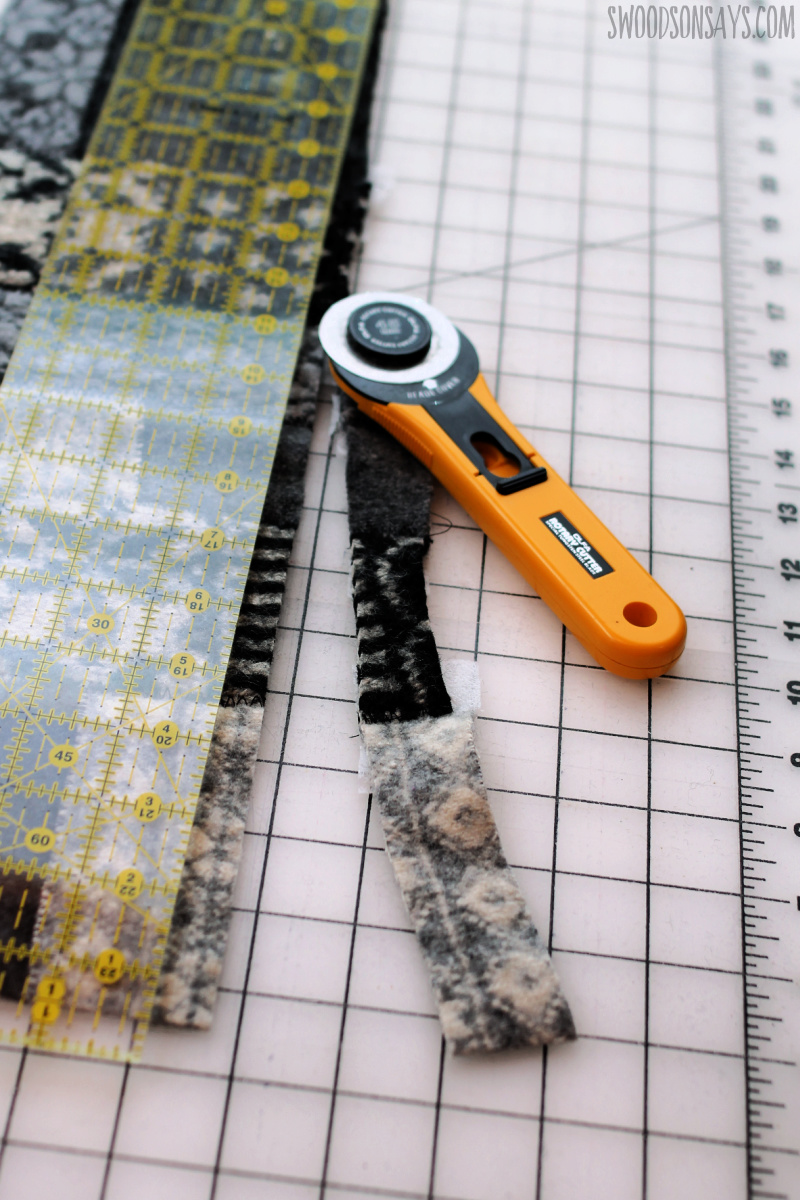
Step 5– Trim the patchwork rectangles to match the wholecloth ones!
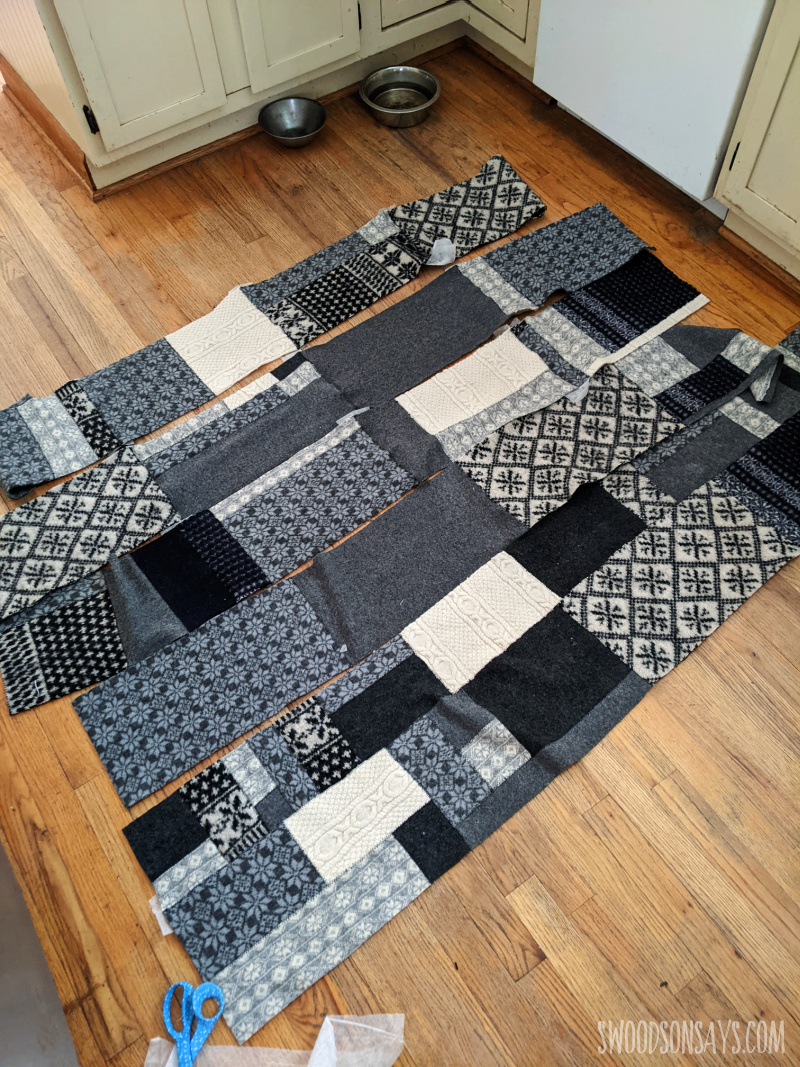
Step 6– Lay everything out and start stitching! I made columns then joined them together. Iron everything as you go! Use steam and high heat to flatten everything out. If you’re eagle eyed, you can see that I also added one random improv row that is thinner, just trying to use up all my big pieces.
If you wanted to stop here you could after squaring everything up nice and even! With the zig-zag there isn’t necessarily a true ‘back’ of the quilt and you could blanket stitch around the edges. But I wanted it to be warmer so keep reading. At this point I wash and dried the top so the stabilizer would wash away.
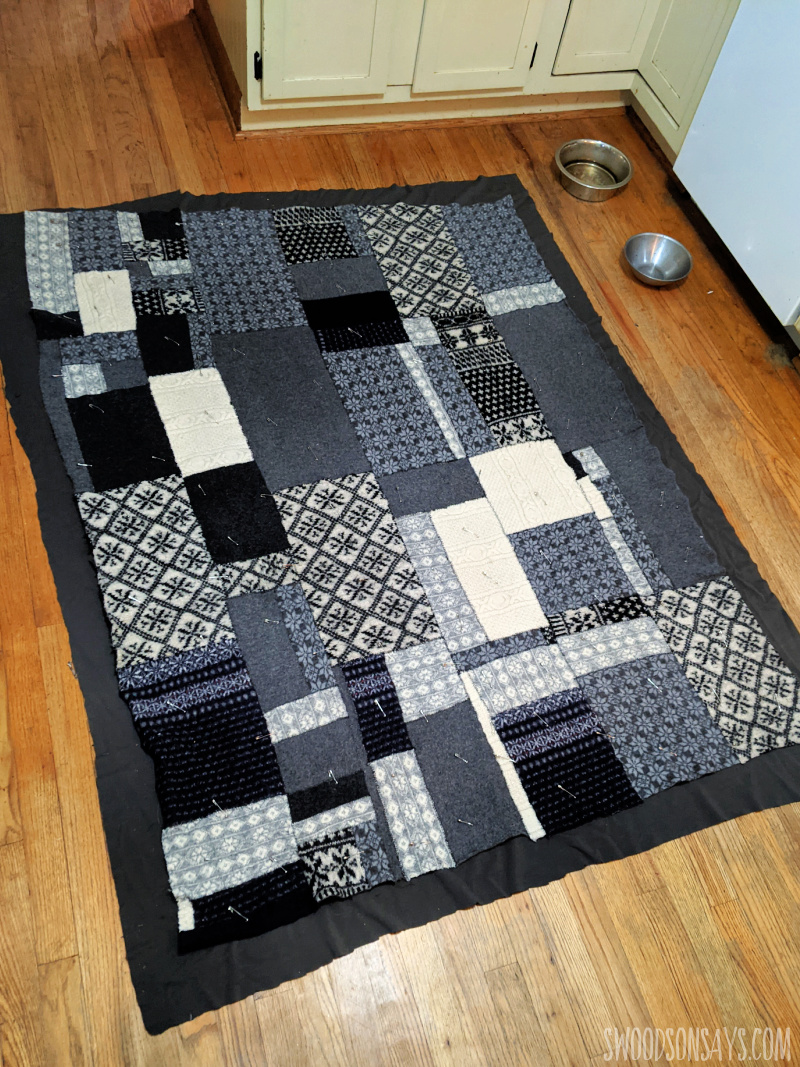
Step 7– Lay your finished “top” on top of your backing fabric. An old sheet would work great here; I just happened to have some wool knit that I wanted to use up which makes it double warm but also much, much harder to sew since both pieces were stretchy and saggy. Use safety pins to prevent shifting and don’t worry if edges are wonky at this point. Then quilt! I chose to just hand-tie knots everywhere. Use your ruler and rotary cutter to make everything even again and make sure it folds up nice and equal/even.
Step 8- These next two steps are optional; I serged around all my edges once it was all quilted, so nothing slipped around. You could also do a basting stitch around the edges. I also curved the corners since everything was going to be so thick, I didn’t want to do binding around corners!
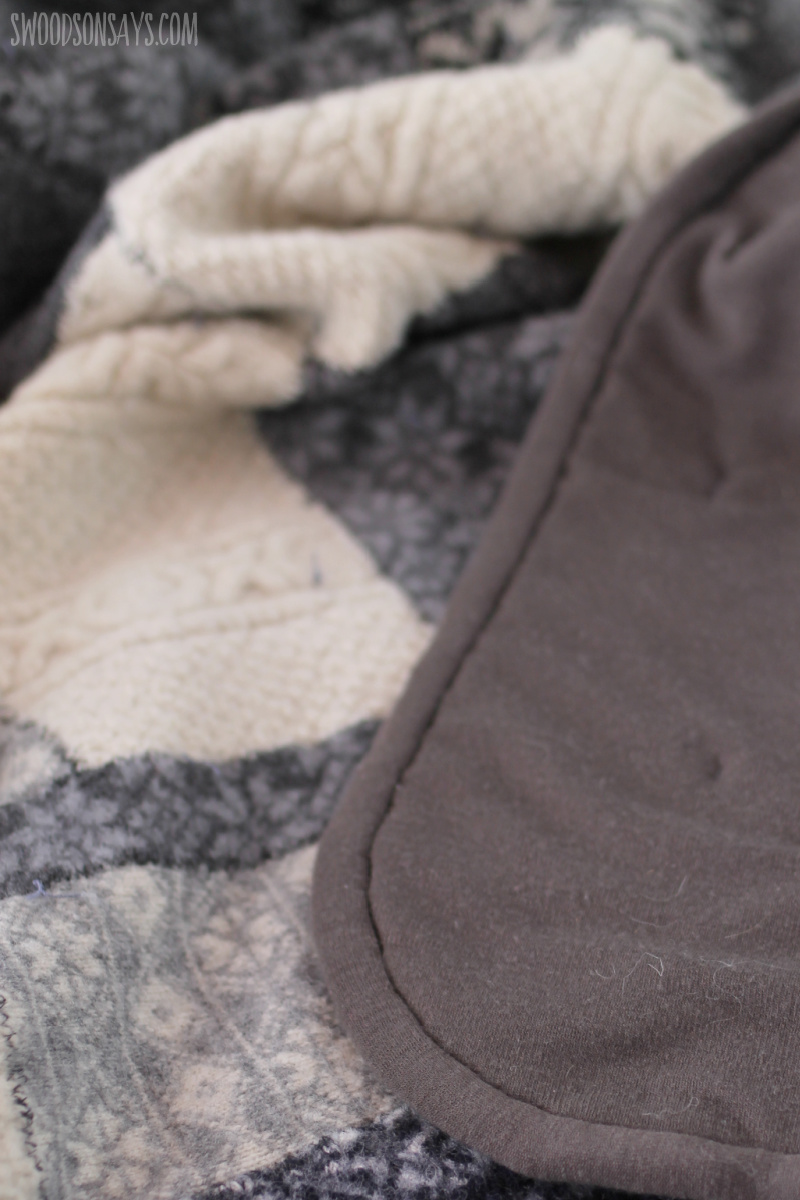
Step 9-Last step is binding! I used the same wool knit as the backing, cut into 2″ wide strips. I then sewed it on with a .5″ seam allowance and folded it over and hand sewed it to the back, as shown. I think you need to test these numbers out depending how thick your finished quilt is, but if you haven’t done many quilts you can see a general tutorial for cutting the strips and sewing them on, here on Wendi’s blog!
You’re done! Those hole-y, shrunken, stretched out sweaters are now a super cozy blanket to keep you warm!
Coco
Tuesday 5th of August 2025
Hi, I'm novice of sewing, and I don't want to waste my old shrunken wool knit sweaters. Is the backing fabric necessary? Is a single, no layering one good as well?
Stephanie - Swoodson Says
Wednesday 6th of August 2025
A single layer blanket would function just fine, made from felted wool!
MissE
Sunday 29th of December 2024
I'm so glad I came across your post because, now that the Holidays are over, I'm really looking forward to finishing several WIP projects. The only suggestion I'd like to put forth is to pre-wash and heat dry all garments BEFORE cutting in order to keep them from fraying--a lesson I learned the hard way ;) Thanks again for posting such an awesome tutorial <3
Stephanie - Swoodson Says
Tuesday 21st of January 2025
I have that in my first step, I agree!! Just didn't take a photo of that step :) :) Hope you're knocking out WIPs left and right in 2025!
Georgie's Mom
Friday 22nd of November 2024
I'm just taking a break from sewing my felted wool squares in rows. I started this project pre-pandemic (can't remember the year) and it took ages to find enough wool sweaters at thrift shops. There were some websites that discussed making blankets like this but they didn't have much detail or photos. I started sewing it altogether in 2021. Moved house in 2022 and only picked it back up a month ago because I was sick of looking at the box marked "W.I.P - blanket". Now I'm coming to the end of the project I've stumbled onto this website and now I know how to finish the edges thanks to Stephanie and some of the comments made by readers. I also have confirmed that, although I've been sewing for... a very long time, I really don't like quilting. This will be the last blanket I make. I'll make some slippers out of the leftover felted scraps.
Stephanie - Swoodson Says
Friday 22nd of November 2024
yay! I'm so glad you're close to being done, I hope you can really enjoy it even though it'll be the last blanket you make :) I'm under mine right now as I reply to you!
Koyya
Friday 22nd of December 2023
I love your idea about using use sweater . I 've done this with denim many times. I think I will try this ,it would be a great camping blanket. Thanks for the great idea . Never can have a enough warm blankets
Jennifer
Monday 29th of May 2023
Thanks . Did you ever try this with an iron on lining?
Stephanie - Swoodson Says
Tuesday 30th of May 2023
I didn't! I've started collecting sweaters to try a version 2, but I'm going to use a flannel sheet for a backing instead.