
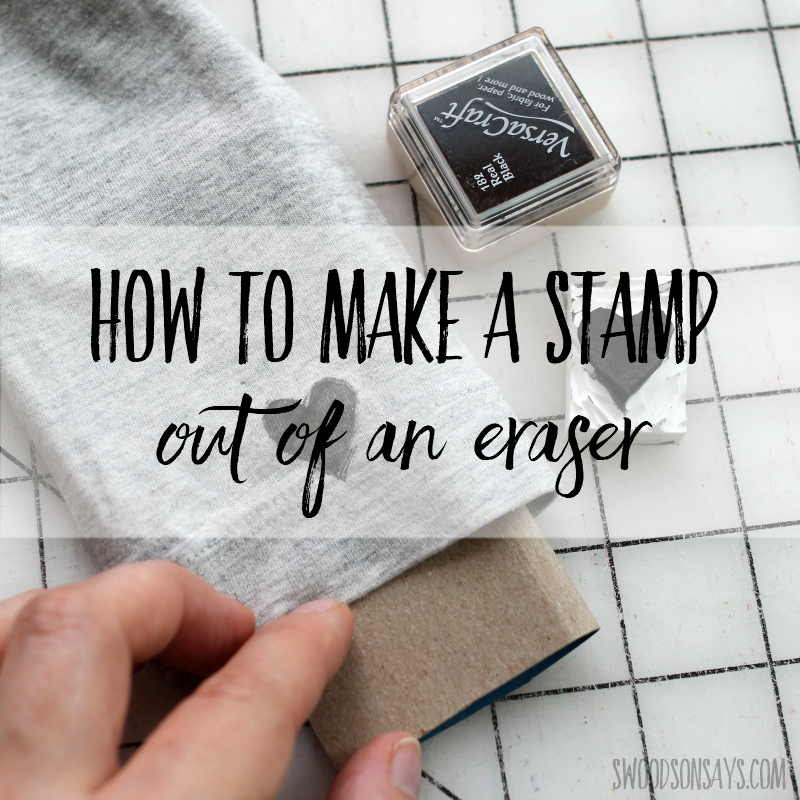
 How to make a stamp out of an eraser! This is such a fun, quick craft that you can do in an hour or so; I used this as a method to cover up an old stain but it’s fun to do as a regular embellishment, on papercrafts, or to create DIY clothing labels.
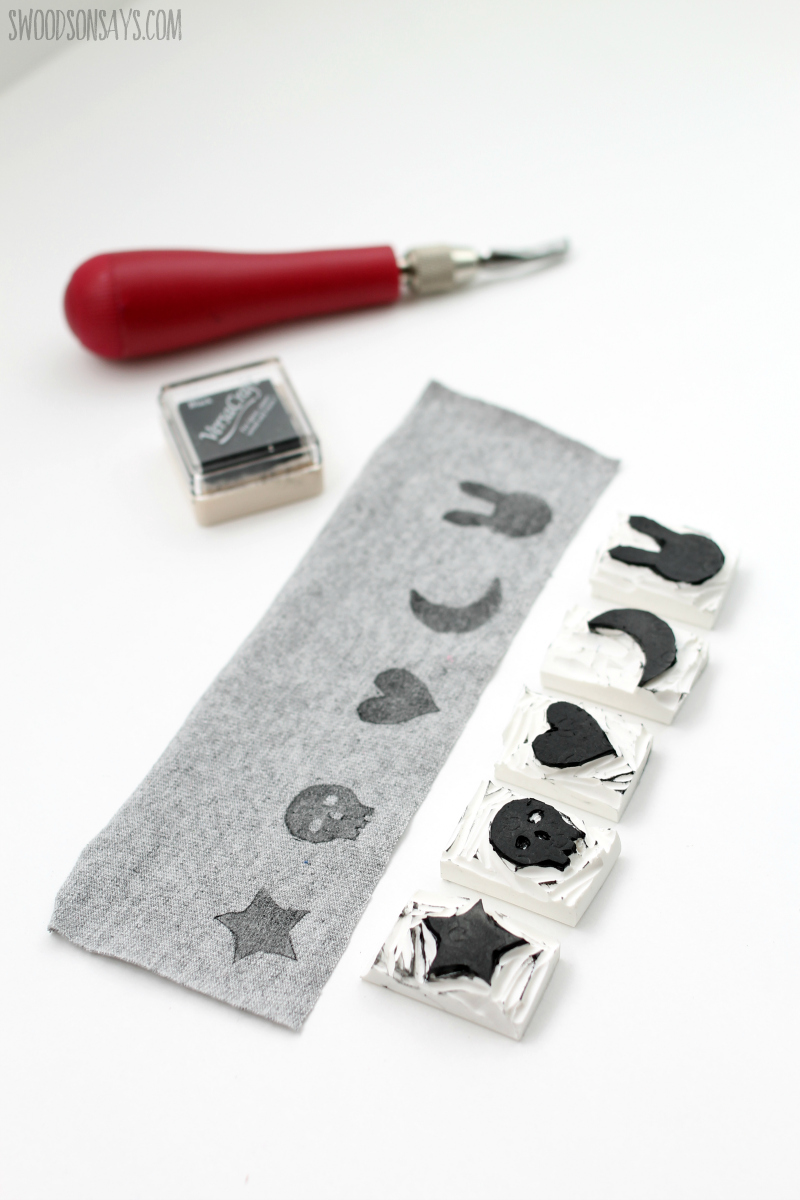
I designed a set of little drawings that fit perfectly on these erasers, they will be released as a part of a mending e-book I’m working on that will release in October; sign up for my newsletter to hear about it! But you can follow this tutorial with a freehand design without any issues, no need for a pattern print-out.
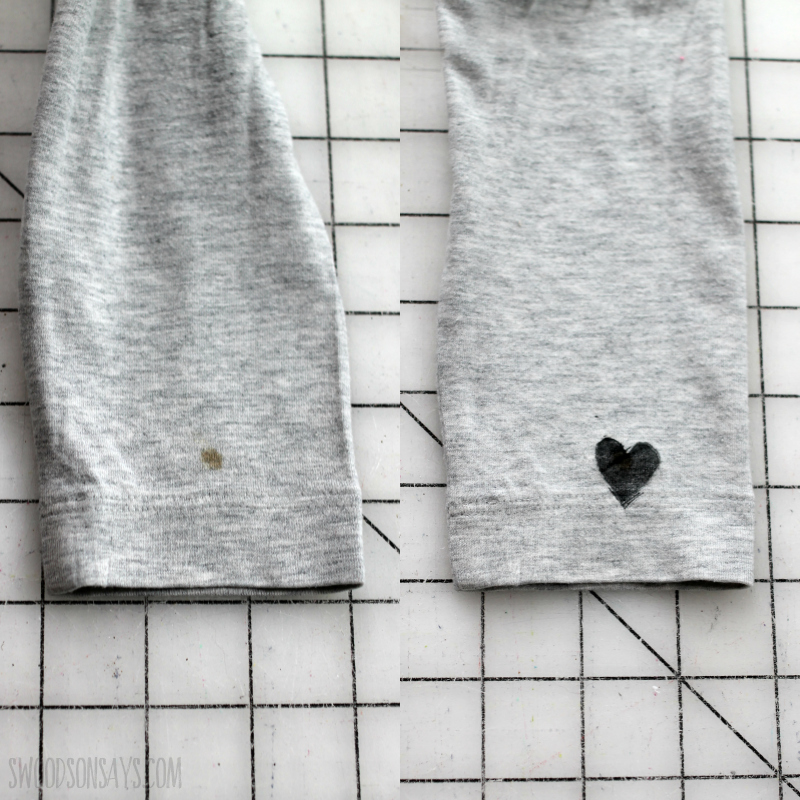
Here you can see my sleeve’s before and after! It went from an ugly, immovable spot to a cute little detail.
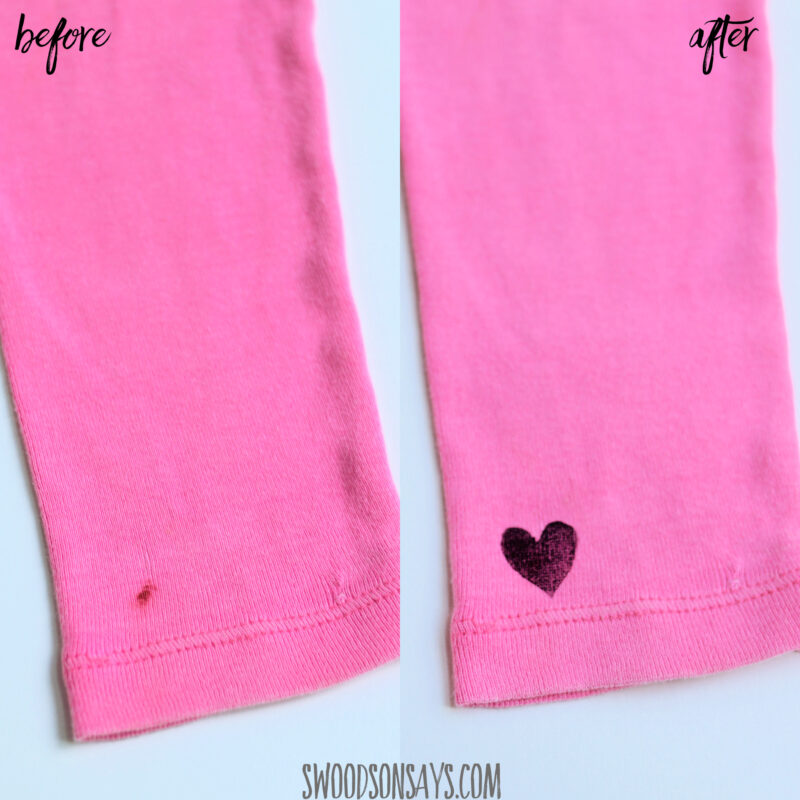
Here is another one I did with the same stamp!
While you’re here, you might be interested in these other posts too!
- See how I used a potato to stamp a skirt and a blanket
- More mending ideas
Pin this tutorial for how to make a stamp out of an eraser with this link or collage image:

how to make a stamp out of an eraser
Supplies:
- Pencil + paper
- Small white erasers
- Craft knife (Amazon ) or lino block cutter (Amazon or Etsy)
- Fabric ink (Amazon, large Amazon,small or Etsy)
- Iron
Steps:
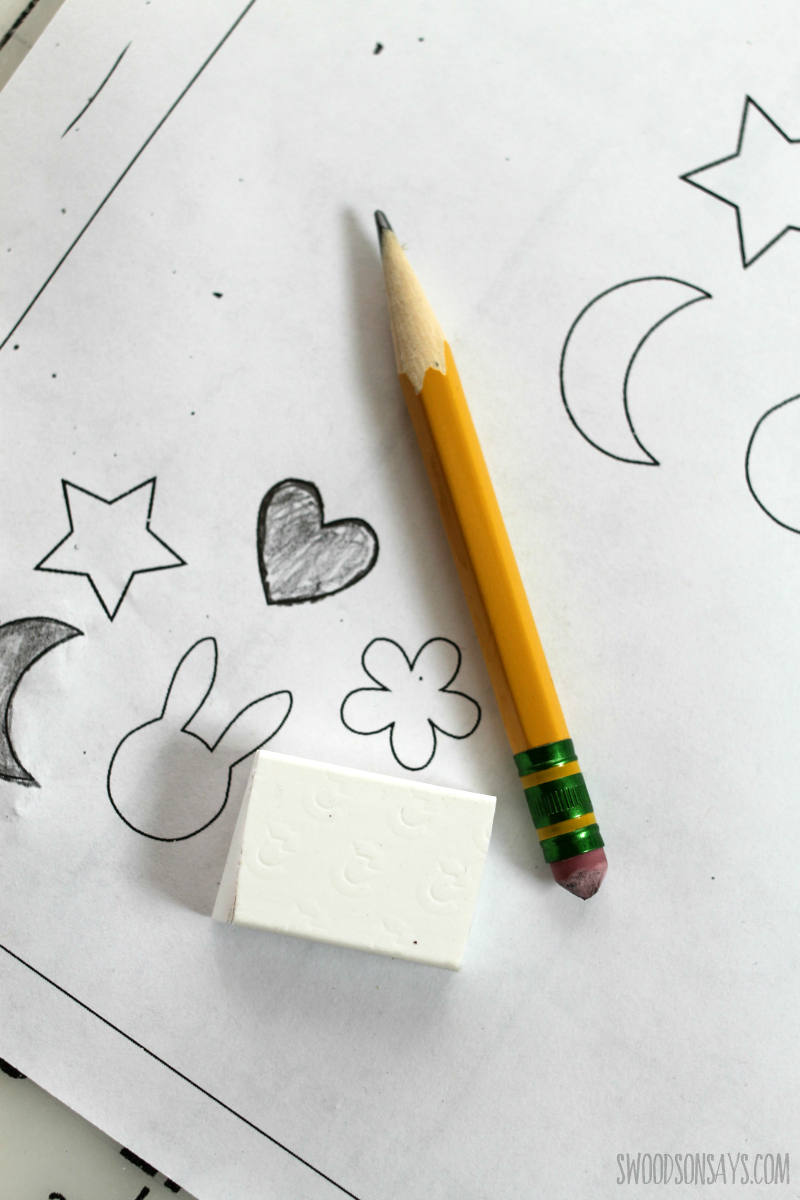
Step 1- Use your paper and sketch out a design! You can draw directly on erasers of course, but I find it gets weird trying to erase on an eraser when you’re perfecting a design. Hold it up to a window to make sure it will fit, then gently trace over it and fill it in.

Step 2- Use your pencil eraser or whatever is handy to gently rub on the design, centered on the stamp.
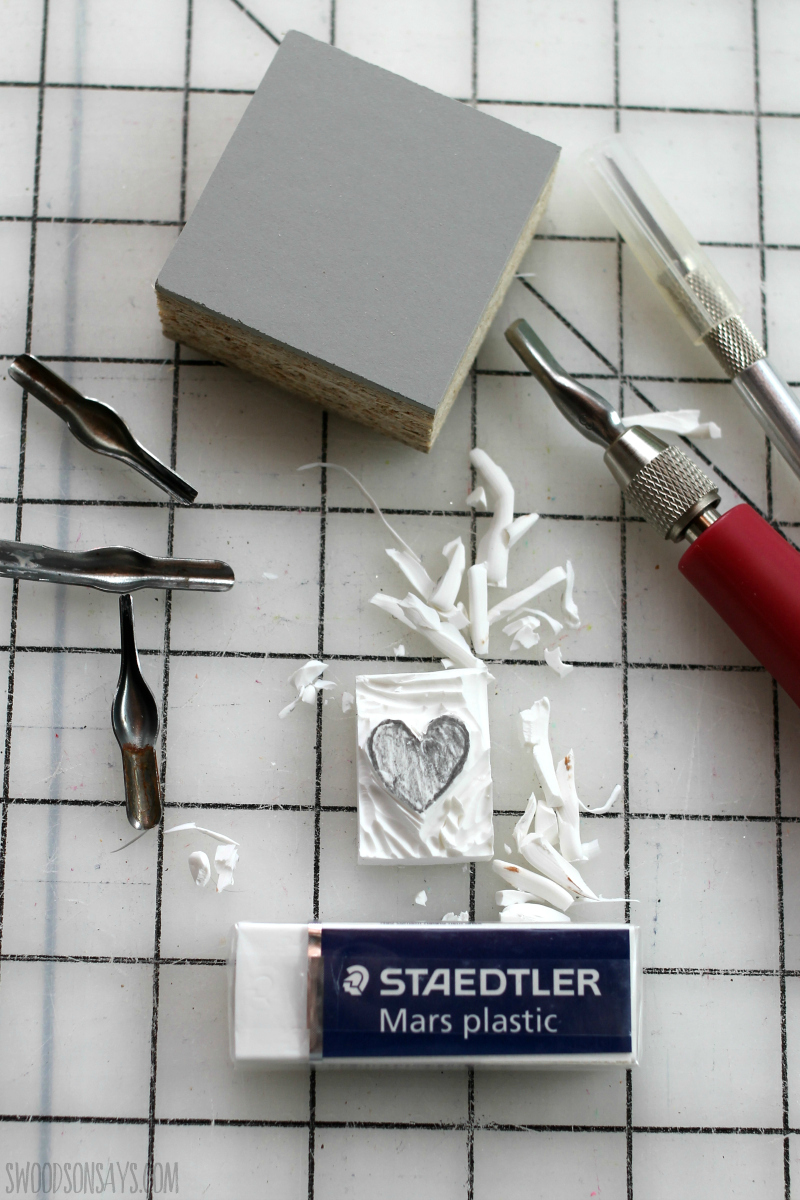
Step 3- When you flip it over, the pencil will have transferred. Now is this time to carve around it! You can use either tool, one just give you a bit more precison. At the top I have a blank proper stamp ready to be carved, for scale.
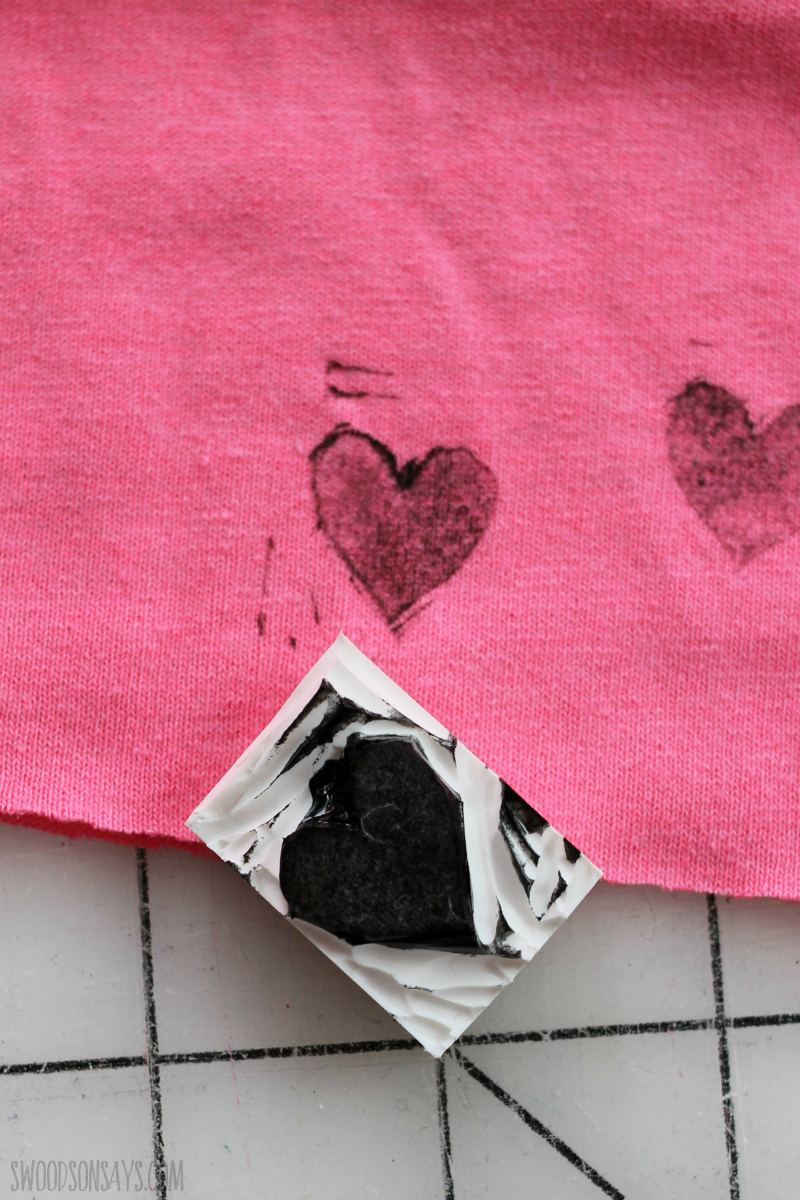
Step 4- Test it on scrap fabric! See if there are any adjustments needed.
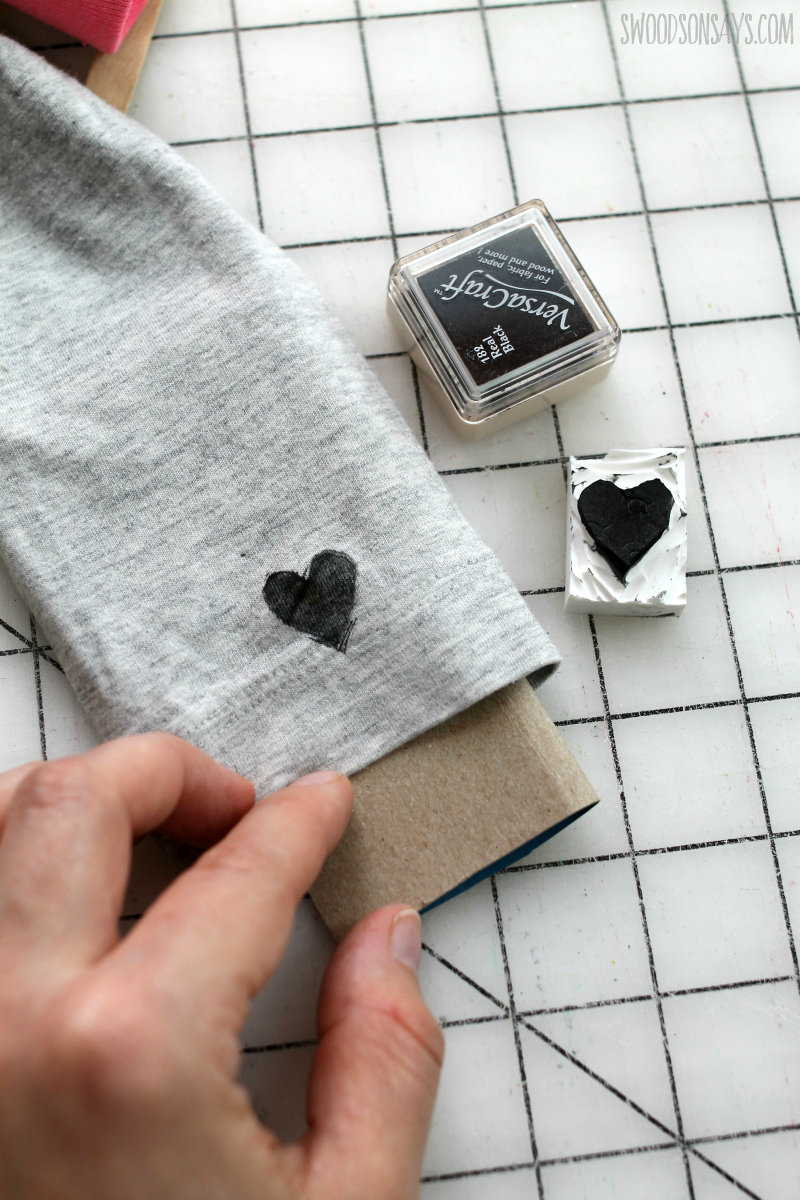
Step 5- For the real deal, make sure there is cardboard underneath or in between layers, and stamp away! Heat set with your iron and a pressing cloth if directed by the ink you’re using, and you’re ready to rock!
Let me know what motif you might use on a diy eraser stamp; this is a great craft with older kids too.
Kris
Tuesday 8th of September 2020
Stephanie, this is great!! I have all the tools, tried to make some stamps, and just didn't get them to where I'd like to use them :) I'll dig them out and try it again! Thanks for the reminder :)