This shop has been compensated by Collective Bias, Inc. and its advertiser. All opinions are mine alone. #SnappleRollback #Walmart

I’m sharing how to make felt coasters, no sewing required, in an ode to how Snapple® fits into my day. I’m not a coffee, tea, or soda drinker so I love having a Snapple Kiwi Strawberry to grab during my afternoon break and after a long morning. In the past, I’ve shared how Snapple got me through the roughest parenting day I’ve had in the past 4 years. I’m happy to share again about the current rollback price at Walmart, along with this easy felt craft tutorial!
{This post contains affiliate links, indicated by an asterisk*. Please refer to ‘legal stuff’ in the top menu for more info.}
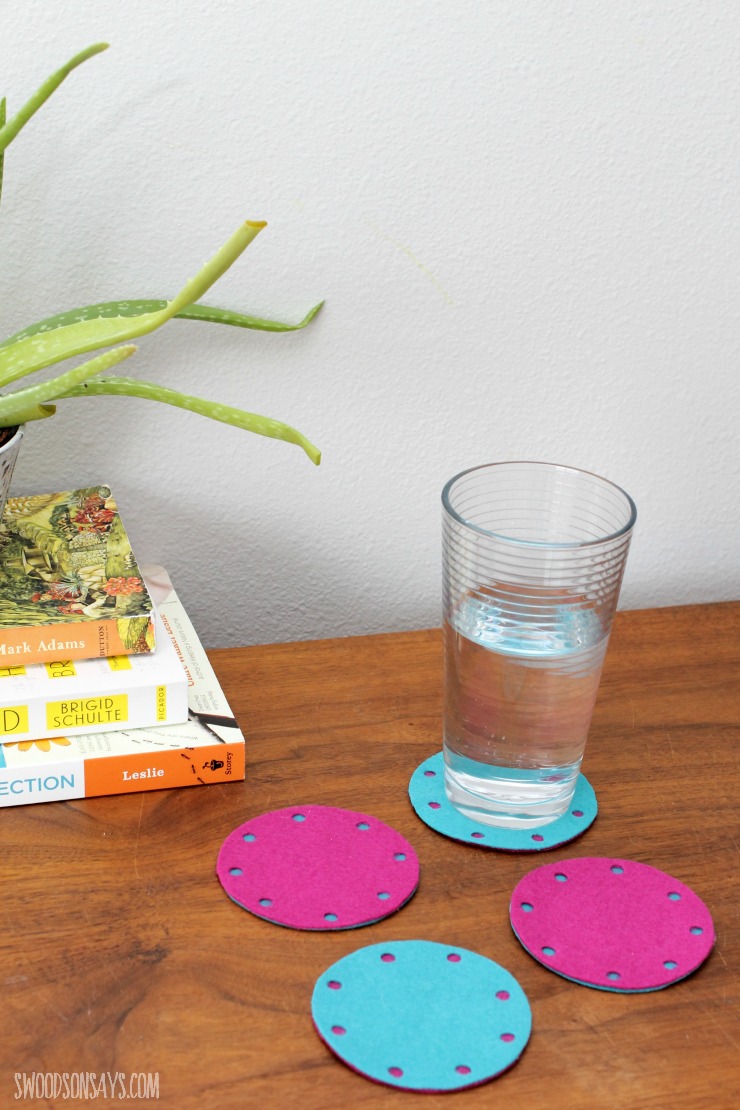
I stay at home with my two kids, and by the time the youngest one is napping and the oldest one is quietly playing or watching a show, I need a break too. A glass of Snapple and some crafting or reading a book helps reset me for the afternoon. I usually sit at the dinner table, behind the couch so my son doesn’t see and ask to share (ha!). I’m sharing a tutorial to make some simple, felt coasters – and now they protect my table while I read!
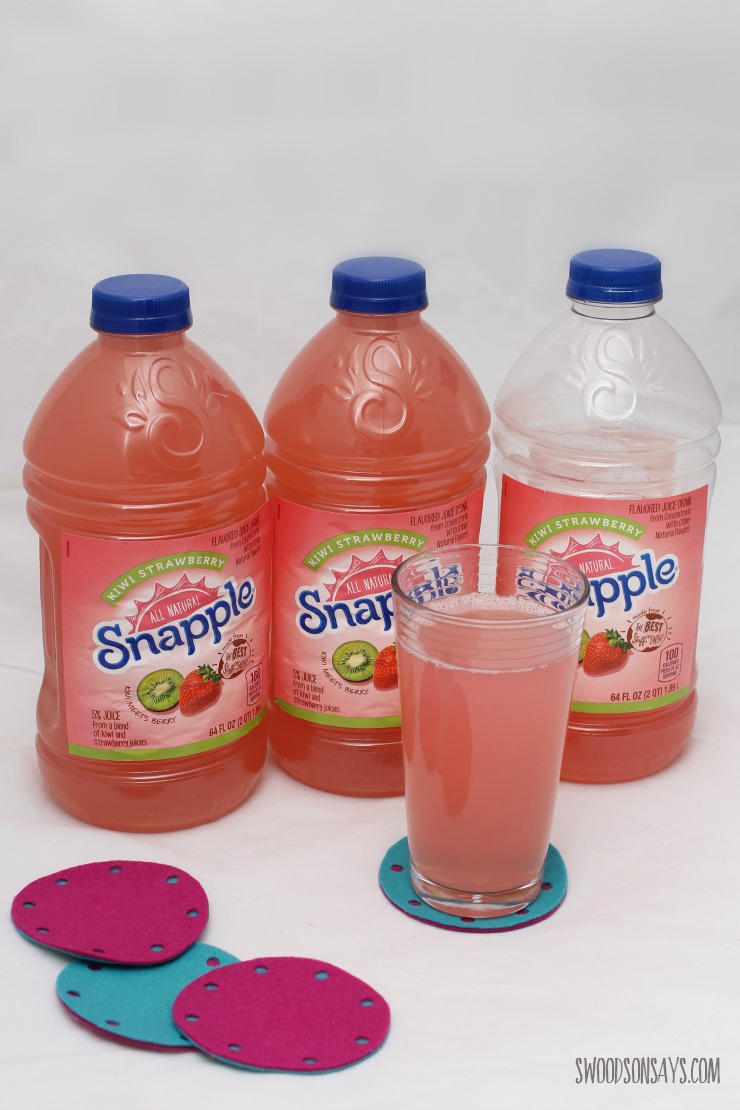
Snapple 64oz. bottles are on a 3/$5 rollback only at Walmart from 2/1 – 4/27, so go get some to enjoy while you craft and take some time for yourself. You can find it back by the iced teas and soda, not by the fruit juice.
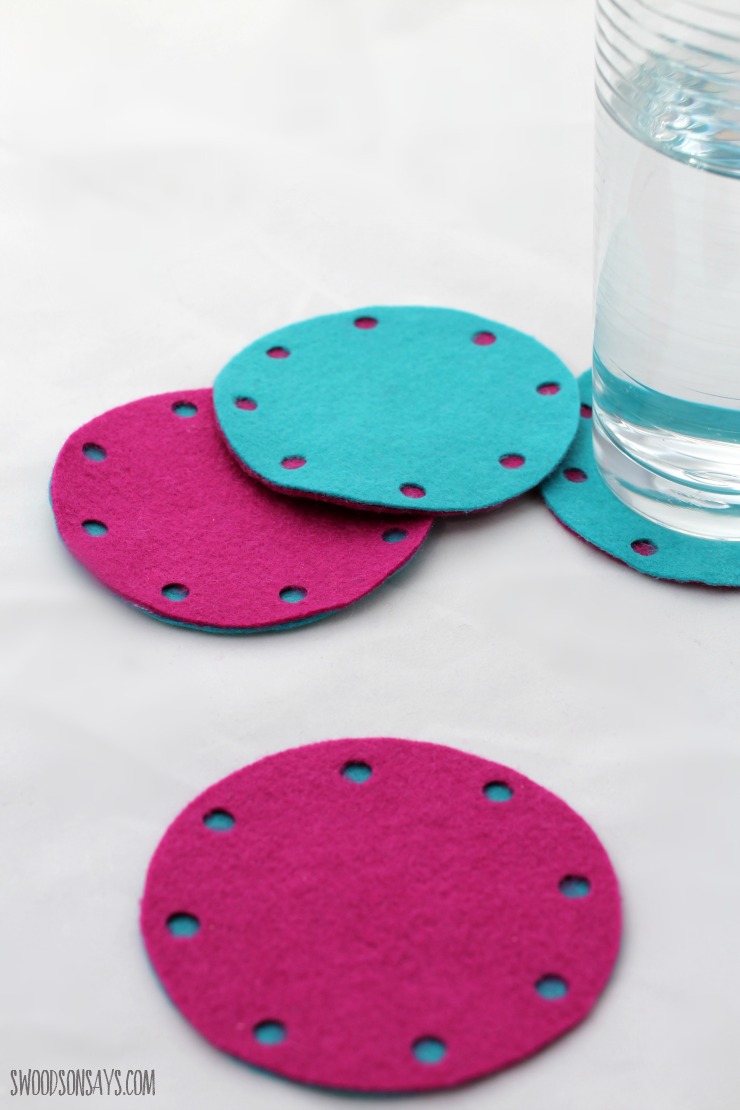
These coasters are super quick to make – you could also mix in embroidery stitches, machine sewing, or even another color on the bottom peeking through.
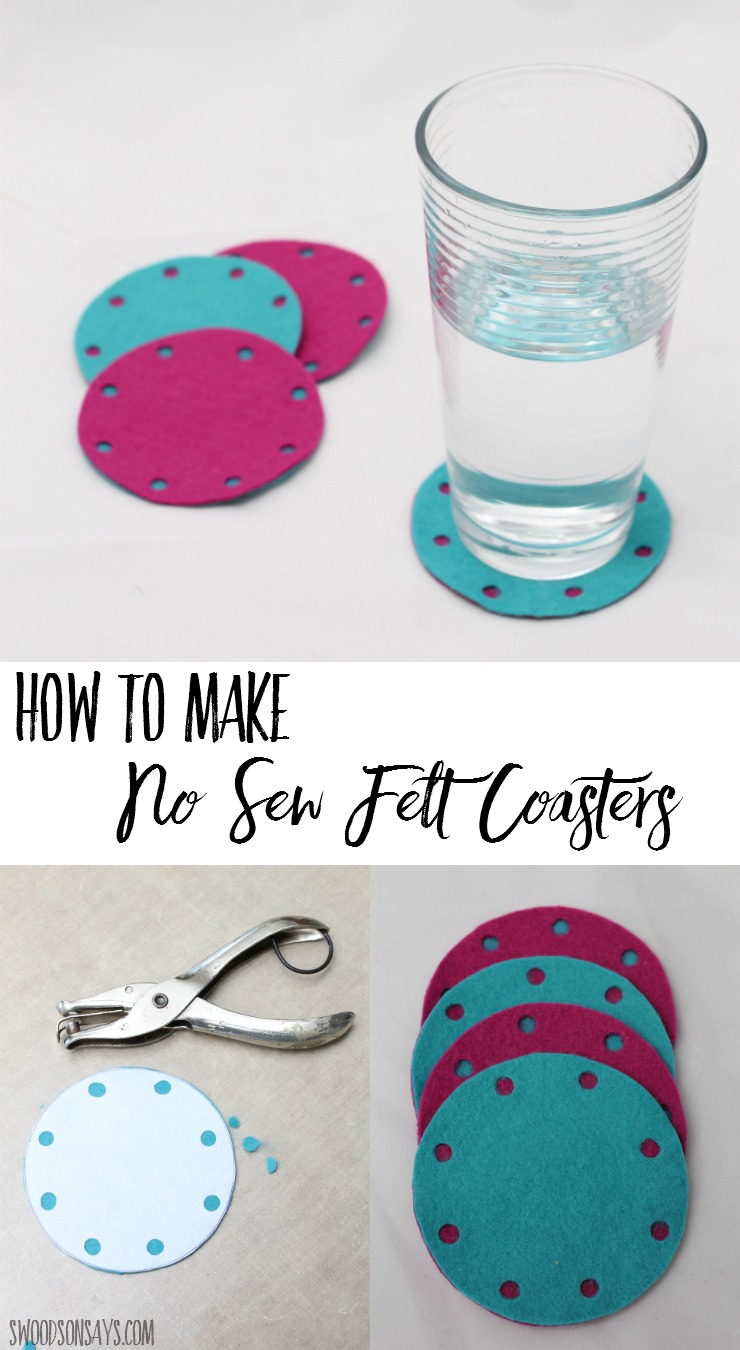
How To Make Felt Coasters
Supplies
- 2 sheets of coordinating color, wool-blend felt* (my sheets are from Benzie Design)
- A circular hole punch*
- Paintbrush
- Fabric glue
- Freezer paper* (you can buy it at most grocery stores as well, for cheaper)
- Scissors
- Iron
Steps
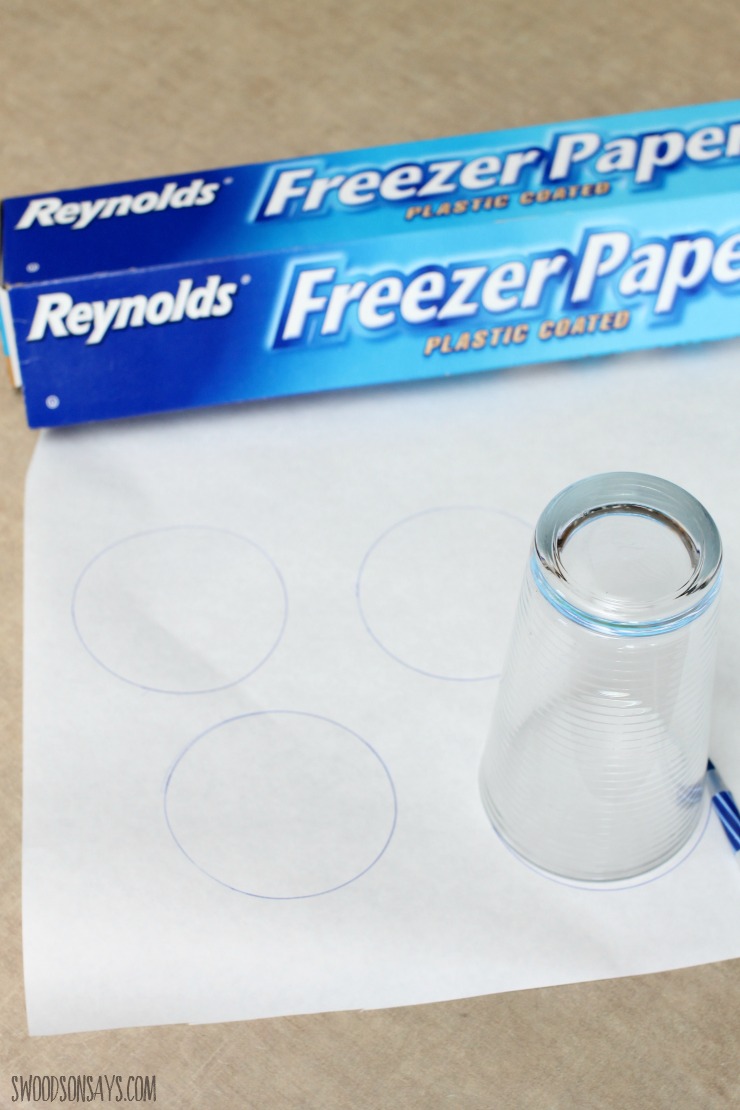
1- Use the larger, glass mouth or another circular object and trace around it on the dull side of the freezer paper. You can reuse the same pattern, but you’re going to be cutting 2 circles per coaster so I traced a few.
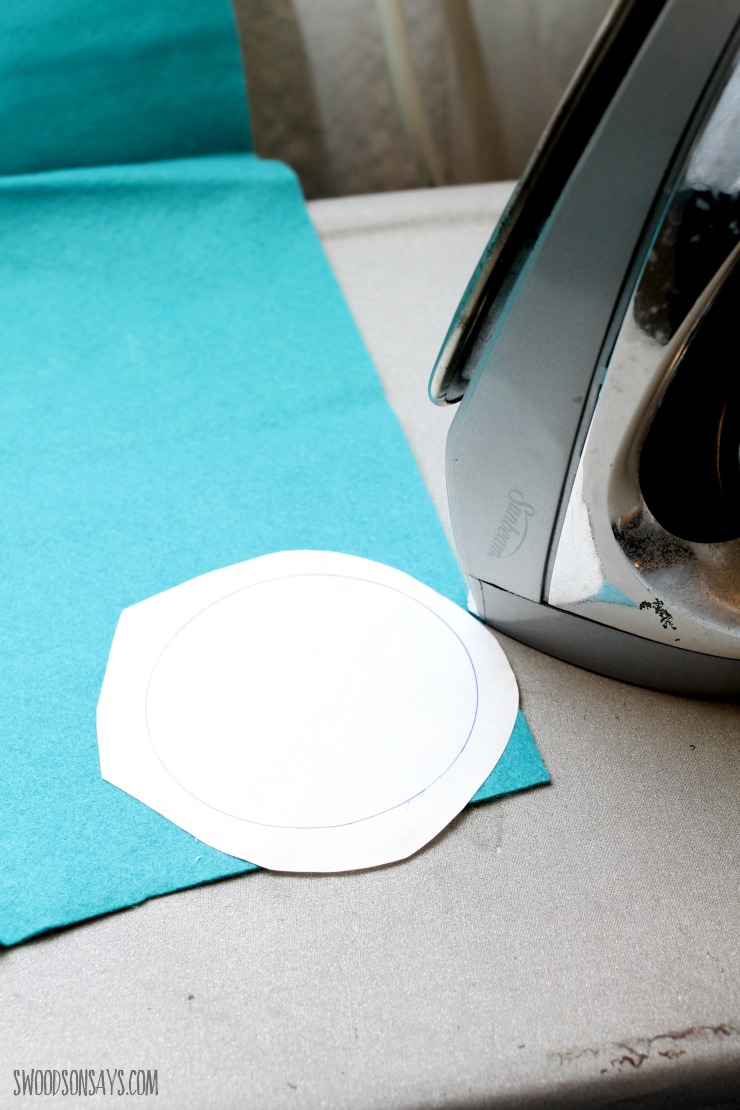
2. Cut out roughly around and iron it on, shiny side down, to the felt.
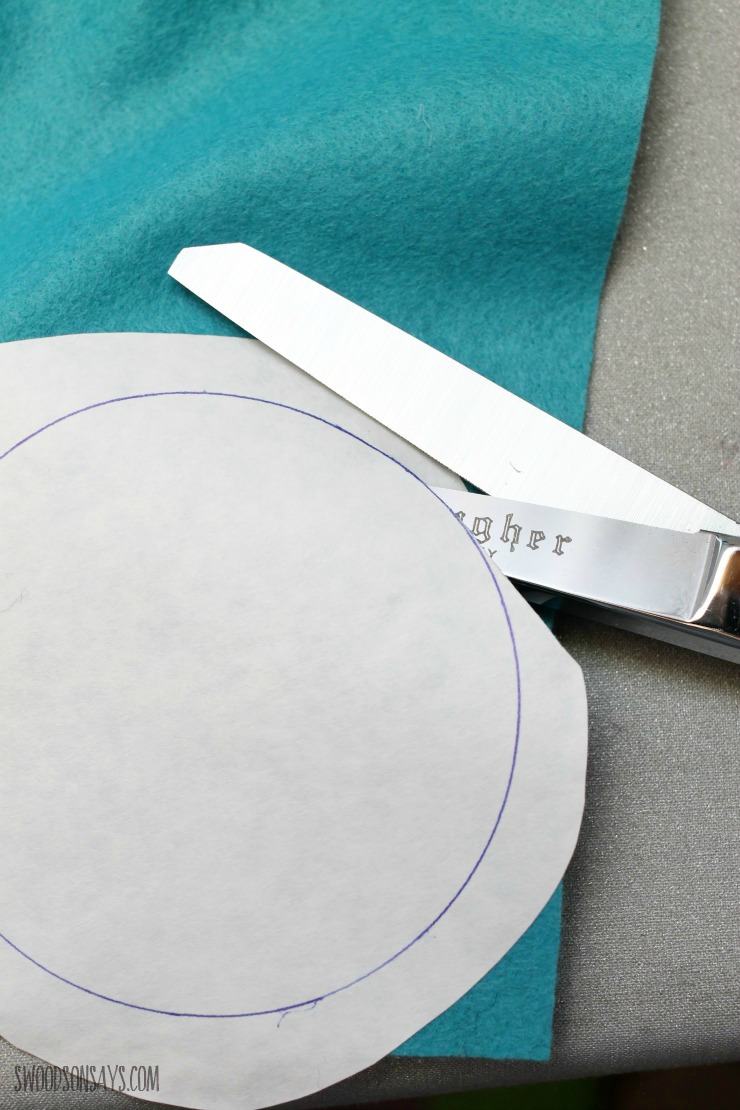
3- Cut around the traced pattern, on the line.
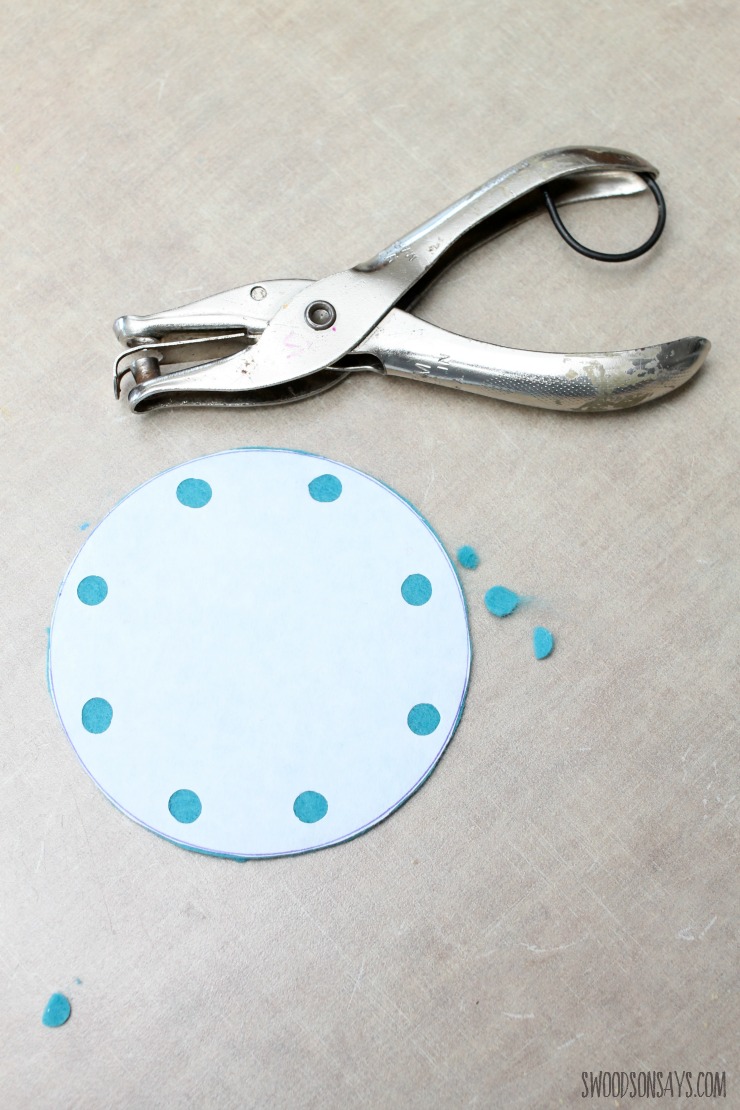
4- Punch holes! I bent my circle in half, punched at the crease, and repeated and then spaced organically. Peel off the freezer paper.
5-Repeat Steps 2-4 for 3 more top circles. Then repeat steps 2 & 3 to make 4 base circles, without any holes punched.
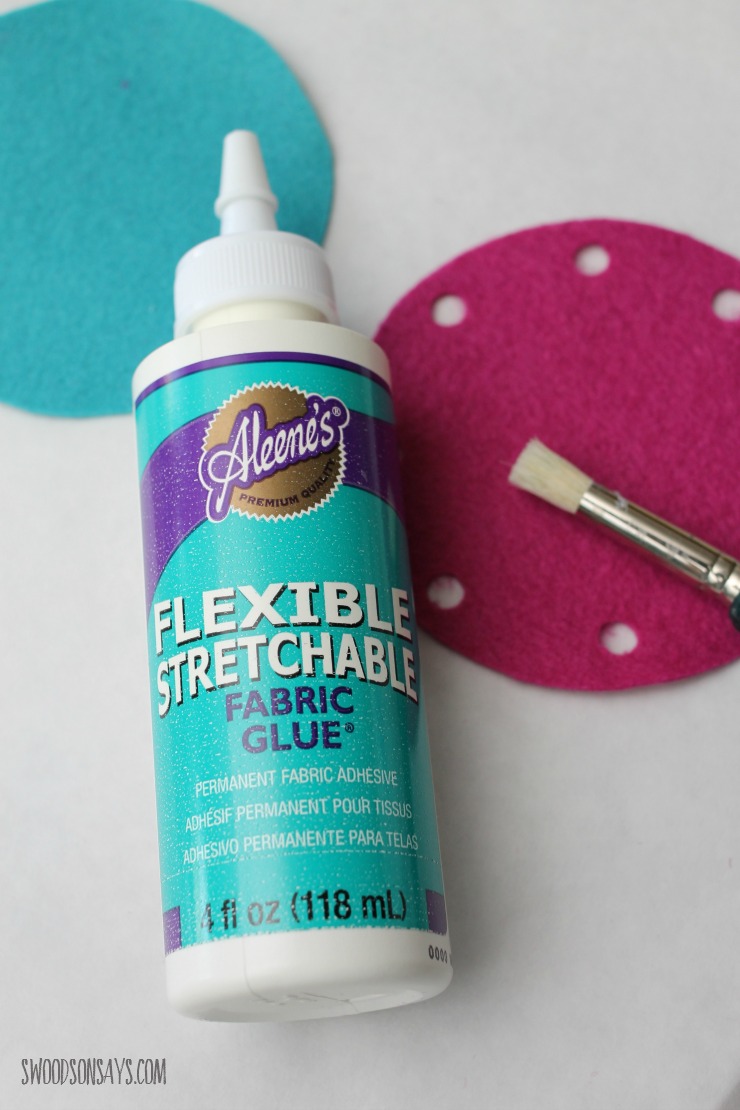
6- Use your paintbrush and fabric glue to spread a thing layer, avoiding the holes that have been punched.
7-Place a top circle, glue side down, and press firmly. Leave to dry, and then enjoy!
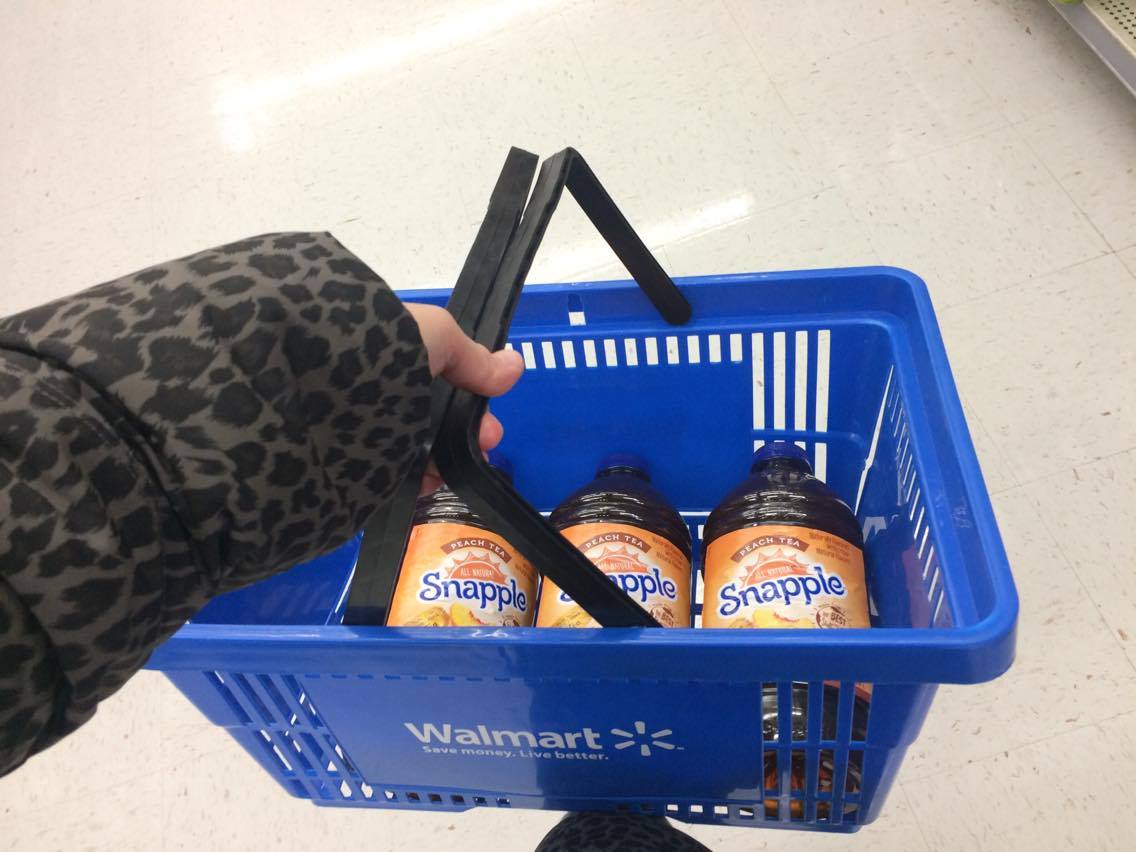
One regular Walmart basket holds 3 of the big bottles, which makes the decision of how many to buy easy! My daughter is cutting her canines, so I might need all 3 this week.
Do you have any favorite habits or rituals for re-energizing during your afternoon break?