
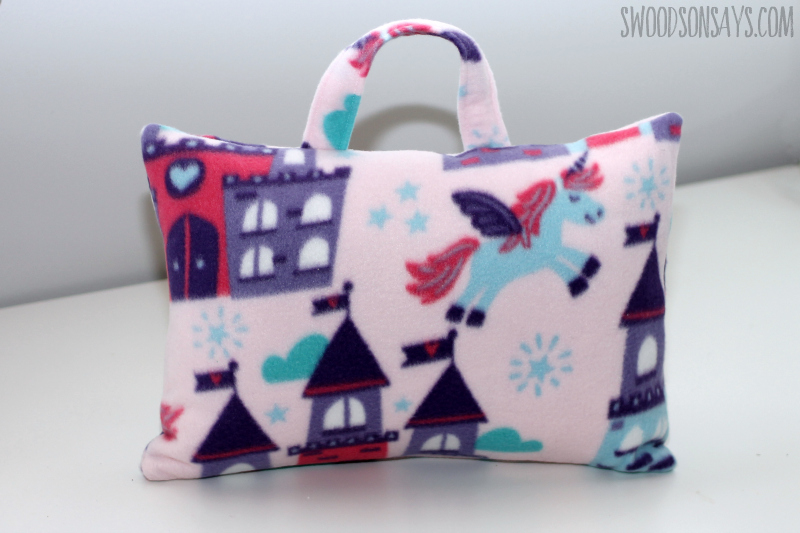
If holiday travel is in your future, I have the perfect fast gift to sew for you! I used one of JOANN’s adorable fleece prints for this kid’s travel pillow sewing tutorial. I’m excited to share that I’m collaborating with them to share this project. That means they compensated me for my materials and my time, but of course I only share products & stores that I already use and love, and all opinions are my own. With a handy pocket to store a book and a little handle for dragging along, I think it will be well received by any kiddo, and they are so fast to sew! There are a zillion prints to choose from which makes it easy to pick one that fits each kid’s personality.
Please note: this is sewn and written for fleece, which does not fray and has a touch of stretch. I have not tried it in quilting cotton; if you sew it as is, you will have a raw cotton edge and raw seams that would fray longterm if you’re washing it frequently. An easy fix to this would be to encase those raw seams with a single fold bias binding – maybe at some point in time I’ll rework this in cotton but proceed knowing those terms 🙂
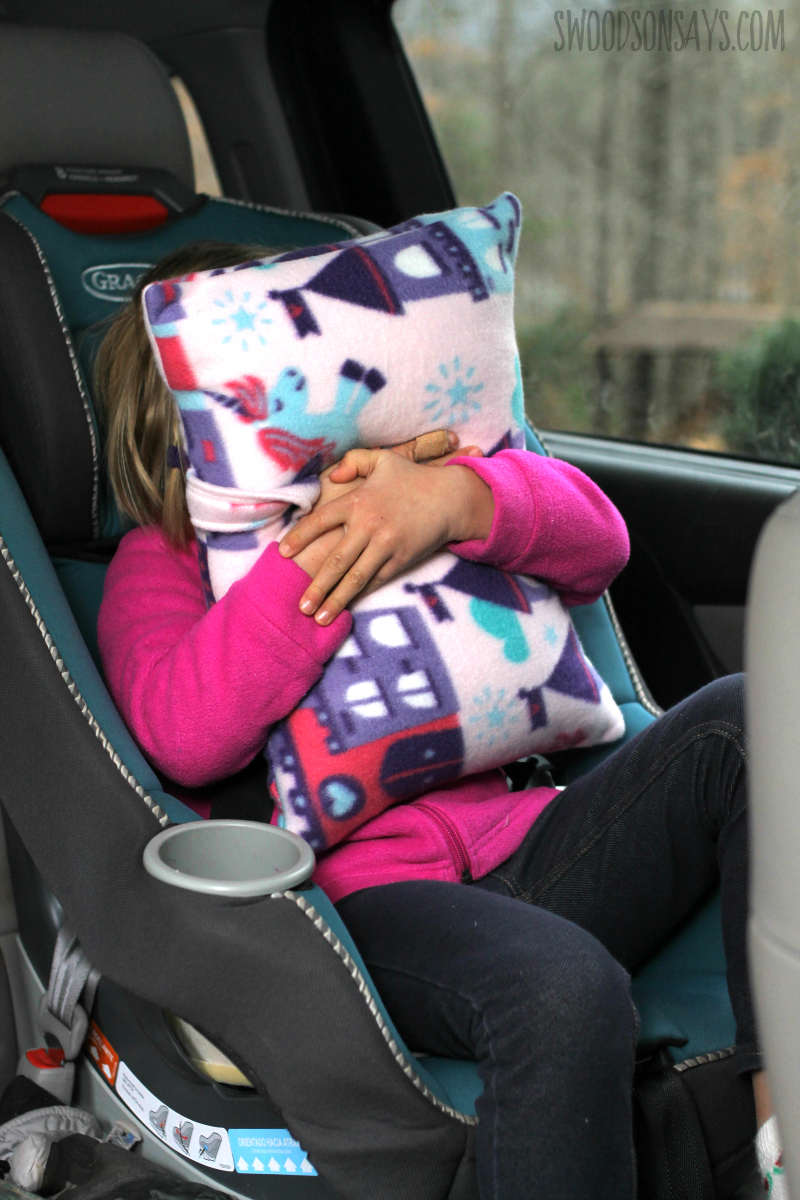
We got a chance to test this out on a 13 hour road trip to Florida recently! I actually borrowed it for a nap, and I fully endorse it as a travel pillow for adults too. The fleece makes it “cozy” but this pattern would work with woven or knits as well.
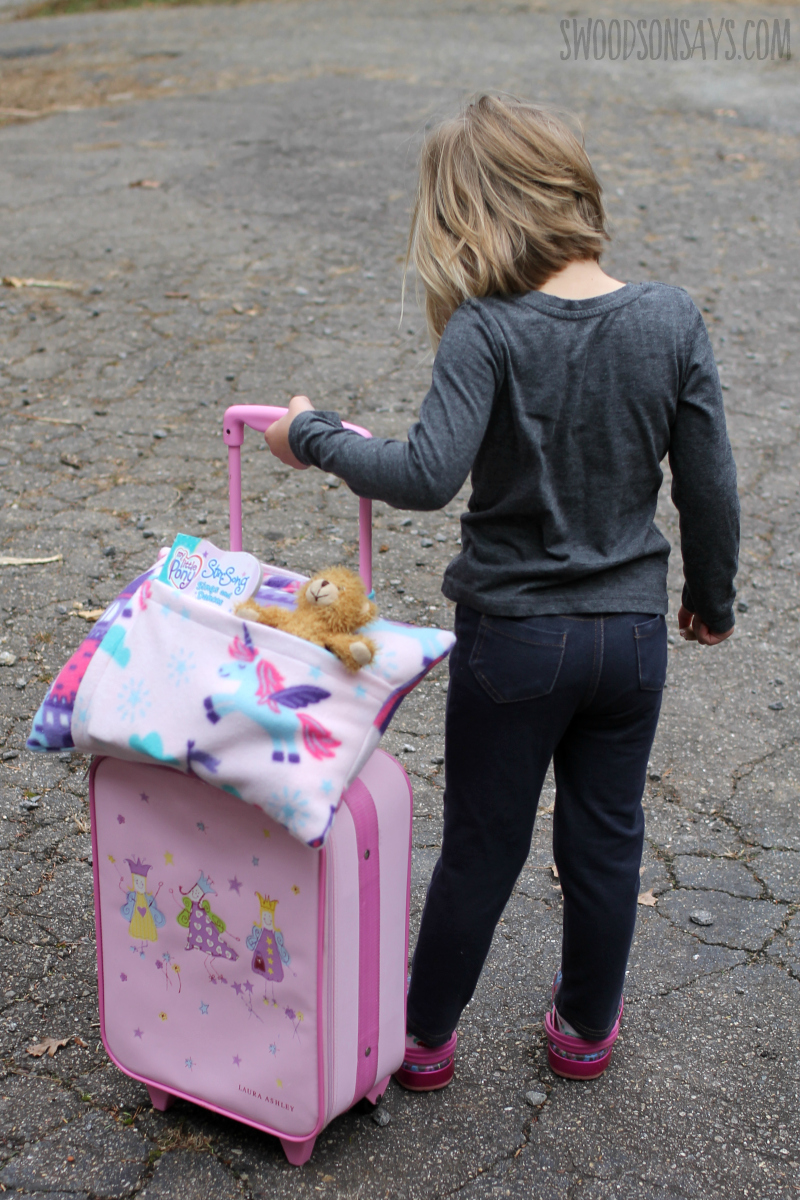
The handle lets it slid on to a suitcase, or be carried over a little shoulder (or, fair warning, used to whip it at a sibling, ha!)
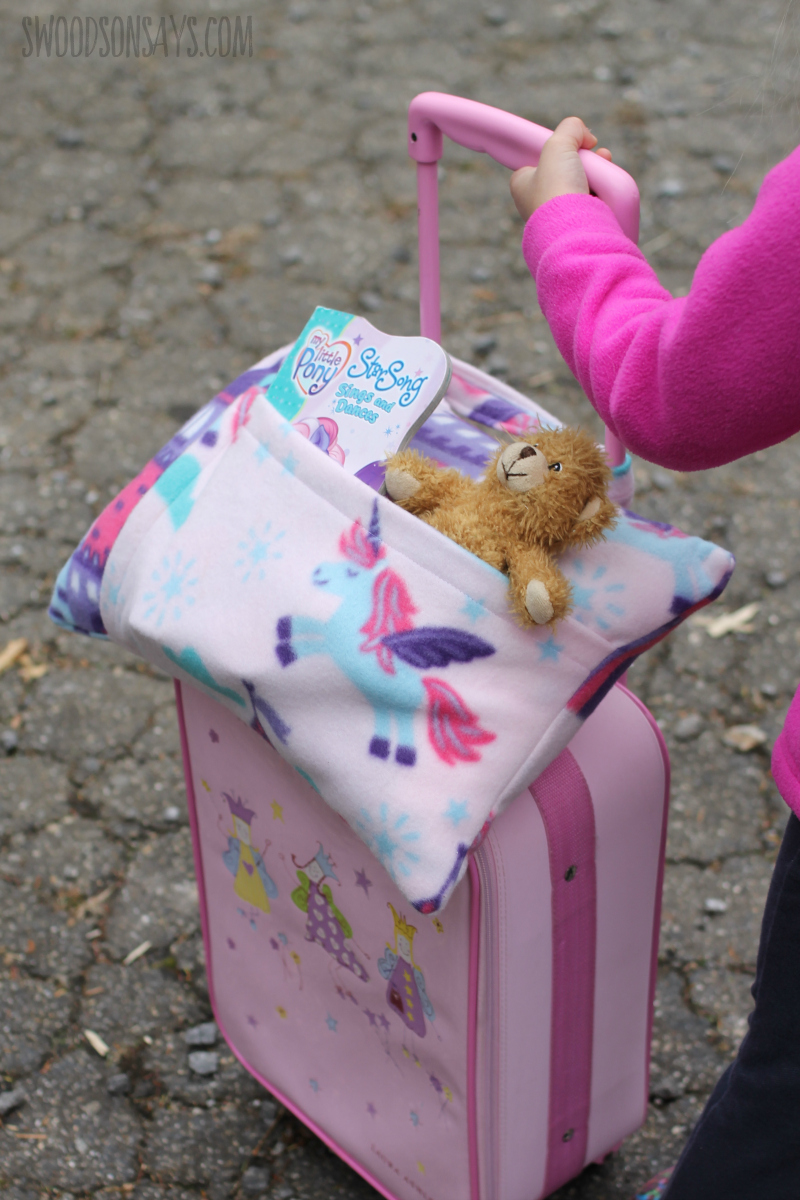
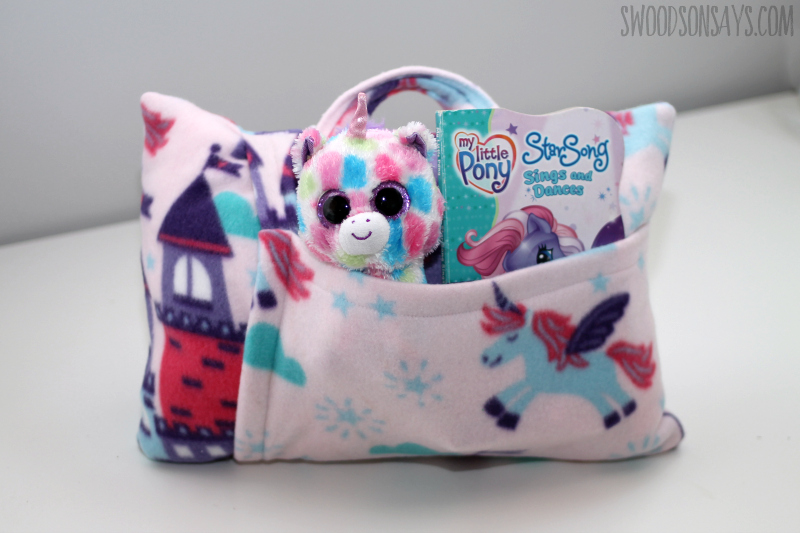
A small stuffed animal and book fit in just right, which is what we let them take on the road anyways! Otherwise we’d be buried under all their favorite stuffed friends.
Isn’t this print adorable? We have been all about castle, knights, unicorns, and dragons lately so I knew they would love it. I ordered the supplies online when I was thinking about them and picked them up in store, it was so simple. I appreciate that my kids still fit in a cart there, it makes it much easier to shop!
It is sewn envelope style, so no zippers to worry about, and great for beginners! Ready to make your own?
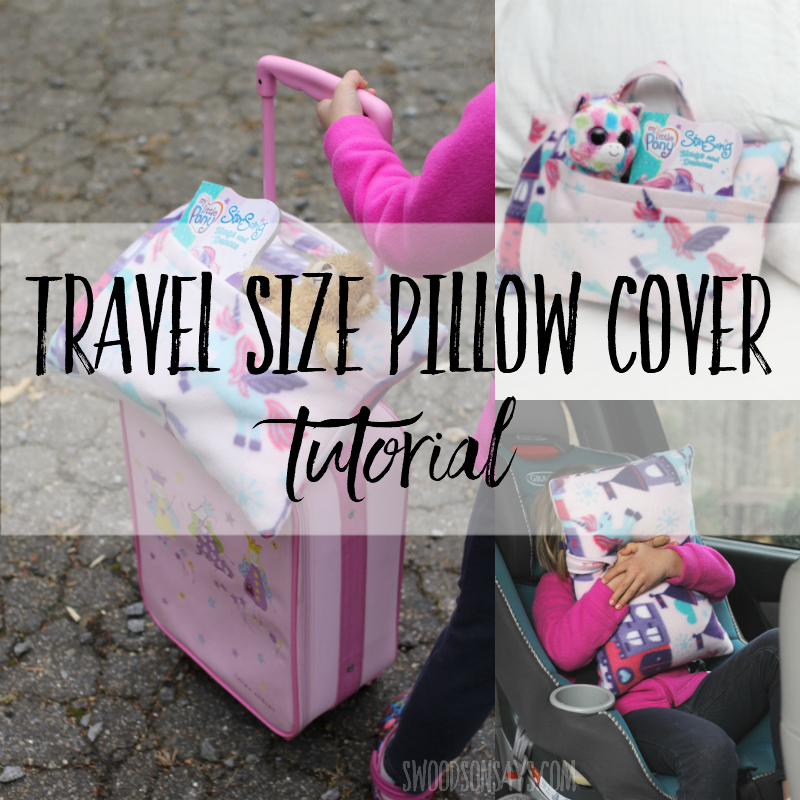
Pin this kid’s travel pillow sewing tutorial for later using this link or collage photo:
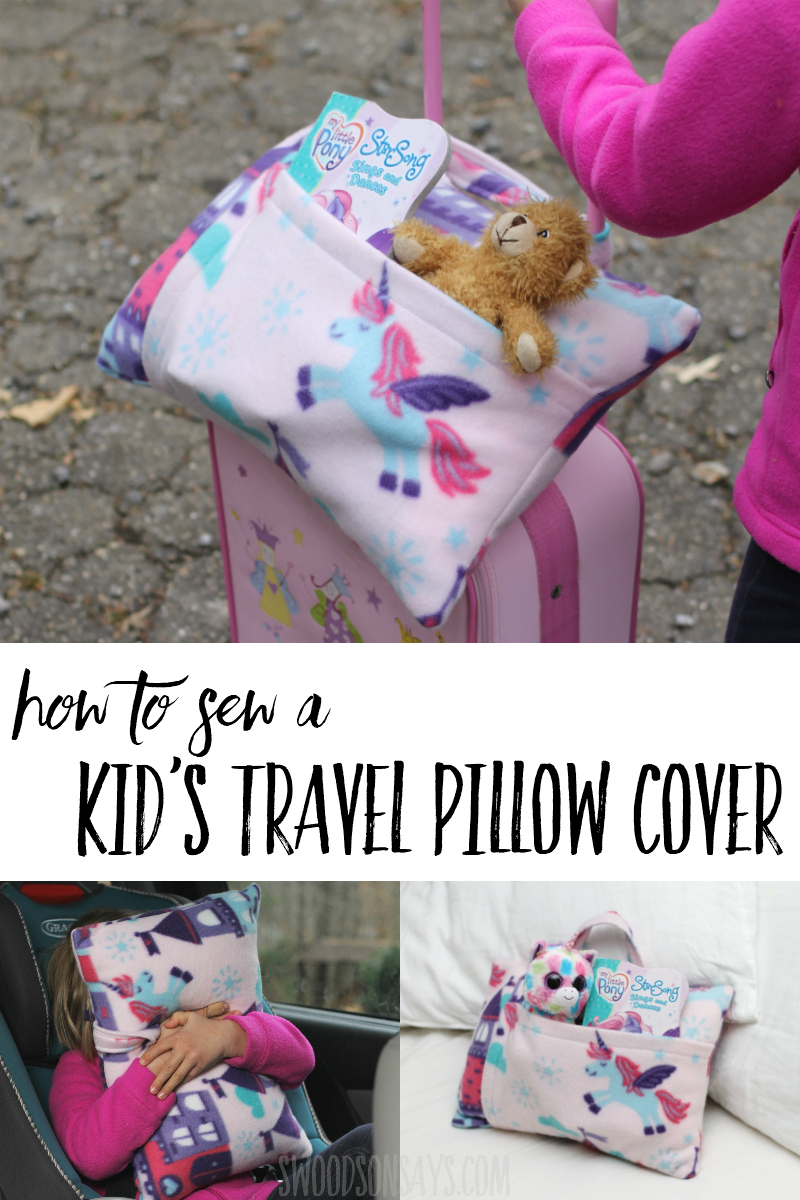
Kid’s travel pillow sewing tutorial
Supplies
- 1 yard of one of fleece fabric
- (1) 12″ X 16″ travel pillow form – shop on Amazon or at Michaels
- Scissors
- quilt ruler & rotary cutter
- Wonder clips – shop on Amazon or at Michaels
Steps
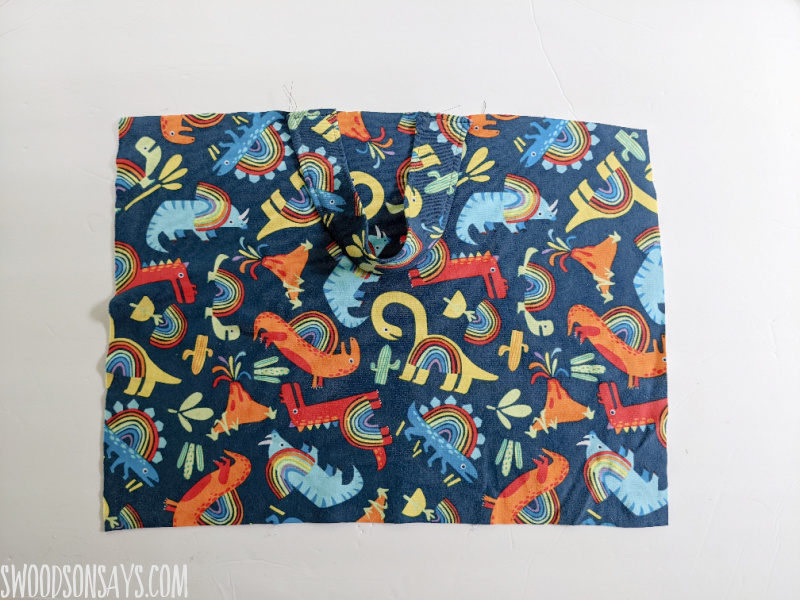
**Over time I’ve heard some comments it is hard to follow with this fabric, so I sewed up a quick second sample with different fabric, and added more step out photos**
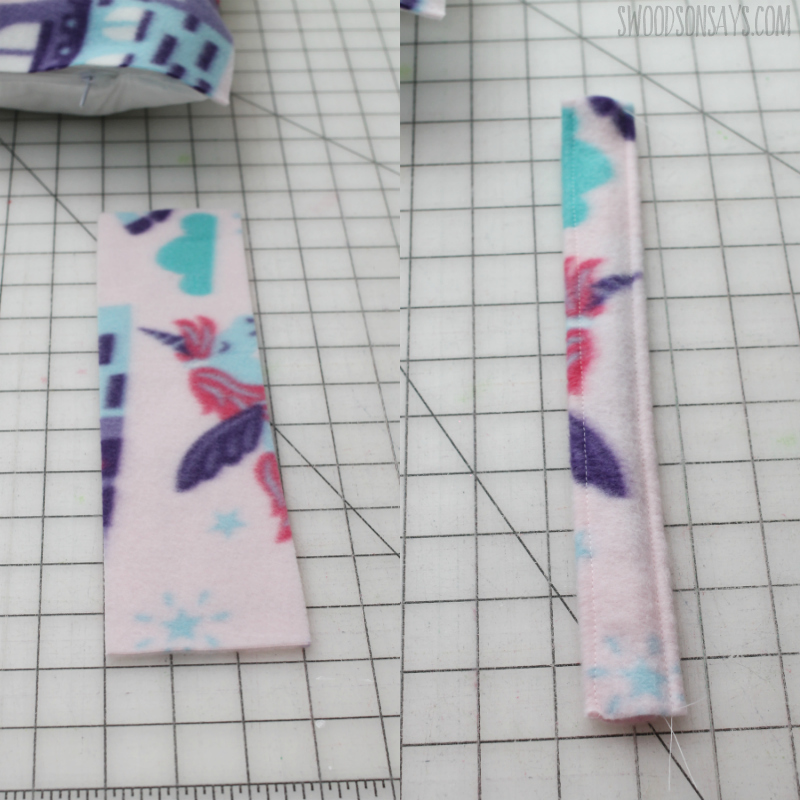
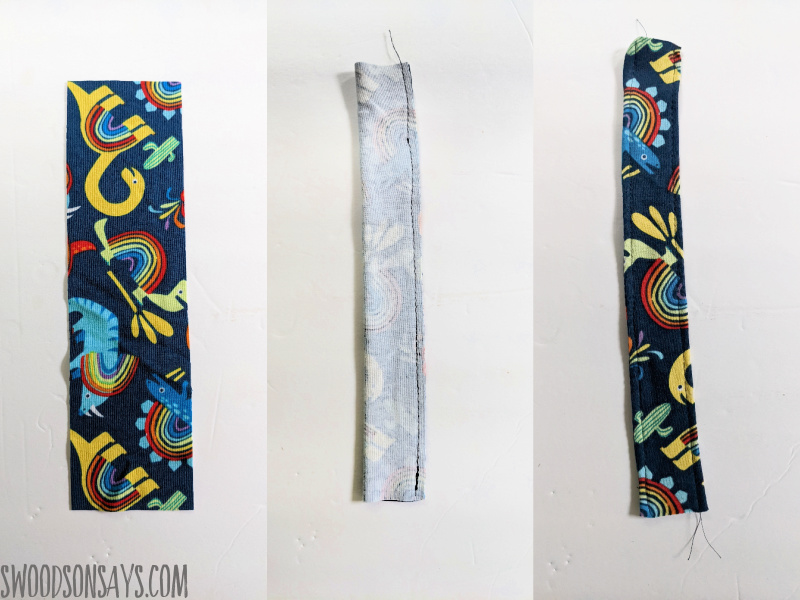
Step 1- Cut a rectangle 11″ tall by 3″ wide, fold it in half length-wise, right sides together and sew down the open long side. Turn it right side out and top stitch along both long edges, forming the strap.
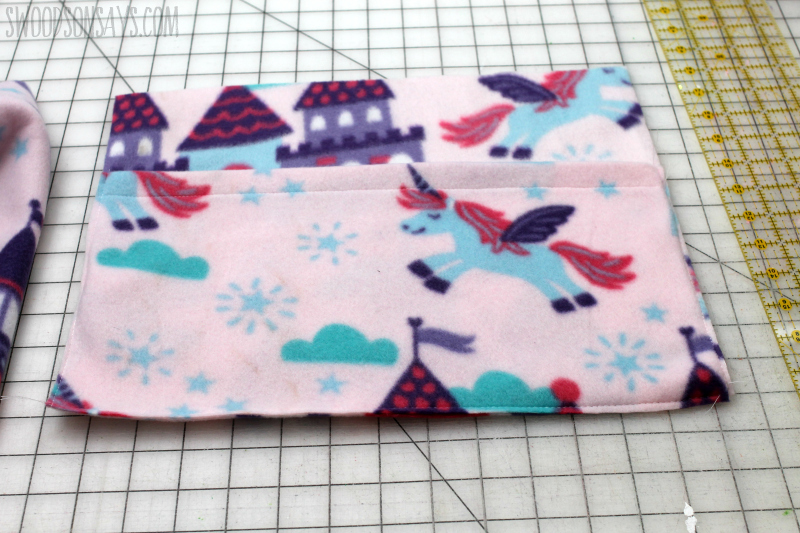
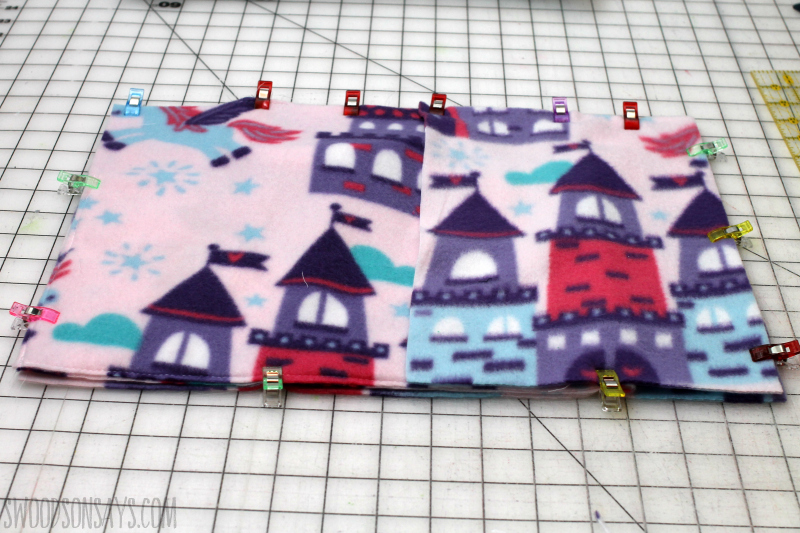
Step 2- Cut 1 rectangle of fleece 14″ long X 12″ tall. Cut another rectangle 14″ long X 9″ tall and hem one long side with 1″ hem, single folded. Layer the hemmed rectangle, right side up, on top of the 14″ long X 12″ tall rectangle, right side up, and sew along all 3 edges with a basting (long) stitch (shown above).
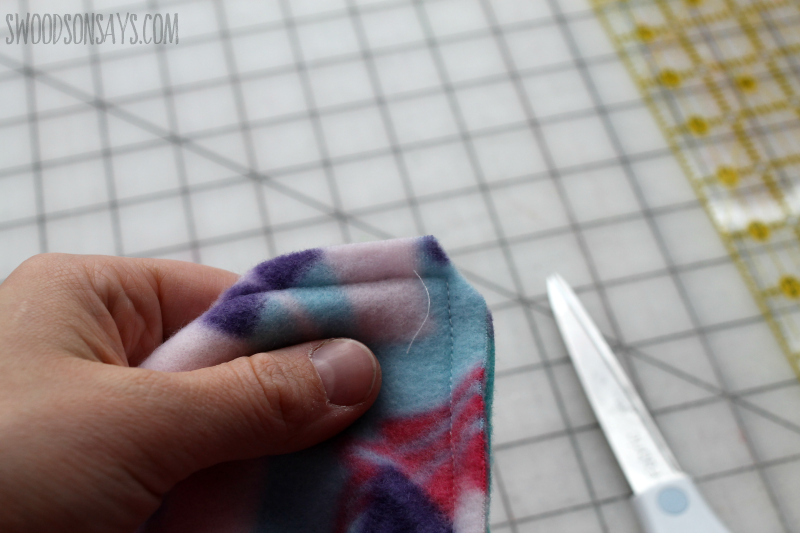
Step 3- With the same 14″long X 12″tall rectangle in step 2, hem the right, short side with 1″ hem, single folded. Just showing how everything lays in the bottom photo!
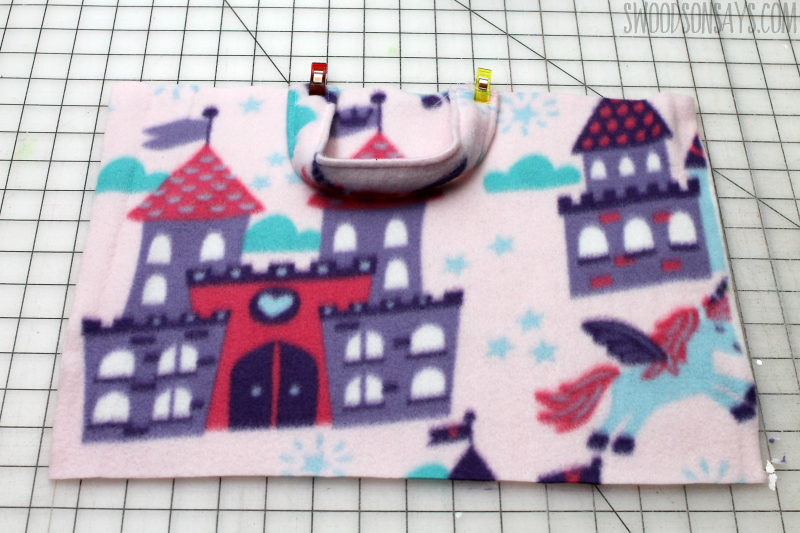
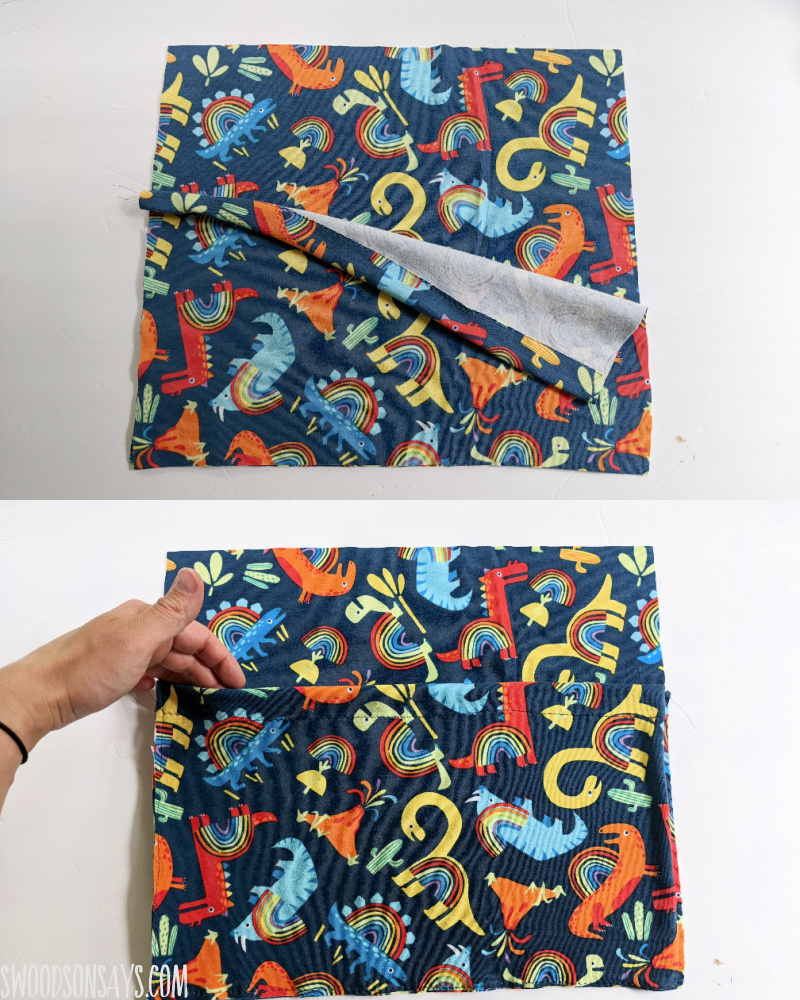
Step 3- Cut a rectangle 16″ long X 12″ tall and lay it facing right side up. Sew the handle on, centered and tucked down, away from the edge, as shown.
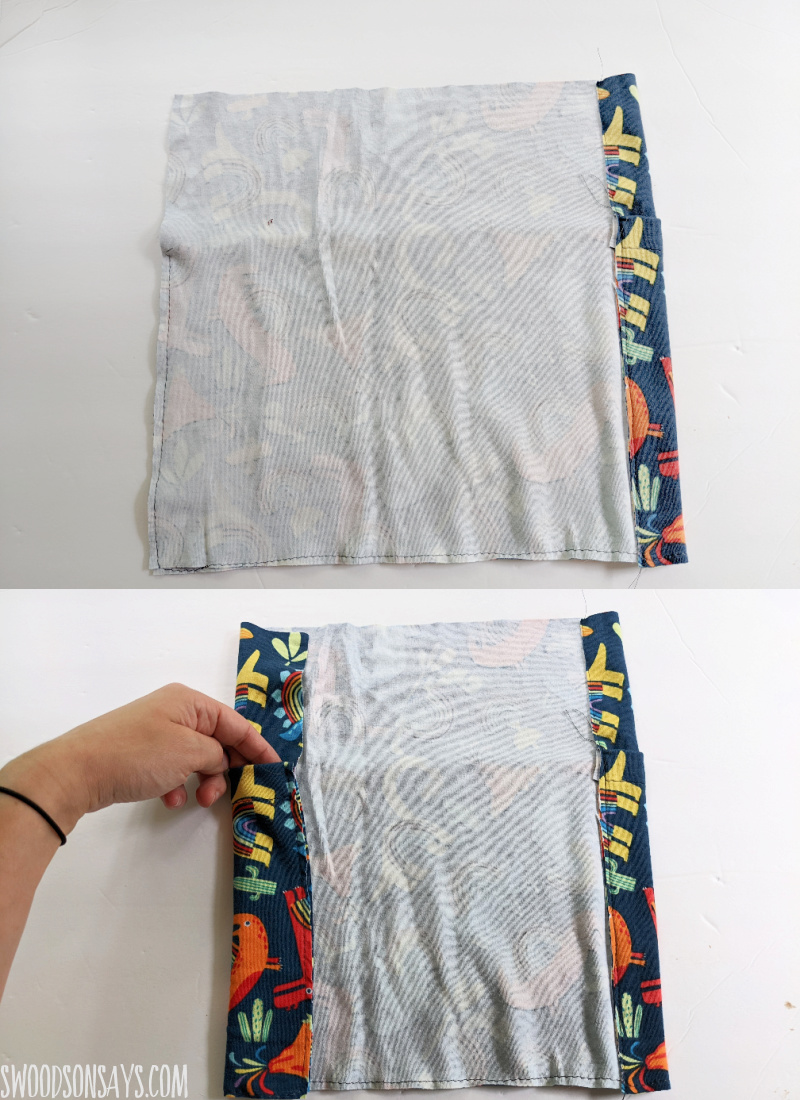
Step 4.1- Cut another rectangle 12″ long X 7.5″ tall.
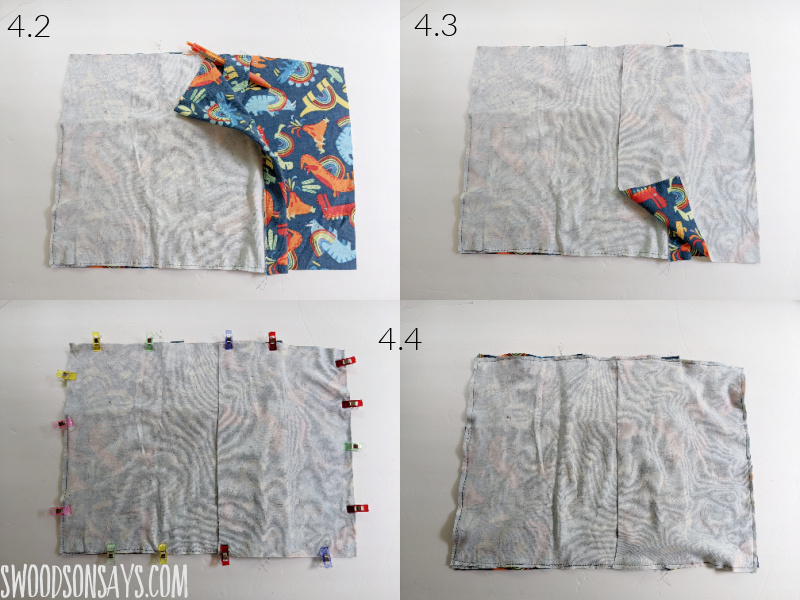
4.2- Lay down the rectangle with the attached handle facing right side up, and then the rectangle with the hemmed pocket facing right side down.
4.3-Layer the 12″ long X 7.5″ tall rectangle on top (this is the rectangle you see on the top, to the right, in the photo). No need to hem its edge because we are using fleece; fleece doesn’t fray and the edge will be hidden.
4.4-Clip around the entire rectangle and sew around all 4 sides with 1/4″ seam allowance.
Step 5- Clip the corners off, turn right side out through the envelope opening, push the corners out with a pen and your pillow is ready!
Apryl
Monday 16th of February 2026
Hello! I'd really like to make this. I wondered if you had updated the instructions at all? Thank you :)
Stephanie - Swoodson Says
Monday 16th of February 2026
hi! I updated some steps and added additional photos last year, I do not have any plans to update the instructions further than that, not sure if you were thinking of something specific?
Joyce N.
Monday 7th of July 2025
What size pillow form works best for this travel pillow? Thank you, Joyce
Stephanie - Swoodson Says
Sunday 20th of July 2025
Joyce, I'm so sorry! I need to go back and edit all my old JOANN posts with dead links. It is 12" X 16" and I updated with a link to the one I used on Amazon and Michaels in the post under 'supplies'
Deborah W.
Friday 16th of February 2024
The links to the travel pillow and JoAnn's fabric do not work?
Chrissy
Friday 13th of May 2022
I think step number two is missing information. The left side of the pocket is left unfinished.
Chrissy
Sunday 3rd of July 2022
Thank you. I’m wondering about the 12x7.5” piece. Should it be 12” tall and 7.5” long if the fabric is dimensional, the fabric would be sideways, right? I love this pattern and have made them for all my nieces and they love them. They make amazing gifts. 💓💓
Stephanie - Swoodson Says
Sunday 15th of May 2022
Chrissy, you're right! I feel awful about this, but I recently re-took more step out photos and fixed everything up. My sincere apologies.
Diana gardner
Thursday 10th of March 2022
I'm with Linda. I'm stuck on the final layering protocol. I can' t figure out how this goes together. Please help!
Chrissy Bouschor
Friday 22nd of April 2022
@Stephanie - Swoodson Says, when I flip mine right side out the left edge of the pocket piece is not hemmed like yours in the picture. It seems like maybe step 2 needs one more part?
Stephanie - Swoodson Says
Friday 11th of March 2022
Hi Diana! I'm so sorry, I had it on my list to take alternate photos with two-sided fabric and then had some family/health issues crop up and forgot. I'm going to try and do this tomorrow to help.