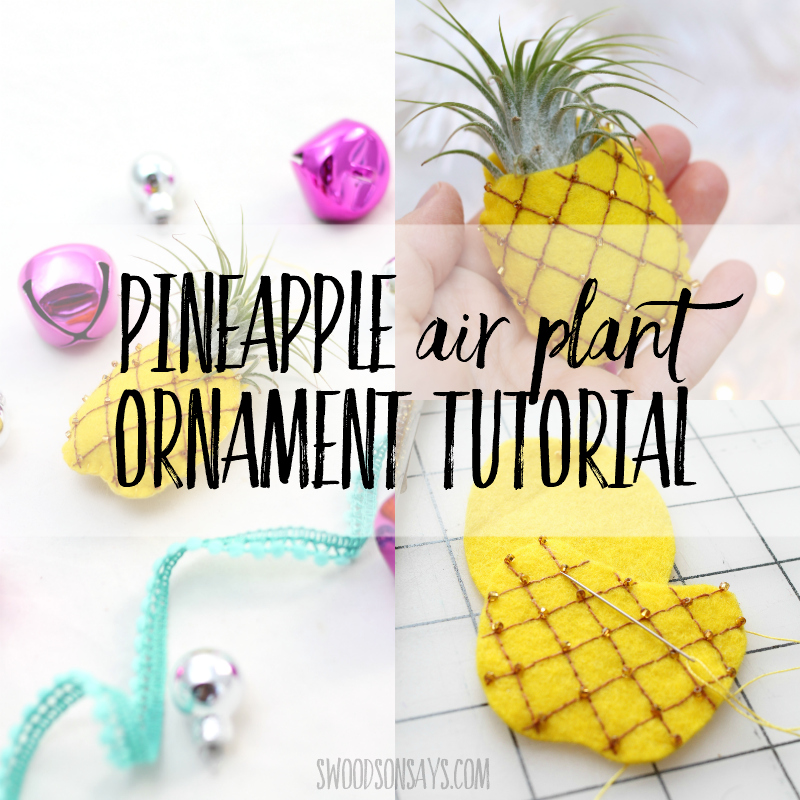
Do you ever have an idea pop into your head randomly? I bought a little ceramic pineapple planter with an air plant on top and instantly thought, this should be an ornament! Several months later I’ve finally made it into reality! I love the idea of air plants as ornaments and will be brainstorming more ideas, because I have a few air plants left from the set this one came in.
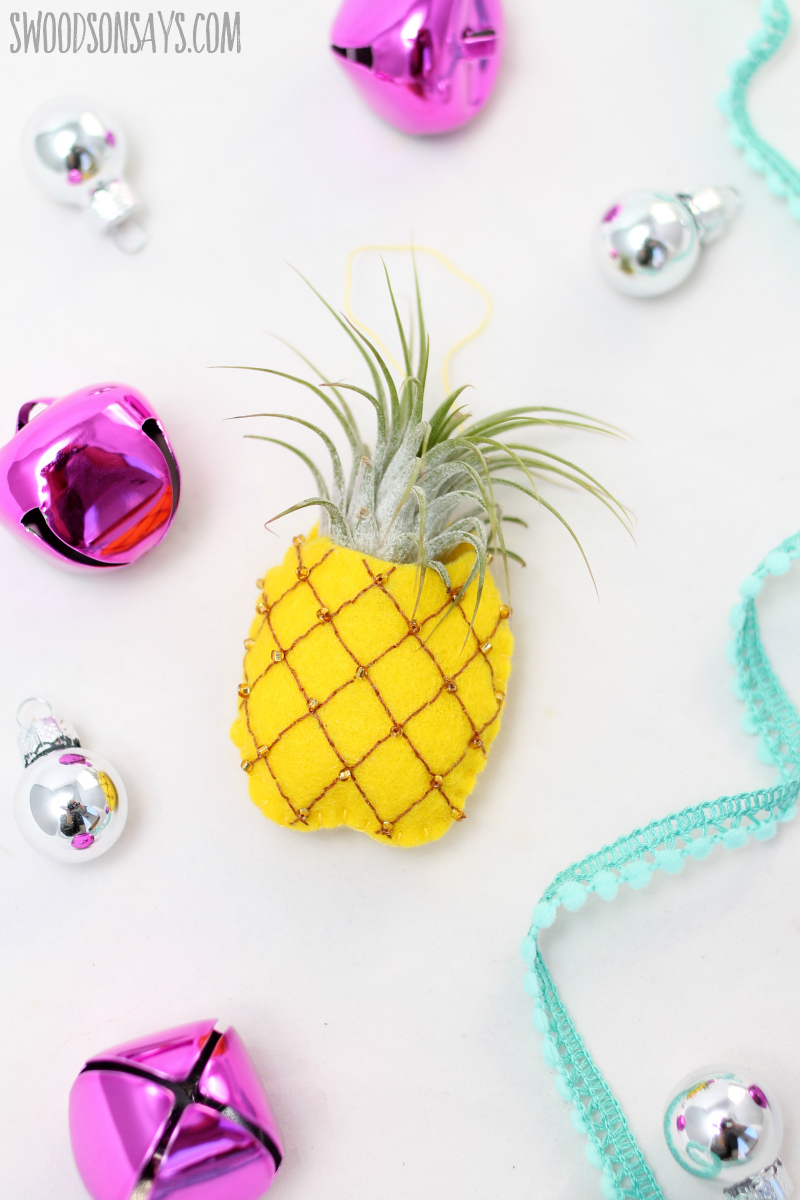
Isn’t it cute! The only downfall is that the plant is heavier than the ornament, so it needs a little support from branches when it is hanging. I couldn’t find anything tiny/heavy enough to balance it out without distorting the felt, but maybe you have something in your house that would work (tiny fishing weight?) if you want it to hang straighter without any positioning.
Get more Christmas ornament sewing tutorials & inspiration here:
- 20+ free felt Christmas ornaments to sew
- 15+ Christmas hand embroidery patterns
- The master list of Christmas ornament tutorials & patterns
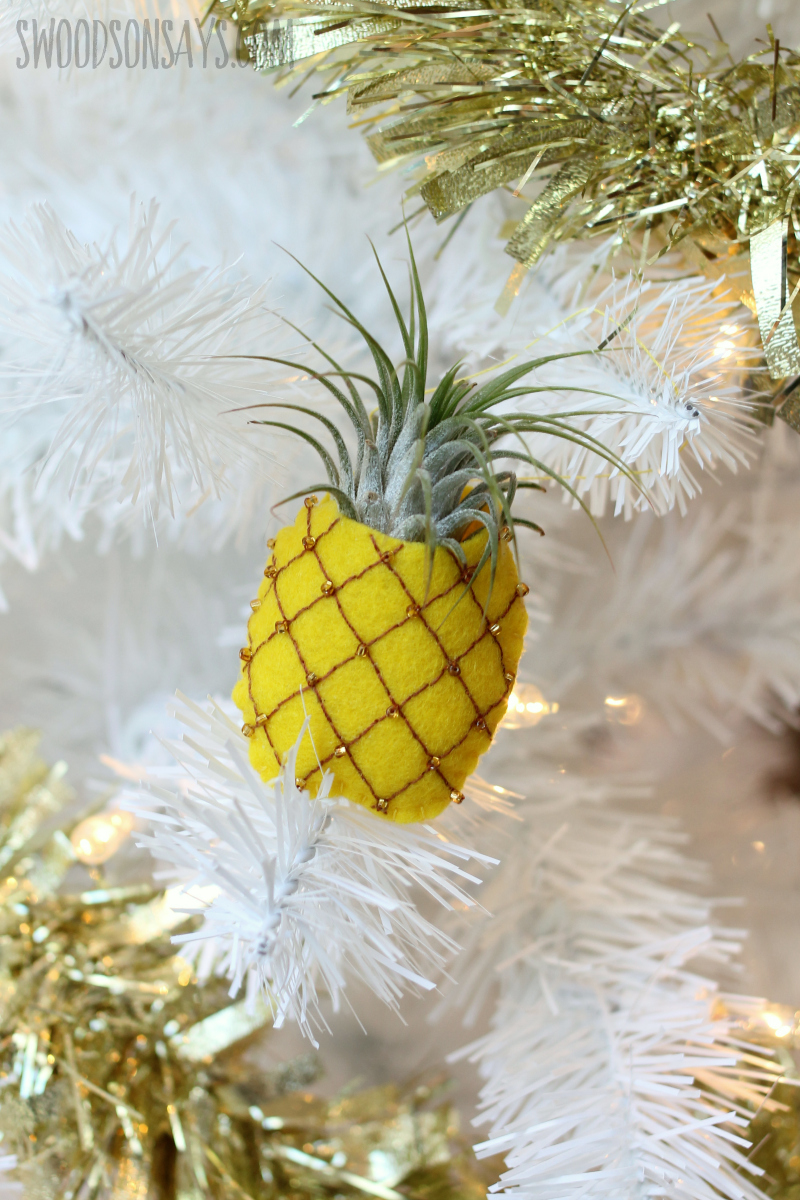
Isn’t it cute! A little bit of beachy summer vibes thrown on to our tree is exactly what I was going for. Now I need to figure out how to remember that it needs to be watered still! Keep reading for how to make your own Christmas pineapple ornament.
Pin this Pineapple air plant ornament tutorial for later with this link or collage photo:
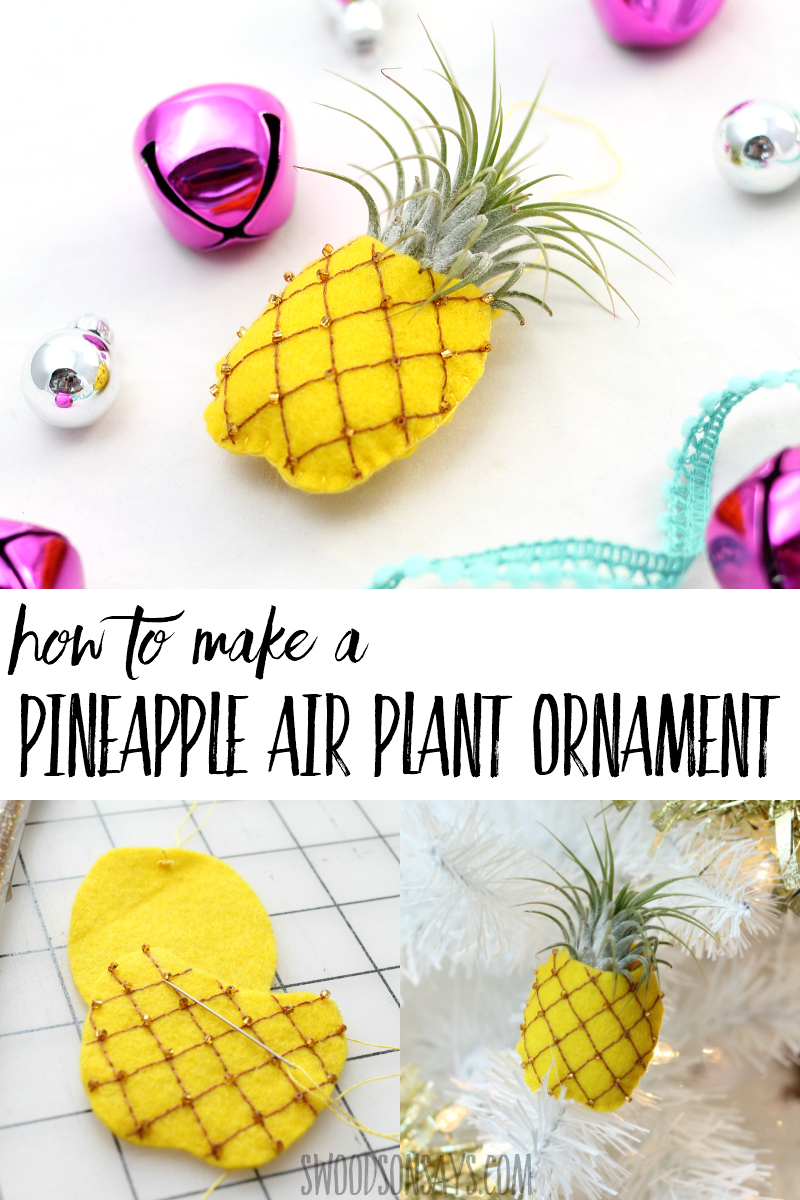
How to make a Pineapple air plant ornament
Supplies
- Sheet of yellow, wool blend felt
- Air plant – this one is roughly 3″ tall
- Tiny amount of stuffing or fabric scraps
- Coordinating thread
- Coordinating embroidery floss (yellow)- my favorite on Amazon or on Sulky’s website
- Contrasting embroidery floss (brown)
- Thin, bead needle
- Regular, embroidery needle
- Gold seed beads
- Pattern transfer method – here I am using Stick n Stitch, you can buy it on Amazon or on Sulky’s website
-
Pineapple ornament template- sign up for my newsletter and get the free download once you confirm your subscription! If you’re already a subscriber, you can access the pattern with the password in each newsletter, in the resource library.
Steps

Step 1- Transfer the pattern! If you’re using Stick n Stitch like I did, cut roughly around the pattern, not exactly on the lines for the front. For the back, cut it out exactly and peel off the stabilizer.
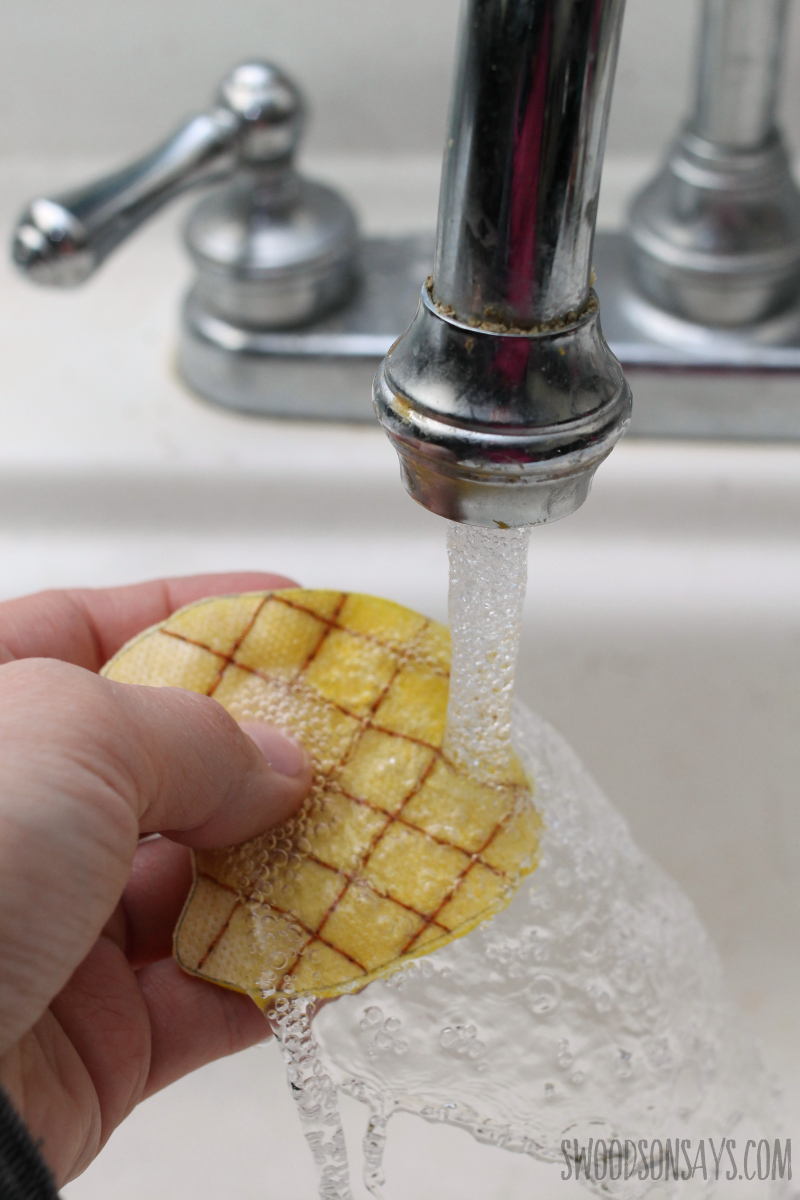
Step 2- Back stitch along all the lines (see a video of this stitch here if you need it!) and wash away the transfer material/markings. Let dry!

Step 3- Use embroidery floss to tie a hanging loop on the back! Use thread to stitch seed beads on all the stitch intersections, tying a knot in the back.
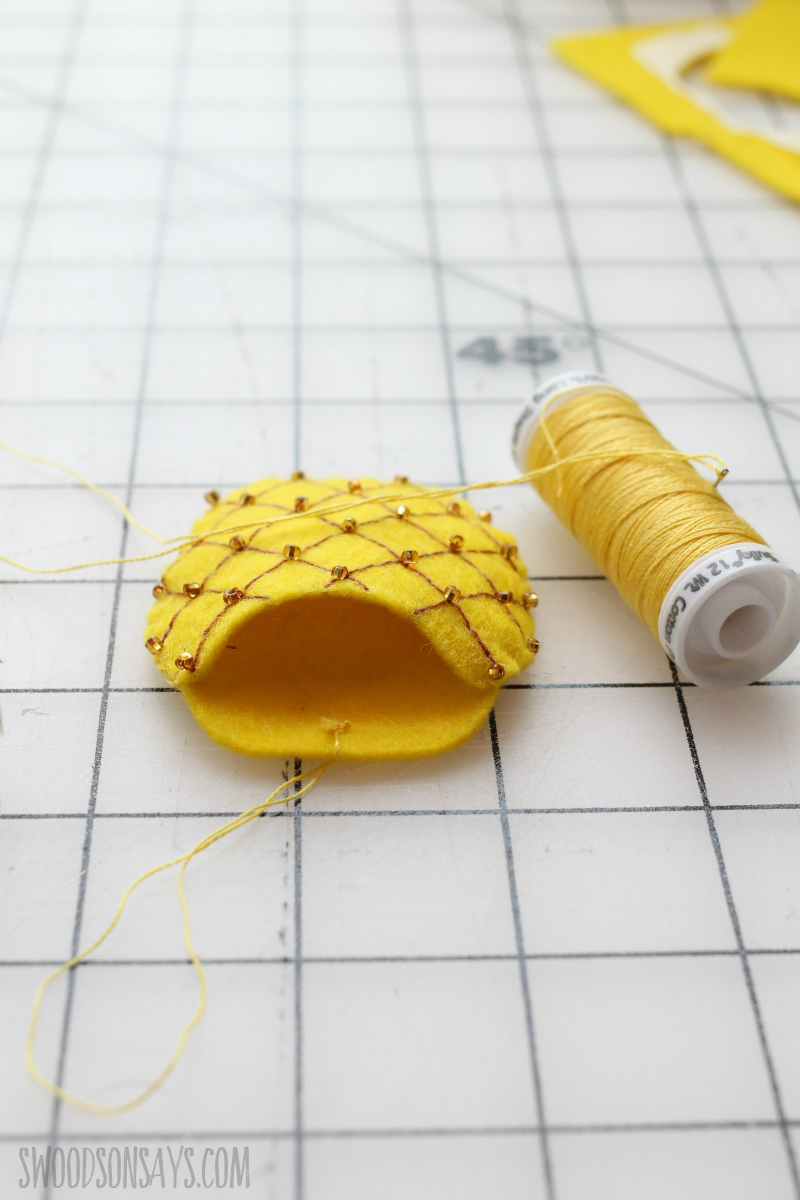
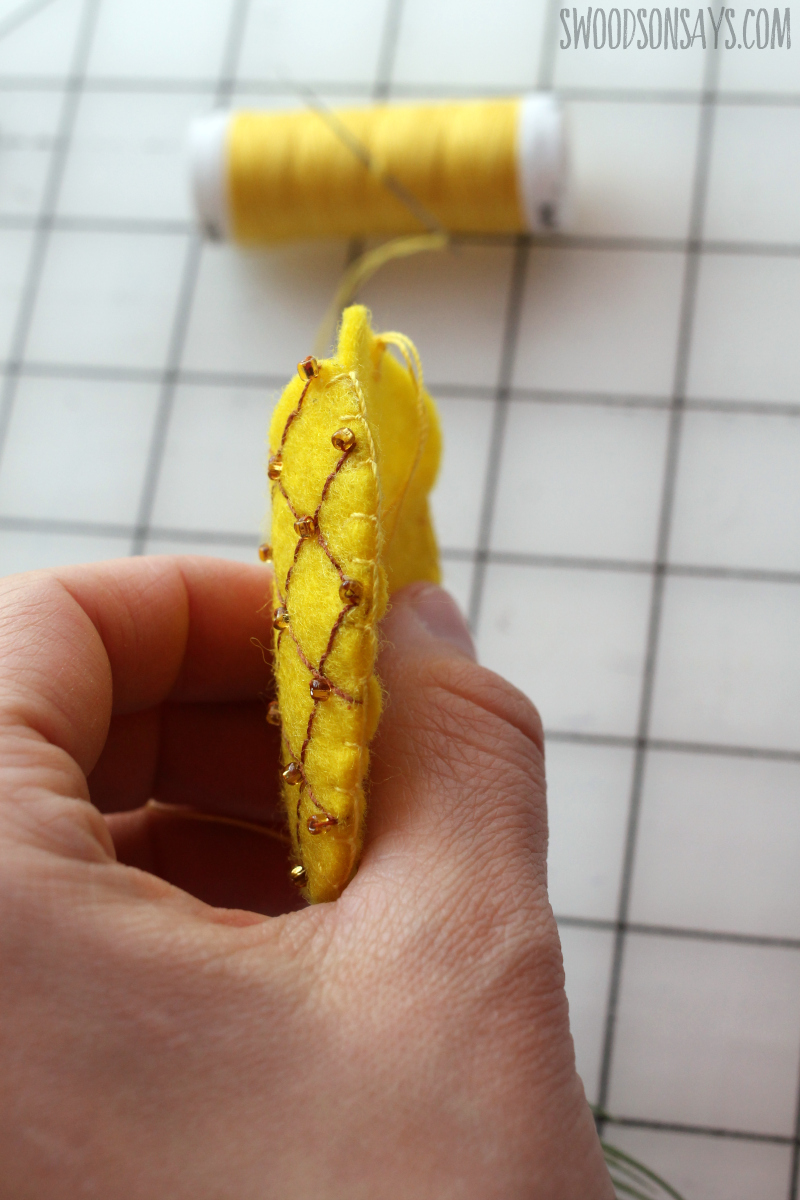
Step 4- Carefully sew the front of the pineapple to the back; I used a blanket stitch but a running stitch would work as well. The front is wider than the back, so you’ll have to use clips to make sure it doesn’t slide as you stitch, and gently ease the parts together. Slide stuffing into the base and then put your air plant on top. You’re done!

Natasha
Saturday 1st of December 2018
This is super adorable! I love air plants, pineapples, and felt!
Stephanie - Swoodson Says
Sunday 2nd of December 2018
Thanks Natasha! I had fun making it!