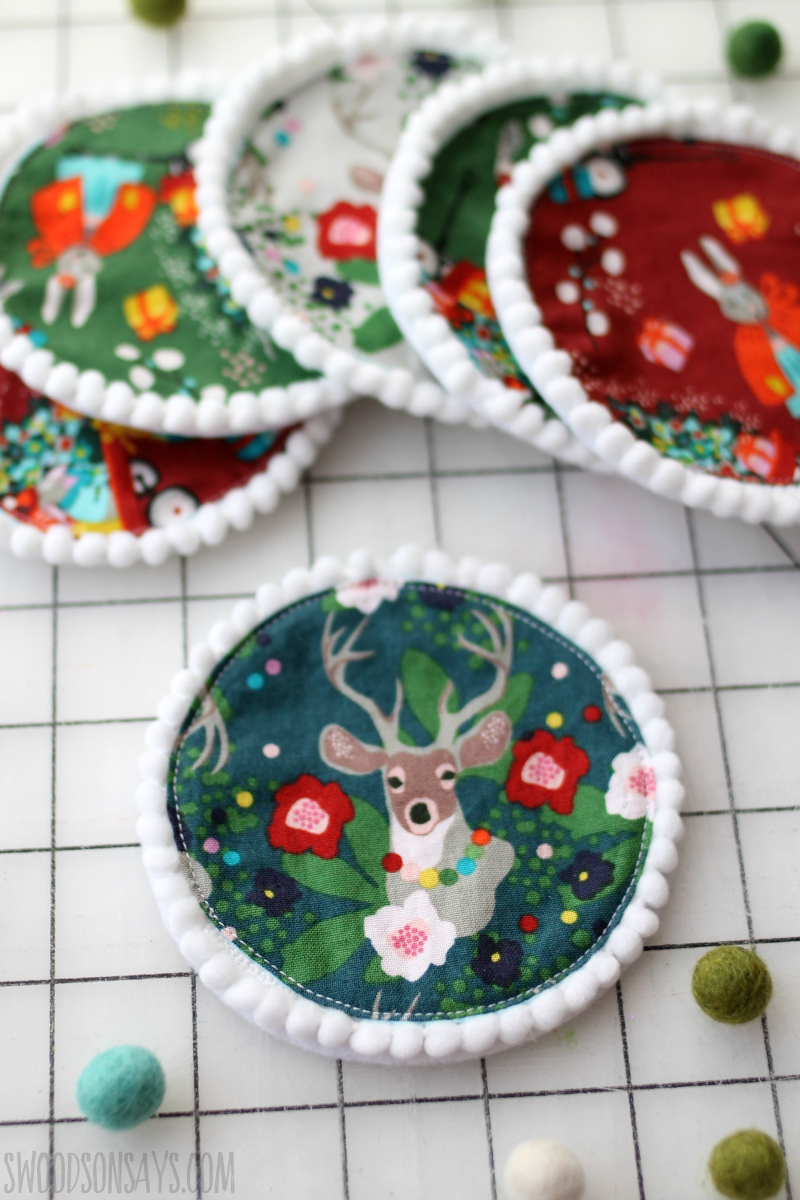
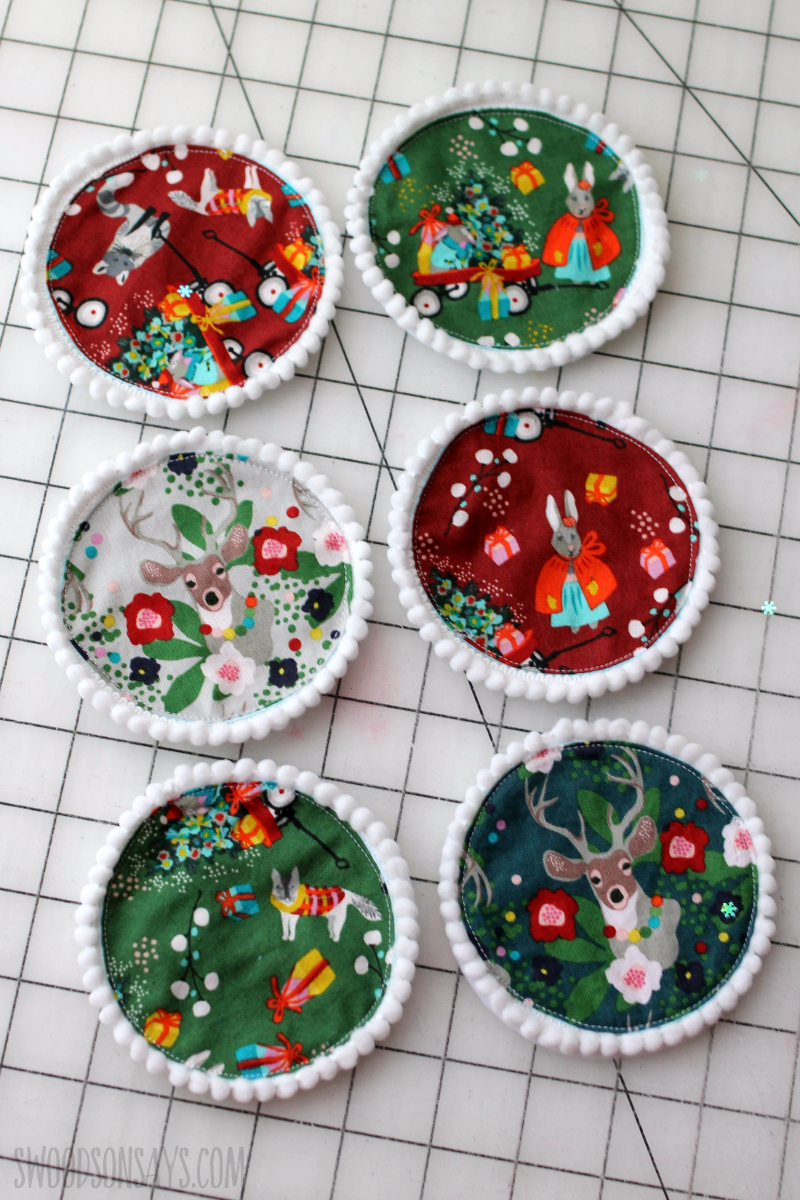
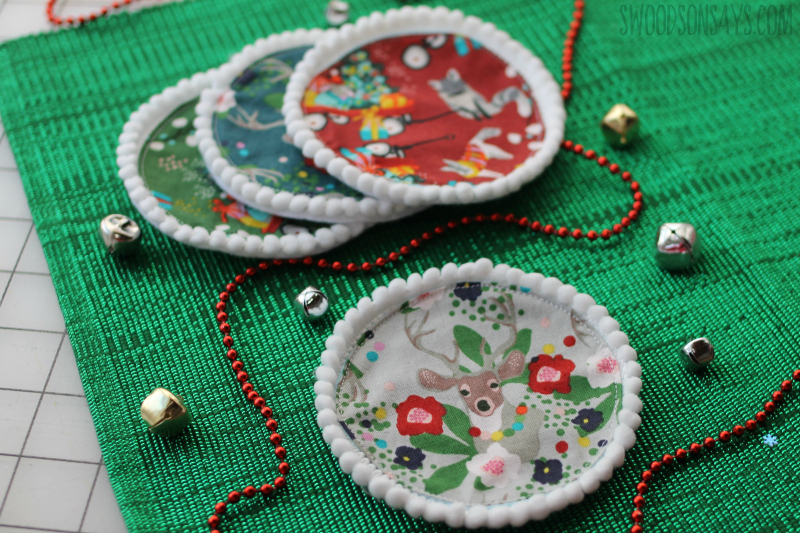
It’s silly, but I love sewing coasters. They’re fast to make, don’t take up a ton of space, and are an easy way to add some holiday spirit to your decor without spending a ton of money. My friend mentioned wanting a holiday set so I jumped at the chance to highlight these cute winter prints! Instead of using one of my past tutorials, I decided to try it as a Cricut Maker sewing project. This isn’t a sponsored tutorial, but I have worked with them in the past and got my machine in exchange for a previous post.
This is the type of project that I think the Maker is perfect for; where precise cuts really matter. No matter how careful I am, I feel like I can’t get circles cut out just right. This was the circle was perfect and the seam allowance was drawn on for me too. 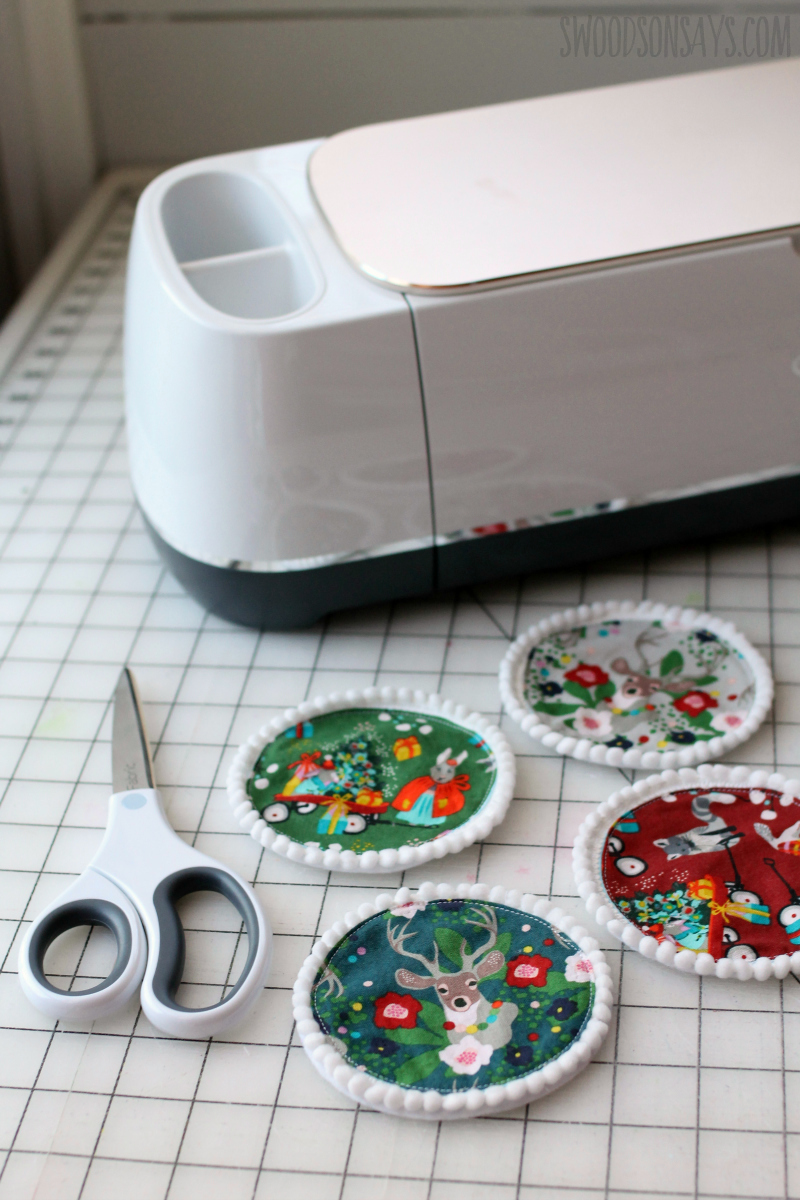
I share more details about the machine in a full review here; but you can totally do this project with regular old scissors and a compass to draw out the circles, too. 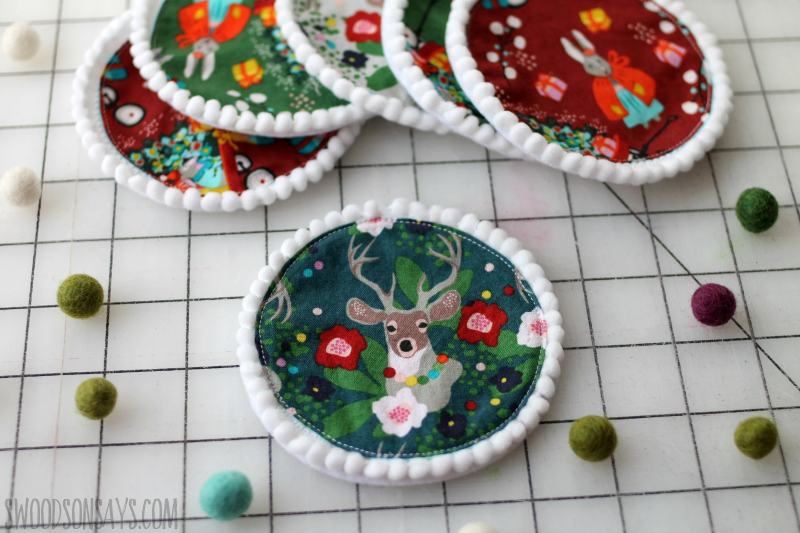
I love how the pompom trim looks with the more subdued print! I need to make myself a set, now.
What else do you think this fabric would work well for? I forgot how little fabric coasters actually use!
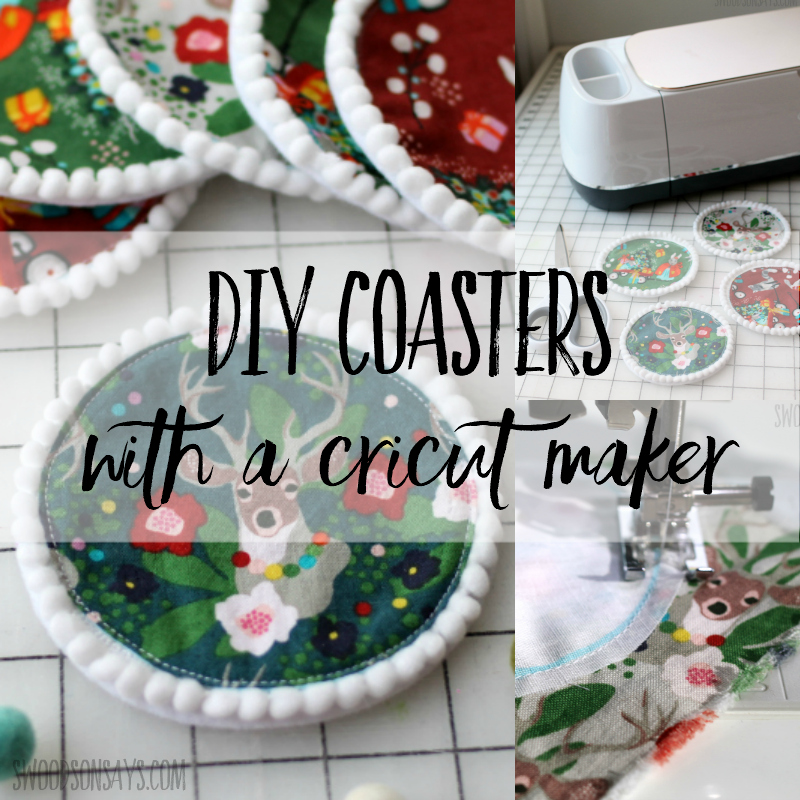
Pin this Cricut Maker coaster tutorial for later using this link or collage photo:

How to make coasters with a Cricut
Supplies
- Link to the design space file
- Miniature 3/8 Inches white pom pom trim
- FQ of cotton fabric (I used a bundle of A Winter’s Tail for these)
- FQ of woven, sew-in interfacing (or just light muslin/cotton)
- FQ of 100% wool felt (if you’re concerned about melting, otherwise blend felt would work fine)
- Coordinating thread
- Cricut Maker – you can buy one on Amazon or on Cricut.com
- Rotary blade
- Fabric pen (here are tips for using the Cricut fabric pen!)
- Pink fabric mat
- Sharp scissors
- Pinking scissors
- Iron
Steps
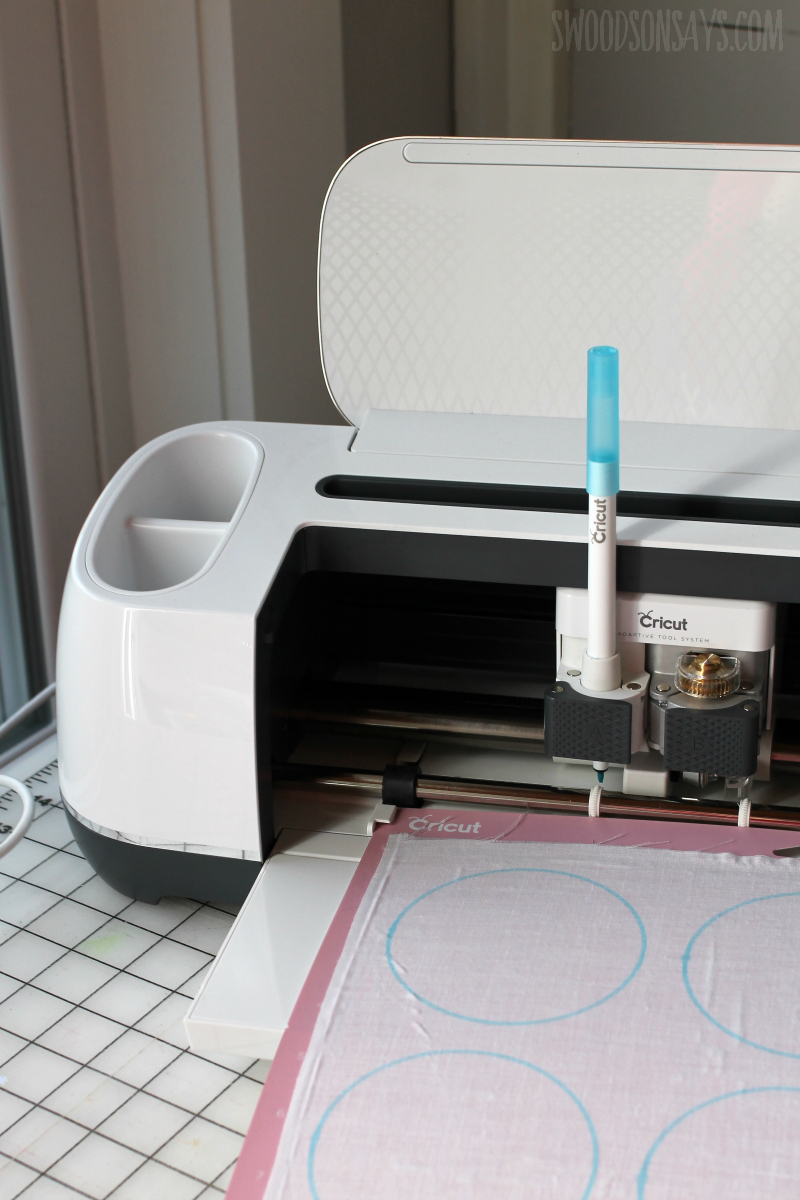
Step 1- Use the file with the seam allowance drawing and rotary blade on the cotton muslin. Use the plain circles on the felt. If you don’t have a Cricut, cut a 4″ circle of the cotton fabric and felt.
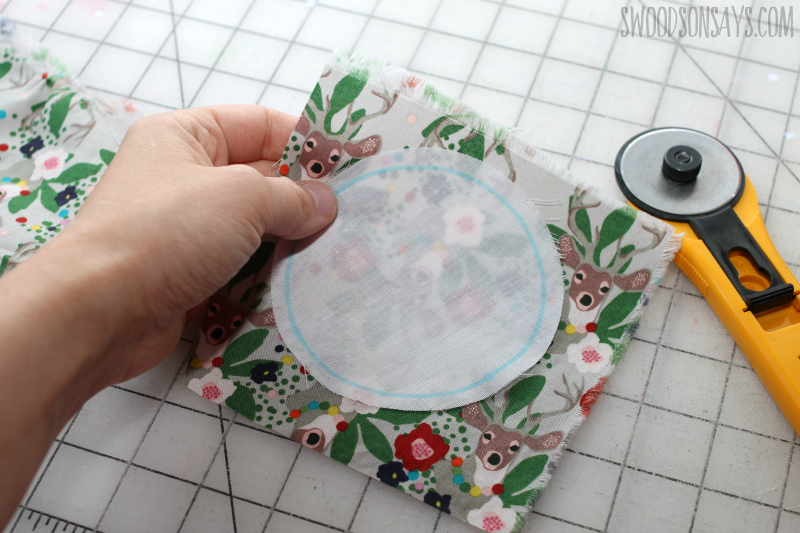
Step 2- Put the circle down on the right/”pretty” side of the fabric; you can pin it if you want but I just held it.
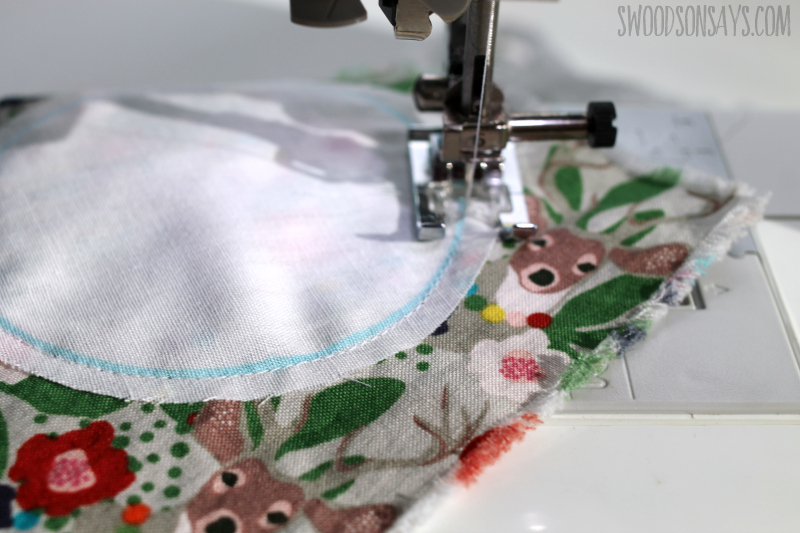
Step 3- Sew all way around, on the outer edge of the seam allowance drawing, leaving no gap.
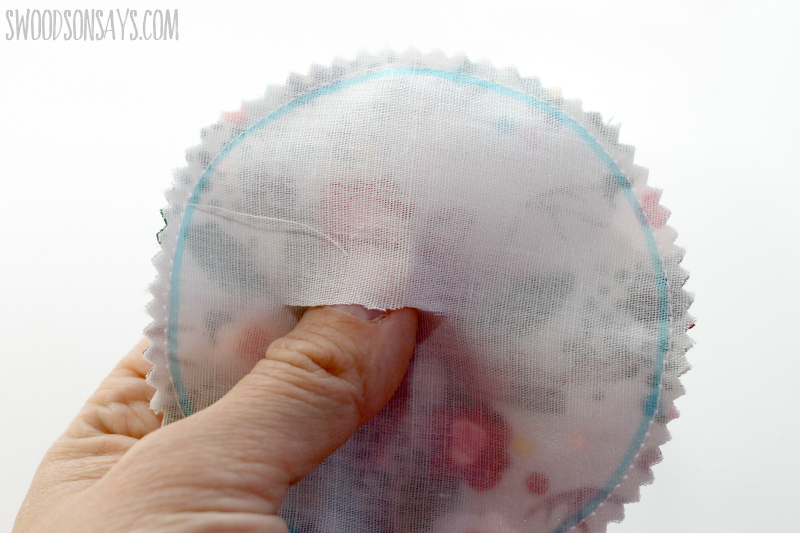
Step 4- Use pinking scissors to trim around the edges; this will make the curves nice and smooth. Pull the muslin away from the cotton fabric and snip through the interfacing (but not the pretty fabric).

Step 5- Pull the right side through the hole you just cut, and gently press out all the seams. Press with your iron.
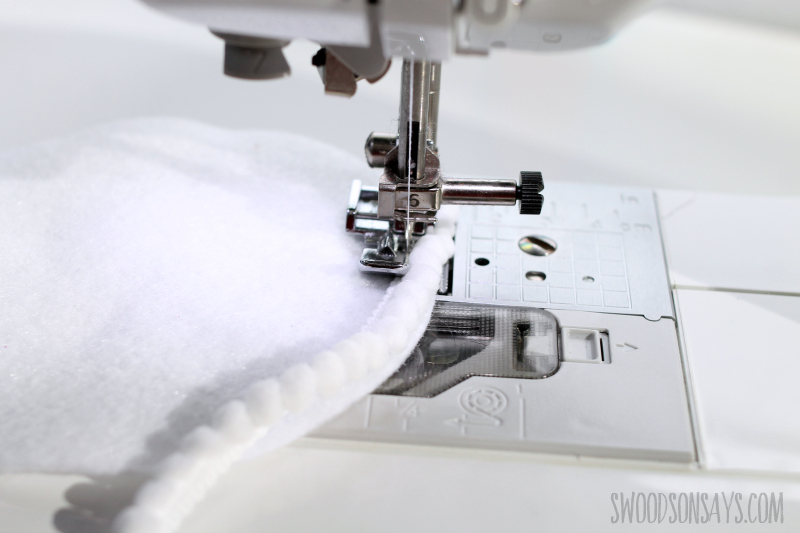
Step 6- Sew the pom pom trim around the felt circles. You can see here, I’m sewing it so the edge of the pom pom trim aligns with the edge of the felt.
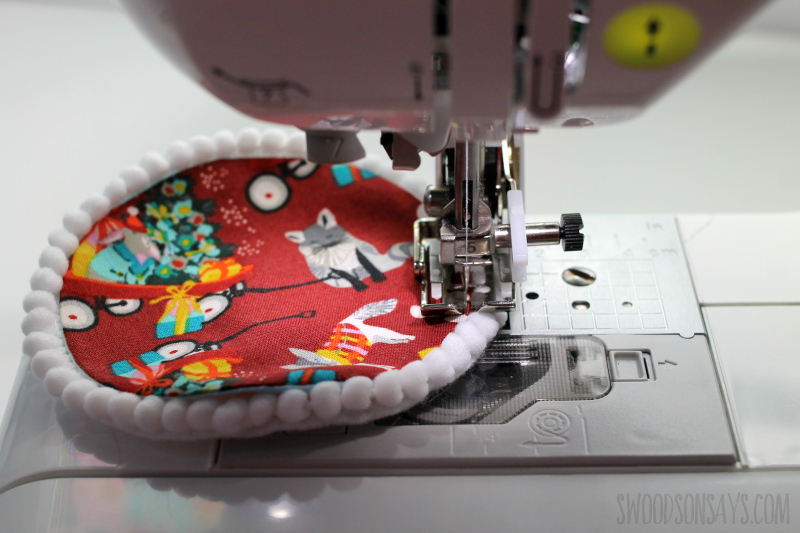
Step 7- Settle the cotton fabric on top of the felt and sew right along the edge. You’re done!