
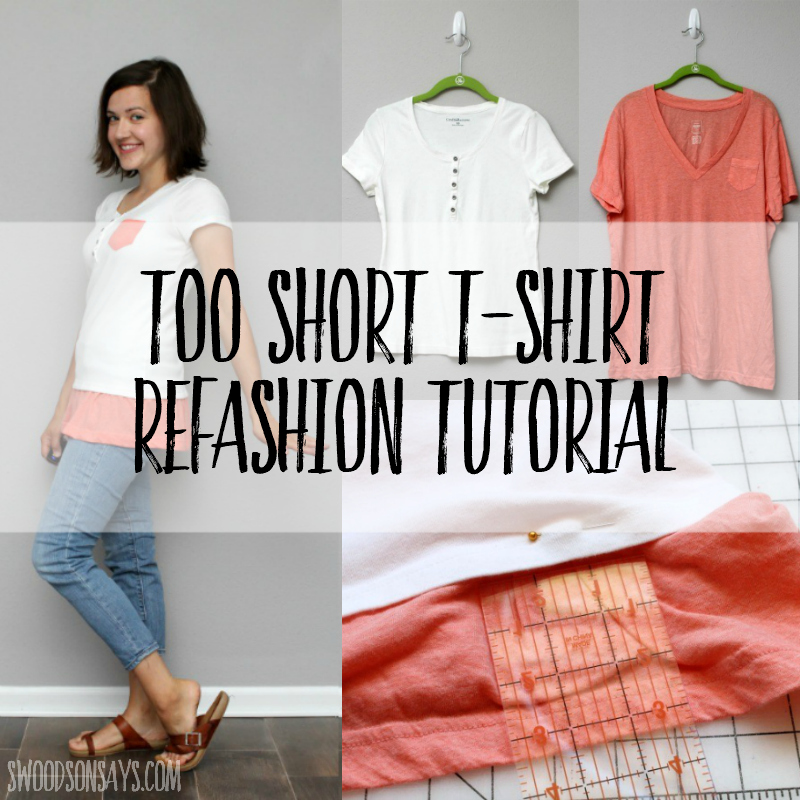
Time for a refashion and photo tutorial for how to add fabric to bottom of shirts! After having two kids, everything has shifted around, and I found that several of my t-shirts felt too short (find more 20+ ways to refashion clothes that are too small here!). Adding a faux second-layer and a pocket jazzed up this plain white tee – now it covers my rear and I can wear it with leggings!
If you’re new to refashioning and don’t have a “stash” of clothes to work from, check out my tips for shopping for refashions and upcycles! If you already have a shirt, read my tips for actually sewing refashions here!
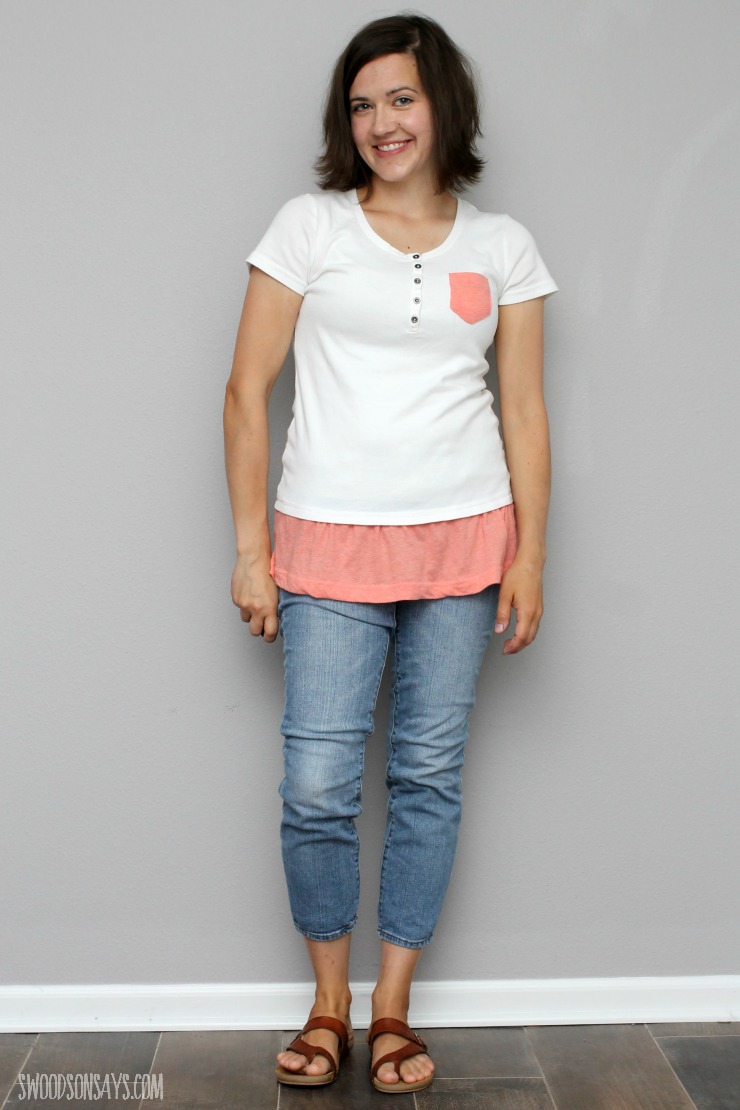
I am so happy with how it turned out! Check out 13+ t-shirt refashion ideas for more inspiration, too!
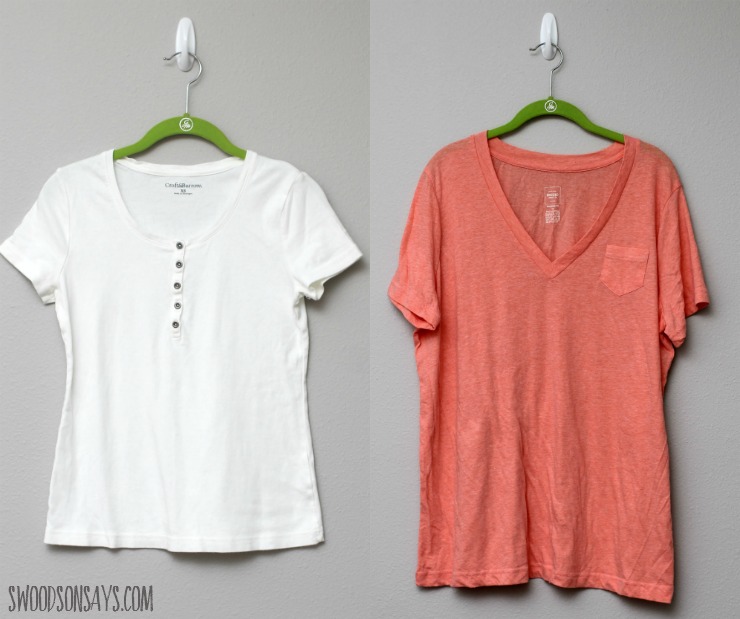
This are the two shirts I started with – both knit tshirts. The pink one is a little lighter weight and several sizes larger, which gave me more material to work with.
I had initially thought about putting the pink as a longer peplum, on the outside, similar to this leopard skirt refashion from years ago, but once I actually tried it on I decided to put it lower. 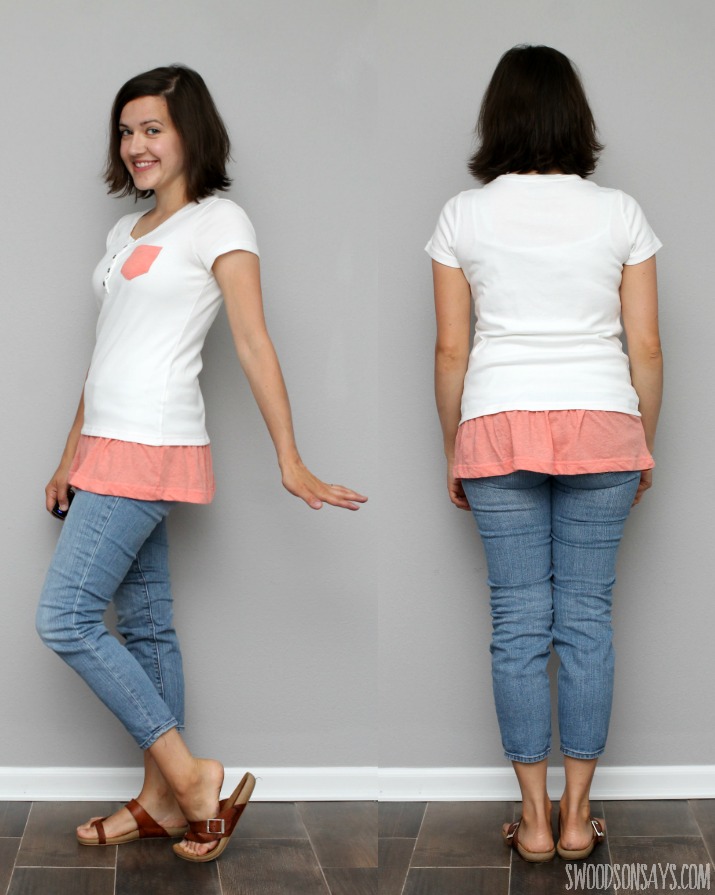
This is a simple refashion; it would be a great first project! Ready to make your own? You can pin this tutorial for how to add fabric to bottom of shirts with this link or collage image:
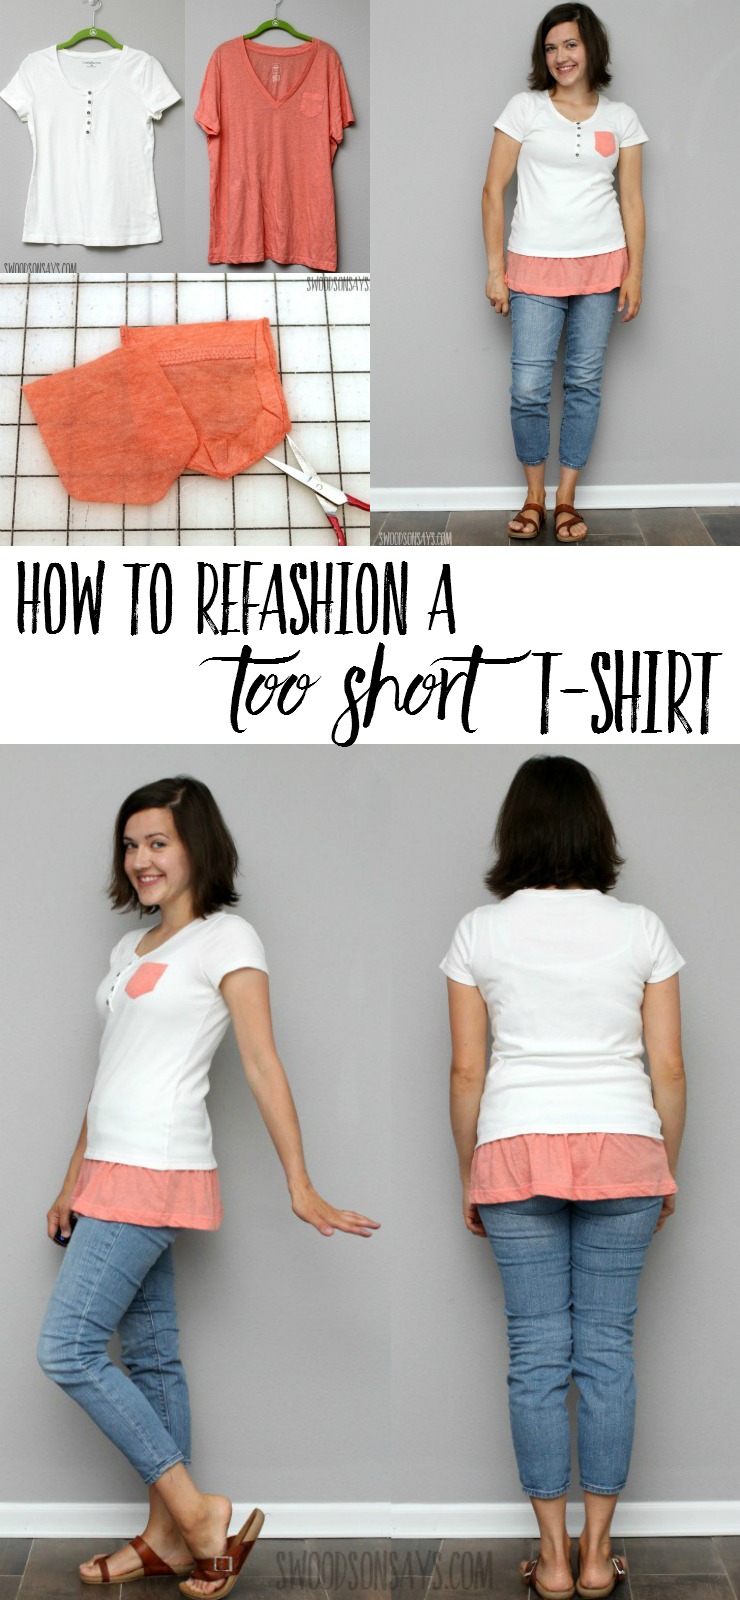
How to add fabric to bottom of shirts
Supplies
- 2 knit (aka stretchy) tshirts – the skirt portion needs to be from a larger size if you’d like the slightly gathered look
- Ballpoint needles*– important for using when sewing knit fabrics, standard needles will tear tiny holes!
- Coordinating thread
- I recommend an acrylic quilting ruler/cutting mat/rotary cutter* for the straightest cuts, but sharp scissors and a measuring tape will work too!
- Pins
- Iron
Steps
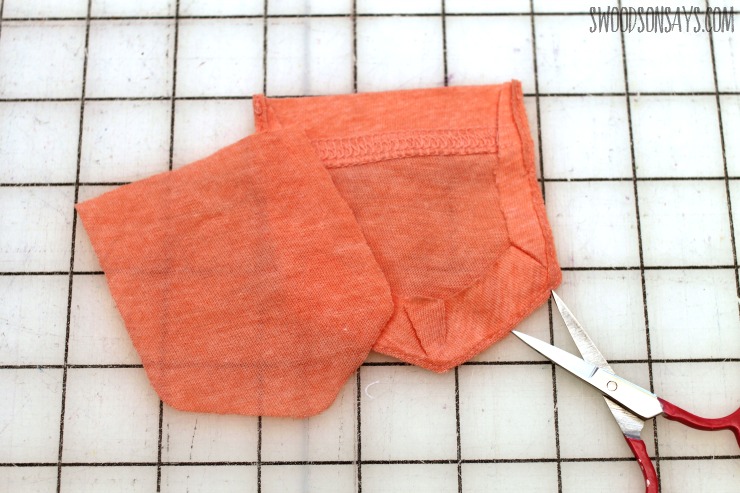
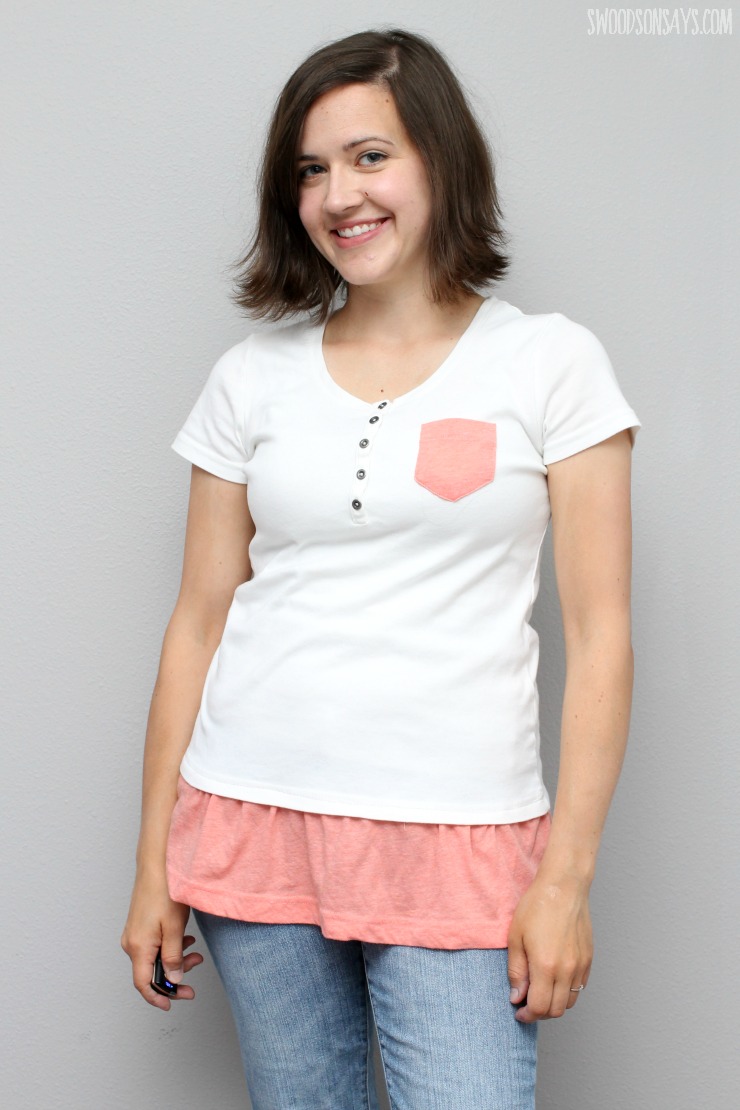
1- Cut off your pocket! Use sharp scissors and make sure to trim off the back without snipping through any of the stitching.
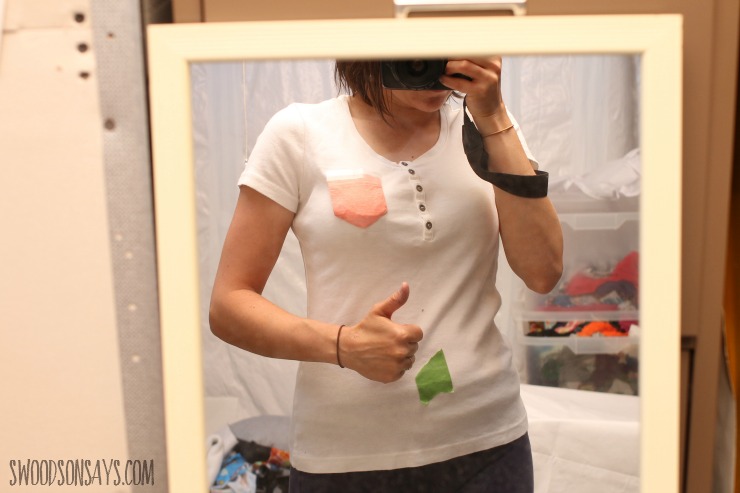
2- Tape or pin the pocket on and try the shirt on, making sure you like the position. I also used tape to mark where my natural waistline was – I initially thought that’s where I wanted the peplum to start but changed my mind! Sew the pocket on, making sure to leave the top opening unsewn, if you want it to be a functional pocket.
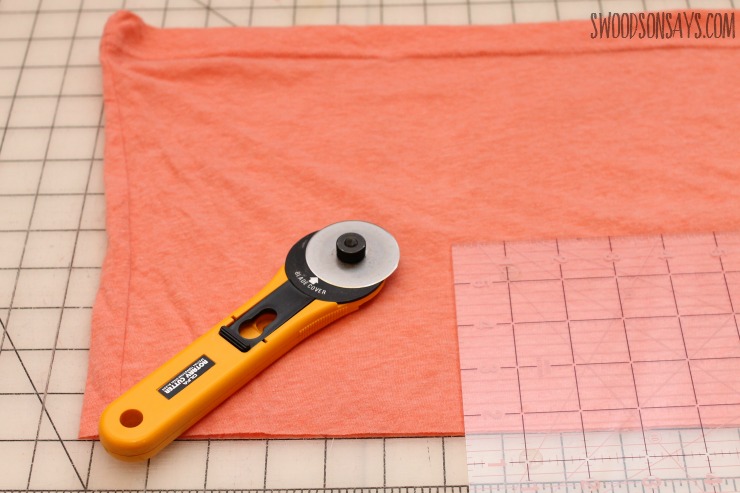
3- Trim off the bottom of your secondary shirt – remember it is easier to trim off more than to add any back on! I just held the shirt up and guessed at where to cut, leaving myself some wiggle room. After trying it on, I ended up cutting some more off. Using an acrylic ruler and rotary cutter will get the cleanest cut!
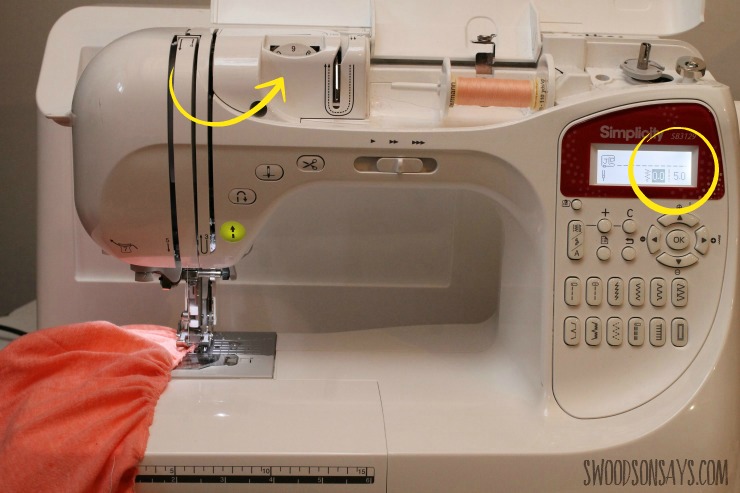
4-Time for gathering! There are lots of ways to gather fabric, my favorite is to crank the tension wheel up as high as it will go, and lengthen the stitch as long as it will go. Sew right along the raw edge and the fabric will magically gather up.
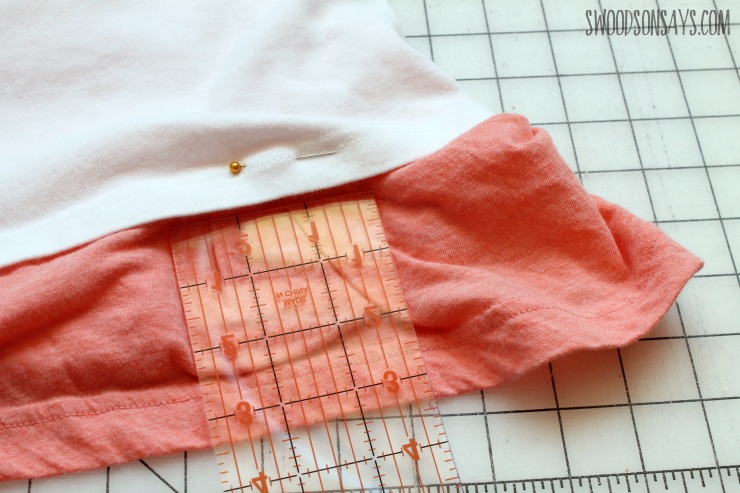
5-Layer the second shirt inside and pin it. I decided that a 3.5″ length was good for me, after trying it on! Make sure your side seams are lined up and the fabric is evenly gathered. No specific numbers – I just pulled the gathering tighter or looser as I went to make sure both layers matched up.
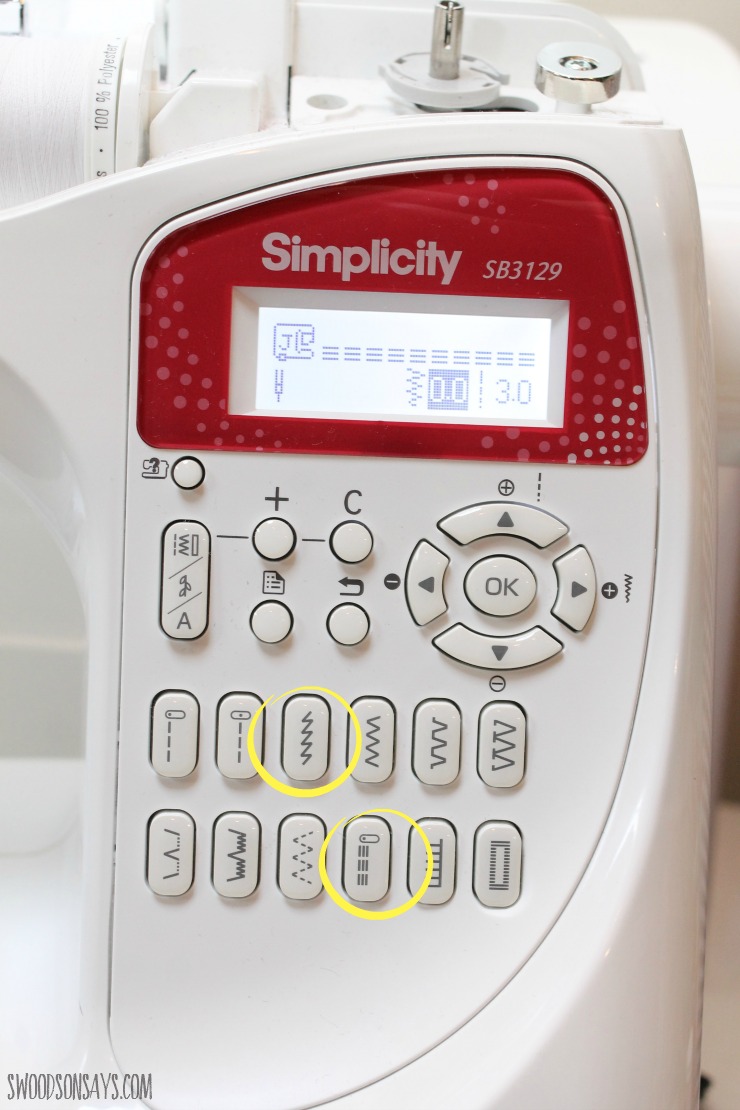
6. Time to sew! Make sure you use a stretch stitch – either the lightning bolt or the triple stitch. I prefer the triple stitch.
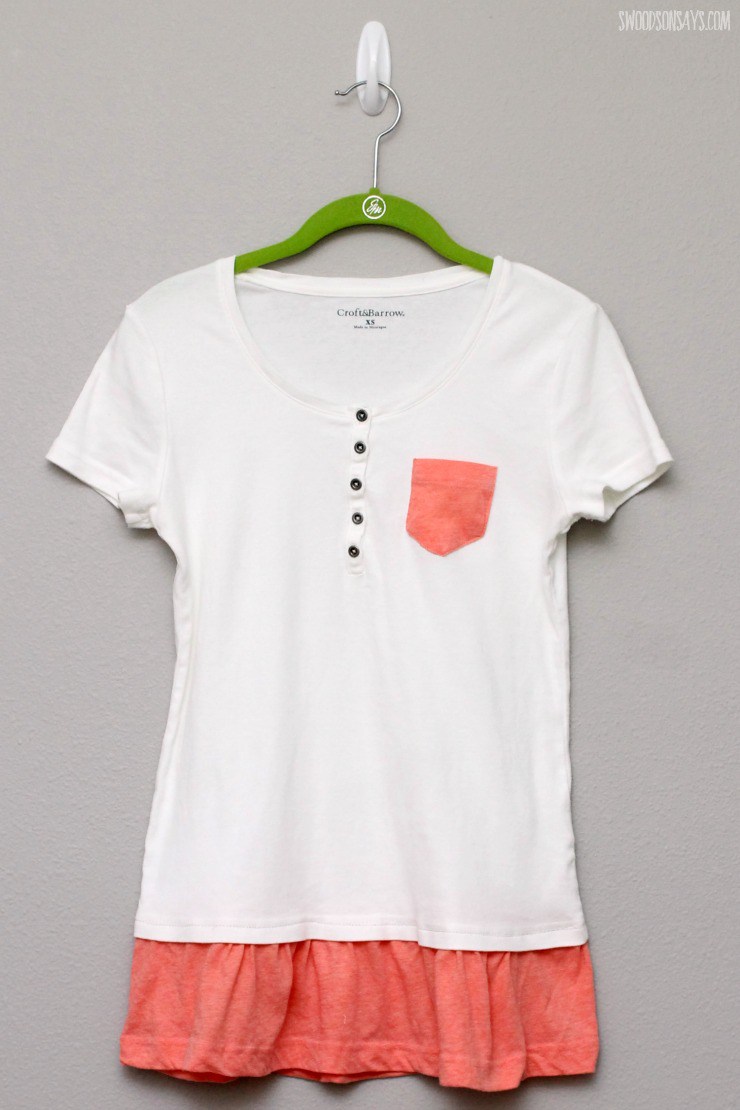
Done! A longer, tunic length shirt I will actually wear. Would you wear this refashion?
Debbie
Wednesday 13th of May 2026
You look amazing and these shirts are the bomb.
Stephanie - Swoodson Says
Thursday 21st of May 2026
you're so kind :) thanks for reading and commenting!
Amy
Thursday 27th of February 2025
This makes it a little more dressier. That's what I want to do with some tshirts to make them ok to wear to work. Thanks for the tutorial. :)
Stephanie - Swoodson Says
Saturday 15th of March 2025
yay! happy sewing :)
Zuzubird
Friday 28th of July 2023
I would wear it, too! For a few years I was buying clothes from TJMaxx online, so usually I got a couple, anyway, that were too—well, I couldn’t always describe what was "too" about some of them, but they just were. I think you know what I mean. I love your fix for the too-short top! The gathering of the add-on is perfect, and has a sweetness about it, too.
And thank you greatly for describing your machine set-up to create the gathers. I’m not that experienced, so I’d have gone for the arduous, pick-and-shovel route—lossa pins, tiny stitches, extra slow, and stopping constantly to check my work. My machine is an old Kenmore with no computers in it, but it has the tension and the stitch length you recommend for gathers. It can do it!
I LOVE your blog, and have been following you for years. (With a different email address; must update.)
Stephanie - Swoodson Says
Monday 7th of August 2023
Yes, your old kenmore can absolutely do it, no computer needed :) Thank you for such a kind comment!
Aleta Bowman
Thursday 5th of August 2021
I love this re-do. I think the only other thing I would have done is replaced the buttons with fabric covered buttons in the same brighter t-shirt material. Looks fabulous. Also wondering why you prefer the triple stitch over the lightening bolt? I'm new at this so I don't have a preference, but you do, so I'm thinking there is a reason. This really is quite a wonderful idea. Thank you.
Stephanie - Swoodson Says
Friday 6th of August 2021
That is a fun idea with the buttons! I prefer triple stitch over lightning bolt because in my experience it is more secure and is less likely to cause puckering. It also looks more professional in my opinion. But it is definitely a personal preference thing!! Happy sewing!
cindy
Sunday 9th of May 2021
Hi, I stumbled across this post today and admire you for uploading these tips for fellow sewers. I too have been doing this with some of my tee-shirts which I really love but which seem to hit me at the widest point of my hips. I have learned that my tunics need to be 30-32" to look the best. I purchased one shirt which had a layer of tulle type fabric at the hem, and that was a nice effect. So for the shirts I want to lengthen, if I don't have another old shirt to donate the hem layer, I use a double layer of matte tulle in a good color, which provides the length I need. I also feel better with a 3/4 length sleeve rather than short sleeves, so I do add a piece at the sleeve hems of the same coordinating fabric. Jo Ann has a large selection of colors, almost any tone you could want: https://www.joann.com/matte-tulle/12443818.html Also, I found several people online with tutorials on making braided rugs from cast off t-shirts. That way you don't waste anything. Thanks for your page! cindy
Stephanie - Swoodson Says
Tuesday 4th of July 2023
great idea, thanks for the tips!