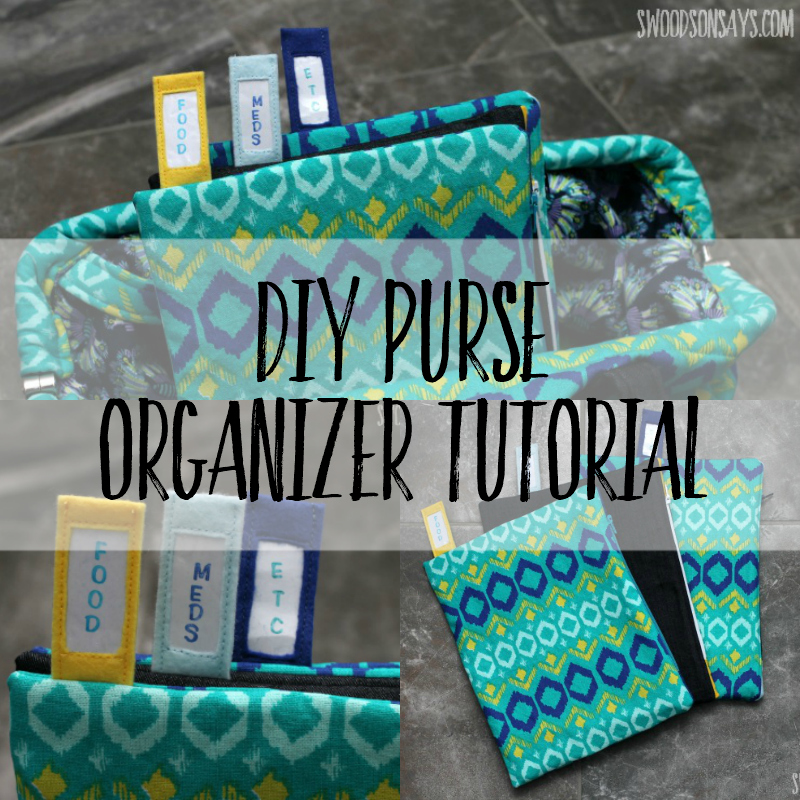
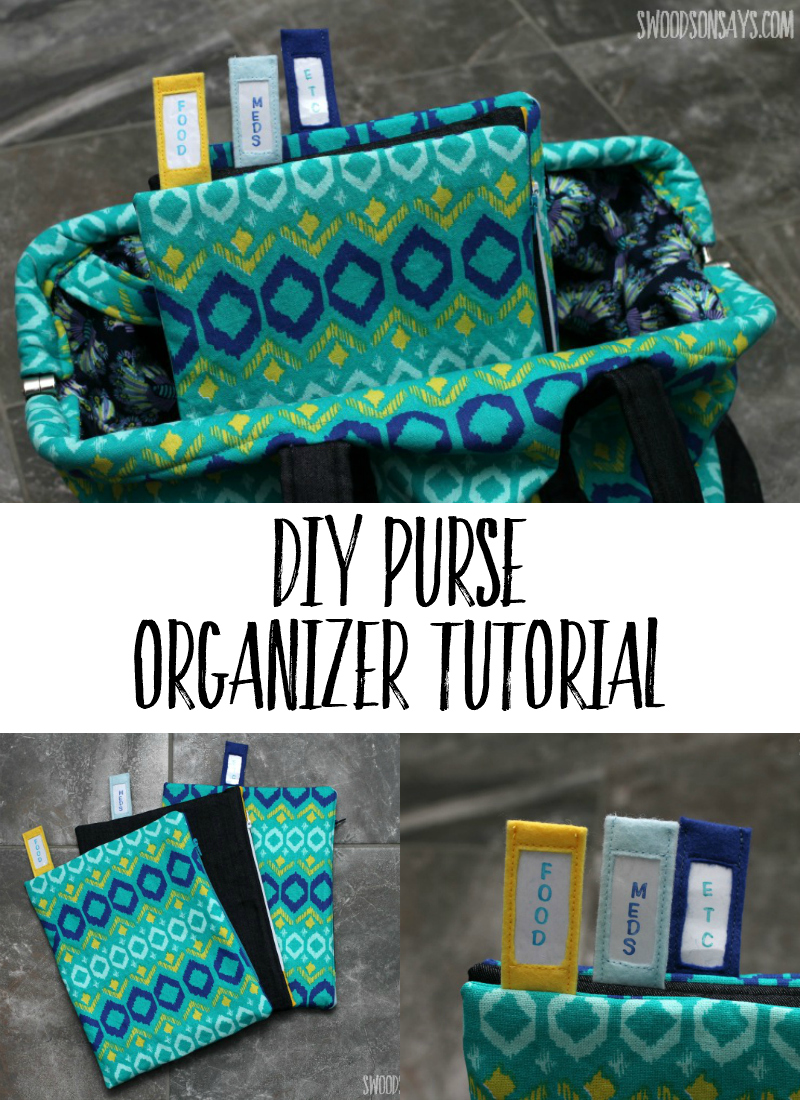
There are lots of bag organizer tutorials out there, but I couldn’t find anything that was easy to open and shut with one hand. We are always on the go, and jumping back and forth between the backpack and different bags can often leave us disorganized. The sunscreen will be in one spot, the snacks in another, and the band-aid we really need left at home. I had a few traditional zipper pouches, but they were too small and too hard to open with one hand while juggling a baby. So, I created these stiff, easy to open organizing pouches to keep everything in one spot. The vertical tabs make it easy to keep things separated, and also easy for other people to find the things they need if you aren’t around.
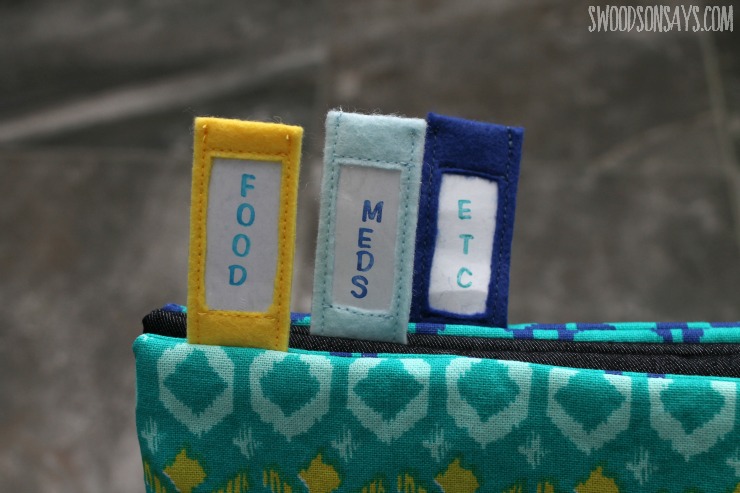 I chose to label them ‘Food’ for snacks and bibs, ‘Meds’ for band-aids, sunscreen, and hand sanitizer, ‘Etc.’ is for my wallet, my phone, chapstick, lotion (it seemed unwise to label something ‘Money’). The extra long zipper tabs make it hard for stuff to fall out when you’re fishing around, and an added layer of plastic canvas makes them super stiff and easy to get into.
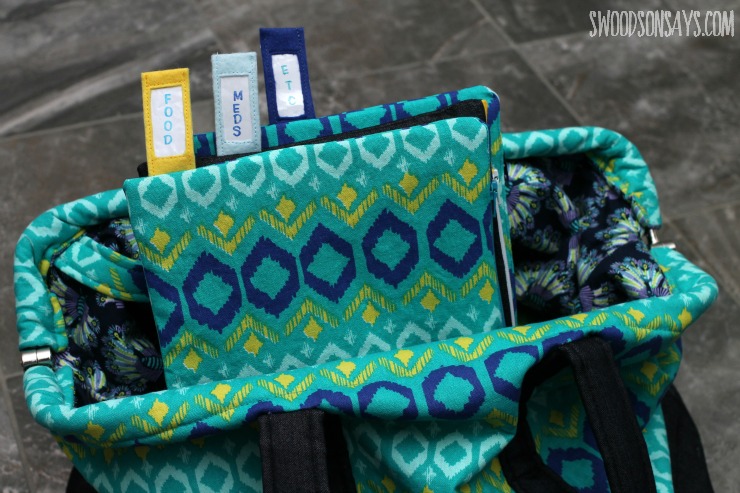
Now I can just grab all 3 pouches, our wet-bag of diapers, and the keys without double checking for everything! If you’d like to make one of your own, keep reading! The bag that they’re shown with is my Bohemian Carpet Bag, check out the full review here.
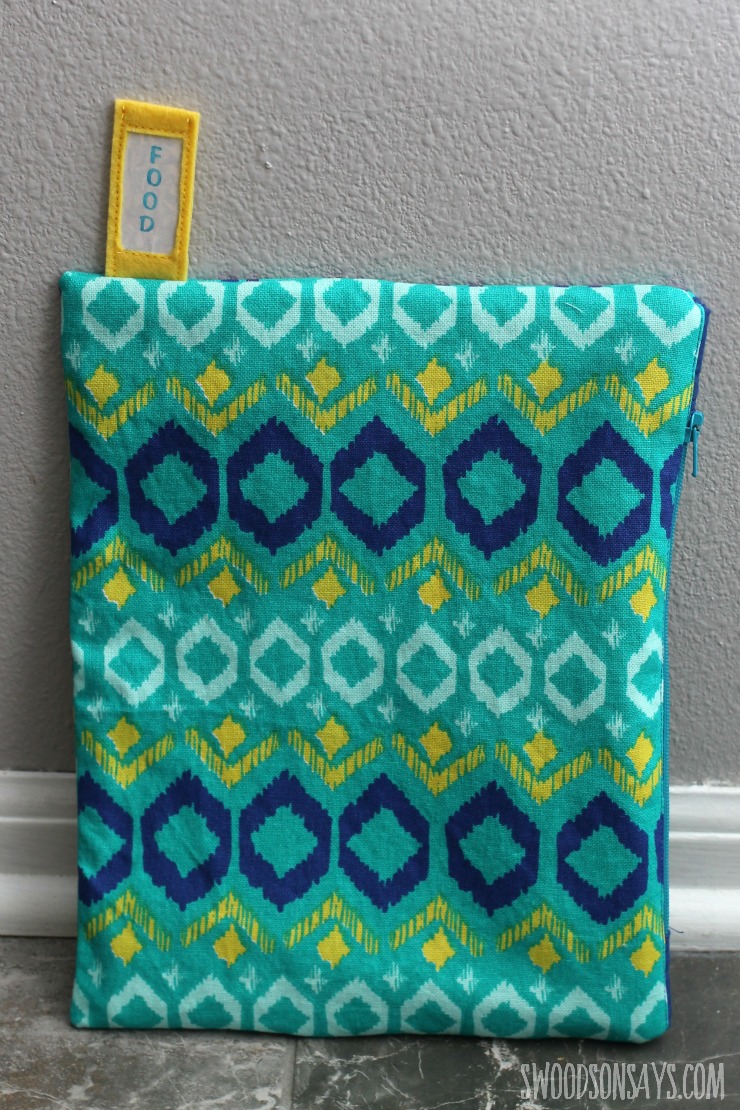
A finished pouch measures 8 X 10.5″, ignoring the added height of the felt tabs.
DIY Purse Organizer Tutorial
Supplies
- 2 sheets of plastic canvas*, cut to 7 3/8″ X 9 7/8″
- Clear vinyl scrap, cut to 1″ X 2″
- 1/4 yard of canvas or decor weight cotton for the pouch main body, cut into (2) 8.5″ X 11″ rectangles
- Felt scrap, cut to 1″ X 5″
- Cardstock scrap, cut to 3/4″ X 1 5/8″
- 8″ Zipper
- 2 fabric scraps for the zipper ends, measuring 2″ X 8″
- 1/4 yard of quilting cotton for the lining, cut into (2) 8.5″ X 11″ rectangles
Steps
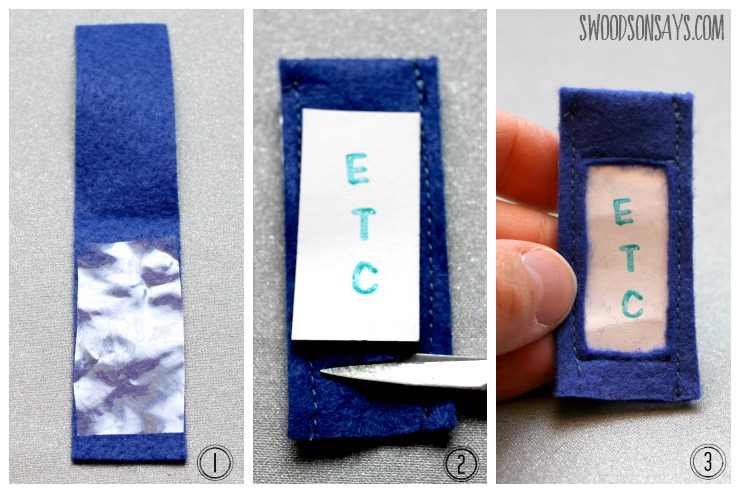
1.Iron the felt scrap in half length-wise, and open. Lay the vinyl scrap centered.
2.Fold back in half, and sew each long side 1/8″ from the edge. Stamp or write on your cardstock, lay on top and carefully cut through the top layer of felt only, creating a rectangle window.
3.Slide the paper inside and underneath the vinyl (using tweezers or hemostats to tug it tight will help). Sew along each short side of the window, securing the paper.

4. Lay the tab right sides together, along the short end of a main fabric piece. I made three bags and spaced them 1″, 2″ and then 3″ from the left edge so they all alternated. Baste into place.

5. To make the zipper tabs, iron in half, open, fold each short end back to the middle, meeting the crease. Fold back into half again, press.

6. Open the zipper tab back open, lay one zipper end inside, roughly 1 1/4″ away from the folded edge. You can pin, glue stick, or hand baste into place. Fold back in half, and sew along each short end, right along the edge, to secure.

7. Repeat for the other side of the zipper and stop – the finished length should match the long side of your fabric main piece. You can trim the long, raw ends of the zipper stop to reduce bulk if desired.

8. Layer the zipper right sides together with the main body piece, and then layer the lining piece right side down. Sew along the right side of the zipper with a zipper foot – if you get stuck around the zipper, put the needle down, presser foot up, pivot the fabric around, close or open the zipper more, pivot back, put the presser foot back down, and finish sewing.

9. Double check that you’ve layered and sewn correctly – this is how it should look! Press away from the zipper, being careful not to melt the zipper teeth.

10. Layer the lining face up, and the other main body piece face down, sandwiching the other set in between. Sew along the right side of the zipper with a zipper foot, as before. Open and press, again.

This is what it should all look like once you’re done!
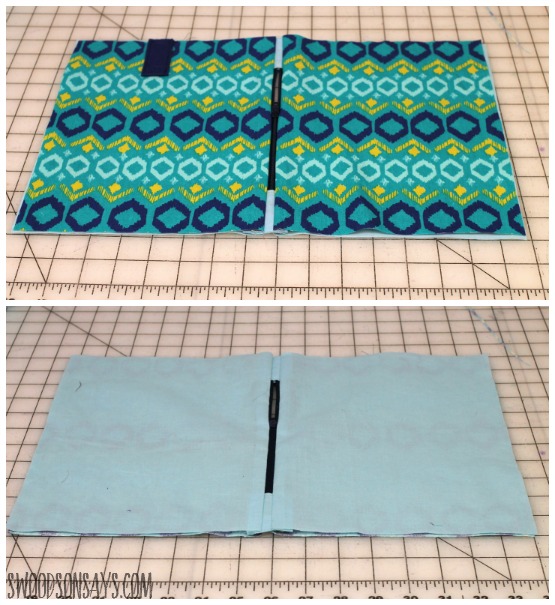
11. Topstitch along each side of the zipper, making sure the lining layer stays flush with the main body piece. This keeps either side from getting stuck in the zipper while you’re opening and closing.

12. Lay the lining & main body right sides together, (make sure your zipper is open!) and sew with 1/4″ seam allowance, leaving a large gap at the bottom of the lining.
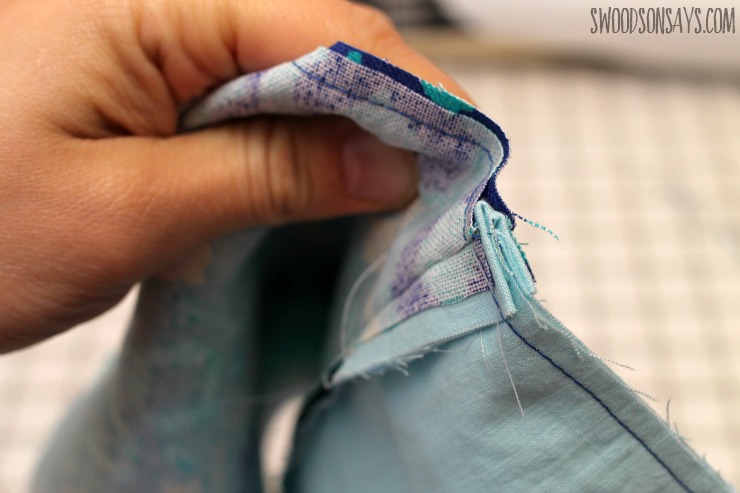
Push the zipper ends into the main body pieces.

13. Clip the corner, turn right side out. Poke each corner out. Gently roll the plastic canvas and insert each piece into the main body, pressing one into each side.
14. Fold the lining’s opening seam allowances inwards, press, and then sew. Push the lining into the main body piece, in between the plastic canvas pieces. You’re done!
You can pin this DIY Purse Organizer Tutorial for later, here:

Azeeja
Sunday 11th of November 2018
Hi Stephanie!!! Thank you so much for the lovely tutorial ... The tab making for the zipper was a bit different from what i have seen in other tutorials.. They usually tell you to fold 1/4 " on the shorter ends and slide in the zipper end.. I feel your step is a better option. I learnt something new today, will try this out. I have to doubts.Please do help me with that :) 1) The Step 12 Pic is how we should have the zipper ends facing while stitching it around the purse to close right? 2) Inserting the plastic canvas - That is to keep the purse stiff and not to fall wonky right? Would a heavy interfacing help instead, or would that not give this finish?
Thanks and regards Zee
Stephanie - Swoodson Says
Sunday 11th of November 2018
Hi Zee, yes to question 1 and yes to question 2! A heavy interfacing would work the same way for sure. Happy sewing!
eva
Saturday 1st of September 2018
HI, Am I to understand that there are three separate pouches each with a label on them...and they are just stuck into the bag...nothing holding the pouches together...right? and the directions are just for one of the bags...right? Thanks...idea is doable. Am trying it today.
Stephanie - Swoodson Says
Saturday 1st of September 2018
Hi Eva! Yep, three separate pouches, they don't go together, directions are just for one bag. Hope it goes well :)
Julie
Saturday 7th of January 2017
These look like a great idea, I'm forever forgetting things as I move from bag to bag! I'm thinking the steps look pretty easy to follow, some things are hard to put into words. I guess it's a thing where as you go along step by step it makes more sense (once the fabric pieces are in your hand)
Stephanie - Swoodson Says
Thursday 12th of January 2017
Hi Julie! I like to think the steps are easy to follow (I hope!) but I know sometimes once you've made something, it seems easier and you can't get a true outsider perspective. Let me know if you try and run into any trouble, though!
Enid Mejias
Friday 18th of November 2016
Really hard to visualize and follow or understand written instructions as I'm a visual sewer. Not enough step by step pictures.
Stephanie - Swoodson Says
Friday 18th of November 2016
Hi Enid, there is a picture for pretty much every step - did you try to make these and run into trouble somewhere? Not sure where you are having trouble.