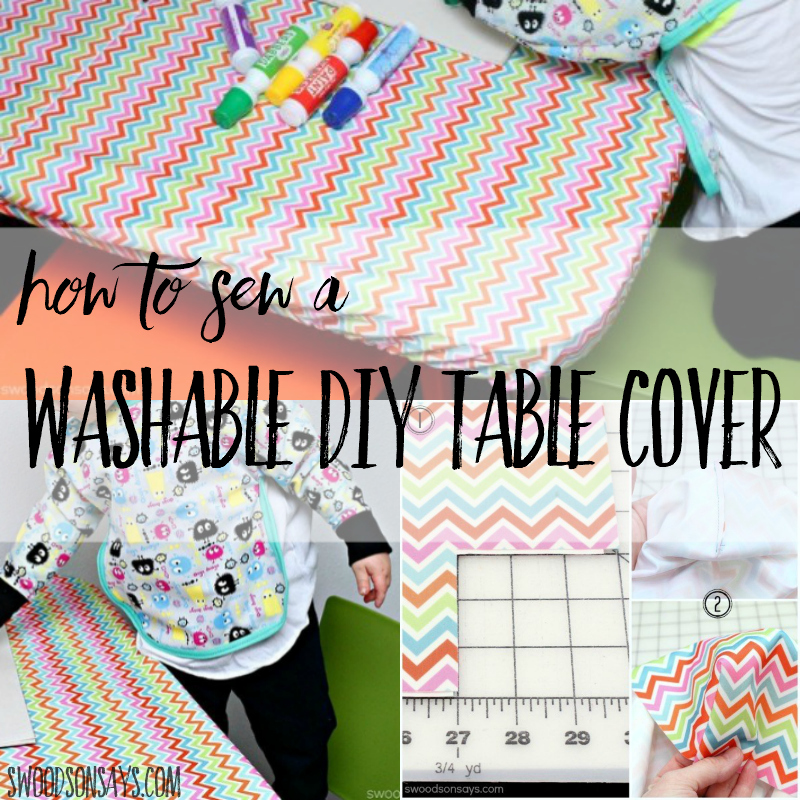
I used to be very clean and tidy. Then I had a child! My standards have gone way down, but I try to work smarter and not harder – which is why I’ve been planning on making this washable diy table cover since my son started getting really into painting and art. Just like the smock he is wearing, it is machine washable and reusable. No scrubbing, no fussing over where the markers need to stay, we both have more fun and spend less time cleaning up!
You should also check out these other posts!
- 20+ easy beginner sewing projects
- The best tips for teaching kids to sew
- The cutest 25+ toys to sew for kids
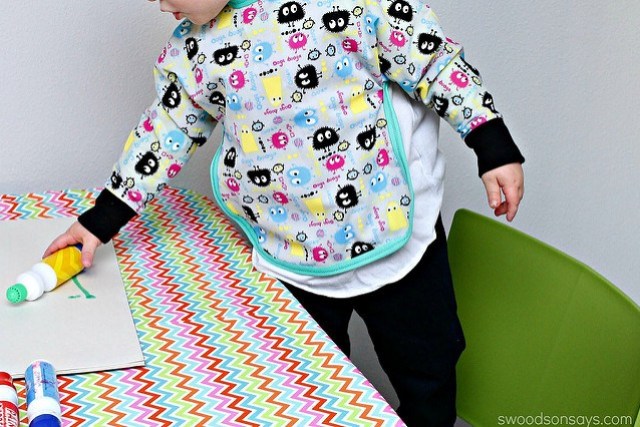
I had to take photos of this project quickly, it didn’t stay clean for very long!
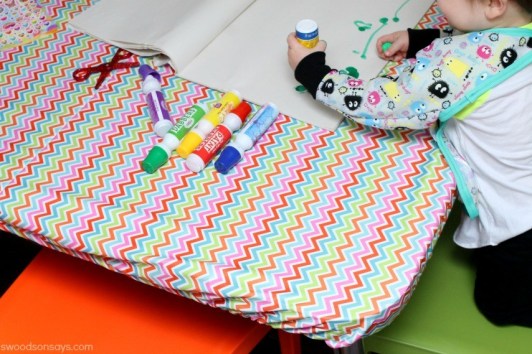
The PUL fabric means that nothing will leak through, it’s water-proof and things pool on the top to be wiped up or washed off. It’s machine washable, and pretty easy to sew – much more flexible than oilcloth or vinyl.
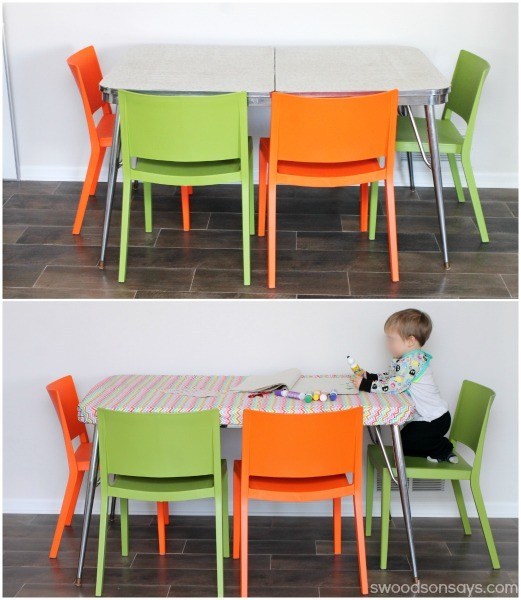
Here is the before and after, showing you the shape of our craft table in our playroom!
Ready to make your own?
Pin this diy table cover tutorial for later using this link and collage image:
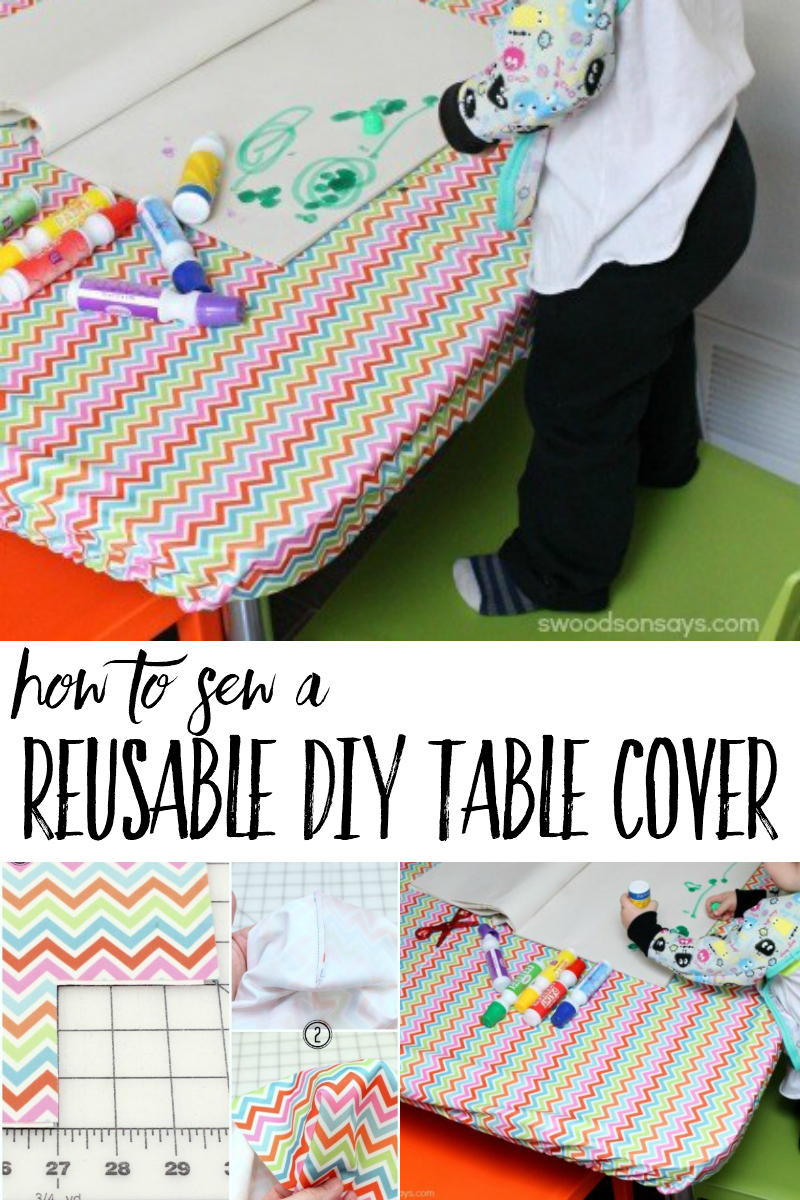
How to sew a washable diy table cover
Supplies
- 2 yards of 1/2″ elastic (I used the elastic from upcycled sheet sets)
- 2 yards PUL fabric (it is 64″ wide) – this allowed me to actually make 2 covers of the same size, with some creative piecing. You can buy PUL on Etsy, or on Amazon
- Ballpoint needle
- Bodkin (optional, but preferable to using a safety pin in my opinion!)
Steps
I hesitate to give you a specific formula, because I don’t know how much my table’s rounded corners affect things. But, I’ll share the measurements I used – I double checked things before I cut them to make sure it all looked good.
My table measured 36″ w X 53″ long with a 3″ lip on the edge. I cut my fabric piece 44″ wide by 64″ long – so I added 8″ to the width & 11″ to the length. PUL does have some stretch, which goes lengthwise in this pattern. I used 93″ of elastic – which I calculated with roughly a 7:3 ratio, same as the crib sheet. So I added my fabric piece measurements (44+44+64+64) and plugged it into that equation.
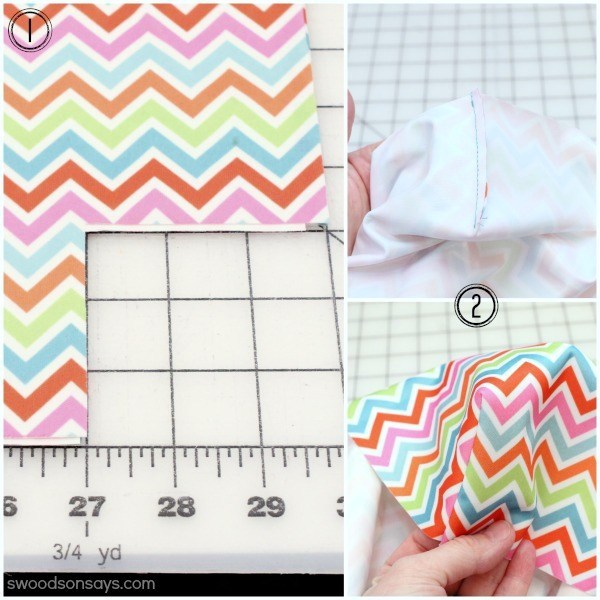
Step 1: Cut a 3″ square out of each edge.
Step 2: Sew the two 3″ edges you just created, right sides together, with a 1/4″ seam allowance and back stitching at start and finish.
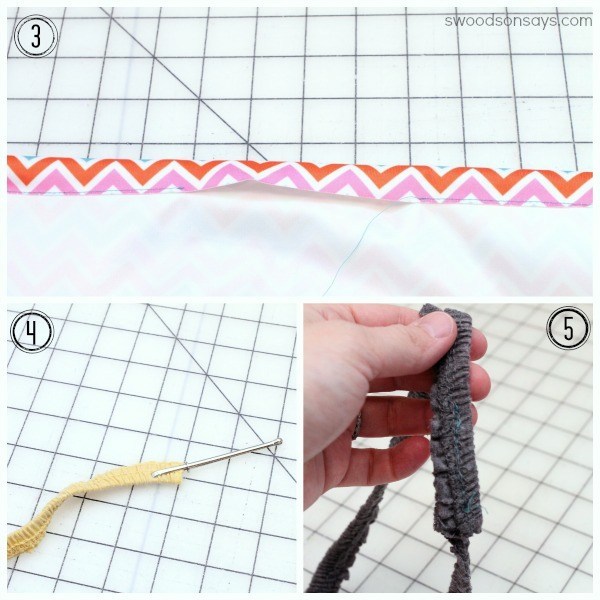
Step 3. Create a .75″ hem going all the way around. PUL will not fray, so no need to finish the edges or double-tuck and use up more fabric. I eyeballed it all the way around. Leave a 3″ gap for inserting the elastic. I used a simple straight stitch so it was easy to pick out and fix if my ‘eyeballing’ didn’t work out.
Step 4. Thread your elastic through! I use a bodkin, which is so easy. Once you’ve finally reached the other end, overlap them by about 2 inches and sew back and forth securely. Close the gap. I went back around with a triple stretch stitch to secure the entire hem for good measure.
You’re done! Simple. So much faster than scrubbing and more environmentally friendly than using trash bags, paper, or flimsy plastic tablecloths.

Marcia RC
Monday 21st of October 2019
I saw a few things I wanted to watch but couldn't find them. A search box would help! I want to make the darling stuffed kitties & also saw some paper piecing I wanted to check out. Would really appreciate finding them!
Stephanie - Swoodson Says
Wednesday 8th of January 2020
Hi Marcia! There is a search box always at the top! Here is the kitty: https://swoodsonsays.com/free-cat-sewing-pattern/ and paper piecing: https://swoodsonsays.com/free-foundation-paper-piecing-free-patterns/
Pam @Threading My Way
Sunday 14th of June 2015
This is such a great idea, Stephanie. Makes clean up time easier and gives the little artist lots of freedom. I have never used PUL and didn't know it came in colours.
Stephanie - Swoodson Says
Friday 19th of June 2015
PUL is awesome, for lots of things. I love that it's washable and water resistant, without being stiff. You should experiment with some!