
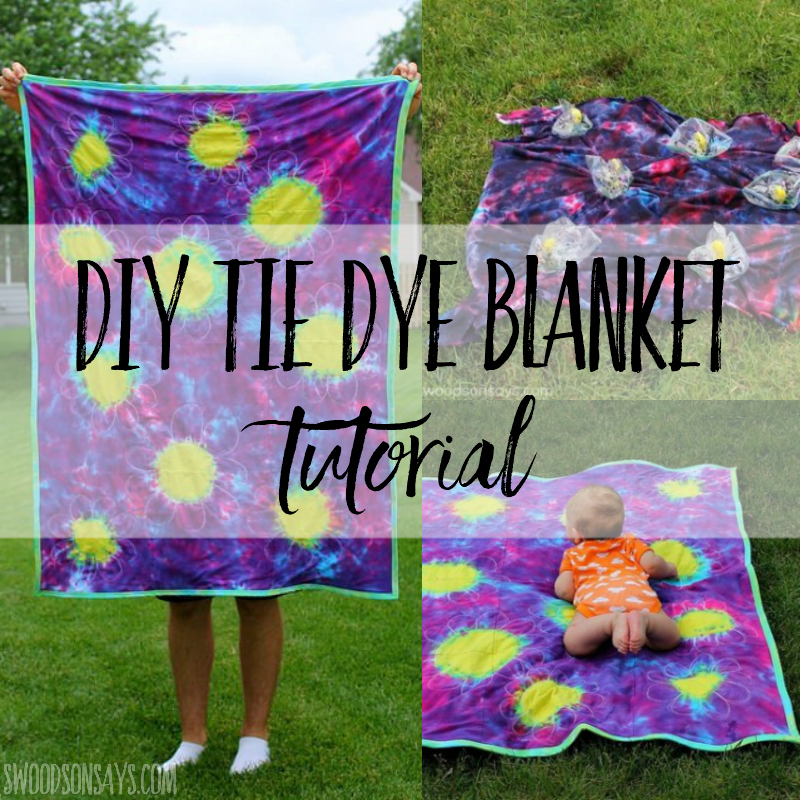
 I had so much fun making this diy tie dye blanket from a stack of plain white t-shirts! I wrote this post as part of a paid campaign with I Love to Create and Blueprint Social; they sent me the products for free and I was paid for writing this post but all opinions are my own.
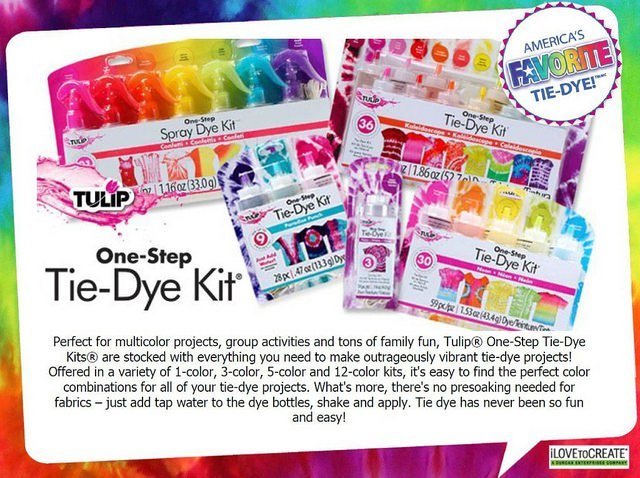
When I think of summer, I think of popsicles, sunscreen, sand, and tie dye. The magic of unrolling and rinsing your design never gets old. I was so excited to have an excuse to experiment when this campaign hit my inbox; Tulip has an awesome website with tons of resources for tie dye techniques, party ideas, and pictures that you can check out in order to Tie Dye Your Summer.
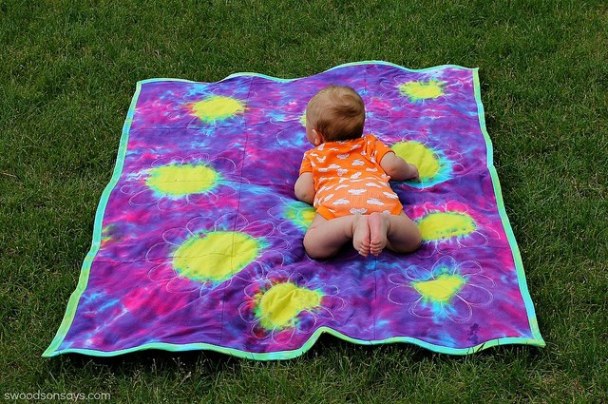
My daughter is three months and just starting to wiggle around on her back, so I thought it would be perfect timing to make her a fun little mat to keep her off the grass when we hang out in the backyard. When my son was younger, we hung out on this hideous yellow picnic blanket so it’s in the background of all my pictures from that summer. Not making that mistake again!
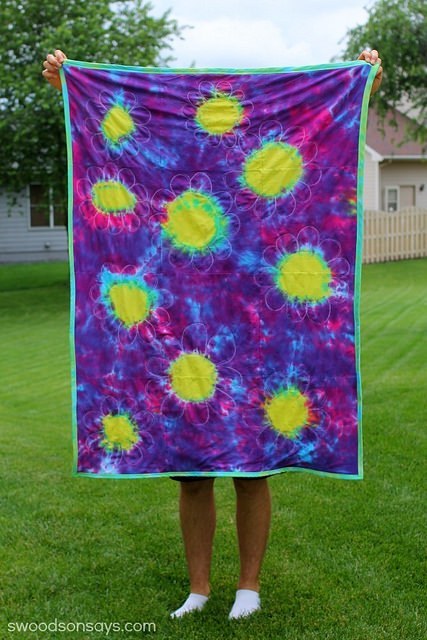
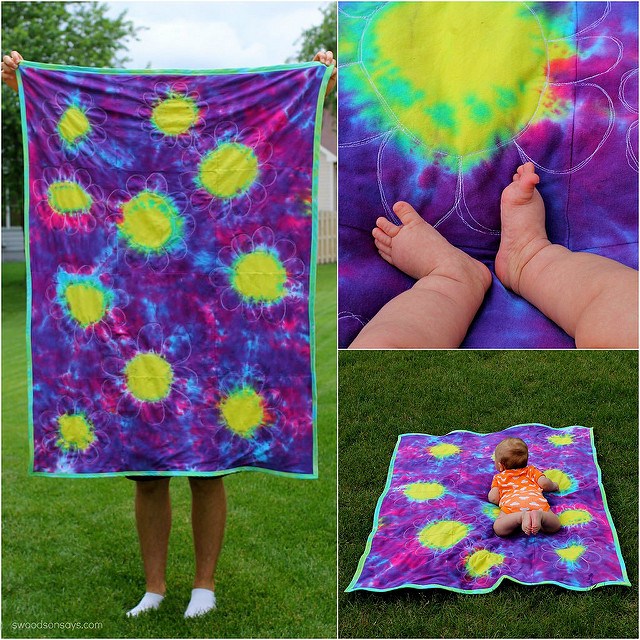
I used the sunburst method to make the flower centers – it’s a really easy tie dye technique. I stitched some flower petals around each ‘sunburst’ with sketch-like lines, I love how they turned out.
![]()
![]()
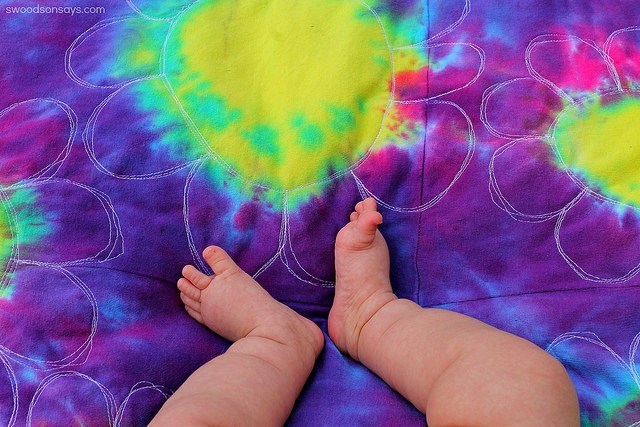
It just screams summer, with chunky little baby legs on it!
If you like this project, check these out too!
I received a Tulip One-Step Tie-Dye Kit*; they have a couple different options.
Each little bundle has gloves & rubber bands – you just add water, shake, and get started! Super easy and mess-free.
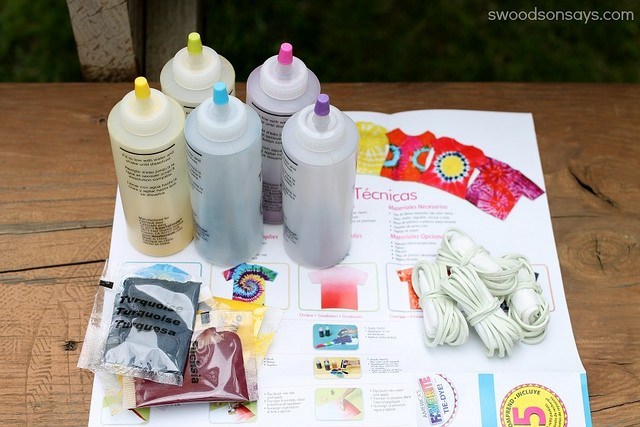
I’m not sure what I’ll do with my spare dye packets, I’ll have to wait for another project inspiration to hit. Keep reading for the steps on how to make your own tie dyed blanket!
Pin this diy tie dye blanket tutorial for later with this link or collage image below:

How to make a diy tie dye blanket
Supplies
- Tulip One-Step Tie-Dye Kit
- 6 XL White T-shirts (or you could use interlock yardage and skip the piecing steps)
- 1.5 yards of 44″ wide flannel
- 1.5 yards of backing fabric (I used a jersey sheet, I love sewing with them!)
- 2 packages (or 6 yards) of quilt binding
- Safety pins
- Ziploc bags
- Two garbage bags
- Tailor’s chalk or a dry sliver of soap
Steps
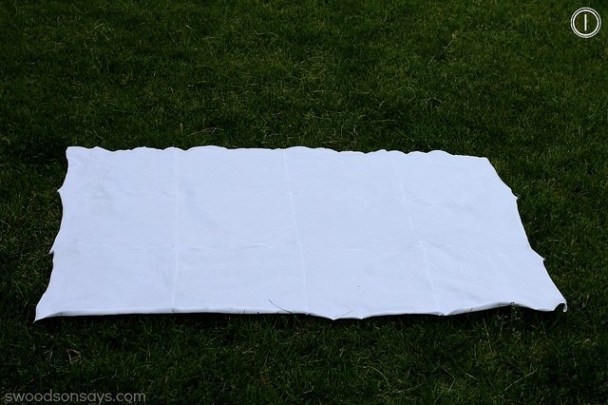
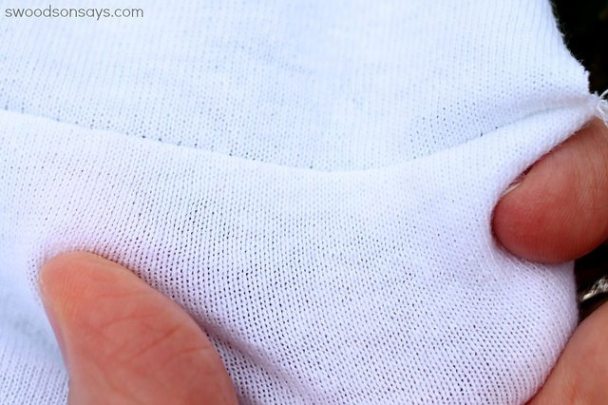
1. Cut out 12 squares from the t-shirts, measuring 13″ X 13″. I prefer to use a rotary cutter & quilt ruler for things like this! Sew or serge them together, 3 rows of 4 squares across, and then sew or serge the rows together for one big block. Make sure you keep all of the grains going the same way – this means the direction with the greatest stretch is the same on each row. The detail photo gives you an idea of how to check – you can see the tiny vertical rows if you look closely! You want those all going the same way. Use an iron and press all seams the same direction.
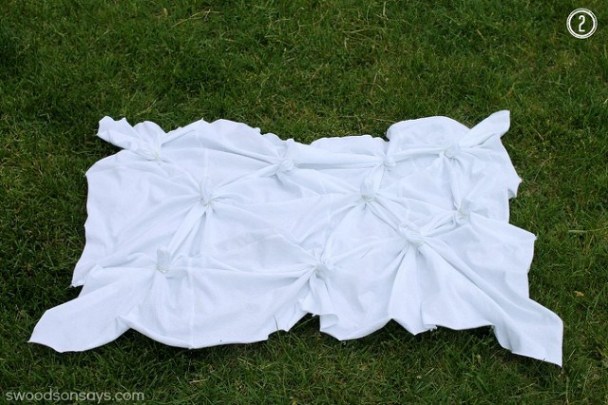
2. Get the blanket wet! It was raining, so I let nature do this part – this makes it so the dye saturates more easily. Gather fabric in random spots & use a rubber band to secure them, like ponytails. The more fabric you pull up, the larger the circle will be.
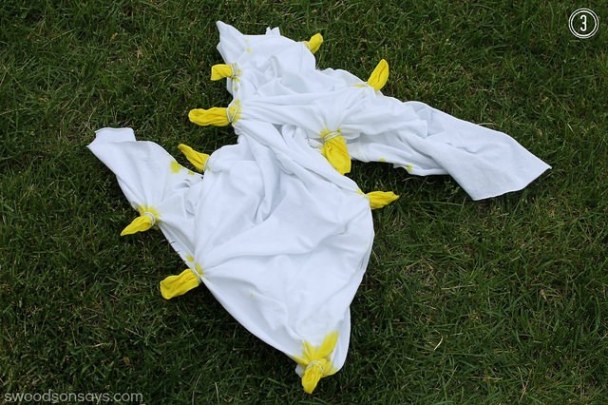
3. I pulled each tail over to the side and squirted the yellow dye on it, trying to avoid getting it on the rest of the blanket.
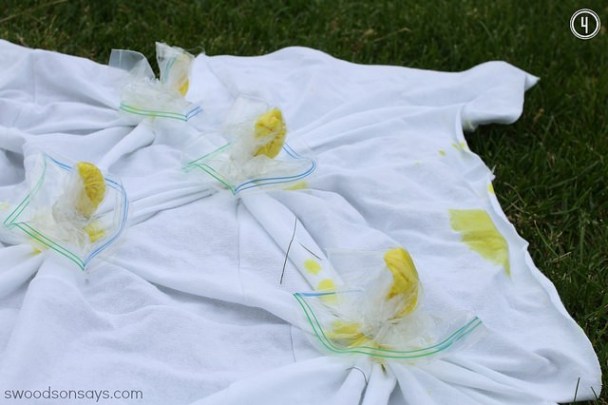
4. Put a ziploc over each tail and secure it with another rubber band, so the other colors don’t mess up the yellow.
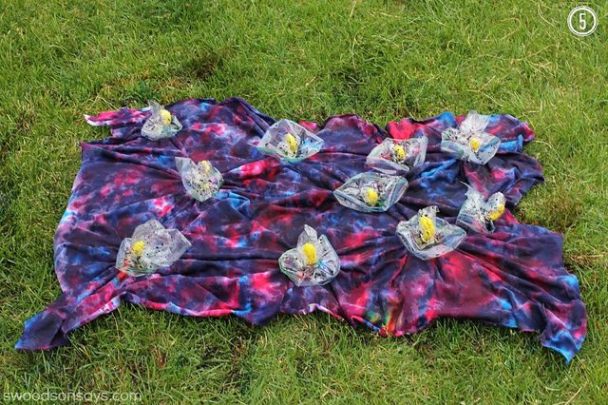
5. Go nuts with the other colors! Make sure to peek around the folds created by the sunbursts and make sure you haven’t left any big white spots (unless that’s what you’re going for).

6. I ripped open a garbage bag and laid it out on top, rolling it up, so the colors didn’t drip on to one another.
7. Put your wrapped up blanket into another garbage bag and tie it tight, this helps the dye really saturate. Leave it for 6-8 hours, and then rinse in the sink, wash & dry.
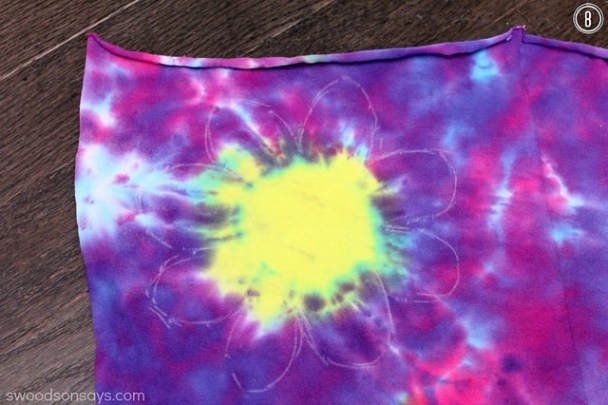
8. Use chalk or a sliver of soap to sketch out petals around each circle.

9. Sew a circle around the yellow center and then over the petals you sketched out.
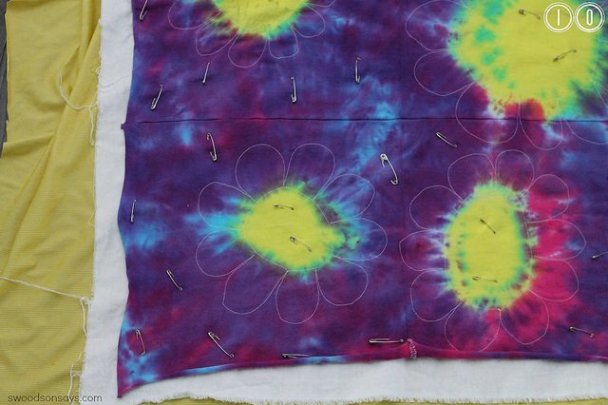
10. Layer your backing fabric & flannel like a sandwich, wrong sides together, and use your safety pins to secure the layers, smoothing out the layers and working from the center out. Avoid pinning on the flower stitching you’ve already sewn.
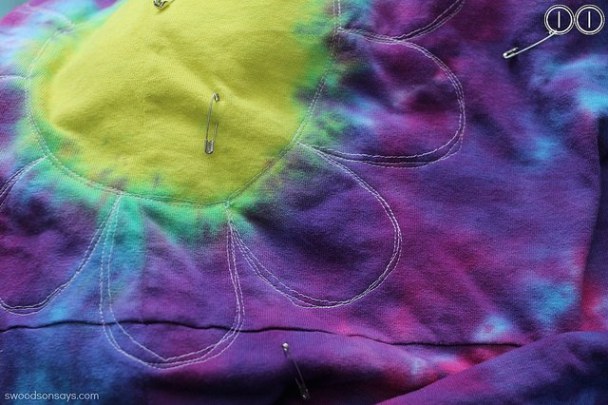
11. Time to stitch! I love the organic, sketchy look of freehand sewing so I just skimmed around. Sew an extra line or three around the stitching lines you already made.
12. Use scissors to trim up all the edges of your quilt sandwich and apply the binding. I serged all my edges before adding the binding, but you could also baste! Ta-da! You’re done!
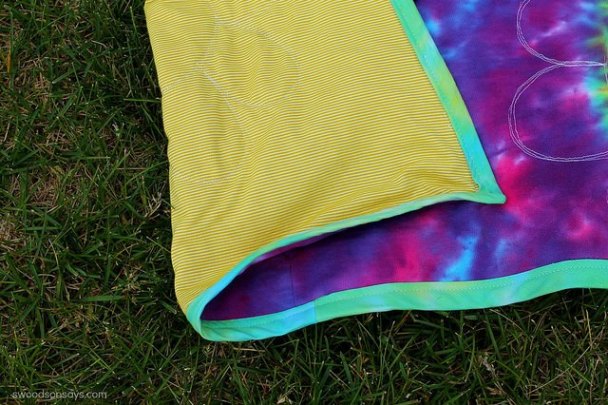
I picked this sheet out in my basement, where the lighting made it look much more fluorescent. Unfortunately out in the sun it’s not quite as nice a match, but I guess you can’t see it on the ground anyways!
She was totally impressed, or at least as impressed as a three month old gets, ha. I love how it looks and its so comfy, a perfect spot to hang out and watch her crazy brother.
Jill A
Friday 3rd of June 2016
This is so pretty!! I may have to give it a try.
Stephanie - Swoodson Says
Monday 6th of June 2016
Thanks Jill! It has gotten a lot of use in the past year, I love the bright colors :)
christel
Saturday 15th of August 2015
Love love love! I wish I had half the skills you have.. and energy!!
Stephanie - Swoodson Says
Sunday 16th of August 2015
Thanks Christel! Any skill I have just comes by practice - the energy is definitely a fake it until your body produces adrenaline and makes it scenario :)
Allison
Saturday 20th of June 2015
My kids LOVE tyedye. They've done it as school projects and always want to do it at home. But I'm always hesitant to do it because of the mess. This looks more like my thing--all the fun and half the mess.
Stephanie - Swoodson Says
Sunday 21st of June 2015
It is sooo much less mess, even more so if you were working on smaller projects, like a single t-shirt, instead of a big blanket. Let me know how you like it!
Maria@SewTravelInspired
Saturday 20th of June 2015
This looks like a great activity to do with the grandchildren this summer. I have pinned it for later. Thanks.
Toya
Monday 15th of June 2015
It is so much fun, right? I've just been experimenting with dip-dyeing for the first time, and think I might be hooked. While the dyes were out my eldest daughter and I also tie dyed anything cotton we could lay our hands on, but how many tie dye pyjamas can one girl really wear?