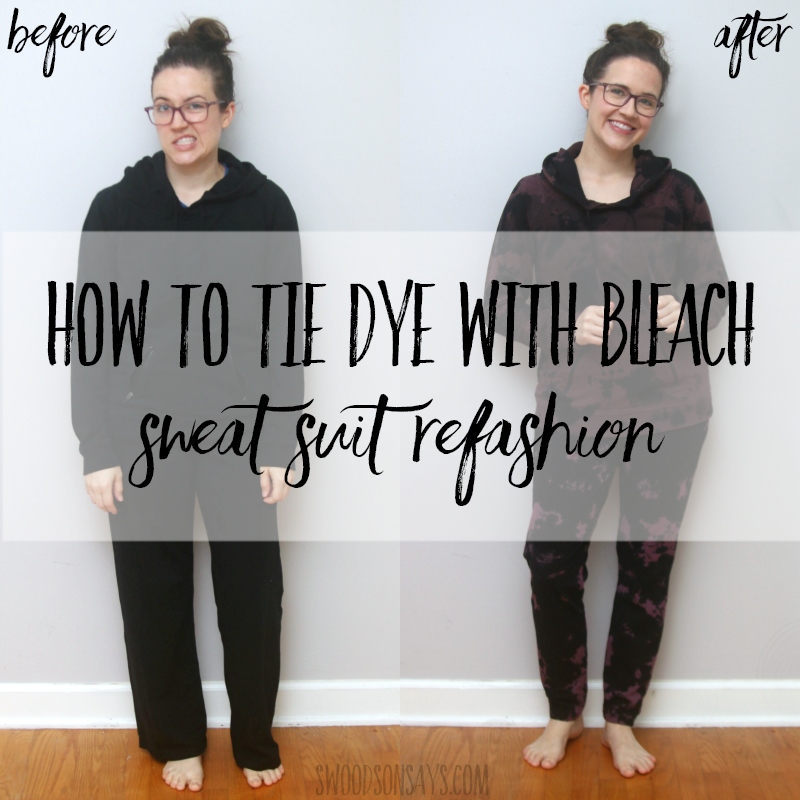
I don’t know about you, but I am all about the leisure clothes for the past few months! I have seen several cute sweatsuits online but in keeping with trying to shop secondhand as much as possible, I decided to DIY a matching set instead! This was a fun afternoon project that left me with a unique, cheap comfy set to lounge around in (or let’s be real, run errands in too). I layered pink over top the bleach step but the sky’s the limit for creative options with this technique.
This post was sponsored by JOANN, which means they supplied some of the materials and compensated me for my time, but all opinions are my own. Bonus, they have curbside pickup these days!
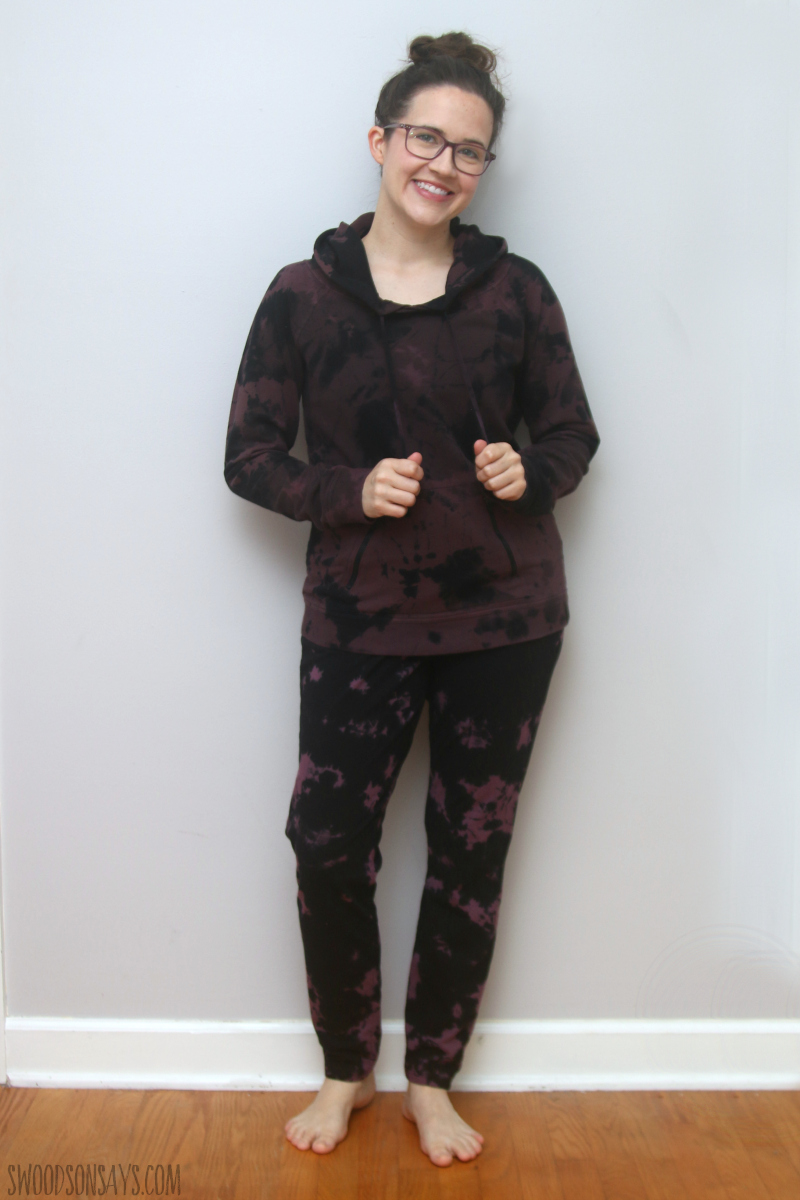
Any type of dye is a great way to hide stains and also make two pieces look like they go together! I’ve used plenty of dye and fabric paint over the years but it always feels like magic to see something change right before your eyes.
I’ve never worked with standard bleach and I felt confused reading different things online that if you don’t neutralize it, it’ll keep eating holes in your clothes but no specifics on the best way to do so. RIT Color Remover makes it easy, as a non-chlorine bleach there isn’t the same concern about fiber degradation and the chemical smell was much milder.
You might also be interested in these other posts while you’re here:
- 20+ ways to refashion clothes that are too small
- Five tips for thrift shopping to upcycle & refashion
- 10 refashioning tips for successful sewing
- 24+ Men’s button down shirt refashion ideas
- 13+ T-shirt refashion ideas
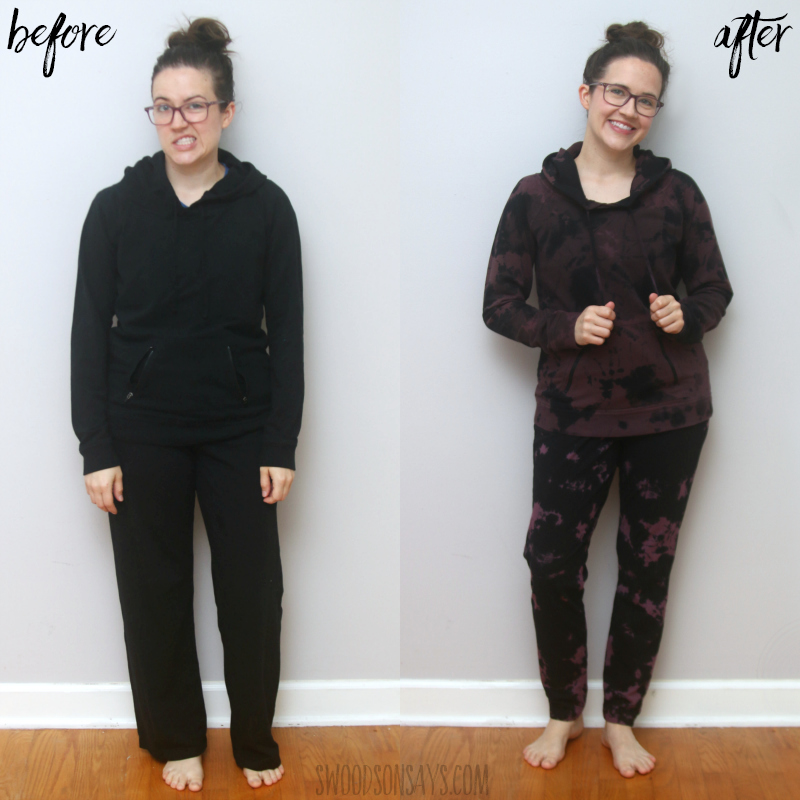
This post is strictly about the tie dye process, but as you can tell, I refashioned the pants from baggy sweats into joggers before I switched up the color! If you want to do that step too, check out this jogger pants refashion tutorial first. When you’re shopping secondhand, it can be tricky to find a proper plain sweatsuit in the same color, so get creative and look for pieces that have similar fiber content and DIY the set! These are both Gap Body pieces bought via Ebay.
Pin this refashion tutorial for how to reverse tie dye with this link or image:
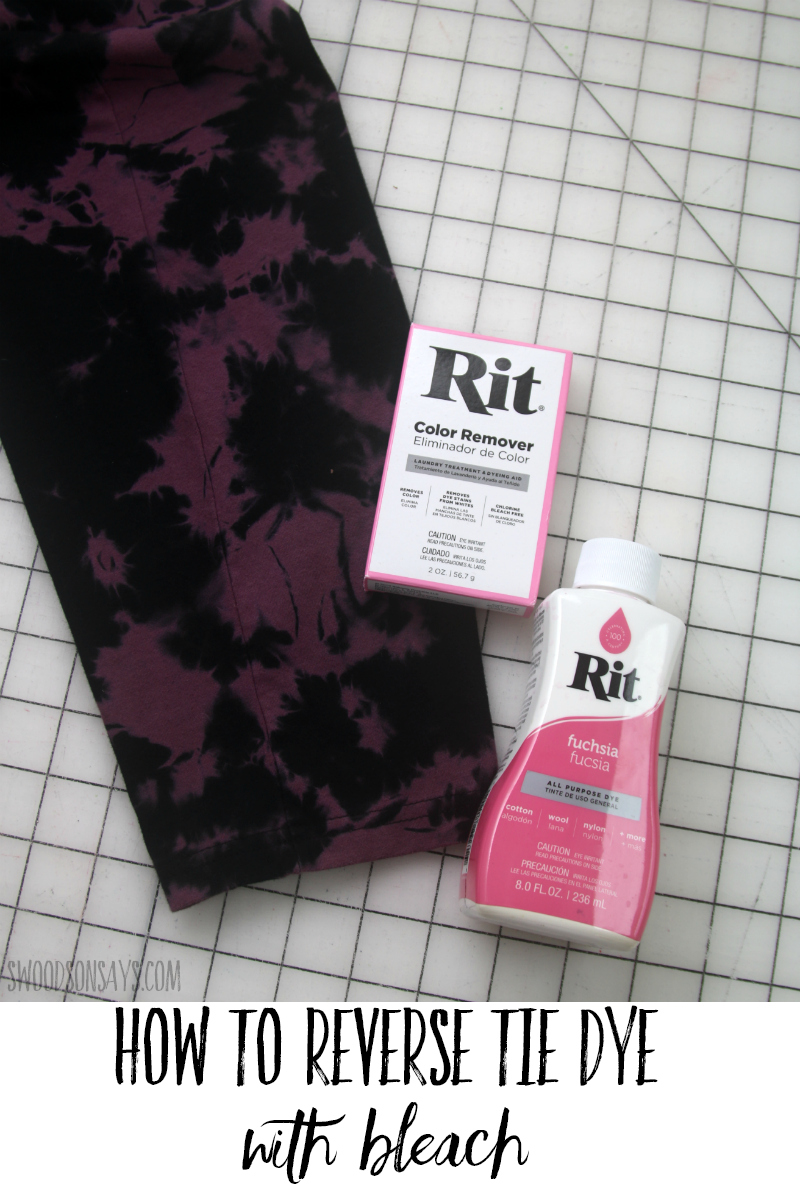
Ready to try reverse tie dye with bleach?
Supplies
- RIT Color Remover
- Rubber bands
- Gloves
- Pink RIT dye
- Water
- Plastic tub
- Stirring stick
Steps
I’d highly recommend wearing junky clothes while working on this project, stirring bleach makes for splashes!
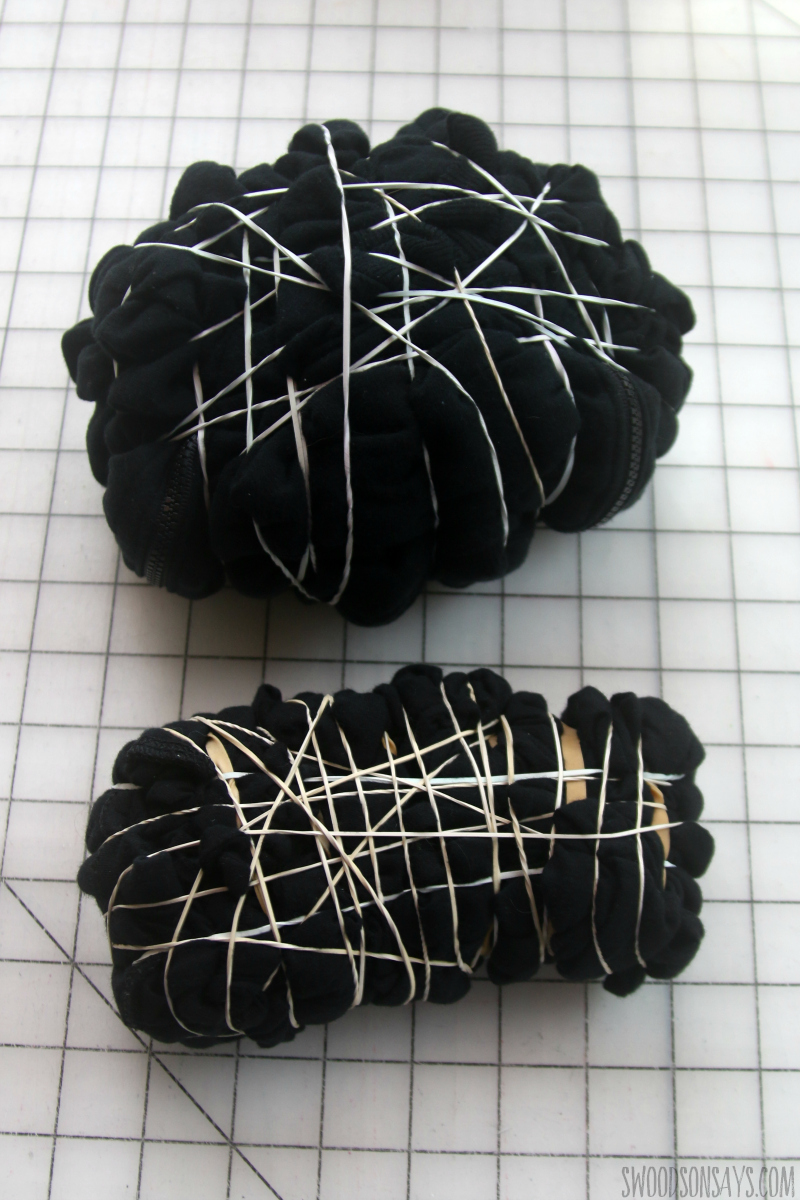
Step 1– You can use any tie dye method here; I did a classic “scrunch” and literally just smooshed it up and liberally rubber banded. Remember that the exposed fabric is what will be dyed, so the less you can see, the more of the original color you’ll be left with. You can band sleeves and body separately if you want more coverage.
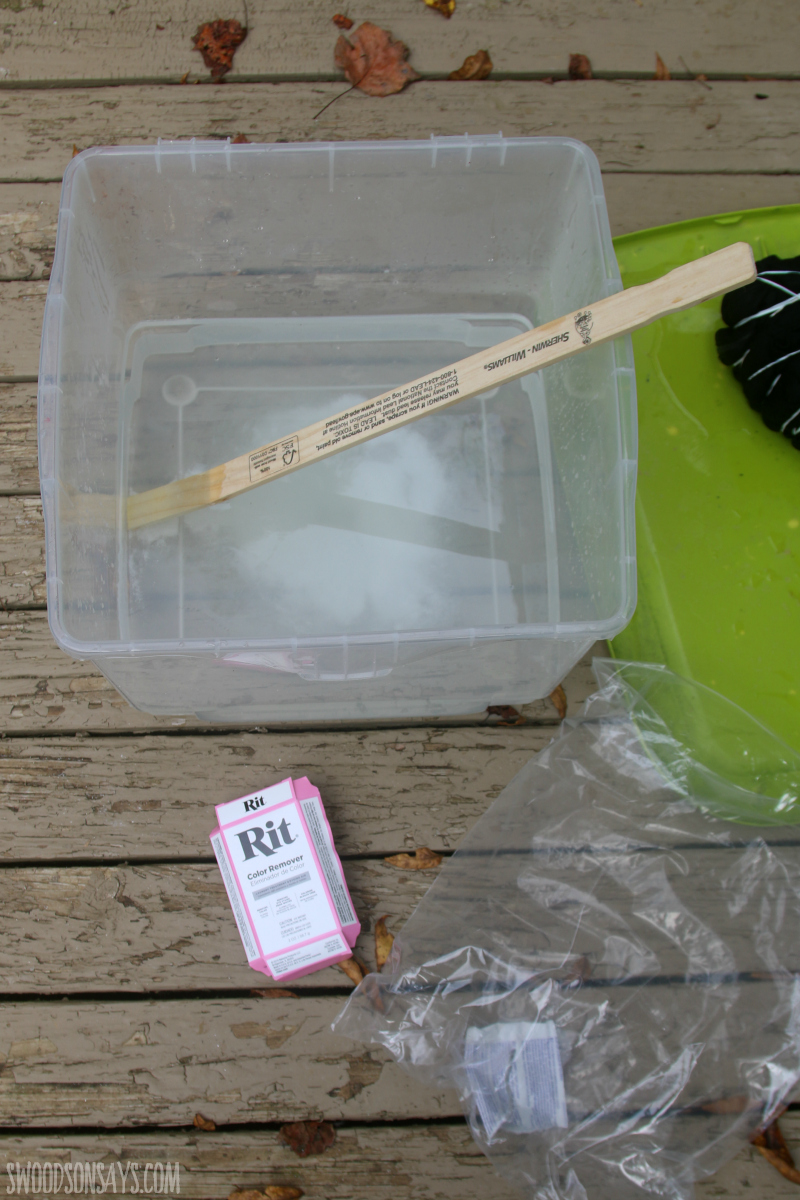
Step 2– Put some warm tap water in your plastic bin and stir in the powder. Then add boiling water from the stovetop.
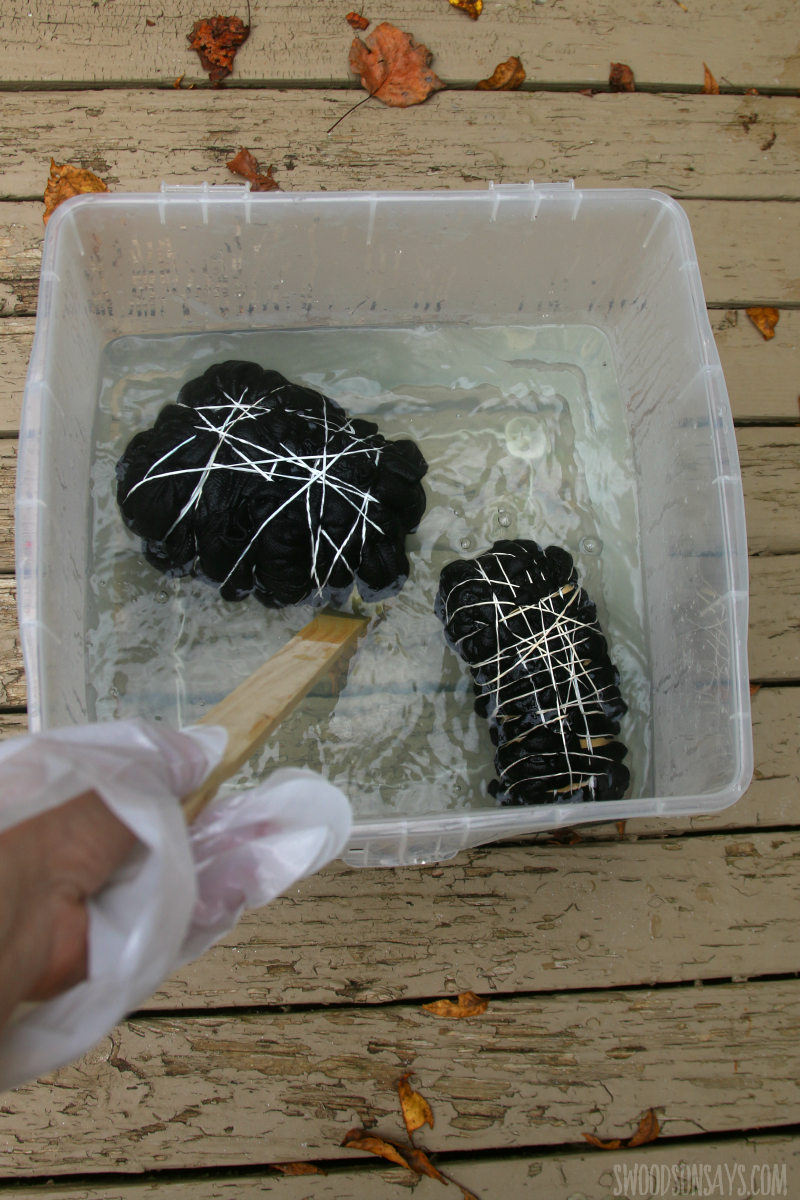
Step 3– Pre-wet your garments and then add them in! Follow the instructions and keep stirring and flipping them for an even dye.
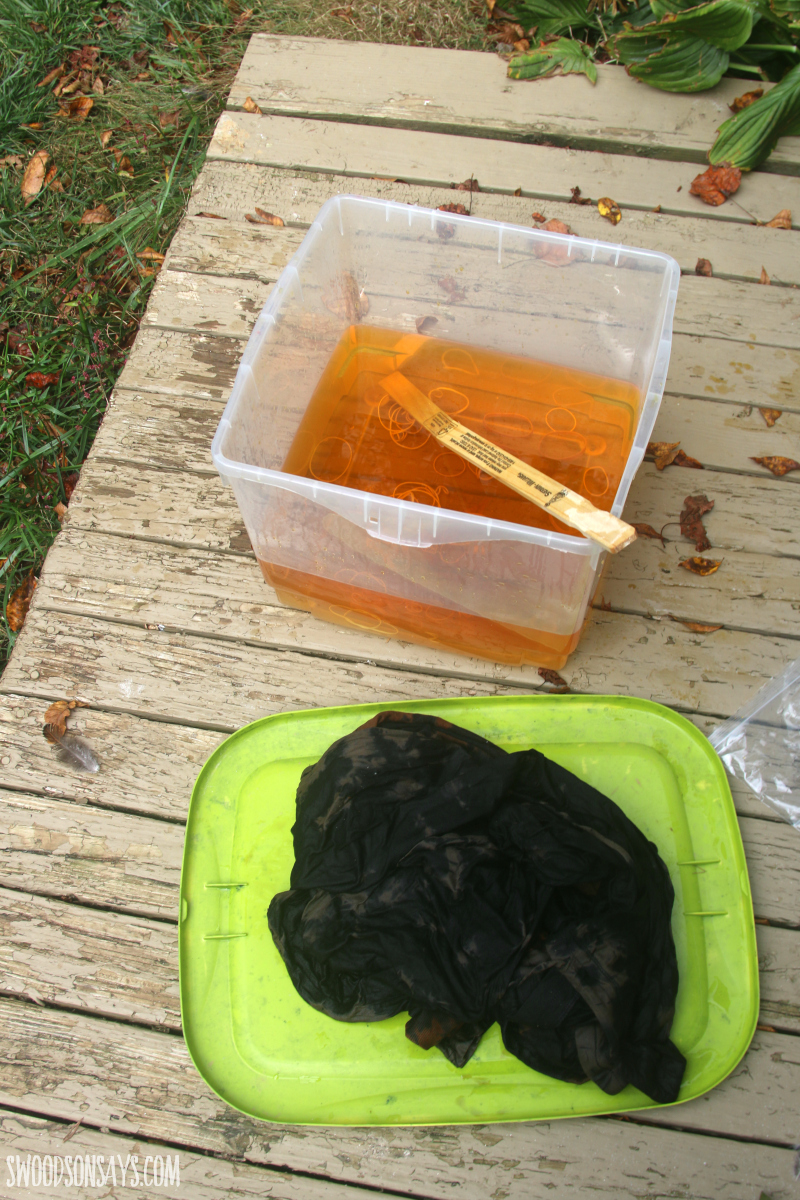
Step 4– Pull them out and carefully unband; the water will have changed colors by this point. Rinse with warm water, wash as usual, and re-dye (sans rubber bands this time) with pink if desired, like I did! You’re done!

Sylvia
Tuesday 10th of November 2020
Hi there, I love the look, but wish you could find a way to do it without bleach, which is so destructive to the environment. It drains into waterways and kills fish, etc. Thanks for considering this idea.
Stephanie - Swoodson Says
Wednesday 11th of November 2020
Hi Sylvia! I do not normally use bleach at all so I don't think I was aware of this. The color remover I used here is a non-chlorine bleach which looks like maybe does not harm the environment?? I googled around for a while and it seemed that the chlorination is the problem, but I am open to hearing otherwise, this is good to know!