
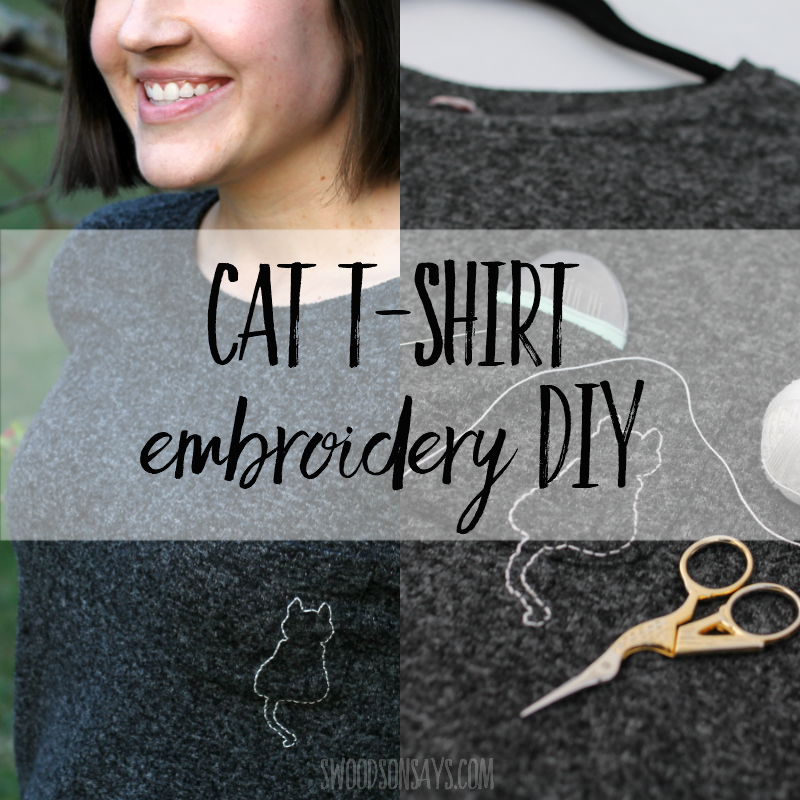
A few months ago, I was planning on going to a conference right after we’d moved. I knew I wanted to wear something handmade but didn’t have time to sew from scratch. I worked on this simple cat embroidery and stitched it on to a thrifted shirt for a modern t-shirt embroidery DIY! I’m sharing the free cat embroidery pattern and tutorial for how to use it, I think this would be super cute on pants too.
I have a whole post about cat hand embroidery patterns if you need more inspiration!

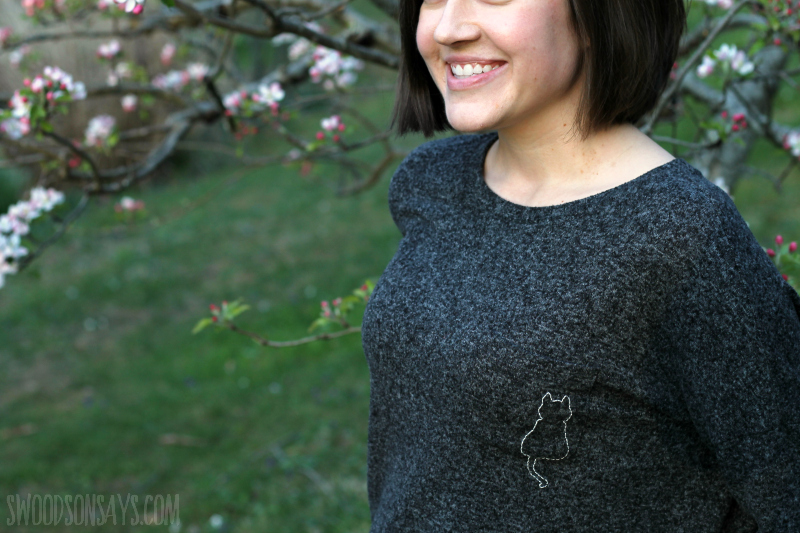
Isn’t that little kitty cute! I convinced my cat-hating Mom to let me adopt a barn kitten back in high school, and she grew up into the fluffiest, laziest indoor cat you’ve ever met. This silhouette makes me think of her looking out a window.
My daughter is begging for embroidered kitties on her clothes now, I think it would be really cute on the back pocket of jeans or right above the hem of a shirt, too.
If you like this project, you’ll probably like these too:
- How to hand embroider shoes
- How to embroider a hat by hand
- 13+ t-shirt refashion ideas
- Modern embroidery kits for beginners
- Free felt pocket kitty pattern
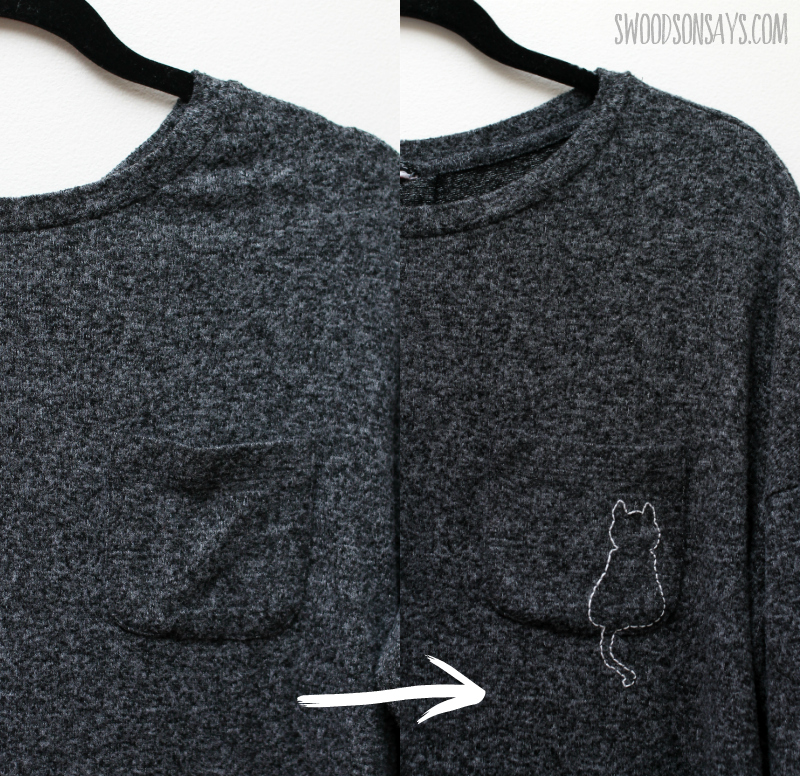
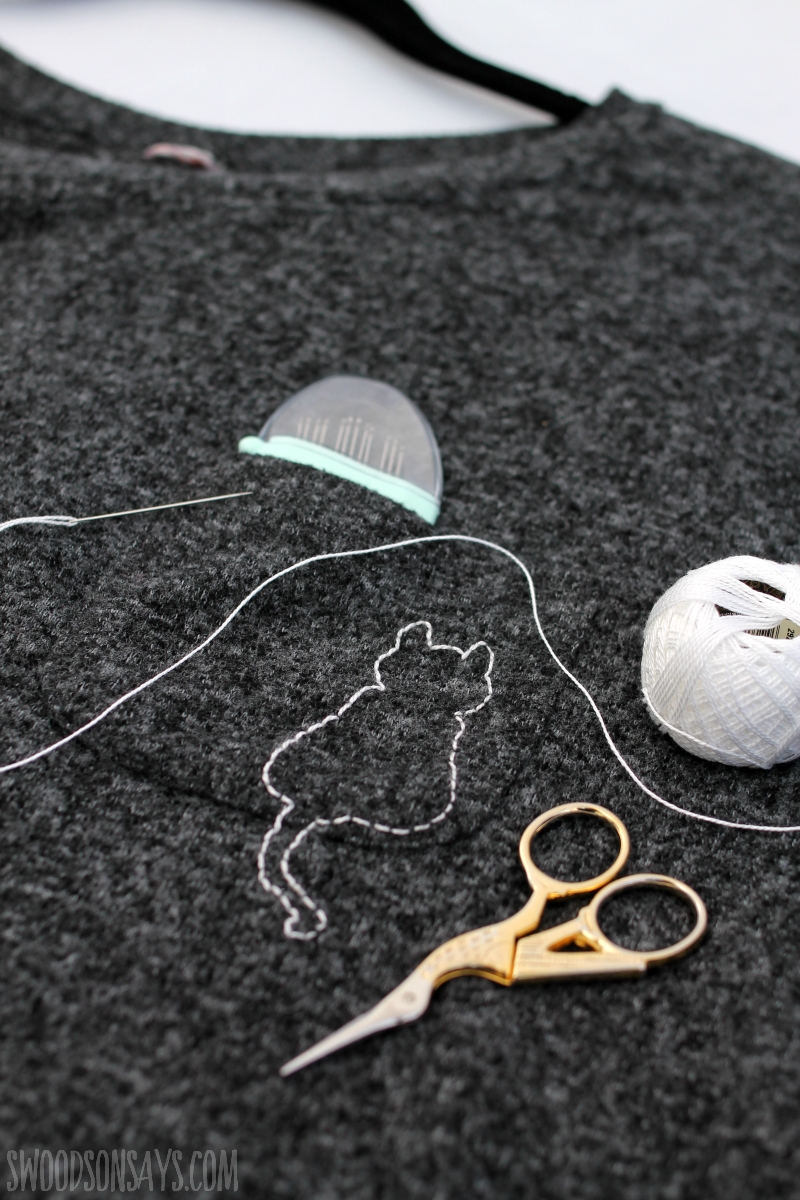
A quick, subtle upgrade for a shirt makeover! I used pearl cotton, which is thicker than floss, which makes it stand out better.
Pin this t-shirt embroidery DIY tutorial for later, here:
Want to make your own?
Simple cat embroidery
Supplies
-
- Stick N Stitch
- Embroidery needles, my favorites are these embroidery needles off Amazon
- Pearl cotton thread
- A shirt to embroider on
- Sharp scissors, I love these Fiskars micro-tip scissors
- Warm water!
-
Cat embroidery file- sign up for my newsletter and get the full pattern once you confirm your subscription! If you’re already a subscriber, you can access the pattern with the password in each newsletter, in the resource library.
Steps
![]()
![]()
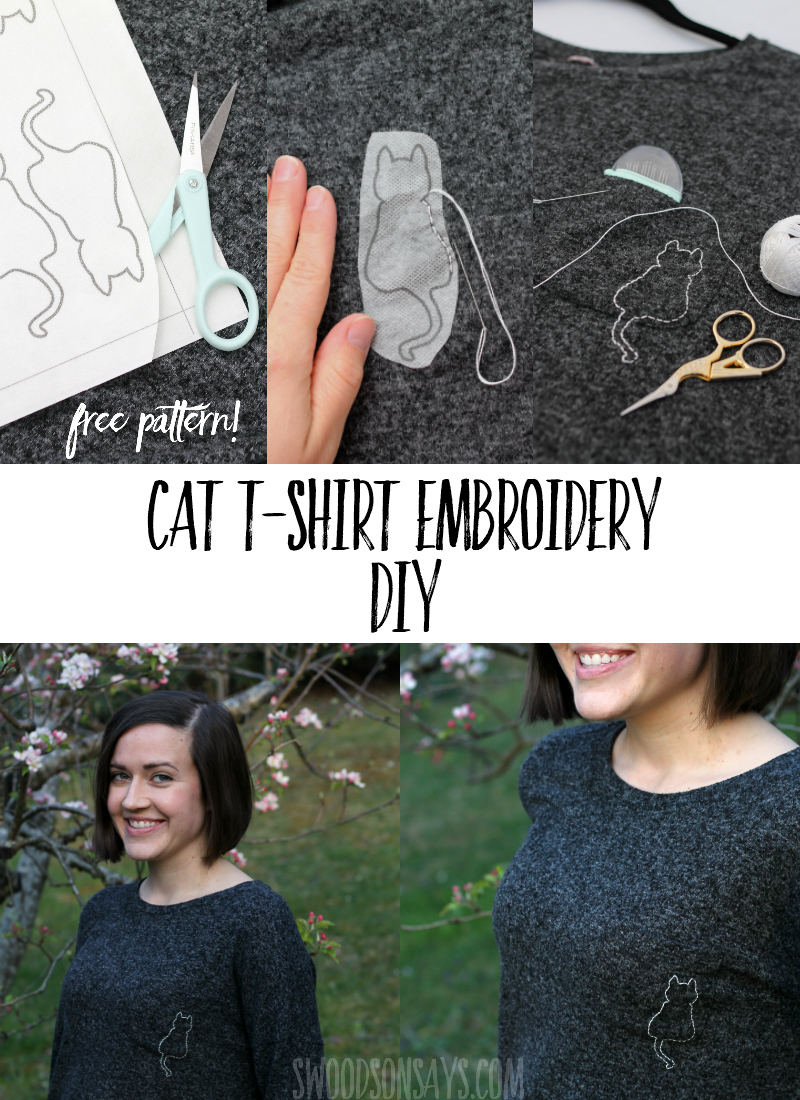
Step 1– Print the pattern out on Stick n Stitch, cut roughly around the cat shape.
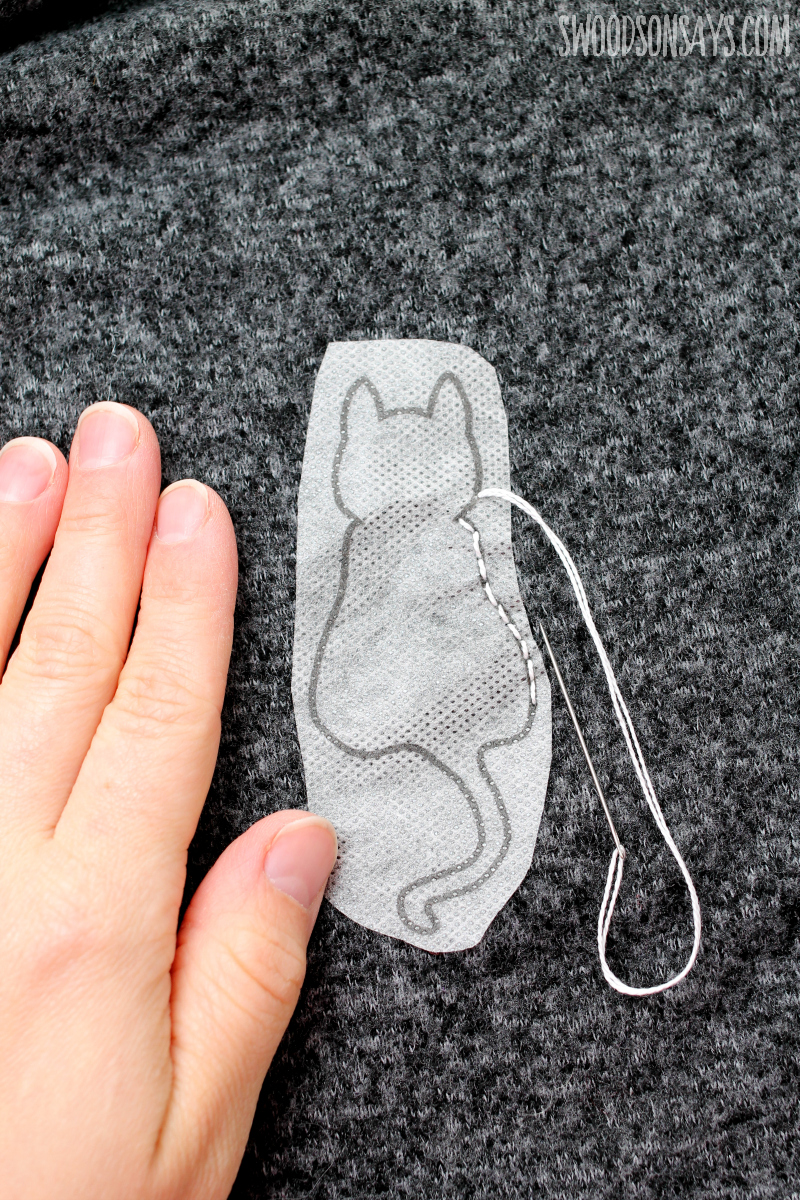
Step 2– Stitch your kitty! I used a simple back stitch (videos in this post for basic embroidery stitches) but a stem stitch would be pretty too.
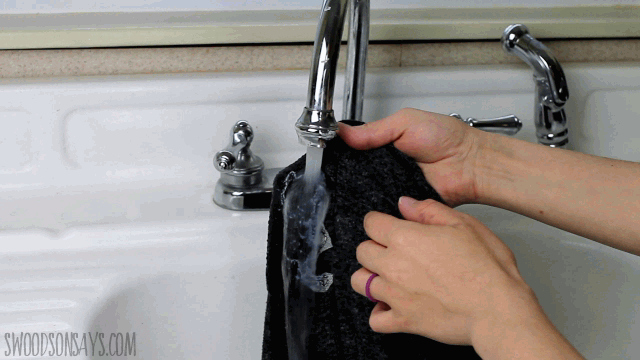
Step 3- Wash the Stick n Stitch away with warm water. You may need to gently swish it below the water and keep rinsing until all the stickiness is gone.
Let it dry and you’re done! It is that easy. The Stick n Stitch stabilizes it so the stitches don’t get wonky and you don’t need anything on the back.
What would stitch this kitty on?