
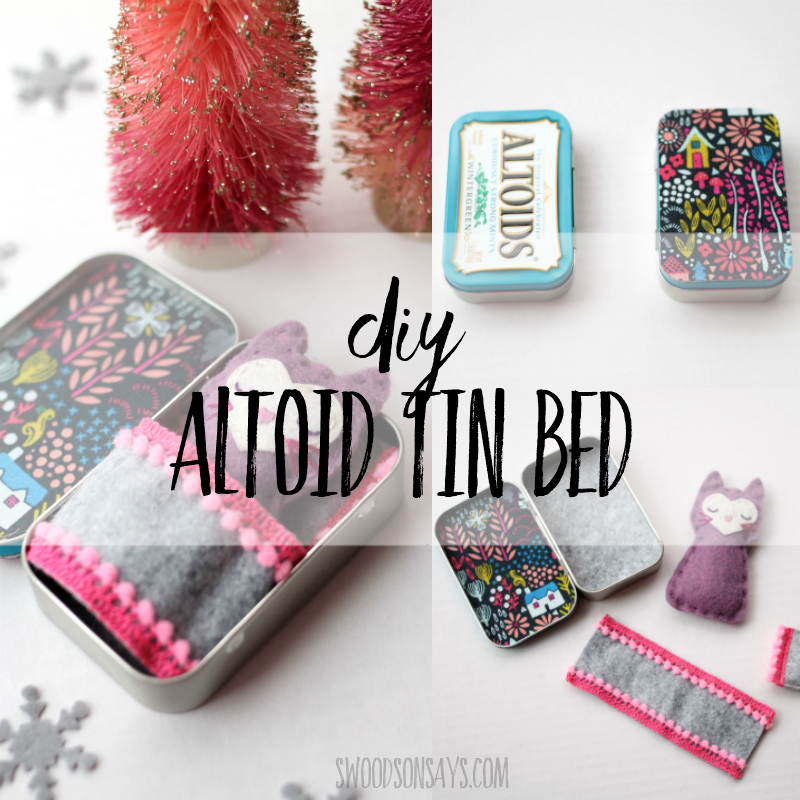
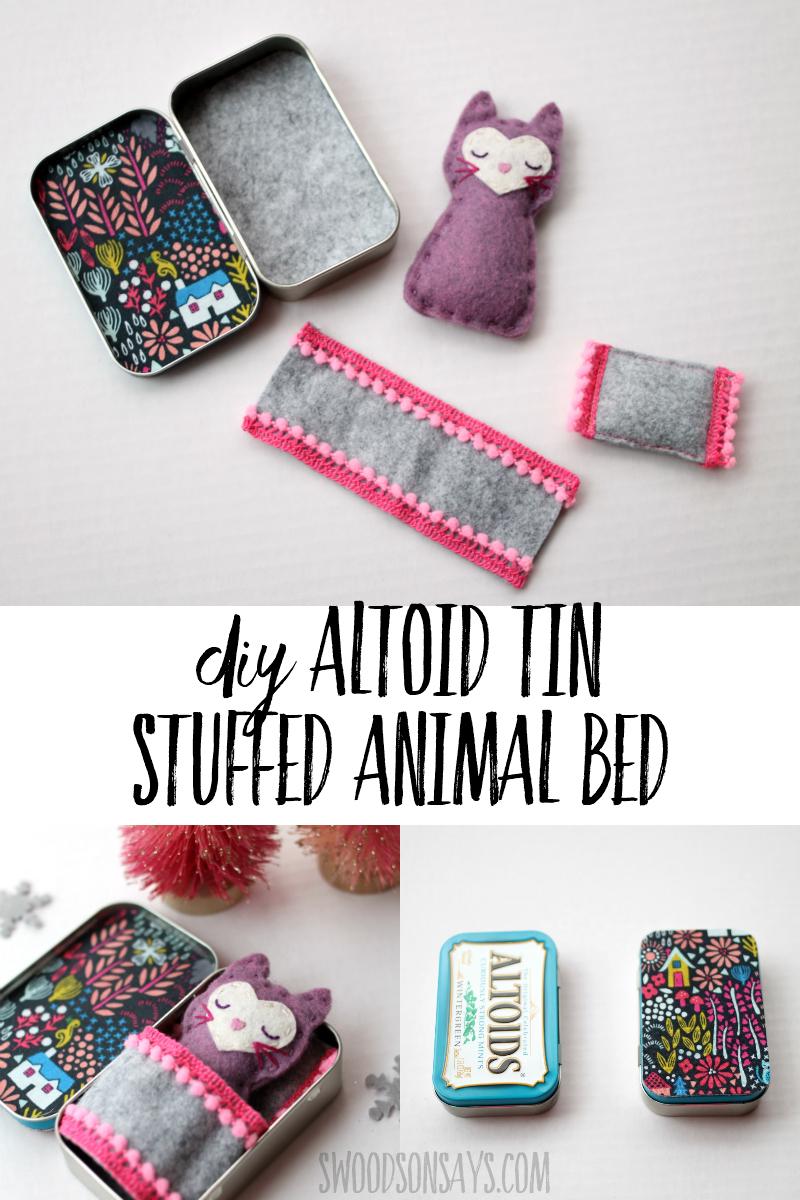
For day 12 of 12 Days of (upcycled) Christmas tutorials, I’m sharing how to make a DIY Altoid tin stuffed animal bed! This is a perfect fit for my free pocket kitty pattern, but you could also try one of these other cute tiny felt animal patterns to sew. I had a ton of fun picking a fabric for this box and will definitely be making more in the future. There is something so appealing about these little metal boxes (find more 30+ amazing things to do with an altoids tin)!
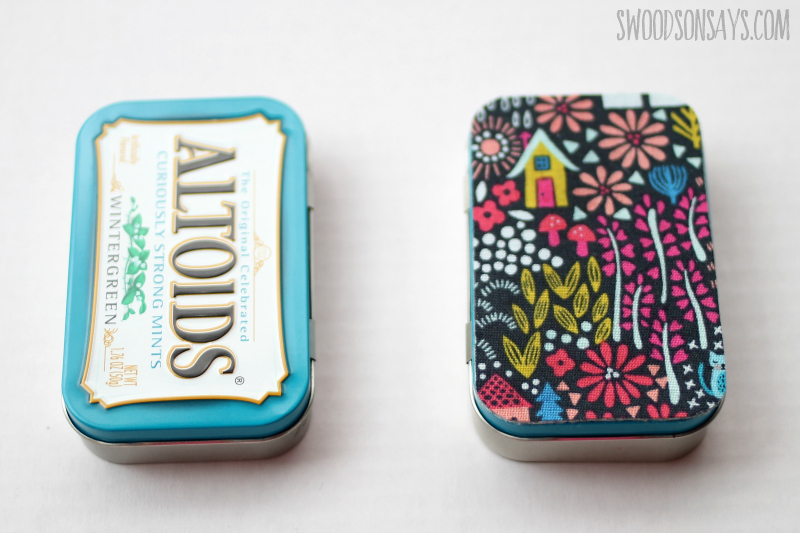
This little cat/house print felt just right, it is Kitty Garden by Andover Fabrics! What a great fit, right?
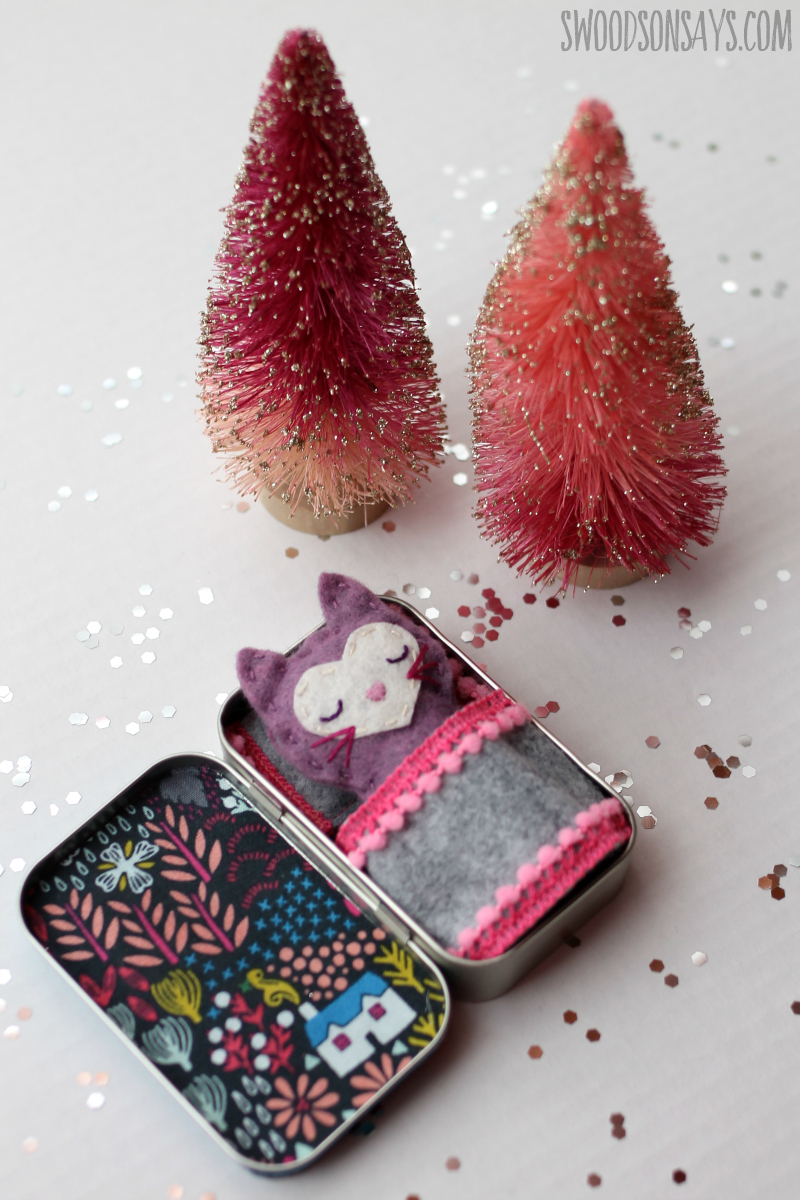
I added a sweet little blanket and pillow; my daughter loves “tucking in” her stuffed animals.
The pom pom trim is optional but delightful! I can’t stop using it. There are so many extra things you could do with this set – I’m picturing a moon & a window on the interior lid! Remember you can download the free felt cat pattern here, to fill up your sweet stuffed animal box.
Pin this altoid tin DIY for later using this link or collage image:
DIY Altoid tin stuffed animal bed
Supplies
-
- Empty altoid tin
- Craft glue suitable for metal like E6000 or hot glue
- Tiny bit of stuffing
- Miniature pom pom trim
- Wool felt
- Woven cotton fabric
- Freezer paper (I used printable sheets but you can also trace on to regular freezer paper)
- Iron
- ultra hold Heat N Bond
- Scissors
-
Altoid tin lid template- sign up for my newsletter and get the full pattern once you confirm your subscription! If you’re already a subscriber, you can access the pattern with the password in each newsletter, in the resource library.
Steps
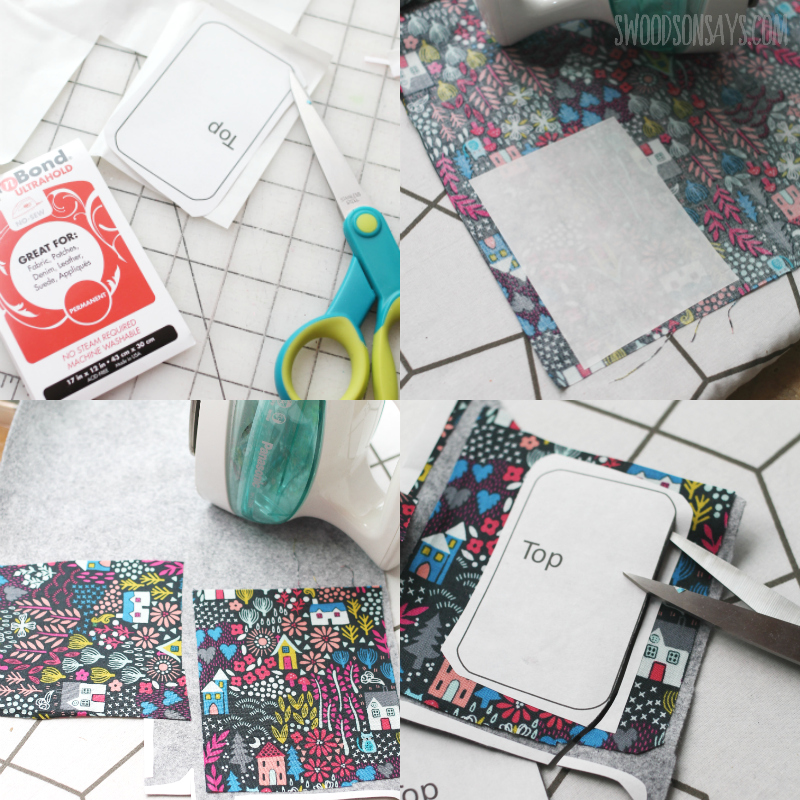
Step 1- This might be overkill but I wanted it to look really crisp and smooth, so I put a big rectangle of Heat n bond superhold on the back of the pretty fabric, attached it to the felt, then put the freezer paper pattern on top of the pretty paper, ironed, and cut out from there (look at pictures from left to right top, left to right bottom). I recommend making 2, one for the lid interior & exterior.
There is a third top just in case; you can see in the pictures I added a felt layer in the “bed” but I would actually advise against that after having finished, because it would be easier to shut it without that extra layer.
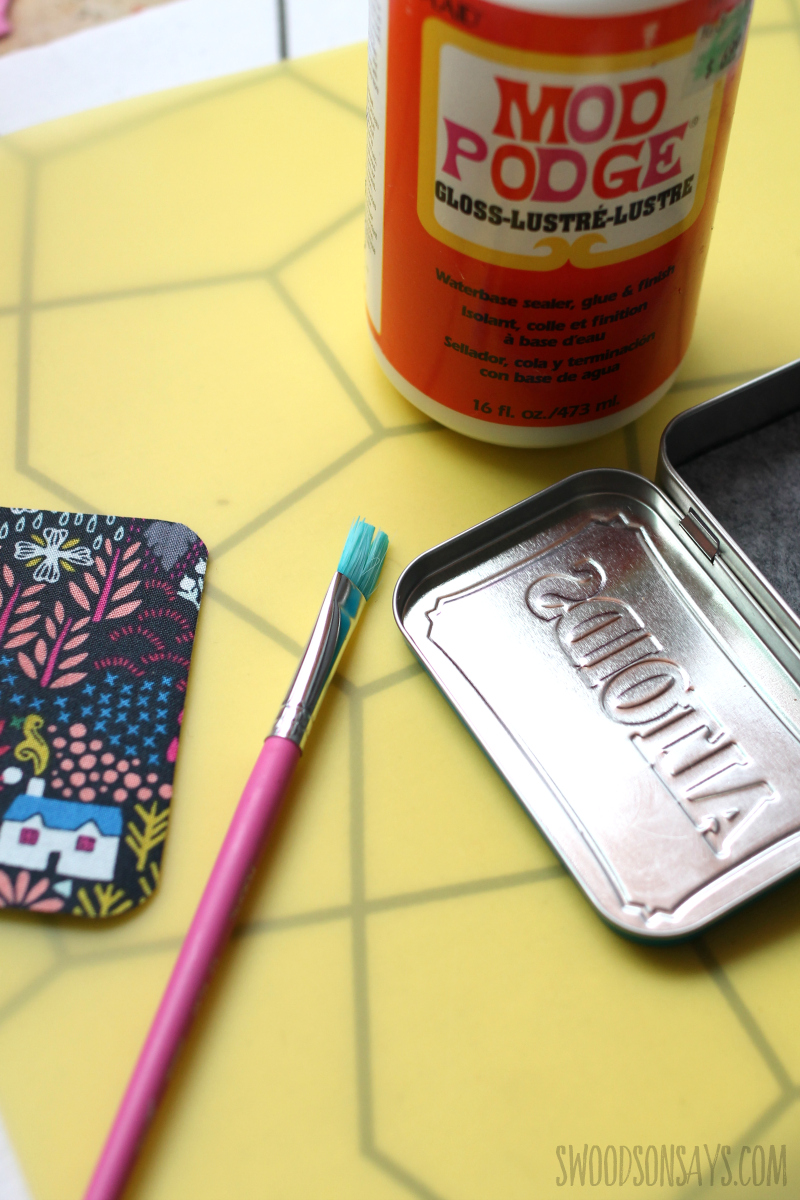
Step 2- Add some glue to the back, slopping some on with a paintbrush and pushing down my lid pieces. Put on your top lid interior & exterior and let dry!
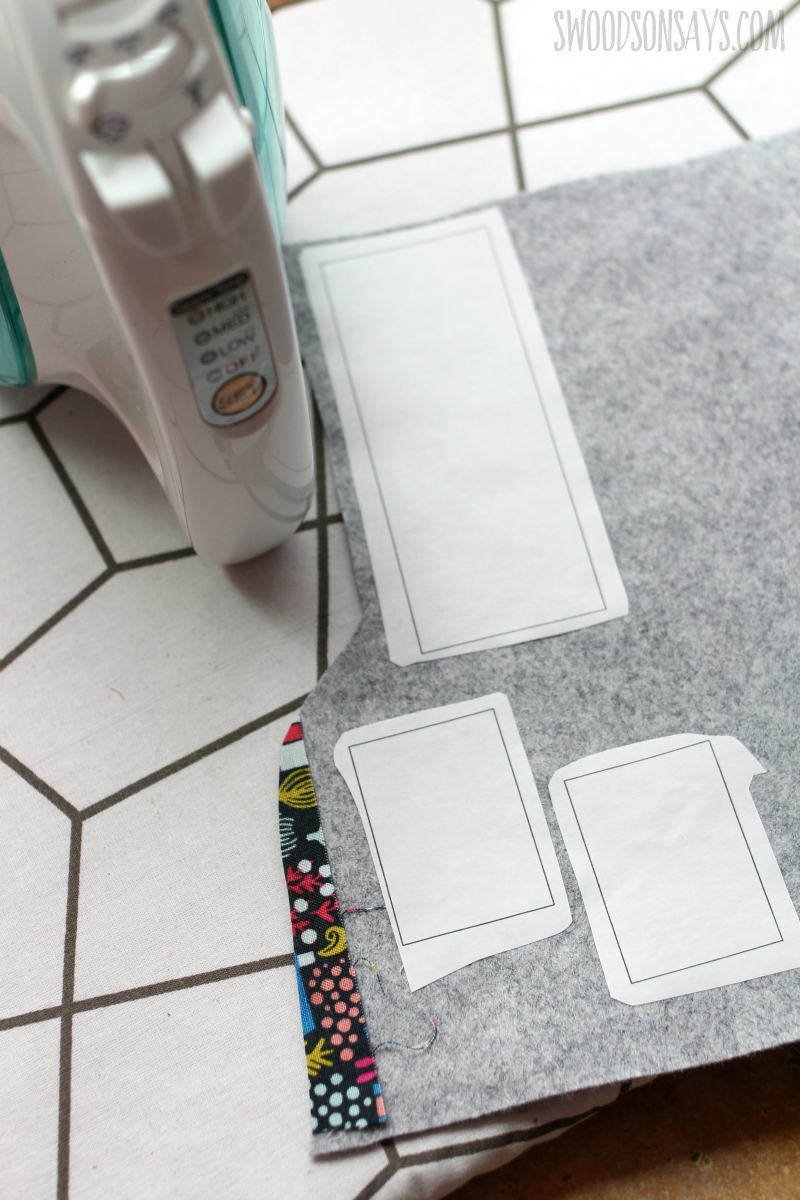
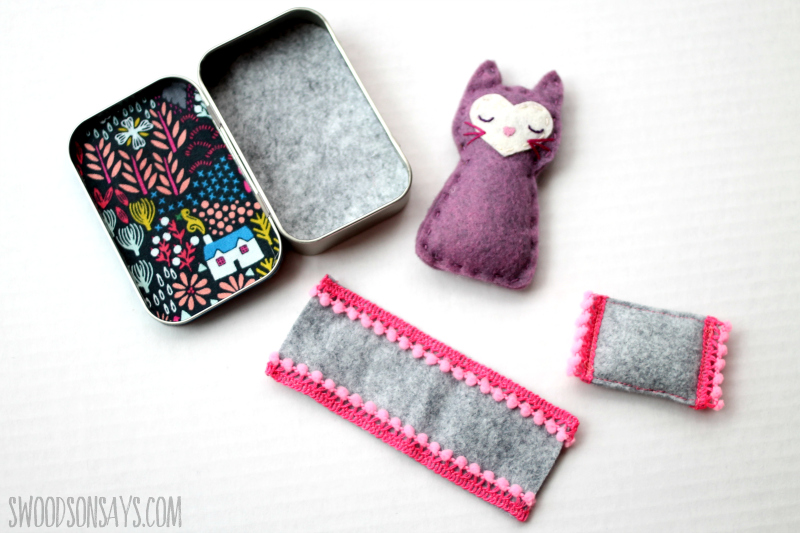
Step 3- Cut out a single layer of the blanket in felt, and then 2 pillow rectangles.
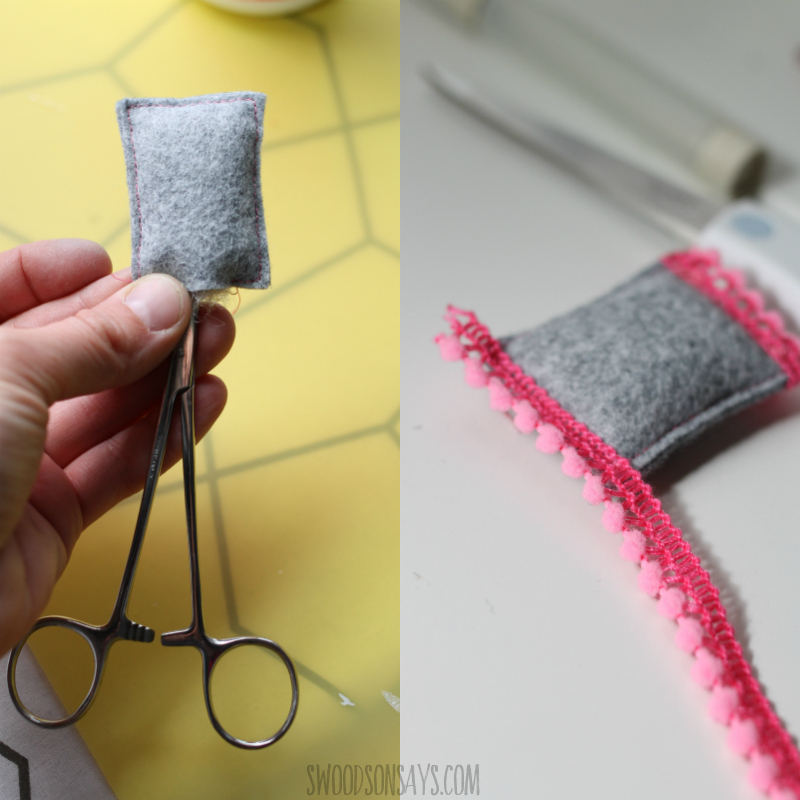
Step 4- Sew 3 sides of the pillow and then insert a tiny bit of stuffing (if you overstuff, it won’t fit!). Then sew pom pom trim on each end, and sew pom pom trim on to the long ends of the blanket. Add Fray Check or hot glue to the ends of the pom pom trim & let dry, then it is all ready to play!