
Stitch up this DIY cat ornament tutorial for a festive reindeer kitty hanging on your tree!
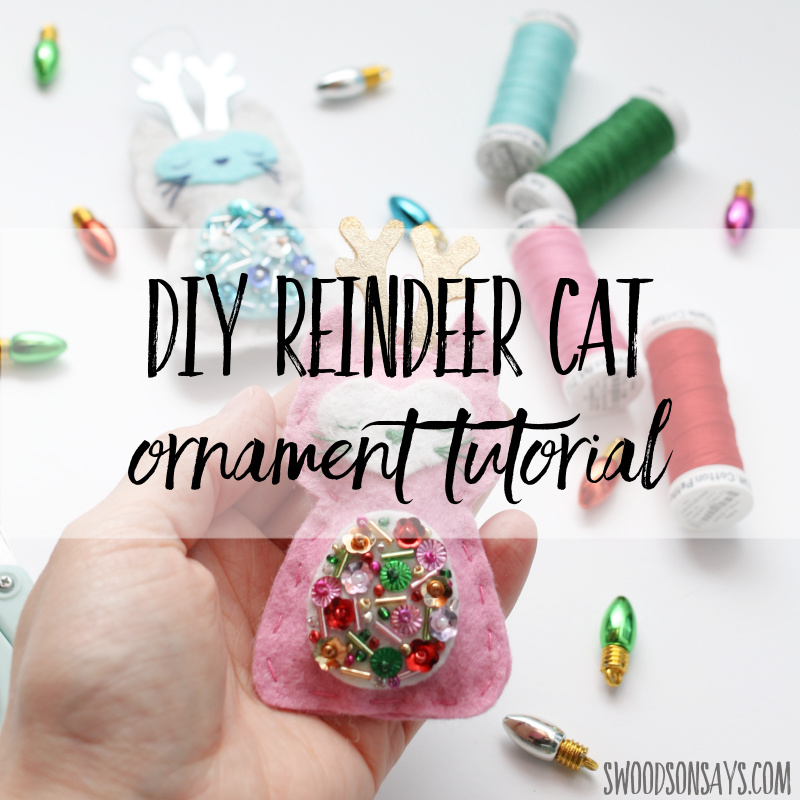
I’ve been meaning to add a holiday twist to my most popular pattern, the pocket kitty, for years and finally made it happen this year! It’s two simple twists that don’t add a ton of stitching or busy work; two cute reindeer antlers and then a shiny, gaudy belly full of sequins and beads! You could use these as a toy like the original but I created ours as ornaments to hang on the tree instead.
While you’re here, check out some of these other posts too:
- 12 cat crafts for adults to make
- 15+ prettiest fabric Christmas ornaments tutorials
- The cutest animal Christmas ornament patterns
- 14+ tutorials for embroidery hoop Christmas ornaments
- 20+ free felt Christmas ornament patterns
- 20+ photo ornaments diy tutorials
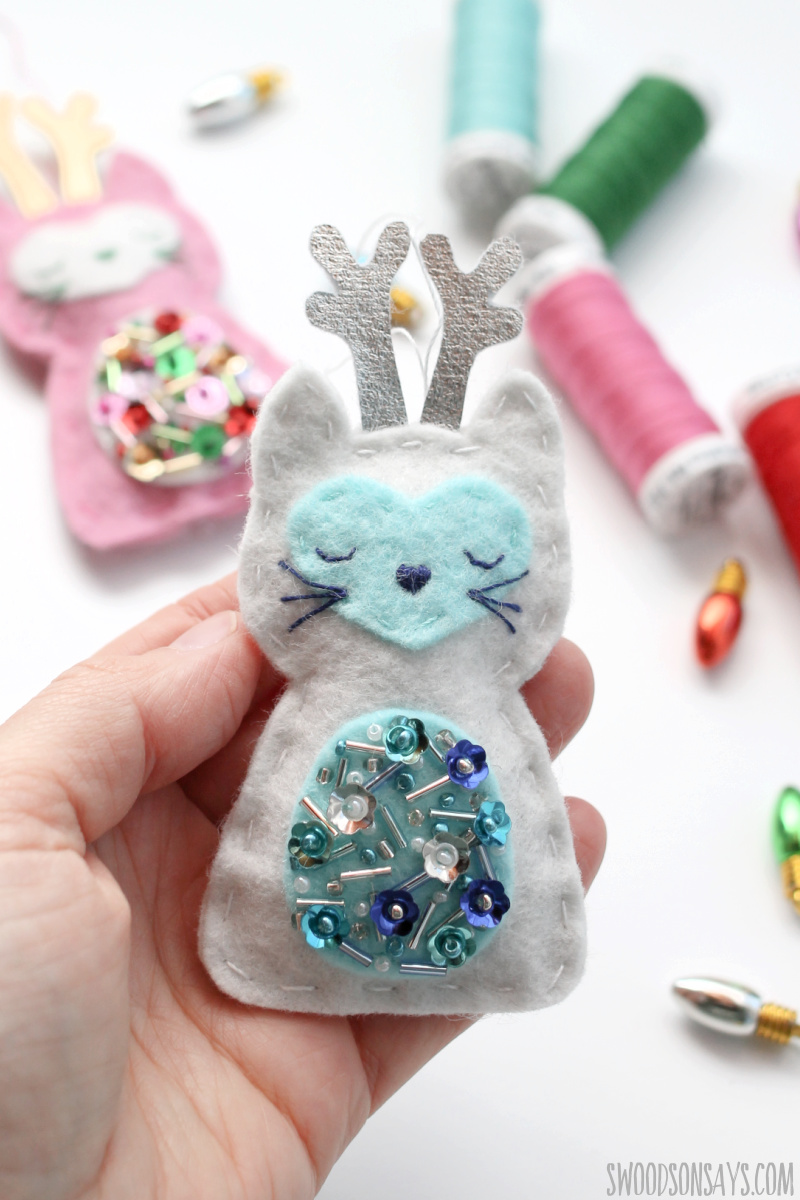
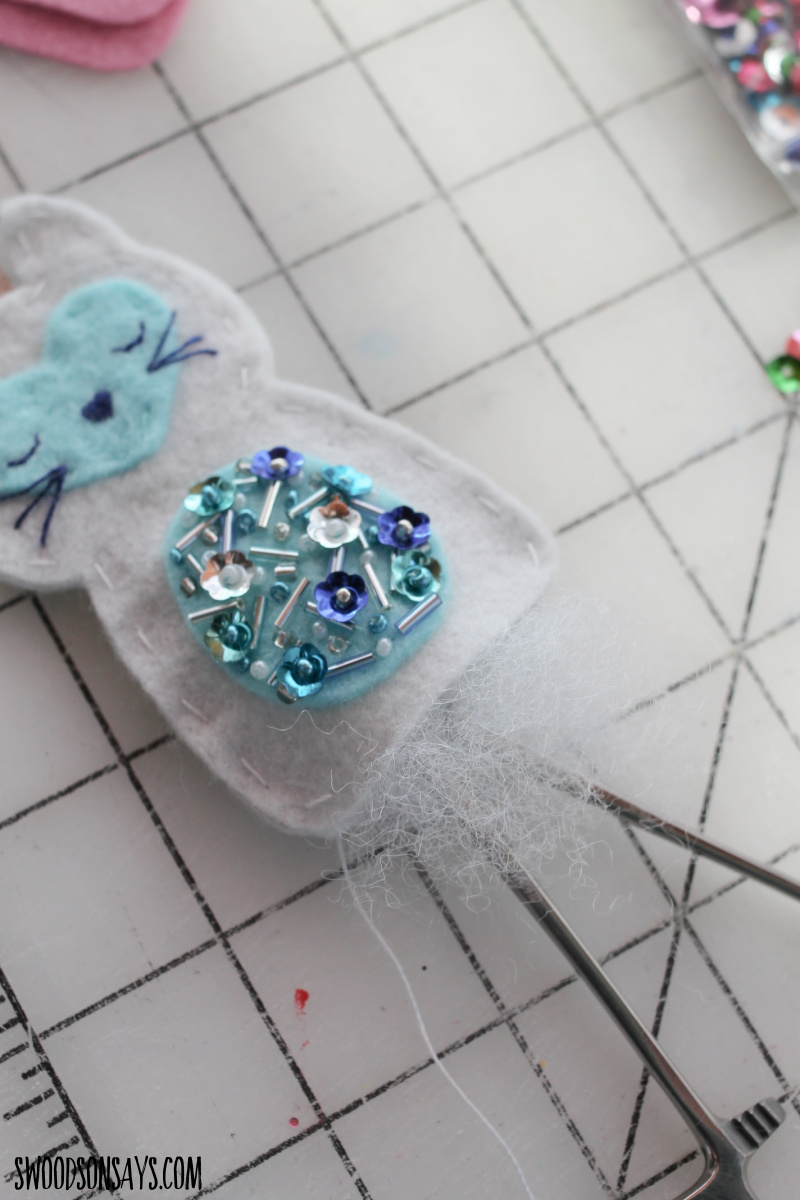
First up is a wintery, ice kitty! I had fun choosing these blue tones.
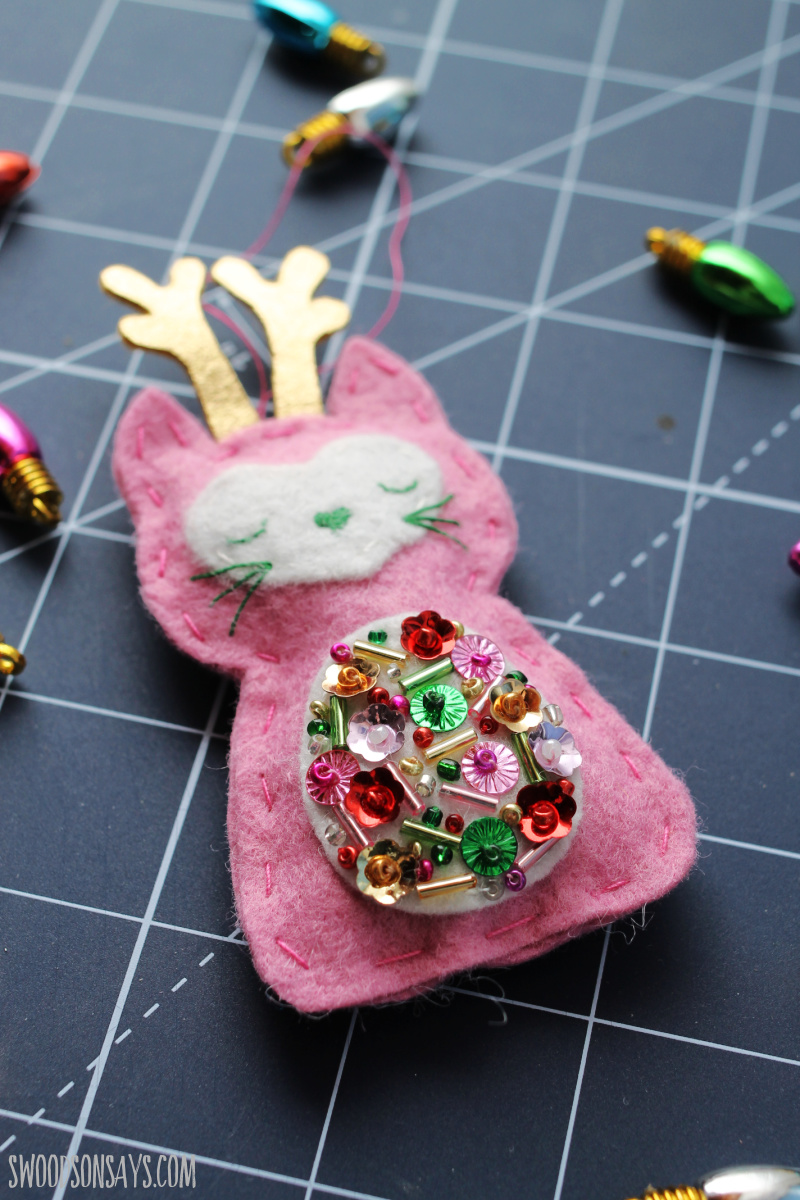
The pink version has a ‘more is more’ vibe with pink, red, green, and gold that was even more fun to make. My brain is working on other ornaments I could make with this mega-bead style because it is really fun to lay out and color coordinate. Ready to make your own?
Pin this DIY cat ornament tutorial with this link or photo:
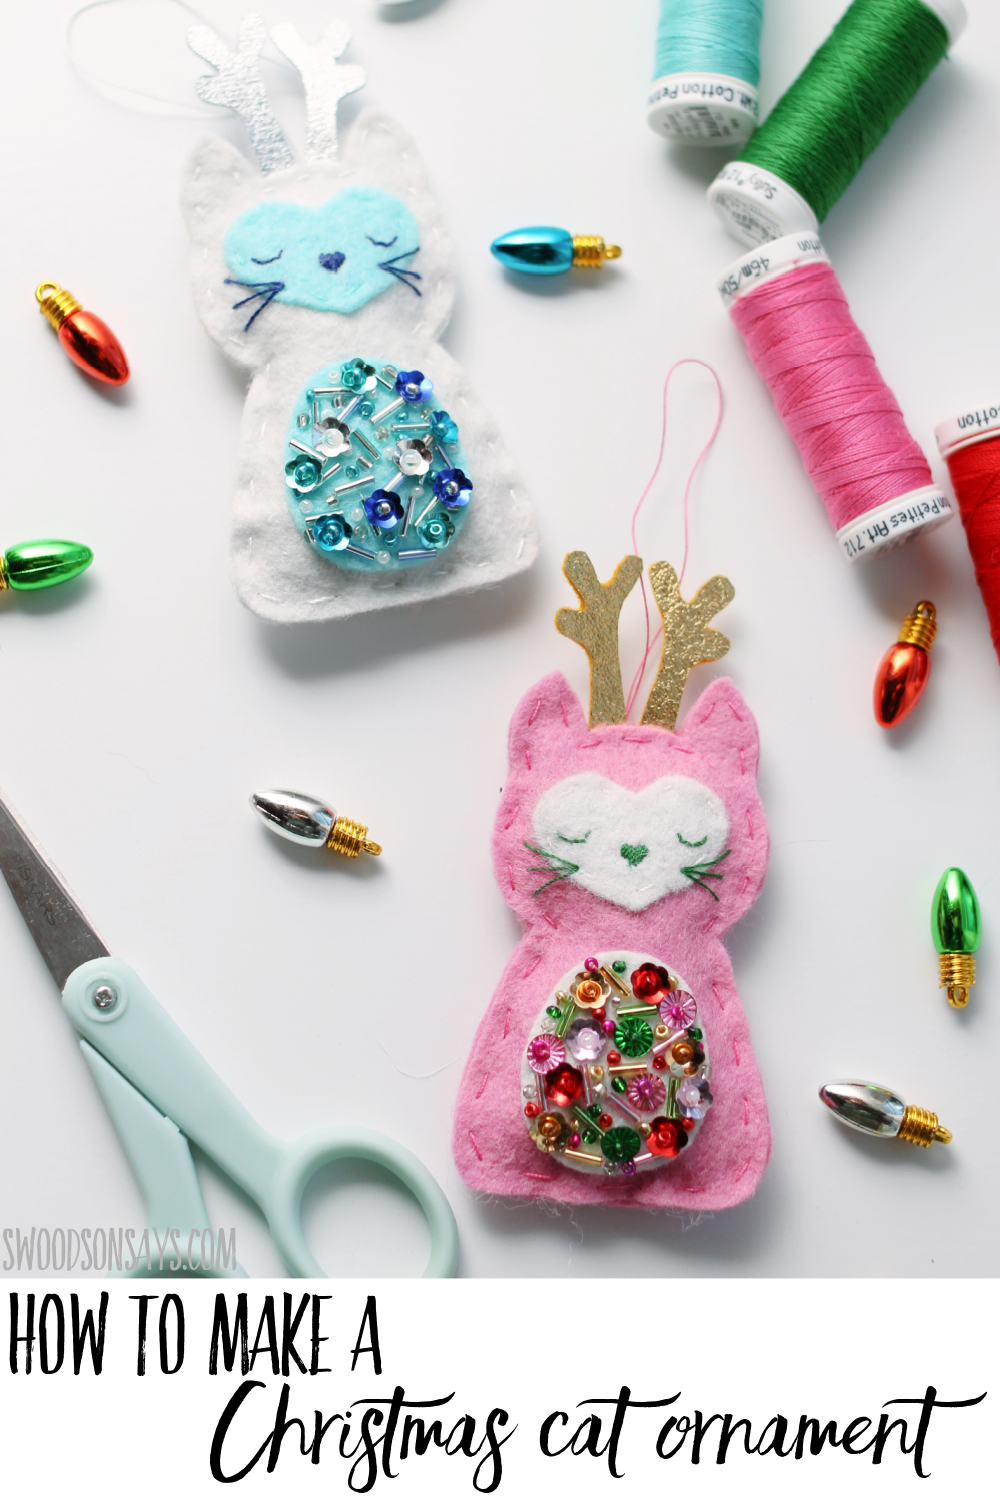
DIY cat ornament tutorial
Supplies
- Wool blend felt in solid colors & metallic – I use this shop’s stuff all the time
- Fabri-solvy/stick & stitch: Sulky – Amazon – Etsy
- My favorite embroidery needles: Amazon – Etsy
- Special beading needles if you’re using the bugle beeds: Amazon
- Embroidery floss – I’m using Sulky petite cottons here: Sulky – Amazon – Etsy
- Microtip scissors: Amazon
- Seed beads: Amazon — Etsy
- Bugle beads (long seed beads): Amazon
- Plain glue stick
- Sequins – *general shape: Amazon – *flowers: Etsy *flat sunbursts: Etsy
- PDF pattern-sign up for my newsletter and get the free download once you confirm your subscription! If you’re already a subscriber, you can access the pattern with the password in each newsletter, in the resource library.
Steps
I took more photos than I normally would since I know lots of folks make ornaments who don’t craft often year round, let me know if you have any questions though!
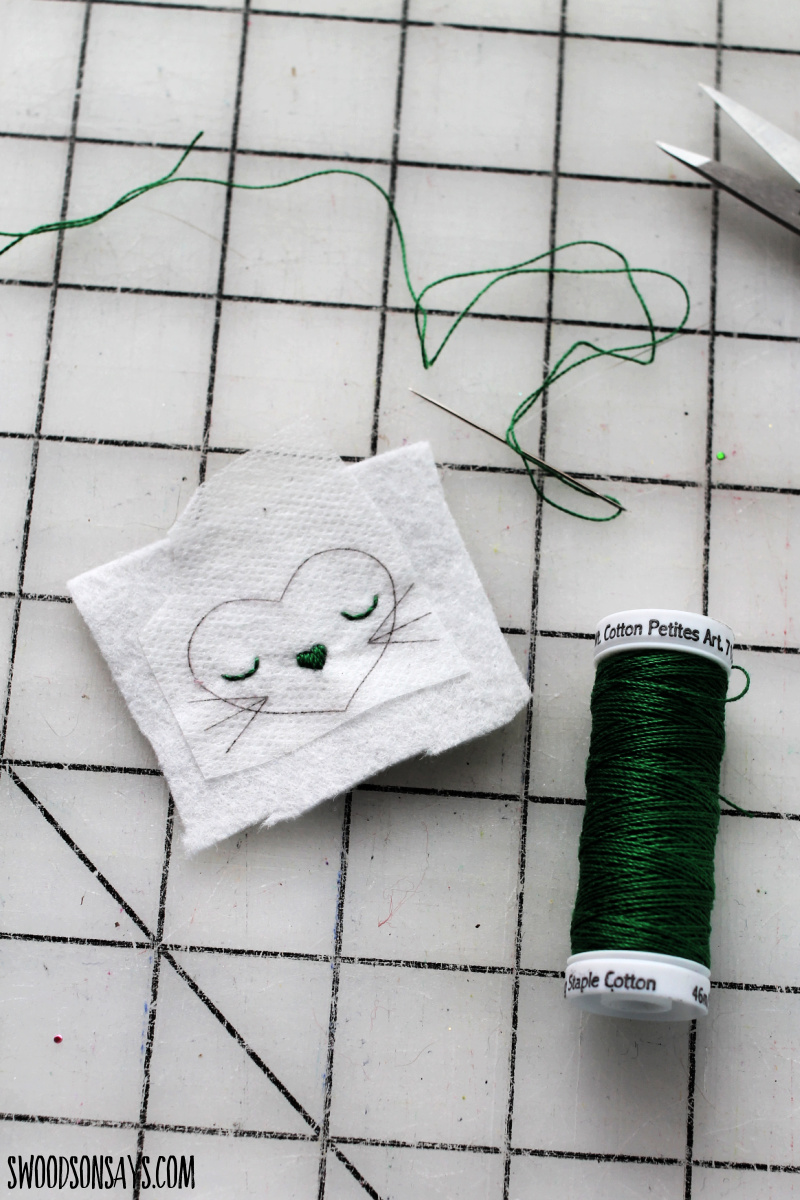
Step 1- Use the transfer paper to make the face and stitch on the eyes and nose.
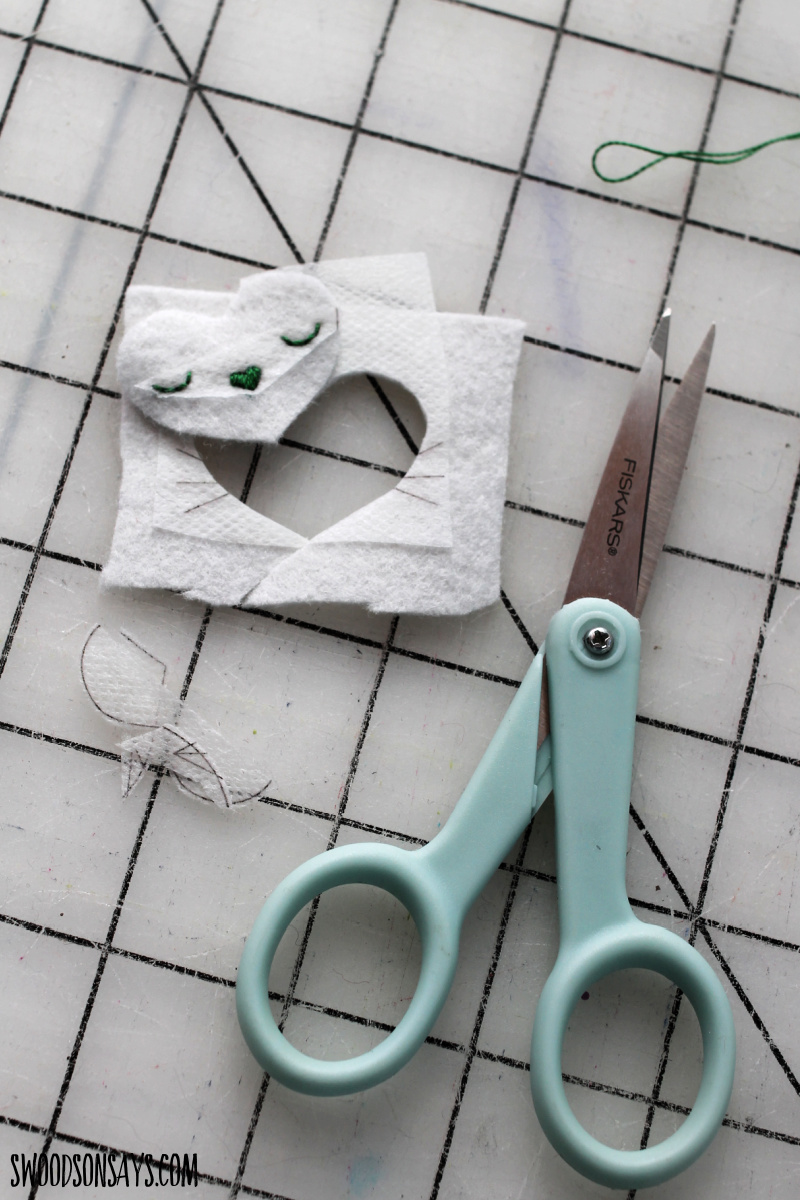
Step 2- Cut carefully on the line to make the face shape and then trim off excess transfer paper.
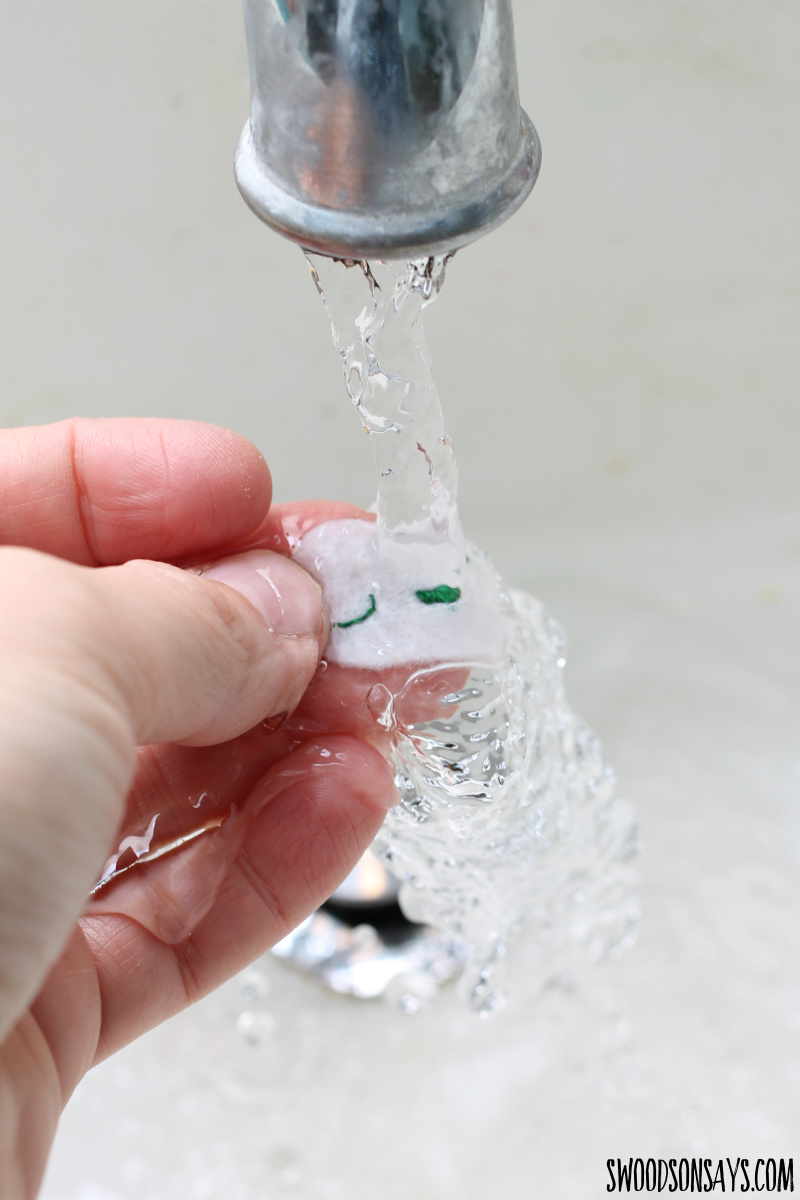
Step 3- Wash away the stabilizer, let the face dry.
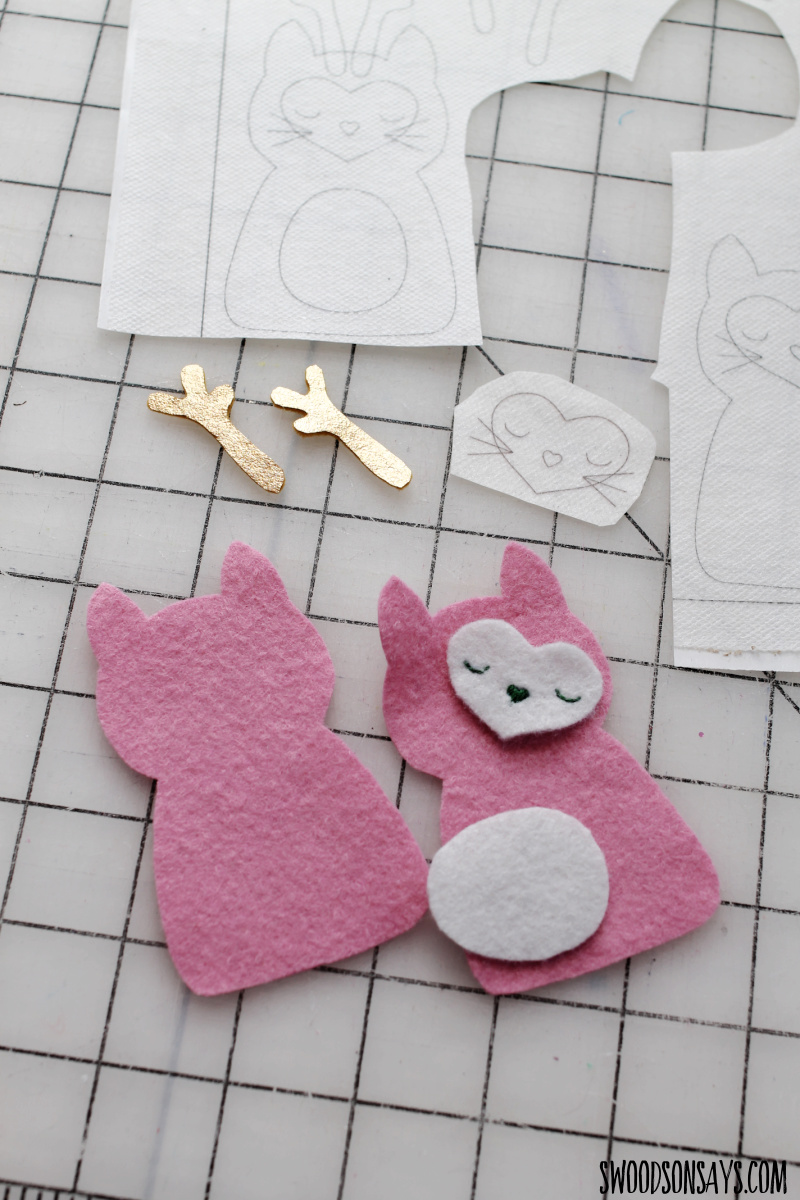
Step 4- Next, cut out the rest of the kitty! Using metallic or glitter felt means they’re thick enough to stand alone with a single layer; if you’re using plain wool felt I’d recommend cutting 2 mirror pairs for each antler and stitching them together before insertion.
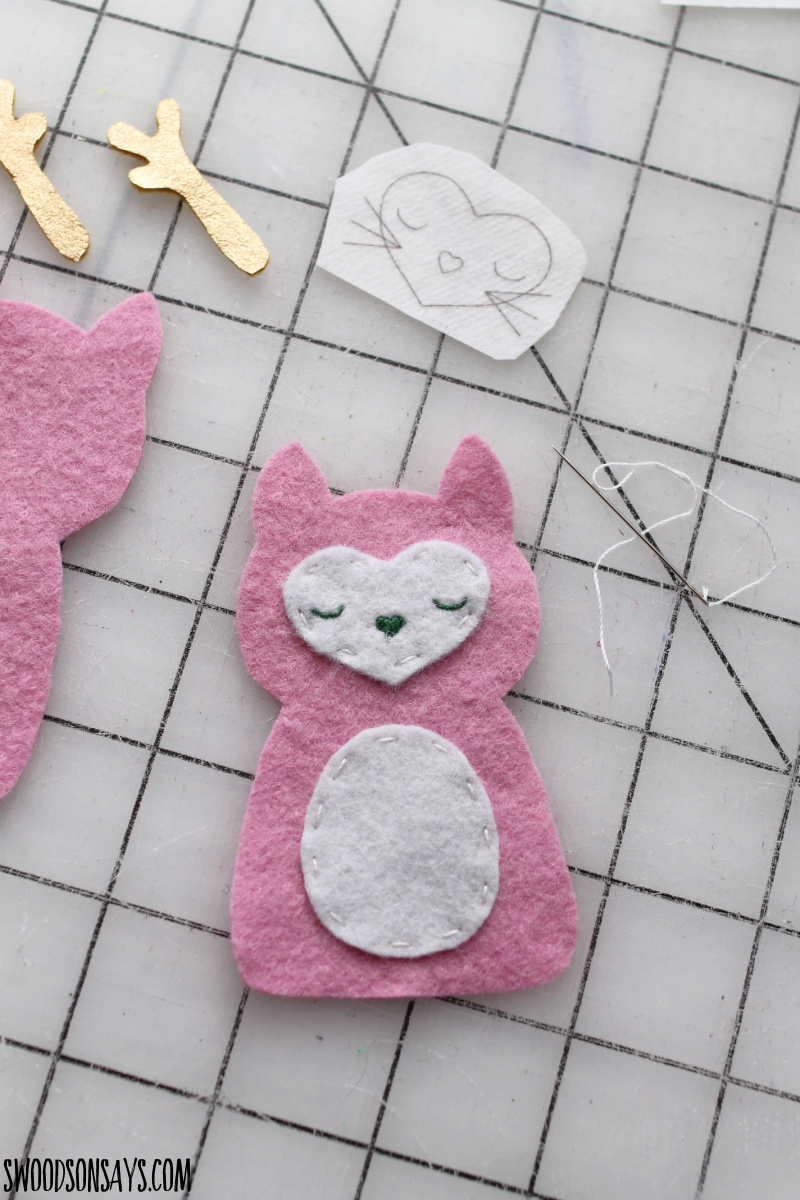
Step 5-Use a running stitch and attach the face and bellow to one body front.
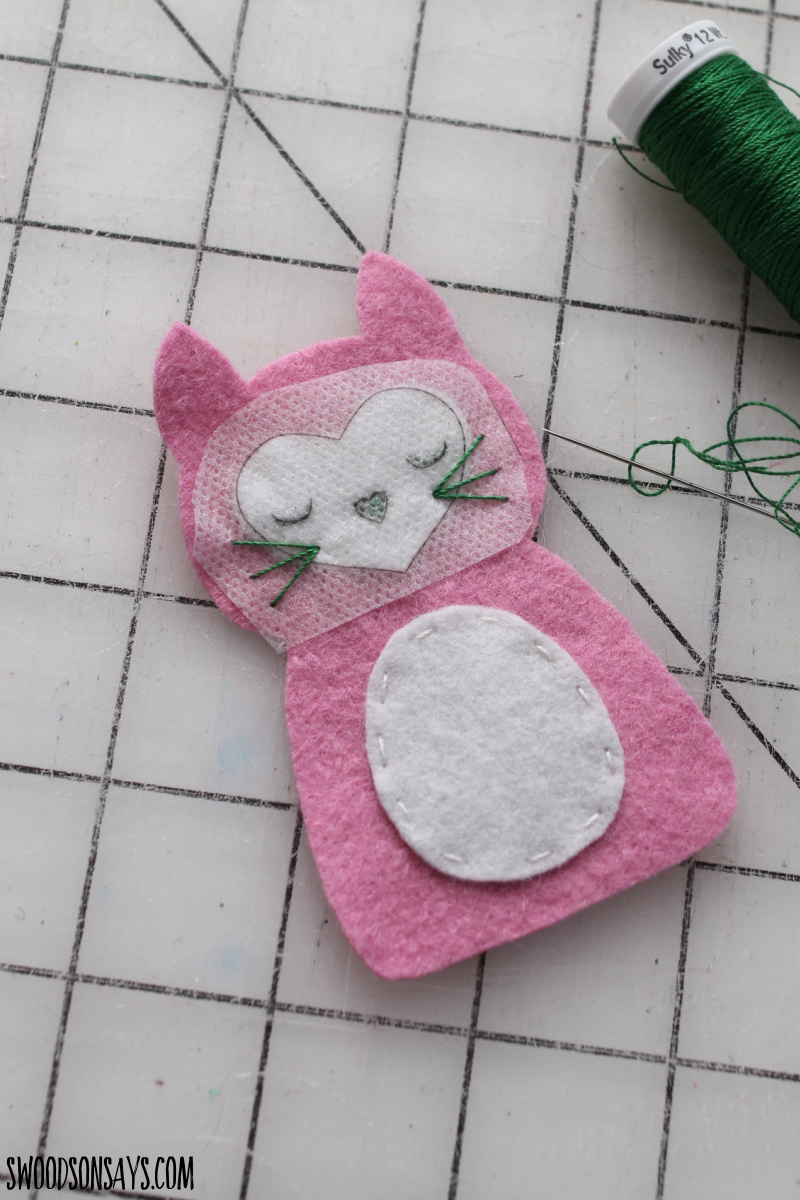
Step 6- Cut out another face from the transfer paper and layer it on top, stitching the whiskers on and washing the transfer paper away again.
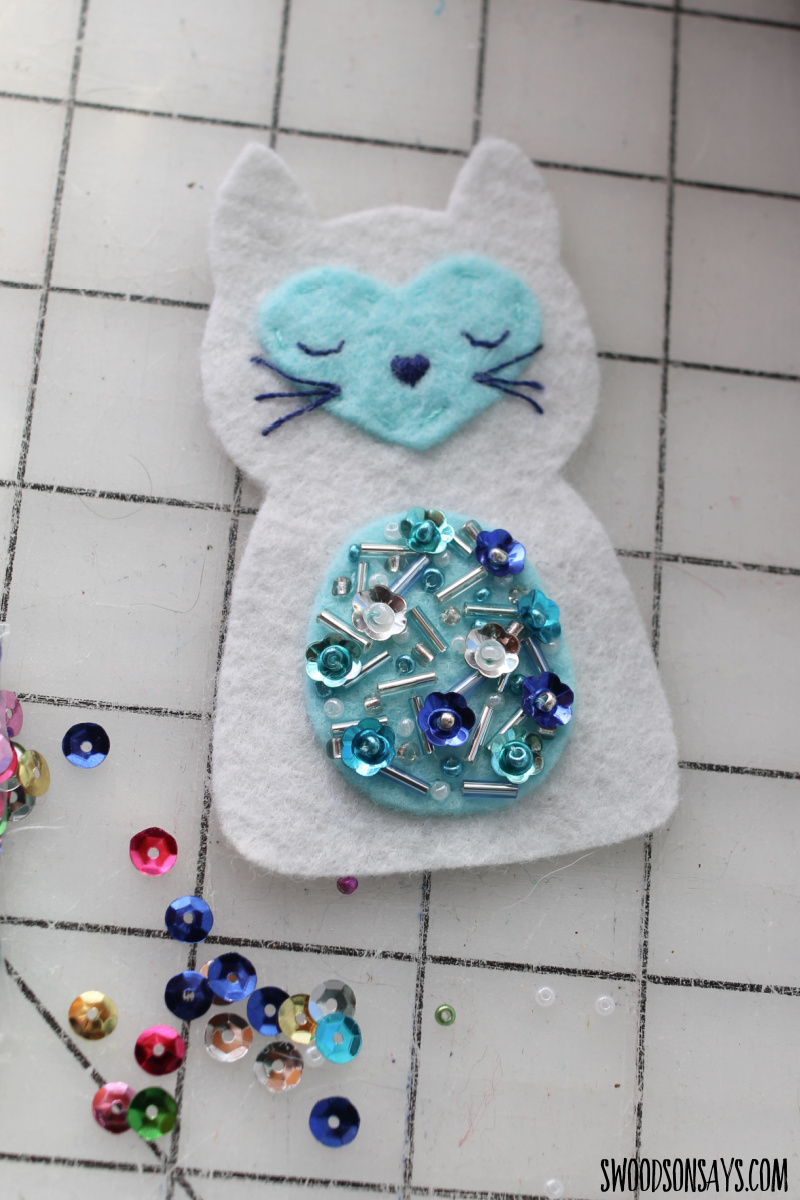
Step 7- Time to sequin & bead! I experimented with different strategies and found my favorite was to start with the long bugle beads, then add flowers/larger sequins, and lastly add the tiny seed beads in all around. Keep in mind with sequins you’ll want to add a seed bead on top to anchor it.
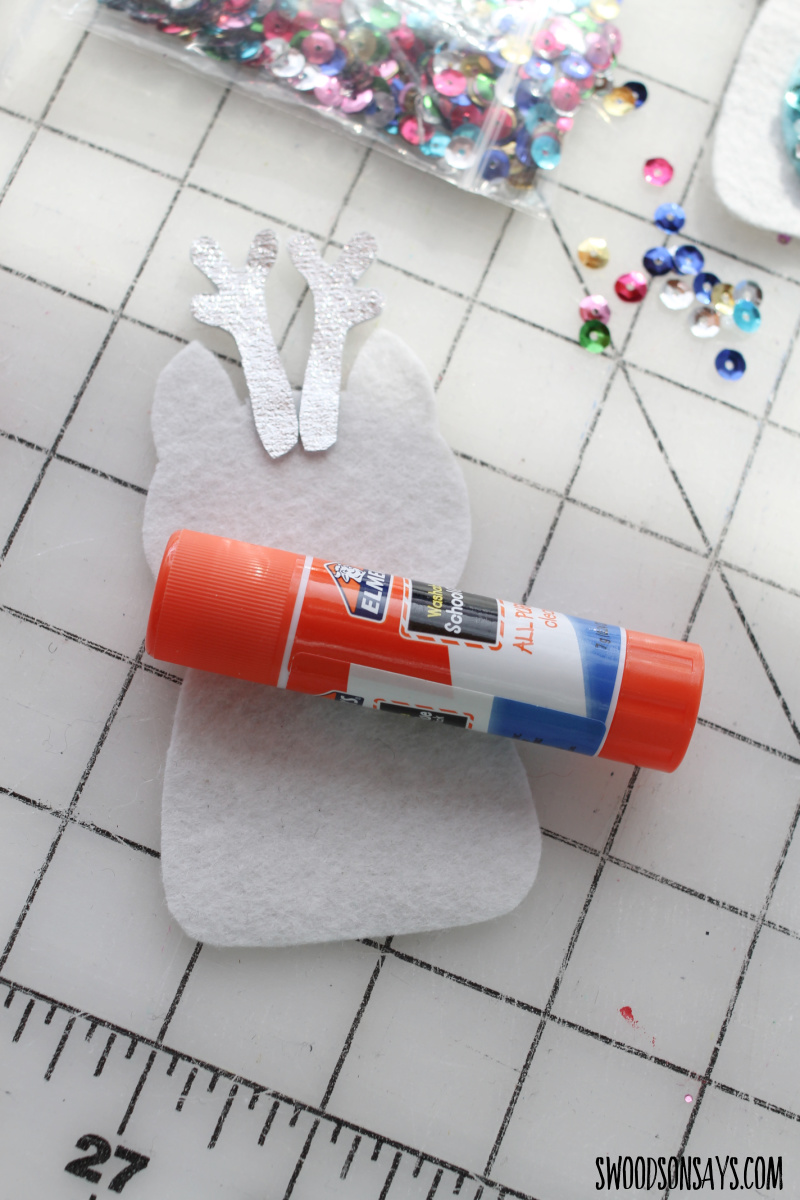
Step 8- Use a glue stick on the backs of the antler bottoms and then secure, centered on the plain kitty body.
Step 9- Match up the back and front with the antler edges hidden and face out, then stitch all the way around. When you have a 1.5 inch gap, gently insert stuffing and then finish sewing.
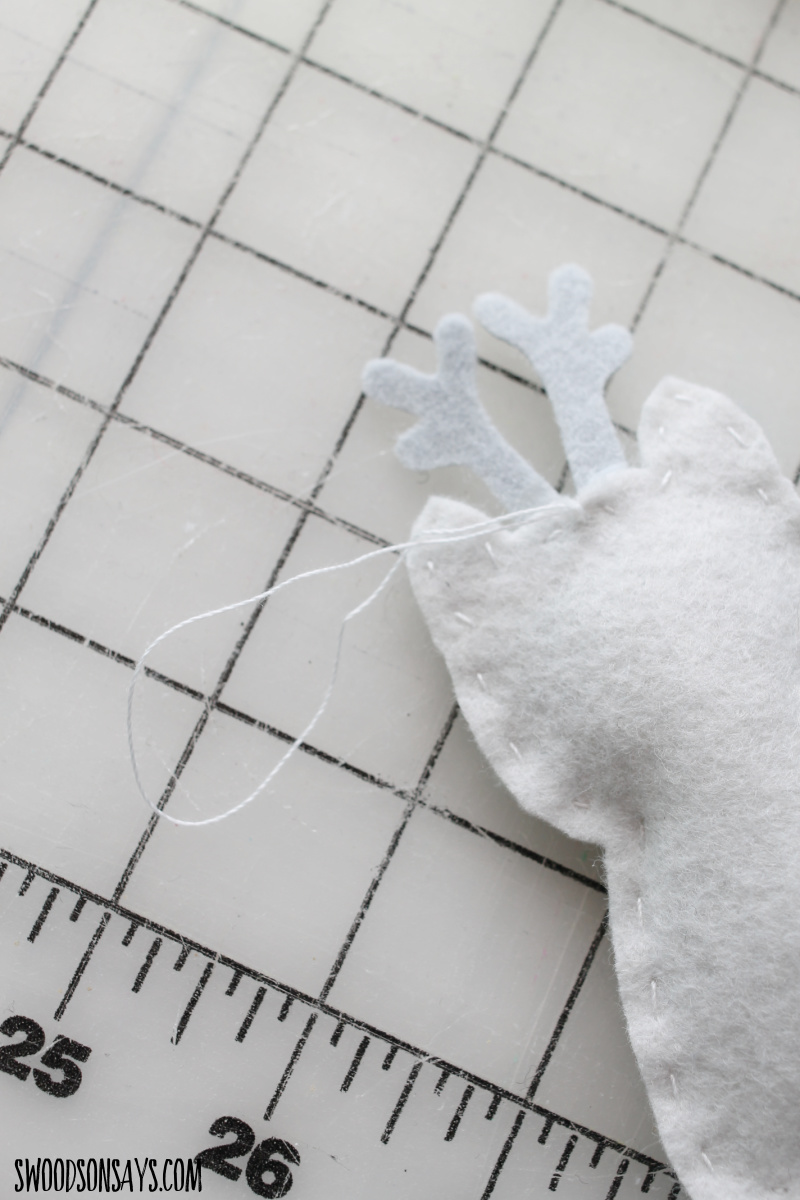
Step 10- If you’re hanging it as an ornament, just loop an extra length of thread through the back and you’re set!
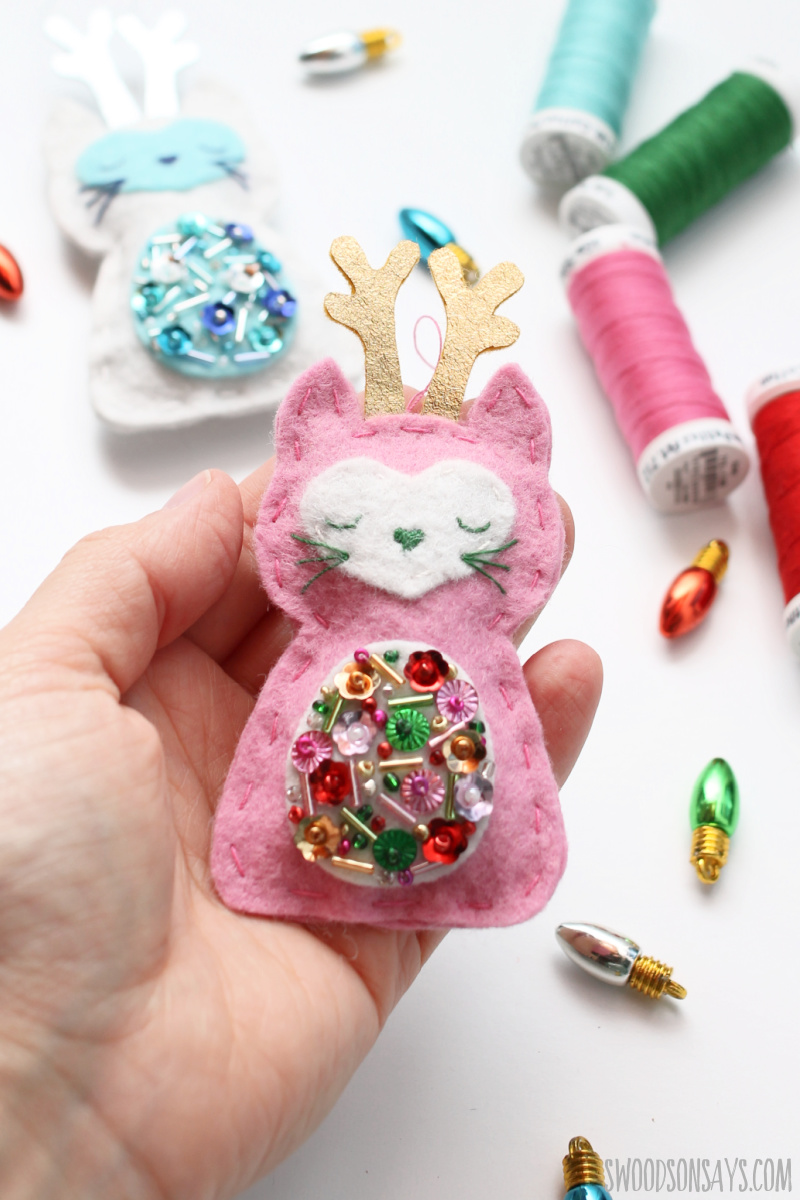
Say hello to your new Christmas kitties!
Laura
Saturday 29th of November 2025
do you glue the sequins and beads or sew them on?
Stephanie - Swoodson Says
Saturday 29th of November 2025
all of these are sewn on :)
Magdalena Cooper
Saturday 30th of November 2024
How do you get your kitty eyes so perfect? They are such a nice half round eye. Is it one long stitch or do you do two stitches to form the closed eye? Mine look like”V” shaped. Help! Thanks!
Stephanie - Swoodson Says
Wednesday 4th of December 2024
it's three stitches :) angle, straight, angle
Amanda Almond
Sunday 19th of December 2021
How did you get your stabilizer off of your felt!? Mine stuck really bad, and I had to start over, cutting out new felt pieces.
Stephanie - Swoodson Says
Tuesday 4th of July 2023
oh no! I haven't had that experience!