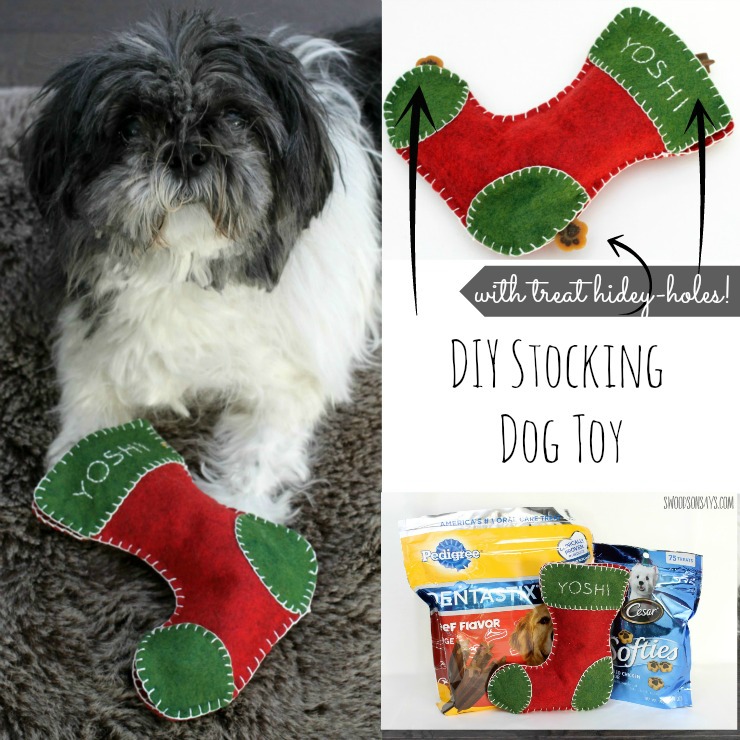
My husband and I adopted our dog, Yoshi, the very first day we moved into an apartment out of college. We had been volunteering at the shelter for months, looking at the new adoptables daily, and Yoshi stole our hearts! He had been neglected and abused, and took a long time to warm up to us. It was over a year before he first barked! He slept on our bed, we fed him his (wet, fancy, all natural) dog food by hand when he was being picky, and he had several Halloween costumes. We joked that he was as needy as a child and treated him like one! Until… we actually had a child.

This shop has been compensated by Collective Bias, Inc. and its advertiser. All opinions are mine alone. {This post contains affiliate links, indicated by an asterisk*. Please refer to ‘legal stuff’ in the top menu for more info.}
Unintentionally, Yoshi got demoted. I used to take him to dog parks and hiking trails, and suddenly was forgetting to even take him around the block. Two years later, we added another kid to mix and Yoshi has resigned himself to bottom on the totem pole. He is such a good dog! Completely trustworthy with both the baby and the toddler, has literally never chewed on or destroyed anything, and is a great traveler. Naturally, I felt guilty when I realized I didn’t even have him on my Christmas gift list this year. When this shop opportunity popped up, I jumped at the chance to think of something to make him paired with PEDIGREE® DENTASTIX® Beef and Cesar® Treats!
Pre-kids, I always threw 4-5 treats around the house before I left, so he had something to do. The problem is, with two kids walking/crawling around, it isn’t a good idea to have dog treats on the floor (his sense of smell isn’t the greatest, so he is apt to miss some). After thinking for a while, I came up with a Christmas stocking toy that has three little hidey-holes, so you can stick treats in and keep your dog busy during the holidays. I’m sharing the free pattern, so you can sew a dog toy to pair with some yummy surprises. Gift giving can be stressful, but don’t overthink things if you’re in a rush – when it comes to dogs make it easy and buy treats!
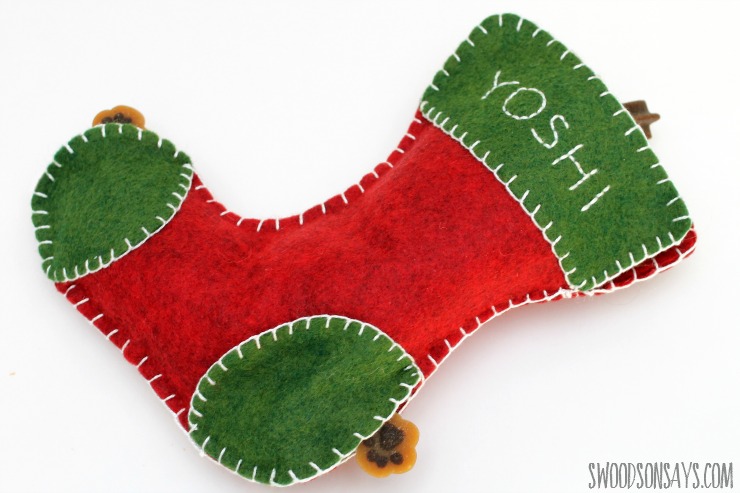
I know this won’t work for some dogs – so please craft & gift with discretion! Yoshi is extremely easy on toys and I don’t have to worry about him chewing anything up. Machine sewing and using denim would be good tweaks for rougher pups!
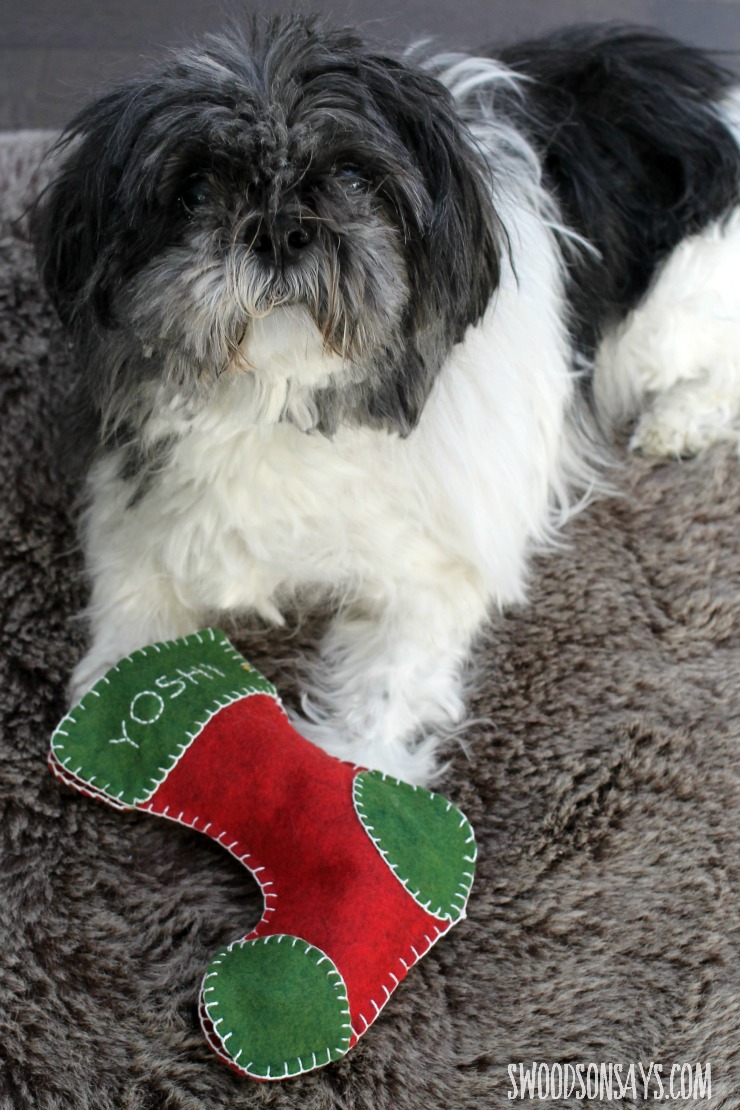
My son was so surprised when I gave the toy to Yoshi! He is used to seeing me work on projects and then getting to play with the finished results.
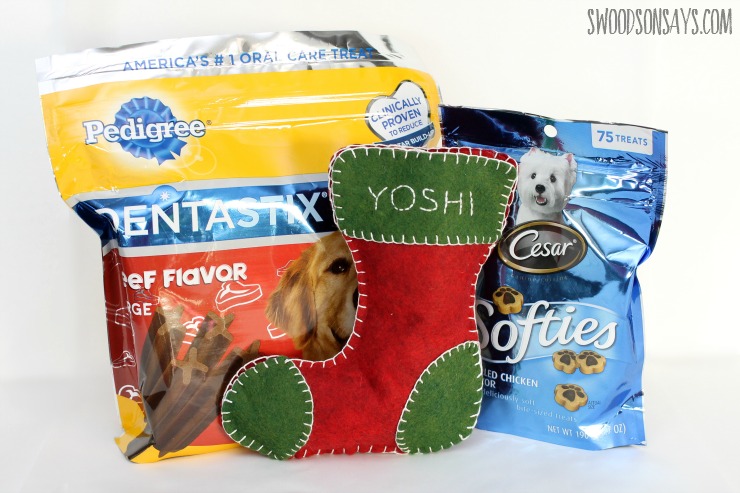
It would also be easy to use the free pattern to make a pet Christmas stocking; the PEDIGREE® DENTASTIX® Beef fit in perfectly. It’s common for kids to get toothbrushes in their stockings, and these treats act as a toothbrush for your dog! The Cesar® Treats are great for training – Yoshi loves to twirl and our son loves to give him treats so their tiny size is perfect.
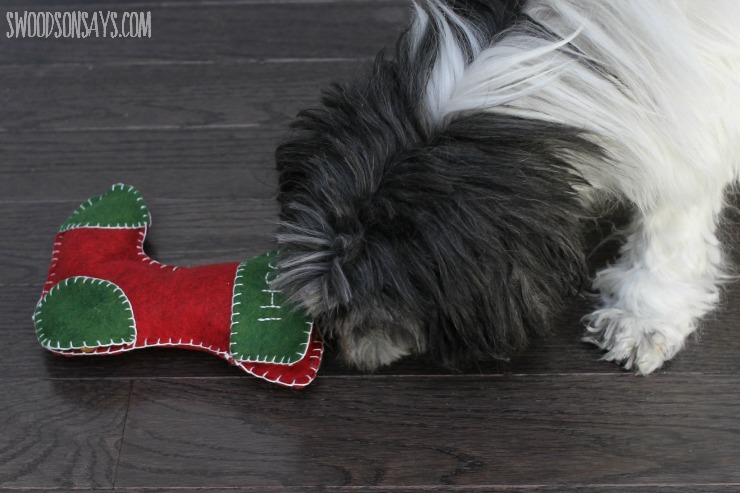
I wasn’t sure which treat Yoshi would go for first, but it was the PEDIGREE® DENTASTIX® Beef! He doesn’t react well to anesthesia so we don’t have his teeth professionally cleaned, so these are so good for his health.
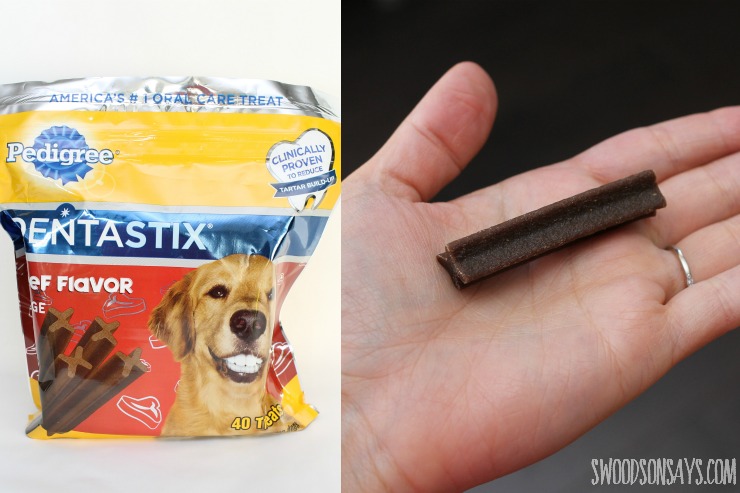
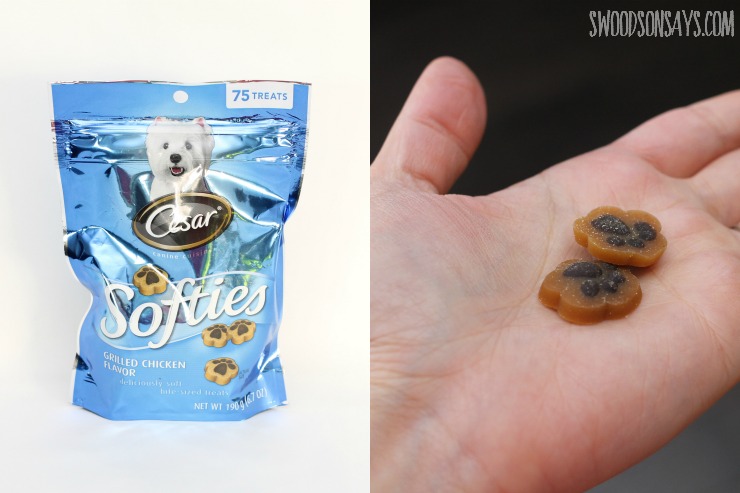
Are you ready to make your own dog Christmas stocking? It is easy!
Supplies
- 1/4 yard red wool-blend felt
- 1/4 yard green wool-blend felt
- White perle cotton*
- Embroidery needle
- Freezer paper (optional, but ideal!)
- Christmas Stocking Toy Pattern
- PEDIGREE® DENTASTIX® Beef* and Cesar® Treats*
- Scissors
I highly recommend looking through the entire process before you start – it isn’t complicated, but looking at all the pictures will help!
Step 1
Cut out all your shapes as dictated on the pattern pieces. Tracing on to freezer paper and ironing them on to the wool felt will allow for precise shapes.
Step 2
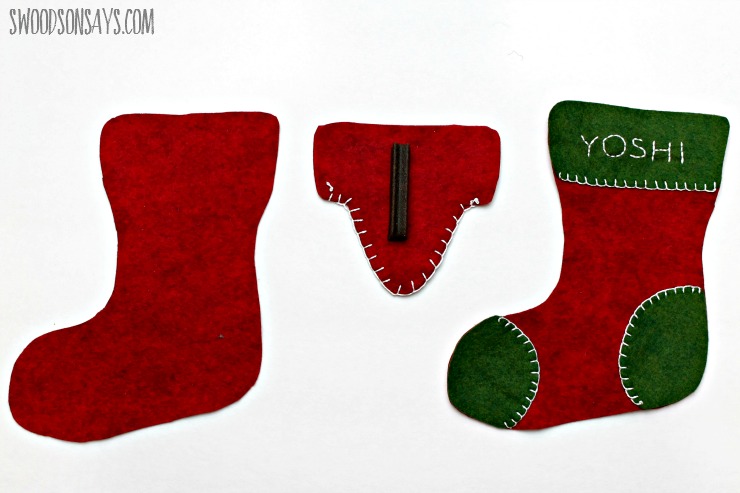
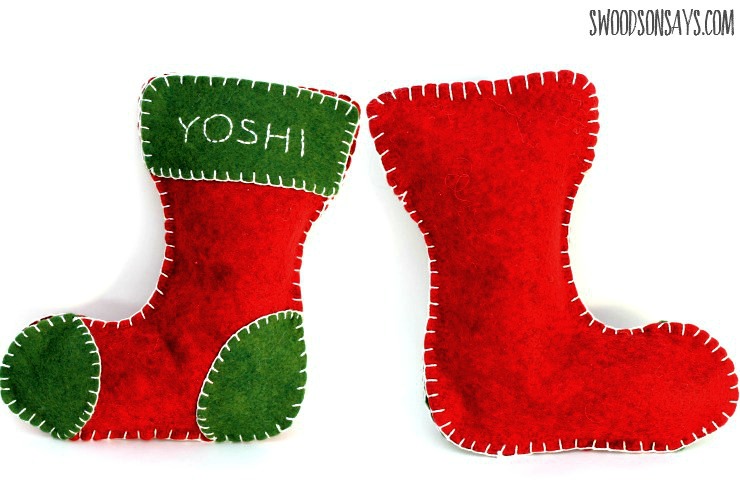
Blanket stitch the bottom curve of the pocket inserts together, and blanket stitch the green accents on to one stocking main body along the interior curves, as shown below. Embroider on a name or any decorative stitches on the cuff. I double checked that my treat fit in the pocket by laying it on top!
Step 3
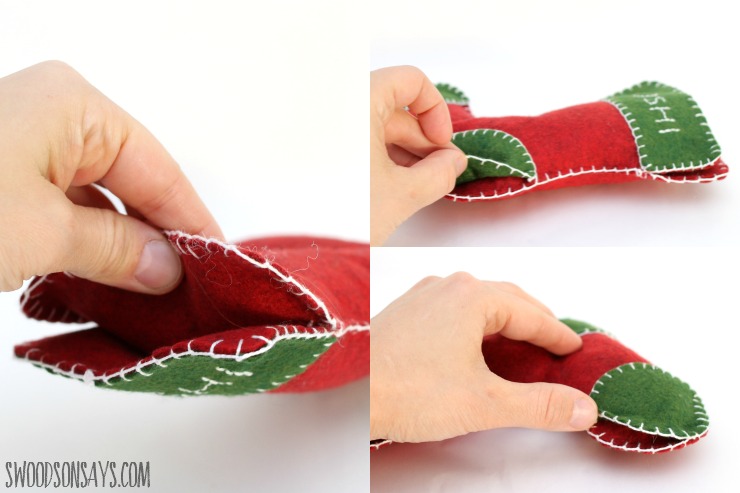
Layer the pocket insert in between the main stocking body pieces, with right sides facing out on each main piece. Blanket stitch around the entire thing, making sure to keep the top layers separate so the pocket remains open, and skimming underneath each green accent’s edge so you are only sewing the main pattern pieces together under the accents. Stop short to leave about an inch unsewn.
Step 4
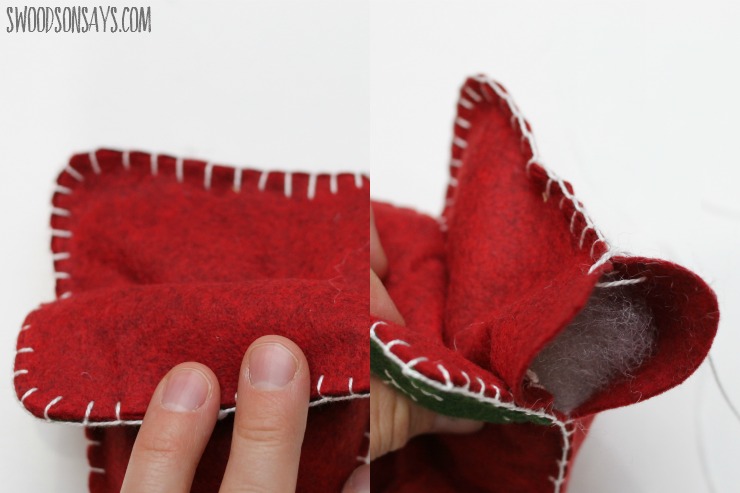
Insert stuffing, gently pushing it into the toe and top of the stocking with a pen or chopstick. Finish sewing the body pieces closed.
Step 5
Go back and blanket stitch the top, single layer of the accent pieces so they’re finished. Stick your treats in each corner, and you’re done!

Denise/DIY Crush
Thursday 10th of December 2015
This is sooo cute!! I need to make some for my pups! I just pinned it.
Stephanie - Swoodson Says
Friday 18th of December 2015
Thanks Denise!
Nancy @ Artsy Chicks Rule
Friday 4th of December 2015
Aw how sweet! I'll have to get some of those and make a stocking for my furbaby too! :)
Stephanie - Swoodson Says
Friday 18th of December 2015
The term furbaby always makes me smile - hope he or she likes it :)