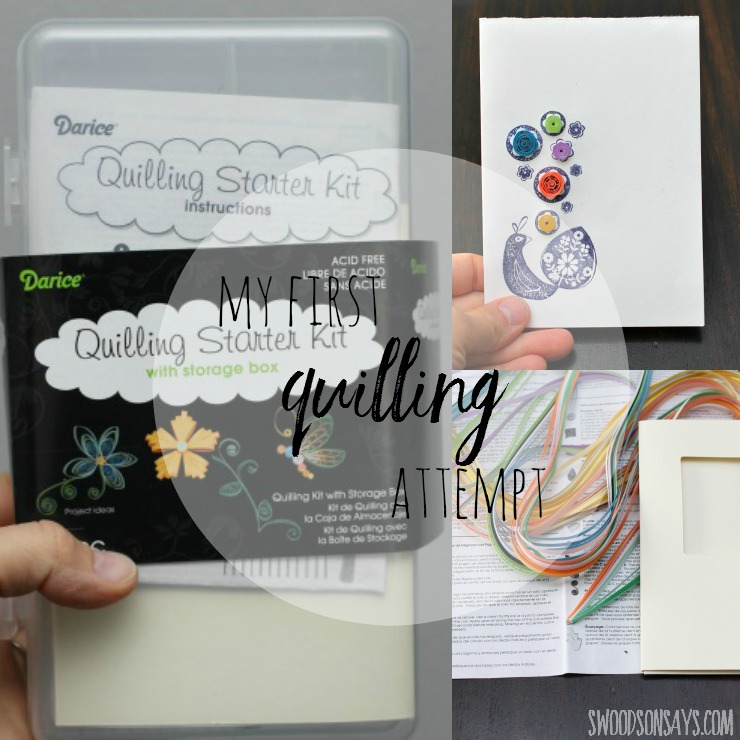
 It’s the first Monday of December, so I’m sharing another Try Something New Every Month (TSNEM) project! You can see more about the year-long adventure and what else I’ve tried in this post. I’m planning a 2016 TSNEM, Rebecca from Hugs are Fun is going to help me host and we will be handling it a little differently so it’s easier for people to join us , so stay tuned!
I don’t remember where I saw quilling, but I’d never heard of it before and still haven’t seen it in person. I was intrigued by the delicate nature and organic shapes, and quickly fell in to a Google Image Search rabbit-hole of beautiful artwork.
{This post contains affiliate links, indicated by an asterisk*. Please refer to ‘legal stuff’ in the top menu for more info.}
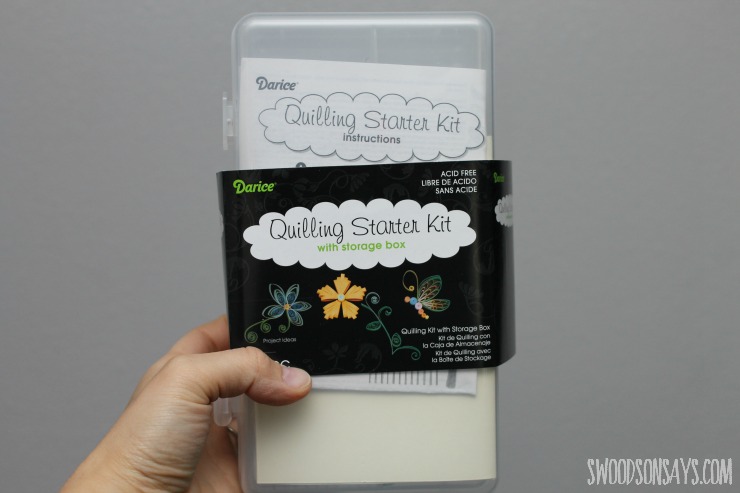
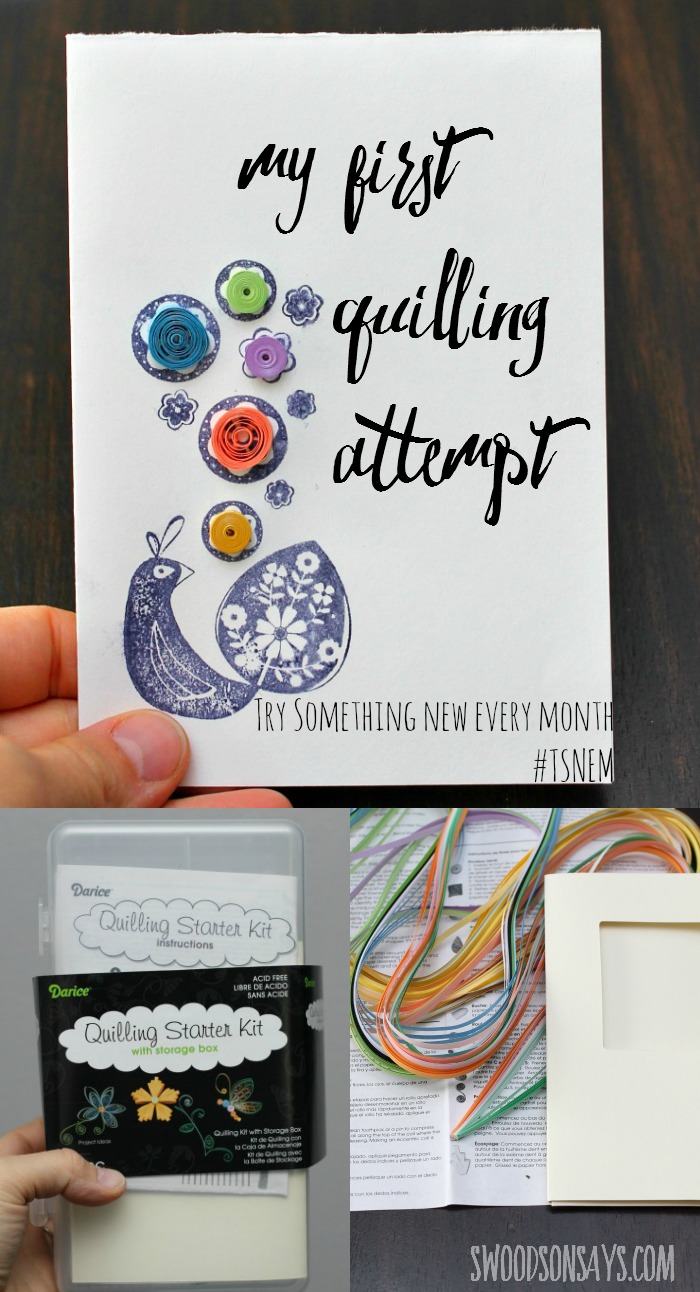
I bought a beginner quilling kit*; I didn’t find any supplies locally and liked that it came in its own happy little box. The kit came with an “instructions sheet” but it doesn’t give you a whole lot of direction on getting started. I skimmed a few tutorials and liked this set on Makezine the best. Ann Martin, who wrote the post on Makezine, also has a book that looks bright and fun!
It seems like quilling is somewhat similar to needle felting (which I tried a while back) in that instructions can only be so specific and a lot depends on “feel”. Starting out, that makes it both easier and harder to figure out what you’re doing.
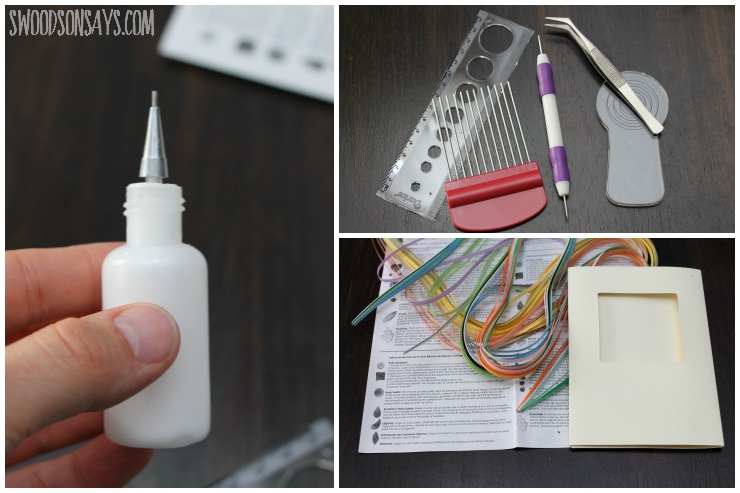
The kit came with all the basic supplies – a glue bottle with an ultra-fine tip, paper strips, a blank card for display, a needle pen, tweezers, two circle guides, and a funky comb thing that I am not sure how to use. I think it’s a good value – my only complaint is that the glue bottle didn’t hold together very well; glue kept oozed out the sides but not out the top. I think I’ll just apply glue on the bottom of a pin next time.
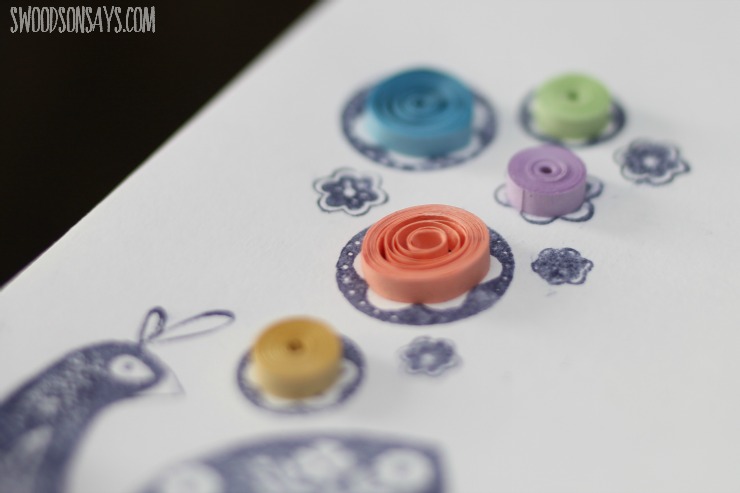
My circles were definitely not precise. I used the “beginner side” of the tool which has a little slot to hold the paper but had trouble wiggling it out at the end.
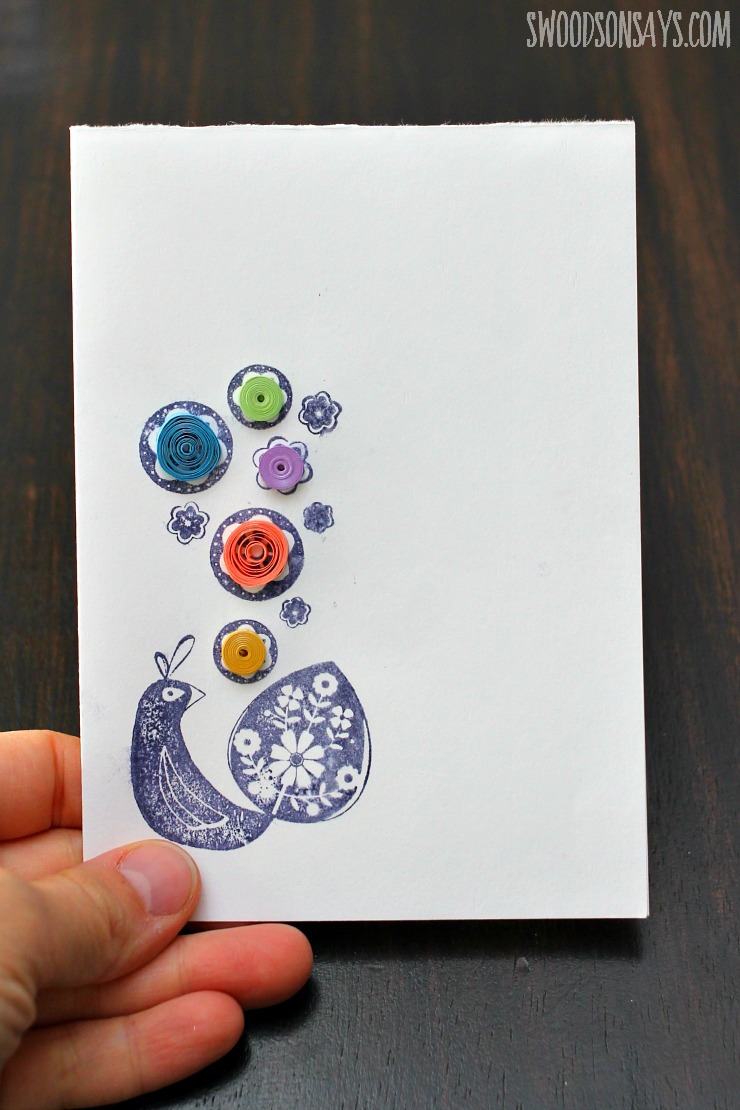
That’s what I made! A little peacock card. Most of the quilled art I saw online was very intricate and overwhelming, so embellishing a stamp seemed more attainable. I actually like the asymmetrical coils inside the circles, although I know they’re not “correct”.
I liked this! It wasn’t particularly hard, and I think there is a lot you could do with the skill. Ive been searching for cool examples to show in a future round-up and cannot believe how intricate some of the artwork gets. I think maybe in the new year I will try and make some ‘thank you’ cards with quilling features.
Have you ever quilled? I’d love to hear what you made, or if you’d heard of it!
See what other bloggers made this month:
- Kristy at Simply This Life tried tatting
- Rebecca at Hugs are Fun tried using a fabric die cutter

cindy
Sunday 11th of March 2018
getting a quilling to release easier is simple if you turn the tool back a turn or part of a turn, hold the rest of coil so it does not unwind. it makes just breathing room at the center you can slide the tool out without wrestling the coil.....they can be like lil time bombs, lol
Stephanie - Swoodson Says
Sunday 11th of March 2018
Thanks for the tip Cindy!
Kristy
Wednesday 16th of December 2015
My mom and her sisters used to quill; I remember their framed artwork hanging on the walls of my grandparents' house :)
Jennie
Friday 11th of December 2015
Yes I've done a lot of quilling. It's very easy, and you can make so many different shapes. Online there are many free patterns. Some of the things that I've done are, a large multi color fish with a flowing tail, a woven basket with flowers, an upside down umbrella with a bear sitting in it. Lots of cards, I always mail them with a piece of heavy card stock over the quilling because of the sorting machines. This is an old art that can be done by the TV, most of shapes don't use a full strip and they aren't tightly coiled. Give it a fair chance, find a picture or pattern online, you will enjoy it.
Stephanie - Swoodson Says
Friday 18th of December 2015
That fish sounds amazing! I'm so glad you mentioned the cardboard tip - I was just getting ready to mail this card :)