
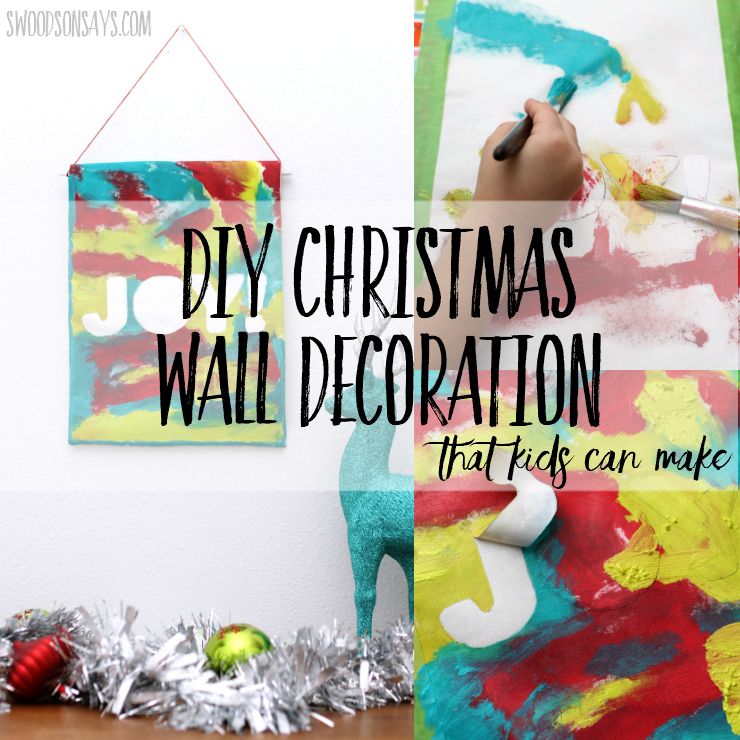
Who else has kids who love helping make Christmas gifts! At 5 & 2.5, they both get super excited about giving people their creations, but I try to steer their enthusiasm into projects that people will be proud to display. Resist painting is a really fun way to let kids go nuts with the paint, and still turn out something that looks great. This year, they helped me make a simple Christmas wall decoration and I love how it turned out, this is a super fun Christmas gift that kids can make! I’m sharing this tutorial as a part of a series hosted by hosted by Teach Me Mommy, scroll to the bottom to click through and see what other kid-made gift tutorials were shared.
We ended up in a bit of a time crunch so I let them use all three colors at once; when we used this technique to make bookmarks, I let the project dry in between colors and the end result was a little less muddied.

If you’re a regular reader, you might recognize the banner style because I just finished a fun Halloween version with the word ‘Boo!’ on it.
They opted for brushes this time but finger painting is even more fun! Are you ready to make your own? I have steps and supplies below, I originally made this by painting the blank fabric first and then sewing it into the banner, but I realized after I was done that it would be much easier to sew the banner, and then paint it, so I tried to write the tutorial that way, sneaking in some photos from the Halloween version!
Pin this idea for later, using this image and link:
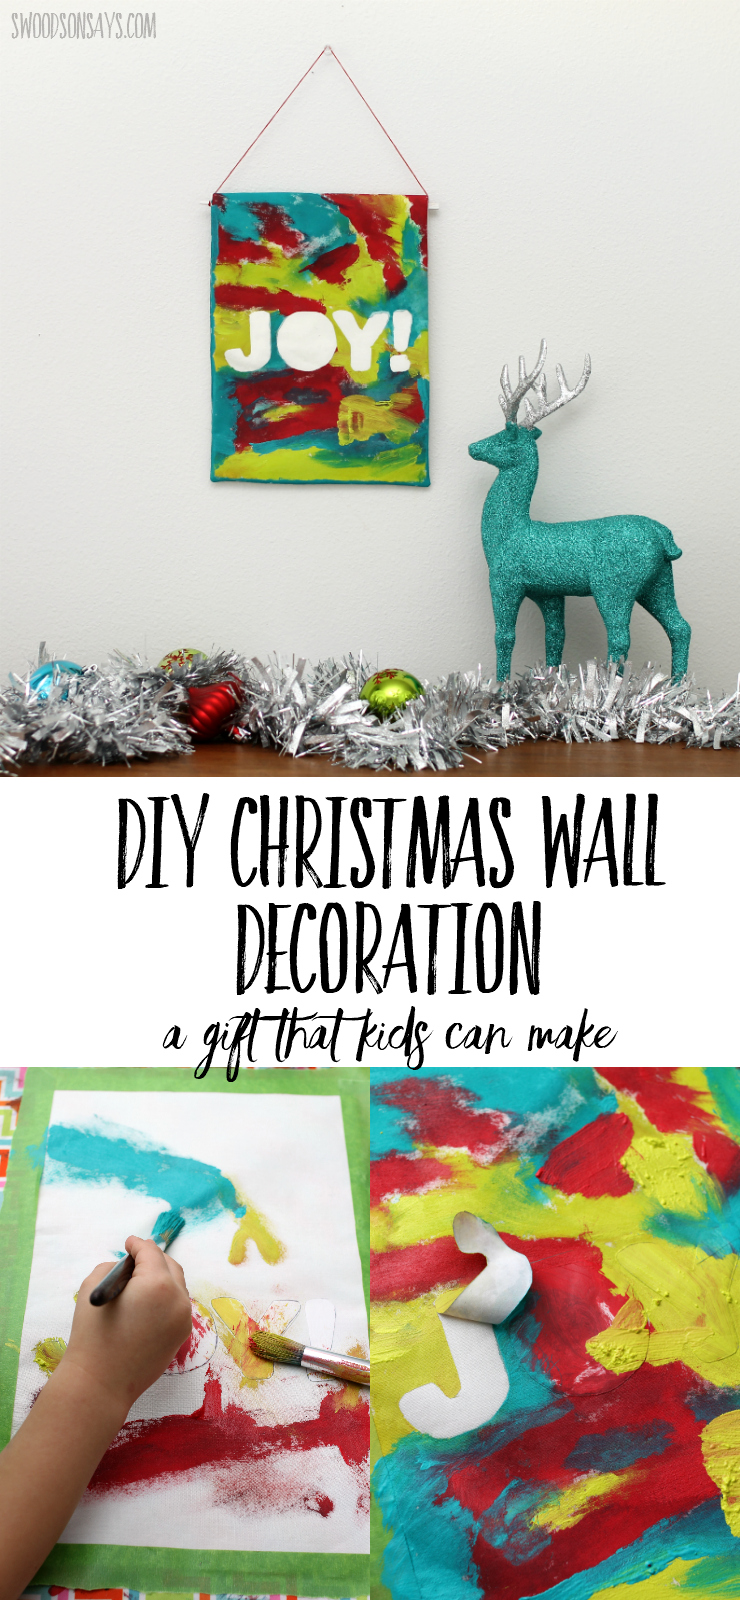
How to make a DIY Christmas Decoration with Kids
Supplies
- Cricut Explore Air 2* (what I used), other digital cutter, or craft knife
- Fusible Fleece* 1/2 yard
- Freezer paper*
- Plain white quilting cotton, 1/4 yard
- Embroidery floss (use all 6 strands) or perle cotton*
- Chopstick or thin dowel rod (painted white – optional)
- Iron
- Printable ‘Joy!’ text in PDF format for freezer paper or PNG format for a Cricut- sign up for my newsletter and get the free download once you confirm your subscription! If you’re already a subscriber, you can access the pattern with the password in each newsletter, in the resource library.
- Glue stick
- Paint – I used Martha Stewart Crafts® Soft Gel Watercolor Acrylic Paint in Poppy, Pool, & Granny Smith
- Sewing machine
- Painter’s tape (optional)
Steps
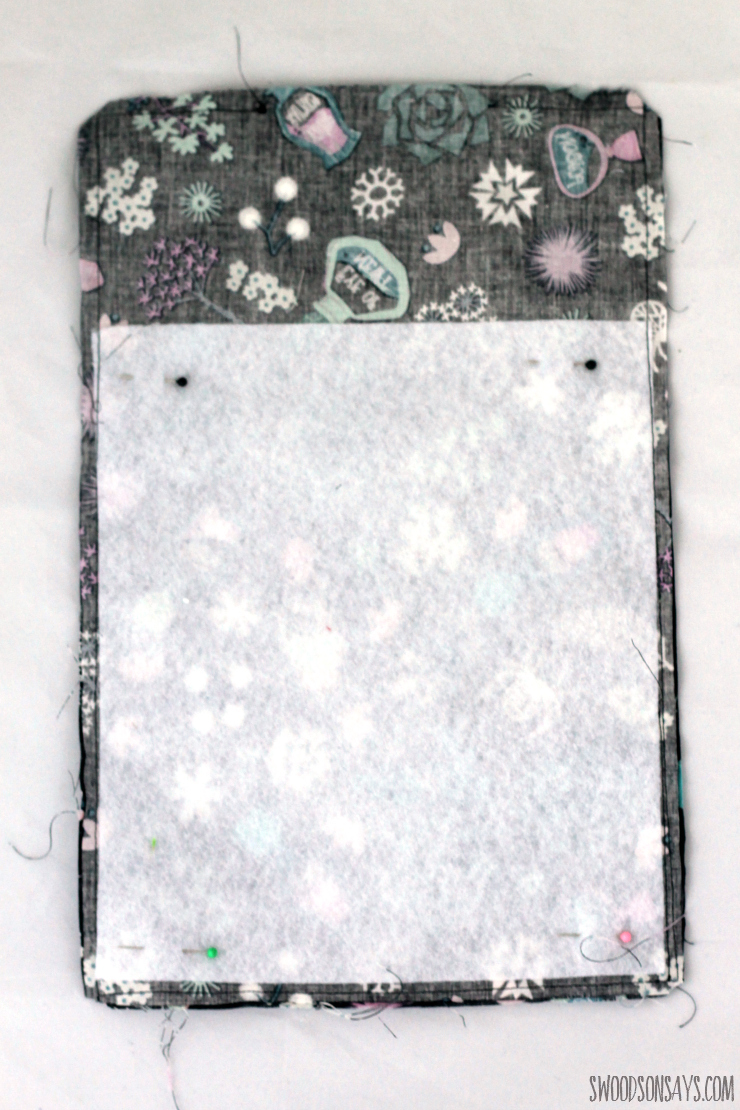
Step 1- Cut two rectangles of the quilting cotton, 9″ wide by 14″ tall. Cut one rectangle of fusible fleece 8.5″ wide by 10″ tall. Fuse the fleece to the wrong side of one of the fabric rectangles, as shown, and following the product’s directions. Then sew the rectangles right sides together with 1/4″ seam allowance, leaving a 4″ gap at the top. Clip the corners.

Step 2- Pull the banner right side out, poking out the corners and using the iron to press all seams flat and the raw edges tucked in. You will be able to feel where the fusible fleece stops, which will be the place to fold the remaining fabric (that has no fleece) in half, pressing with the iron. You’ll then sew right along the edge, creating a sleeve and catching the open edge to close it in the seam.
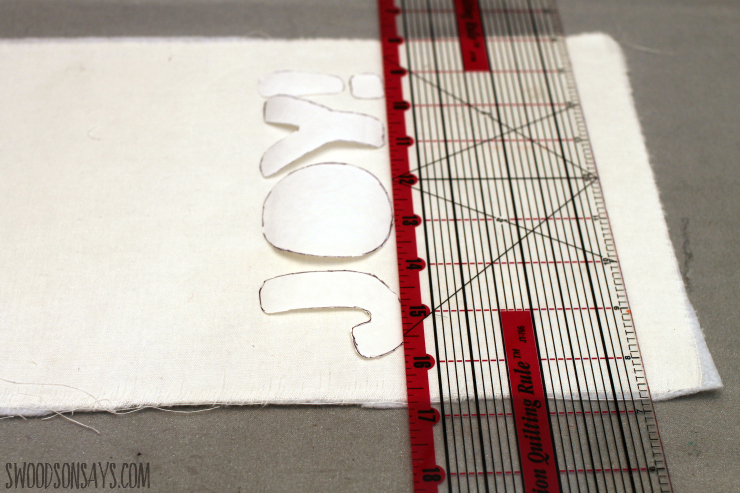
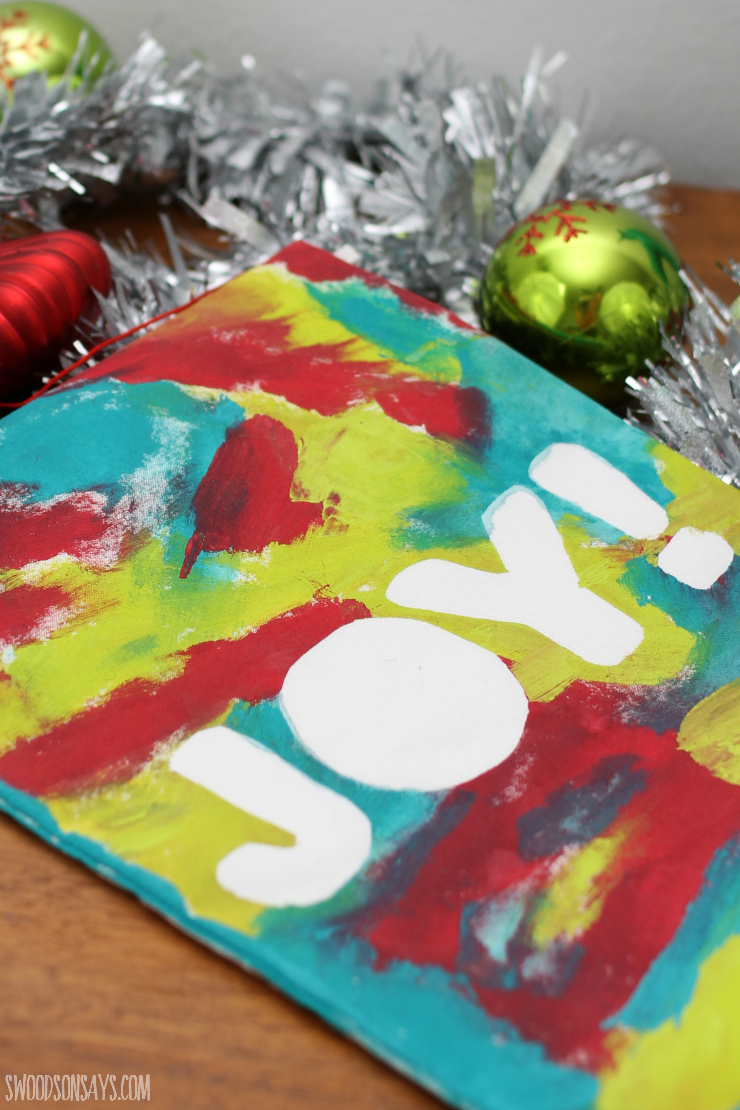
Step 3- Your banner base is done and sewn, now it is time to prep your Joy! I used the freezer paper method with a craft knife, or you could use a Cricut/Silhouette to cut freezer paper. Iron it on, shiny side down, measuring to keep it straight. This is placed roughly 3.5″ up from the bottom of the banner.
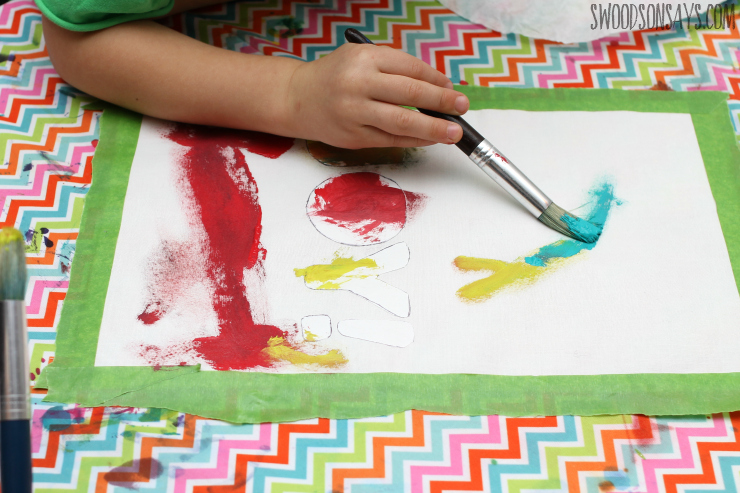
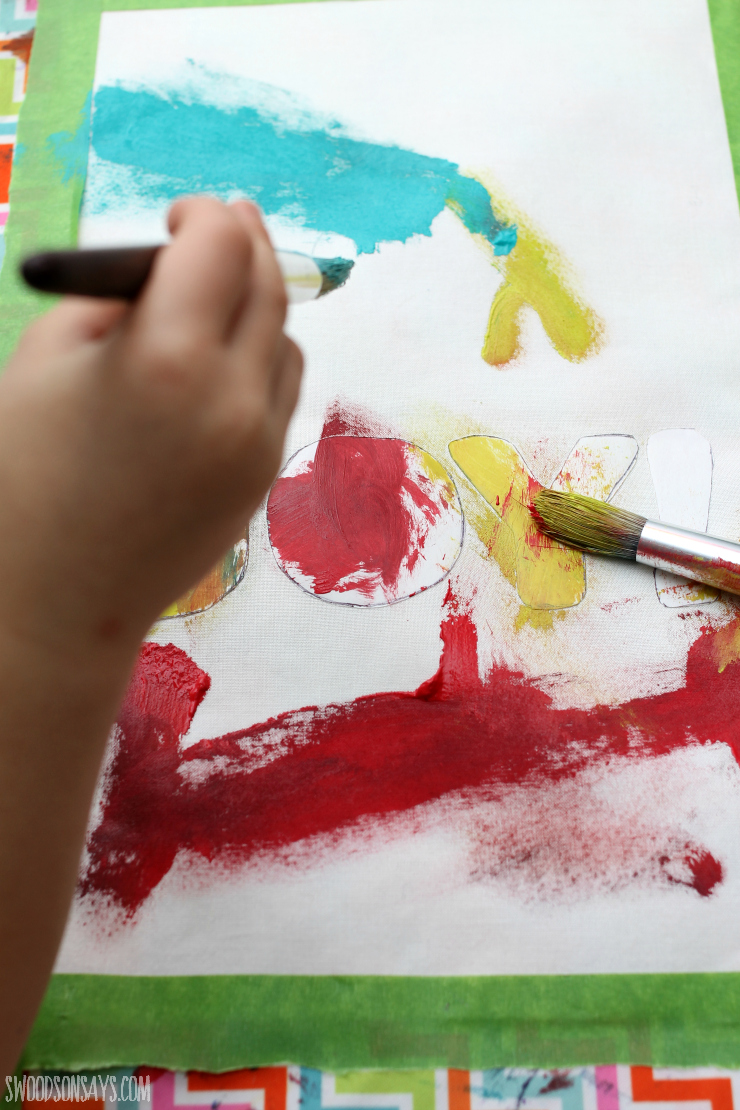
Step 4- Paint! Anything but watercolors will work (they seep under the freezer paper), go nuts and cover the whole blank space. I used painter’s tape to hold it down from slipping, but that’s optional.
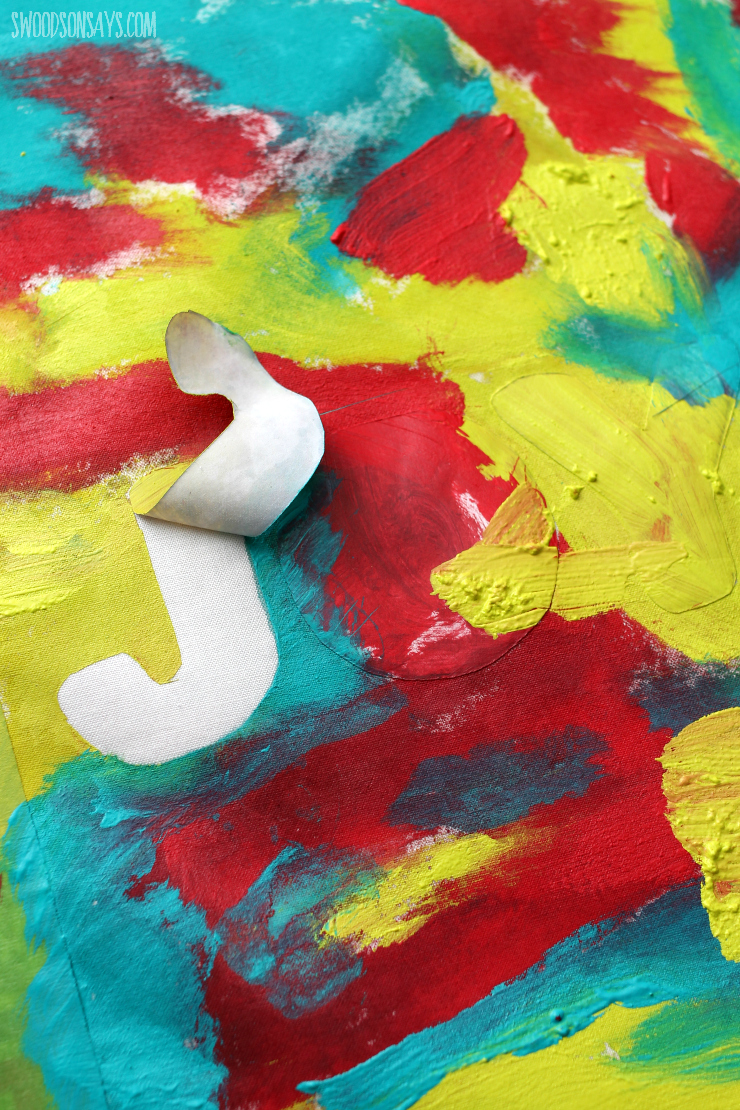
Step 5- Carefully peel up the freezer paper while the paint is still wet! Let it dry fully.
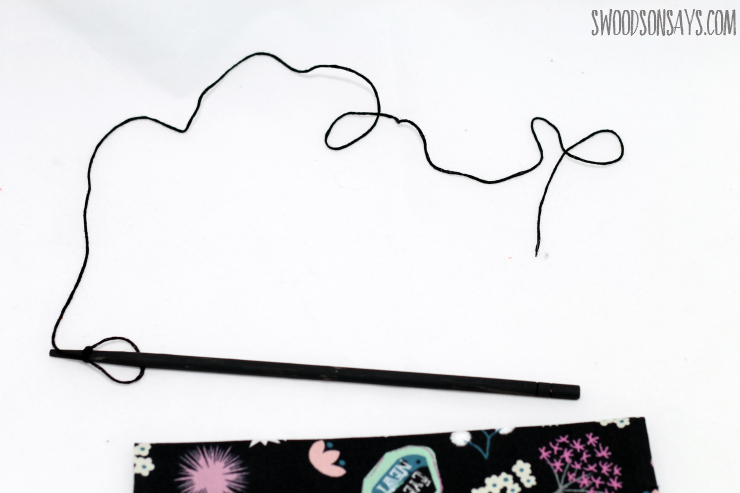
Step 6- I used a (painted) wooden chopstick from Chinese take out, which was the perfect length. If you don’t have one around, a 9″ dowel rod would work as well. Knot some embroidery floss on each end and hang it up to enjoy!
This post is part of the Kids Made Gifts Series being hosted by Teach Me Mommy. Head over and take a look at all the wonderful kid made gift ideas!
Patricia
Sunday 12th of November 2017
What fun! I can picture my grandchildren making these! Thank you for sharing! Forwarding this to my daughter! :)
Nadia
Wednesday 8th of November 2017
Such a special gift! Thanks for sharing as part of our series!
Stephanie - Swoodson Says
Wednesday 8th of November 2017
Thank you for hosting!