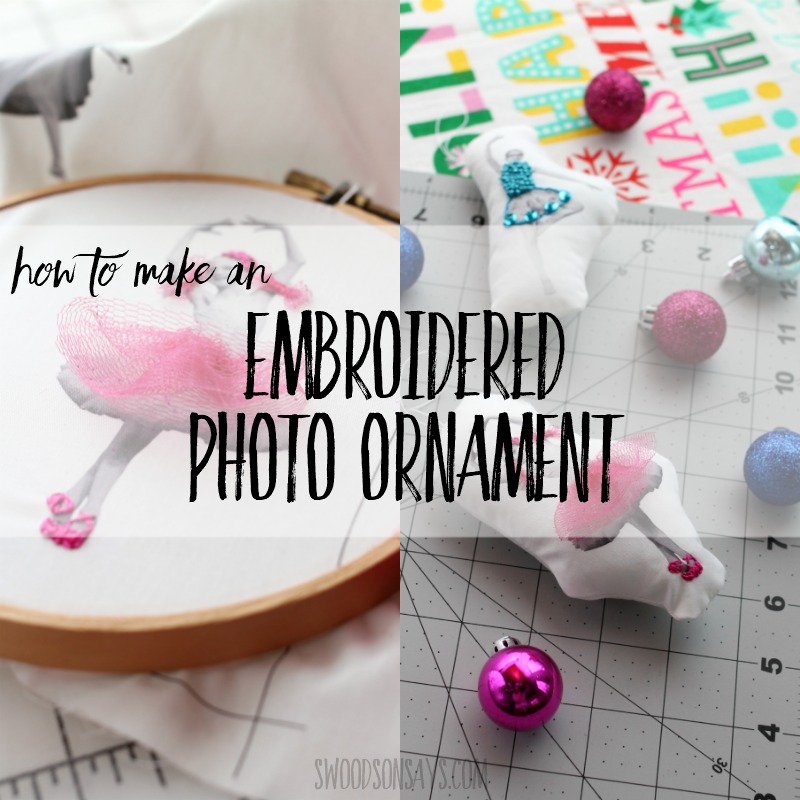
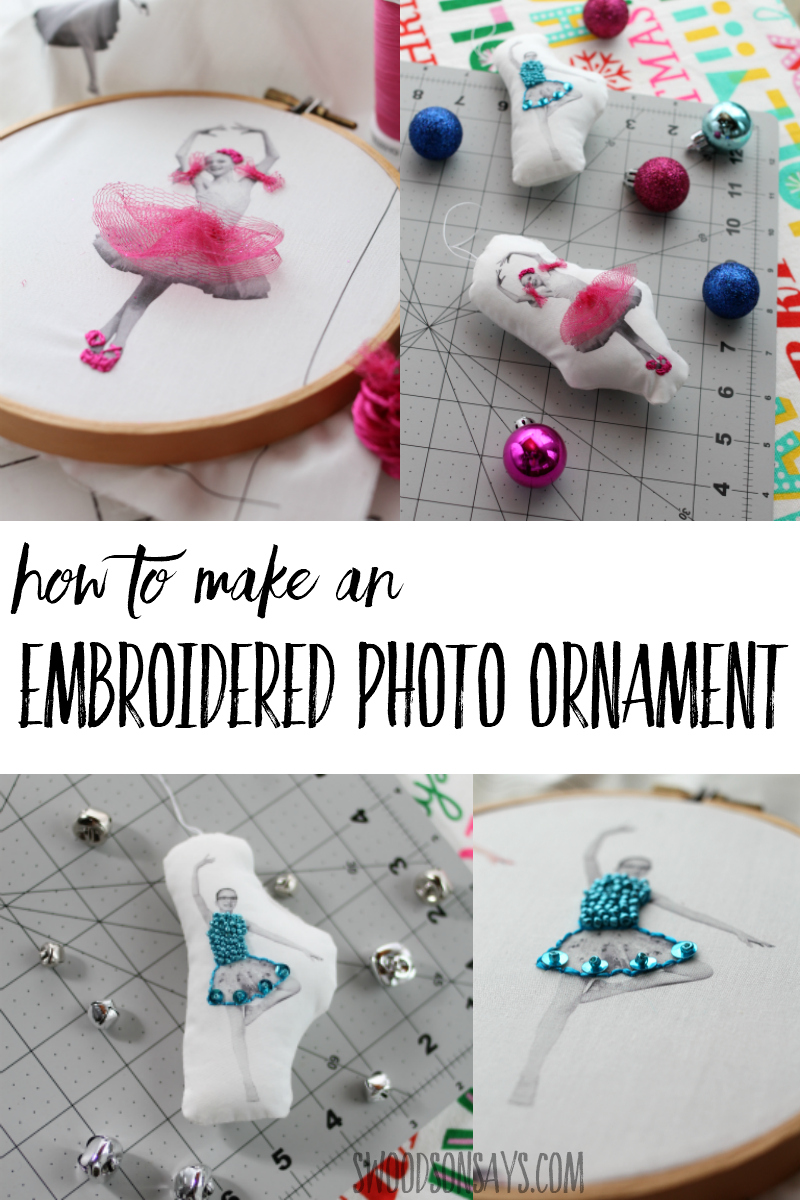
 For the last free ornament friday, I’m sharing a super easy project! This DIY Embroidered photo ornament tutorial was really fun to make and I hope my nieces love how they turned out. I’d been thinking about making something like this since I made my embroidered family photo ornaments last year, and it was extra fun to add glittery embellishments. I’m already thinking about how to make some fun ones for my own kids, wouldn’t this make a great yearly tradition?
If you want more DIY Christmas ornament inspiration, check out these posts!
- 15+ prettiest fabric Christmas ornaments tutorials
- The cutest animal Christmas ornament patterns
- 14+ tutorials for embroidery hoop Christmas ornaments
- How to turn kids artwork into an embroidered ornament
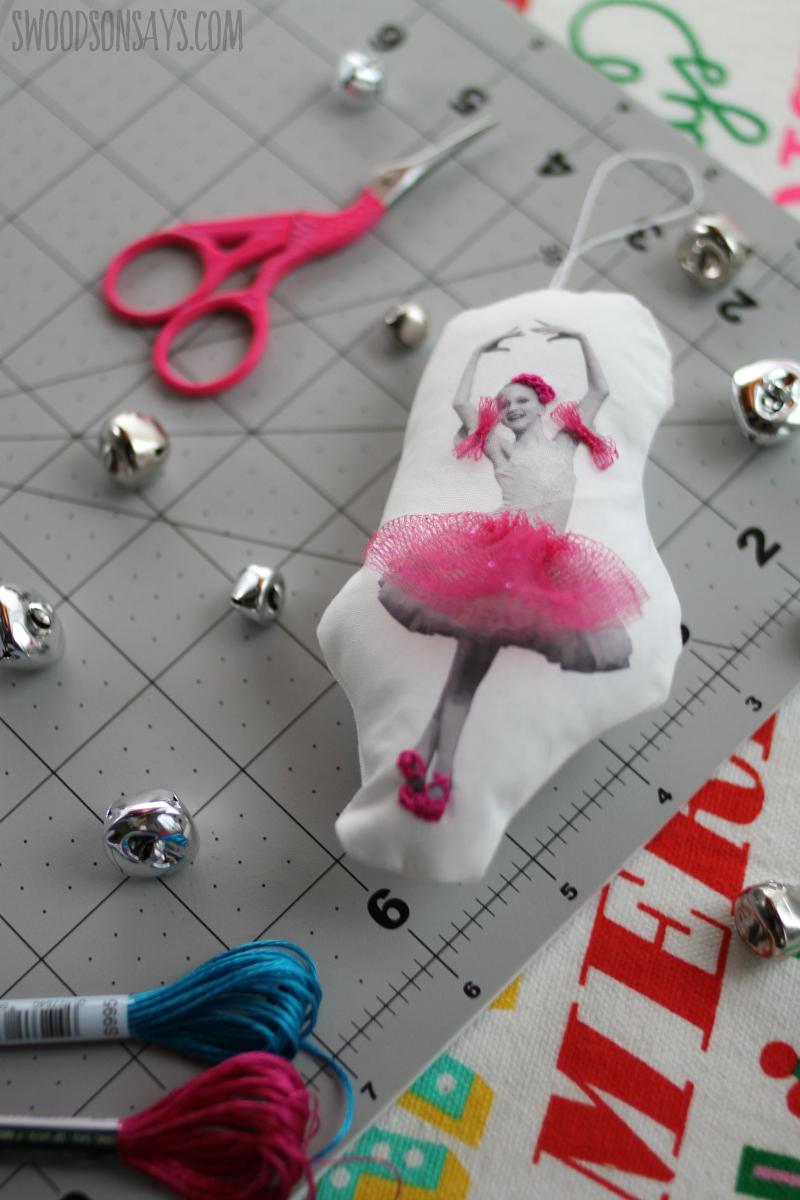
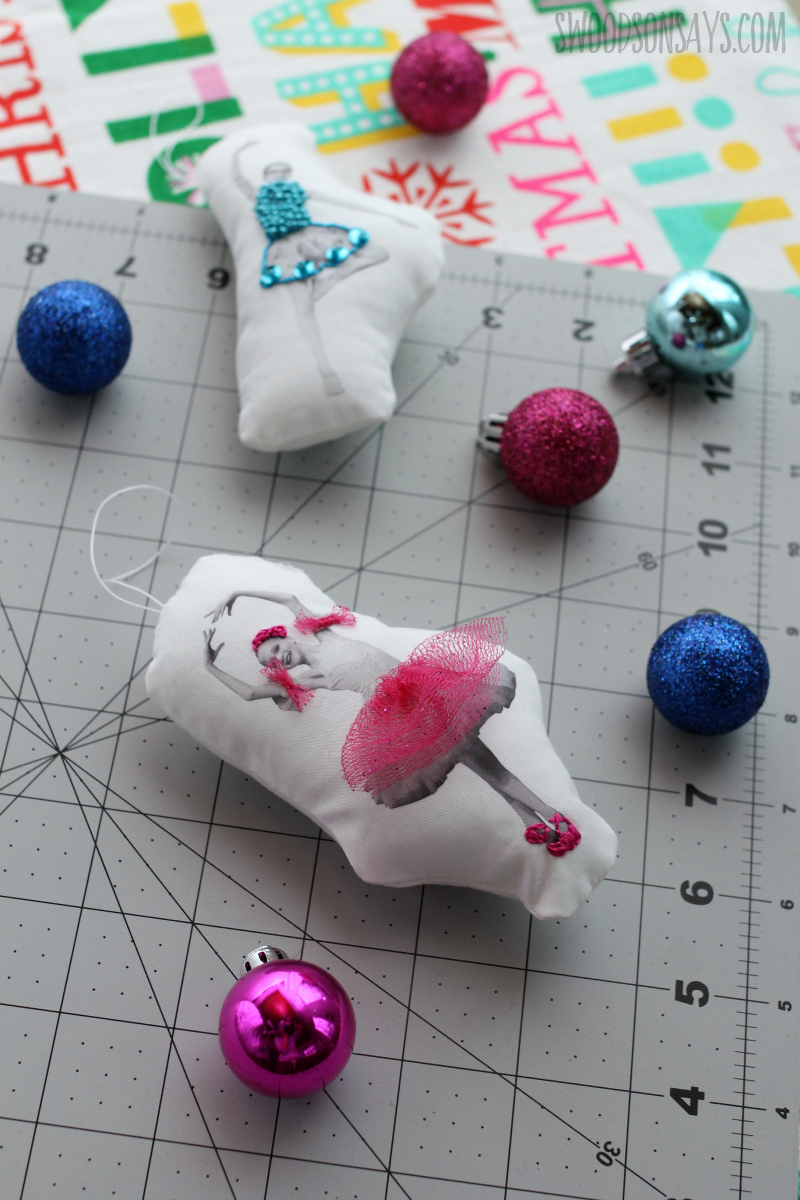
I haven’t worked much with tulle, it was interesting! I just adore how happy she looks here, it’s been a treat watching them grow up and see their love of dance deepen.
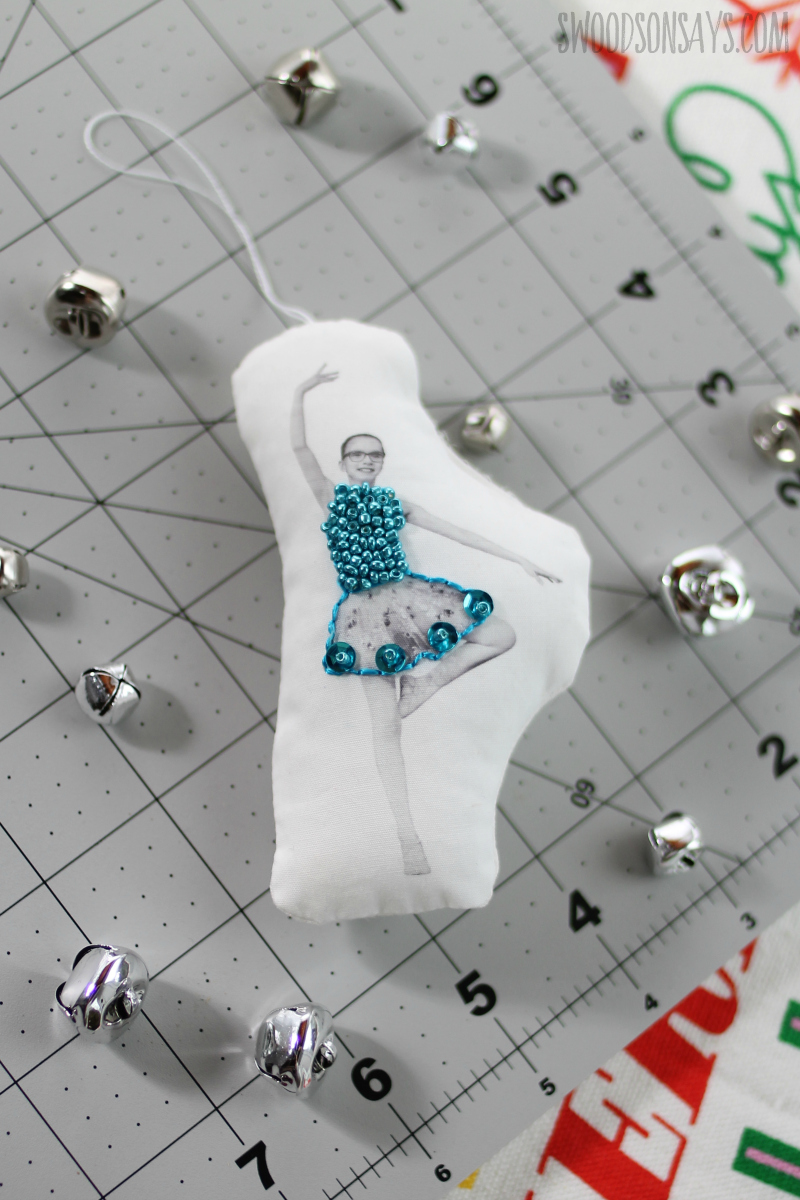
I am sure I’m beading “wrong” but I still like how it looks in the end! Can’t go wrong with sequins, either. You could also print these in color, use paint to tint them, or only embroider extra details on. The sky is the limit for style, customization, and details!
Pin this embroidered photo Christmas ornament tutorial for later using this link or collage photo:
DIY Embroidered photo ornament tutorial
Supplies
-
- Printable fabric sheets & inkjet printer
- Embroidery floss; I used shiny, satin DMC for the stitching & pearl cotton for the hanging string
- Glittery tulle
- Seed beads / sequins
- Hand sewing needles
- Stuffing
- Coordinating thread
- Clips or pins
Steps
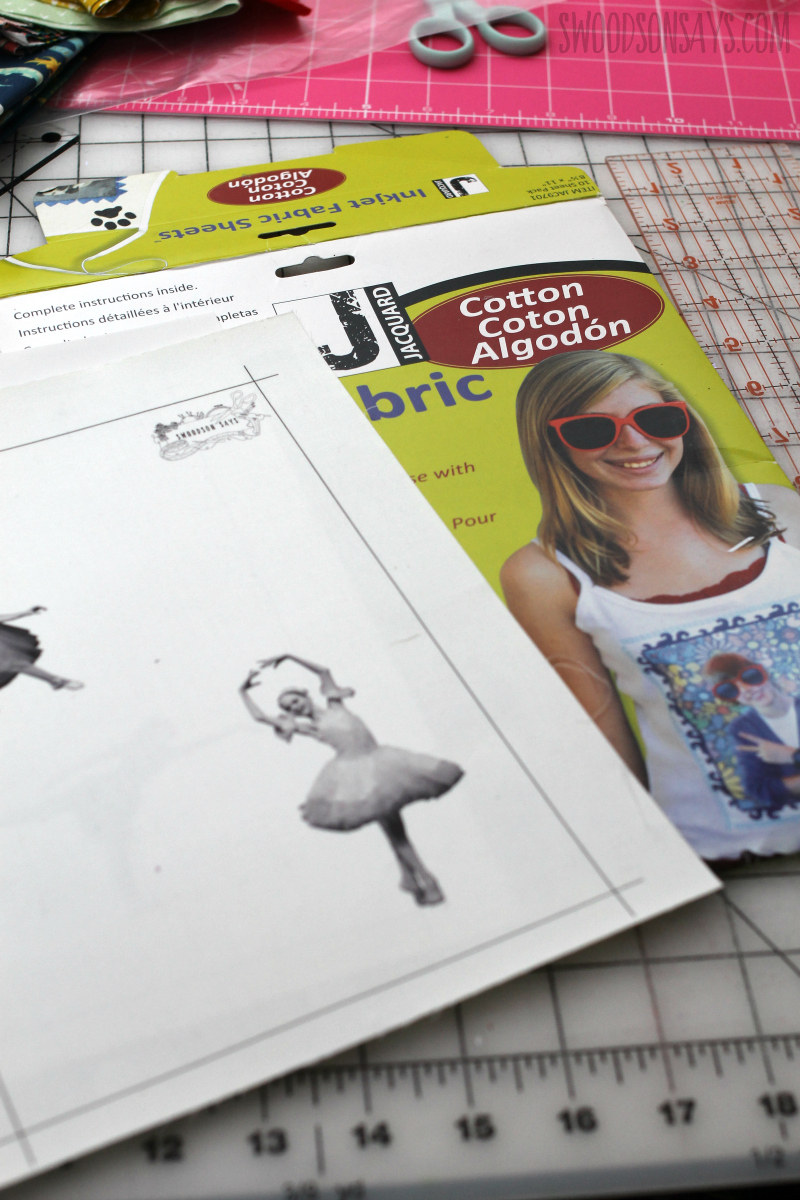
Step 1- Print your photos out! The ones I chose had busy backgrounds, so I paid Srtoma on Fiverr to turn the backgrounds white, instead of messing with it myself. I then put them into a printable sheet (I used Inkscape, which is free) and made sure to leave white space around each of them since I’d be fitting them into a hoop. I used these printable fabric sheets that work well, I’ve heard you can cut fabric and iron it to freezer paper for similar results (but haven’t tried it).
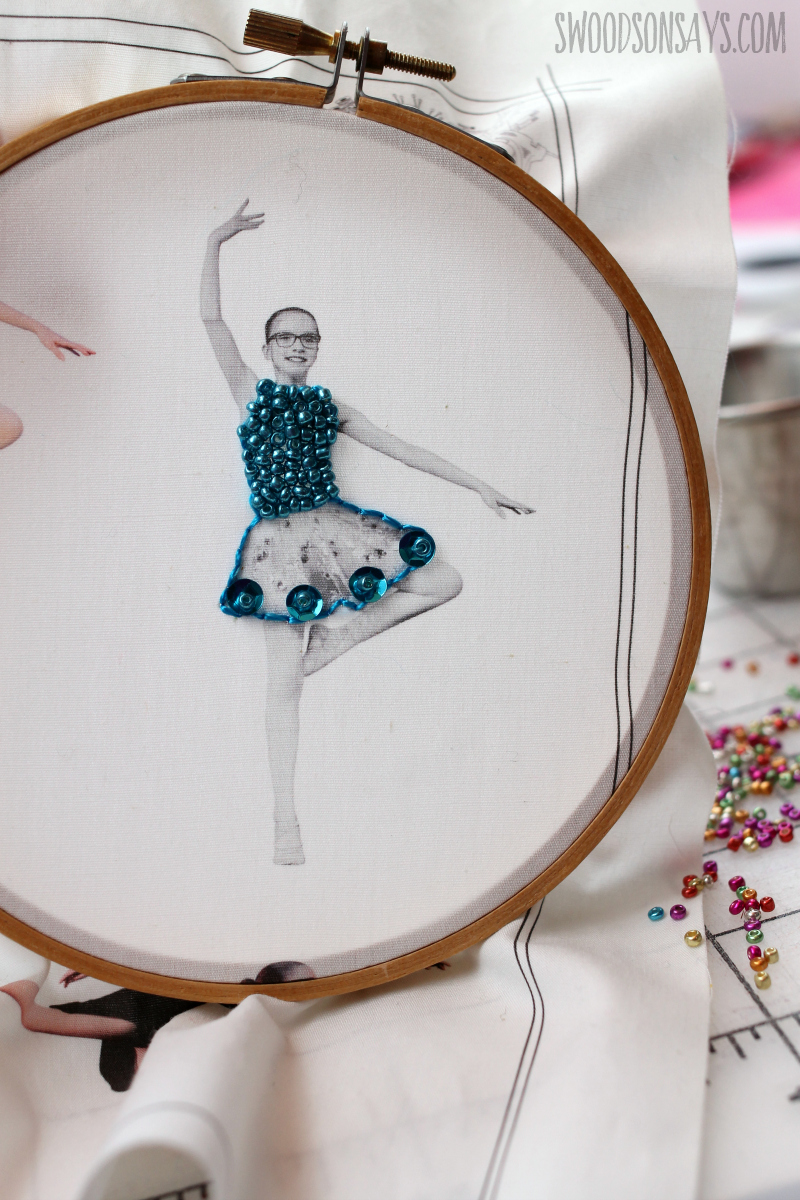

Step 2– Stitch and bead! Get creative. The only tips I have here is that you sew a seed bead on top of a sequin to hold it down. I was happiest with how my tulle looked if I cut a rectangle, folded the raw edges to the back, and stitched it down with regular/fine thread (not floss), and trimmed as needed.
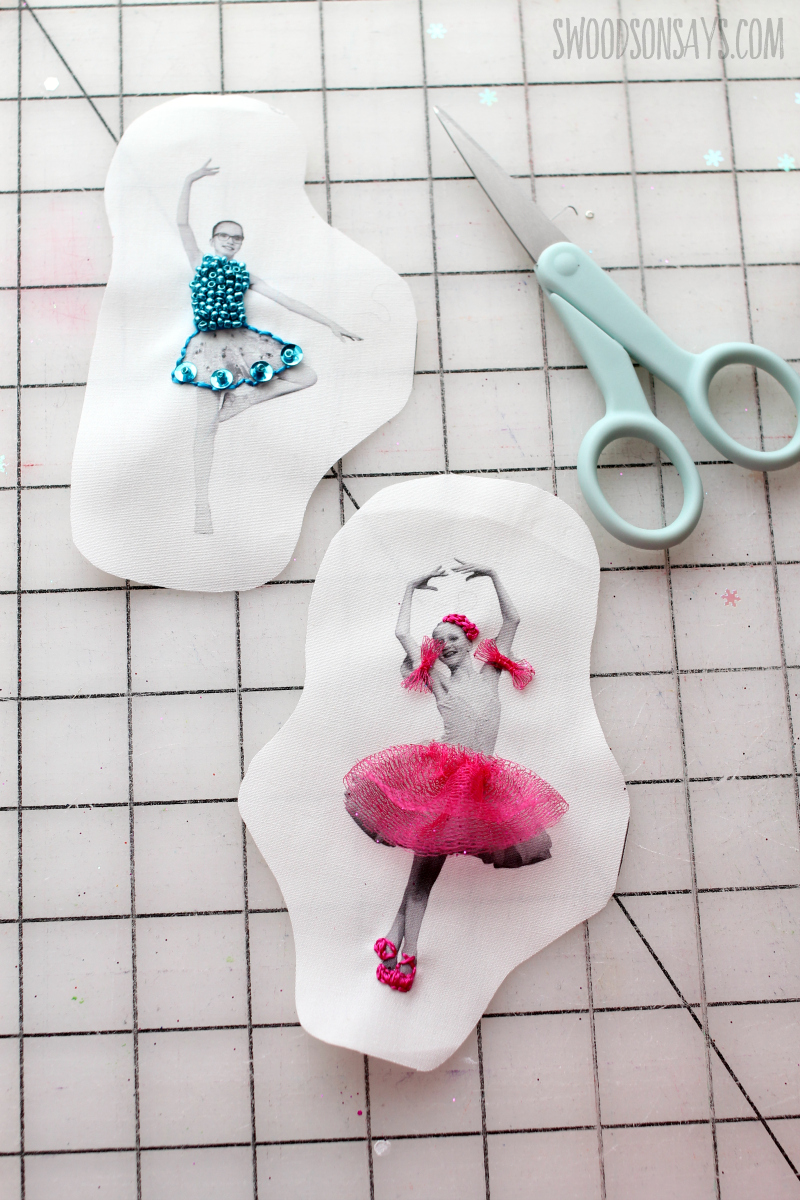
Step 3- Take them out of the hoop and trim loosely around, remembering you’ll need a seam allowance. Iron as needed, carefully, to smooth out any wrinkles.
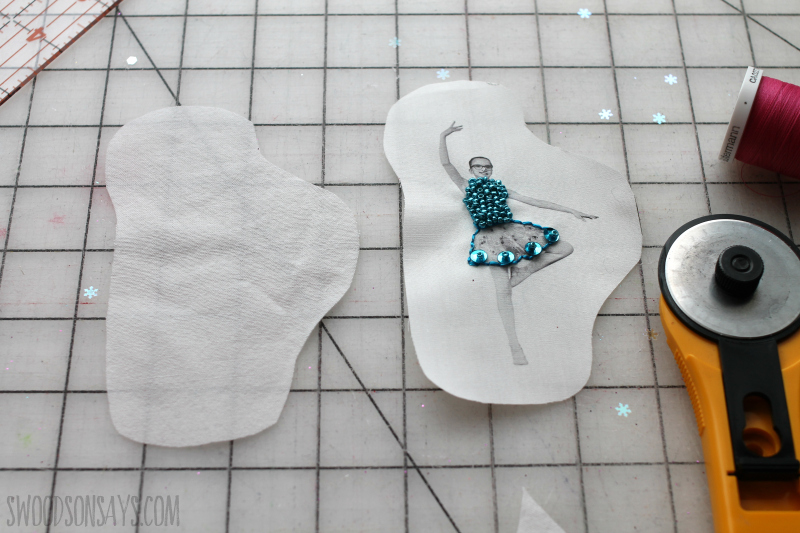
Step 4- Cut a mirror image of similar fabric for the backing.
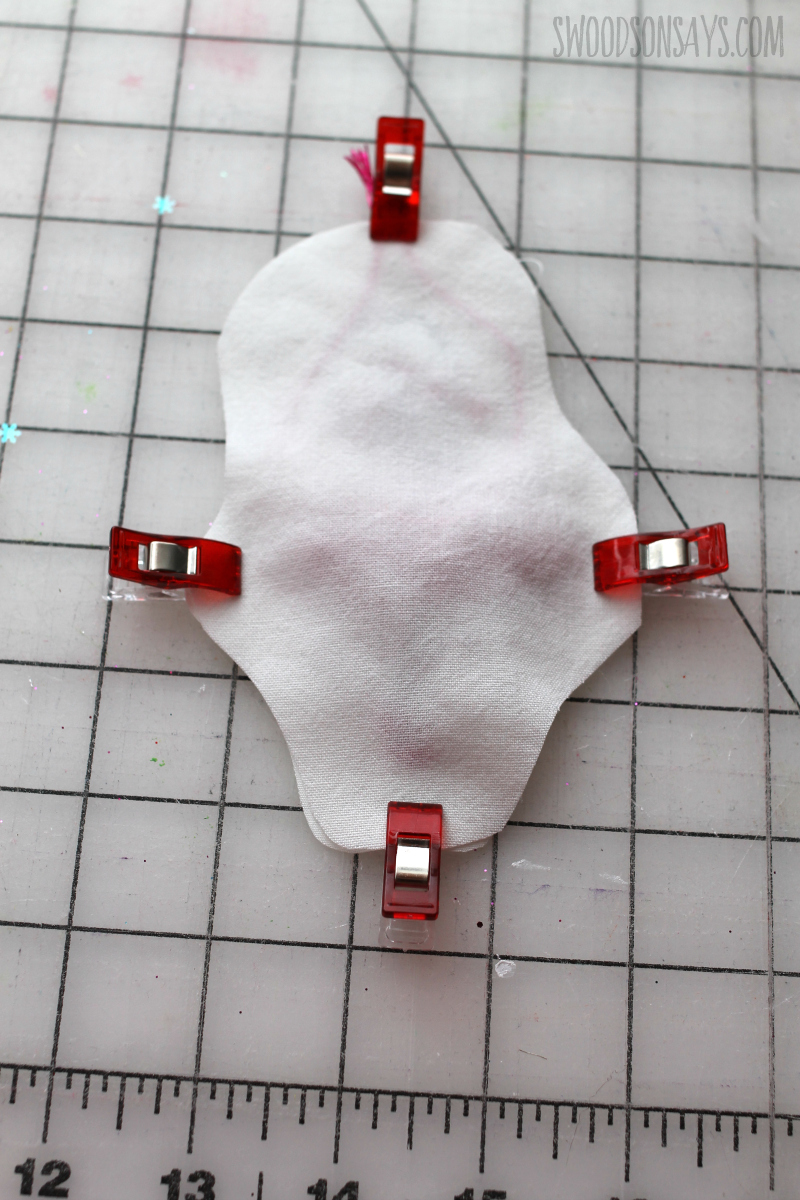
Step 5- Put right sides together and sew all the way around, leaving a 1.5-2″ gap for pulling it out. You can thread ribbon in between for hanging now, or sew it in later.
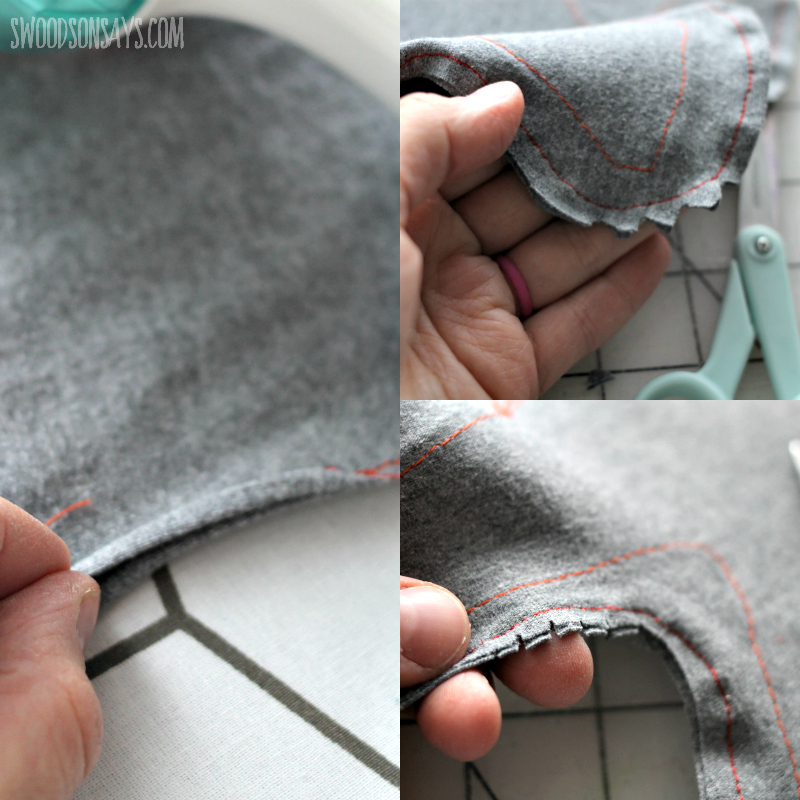
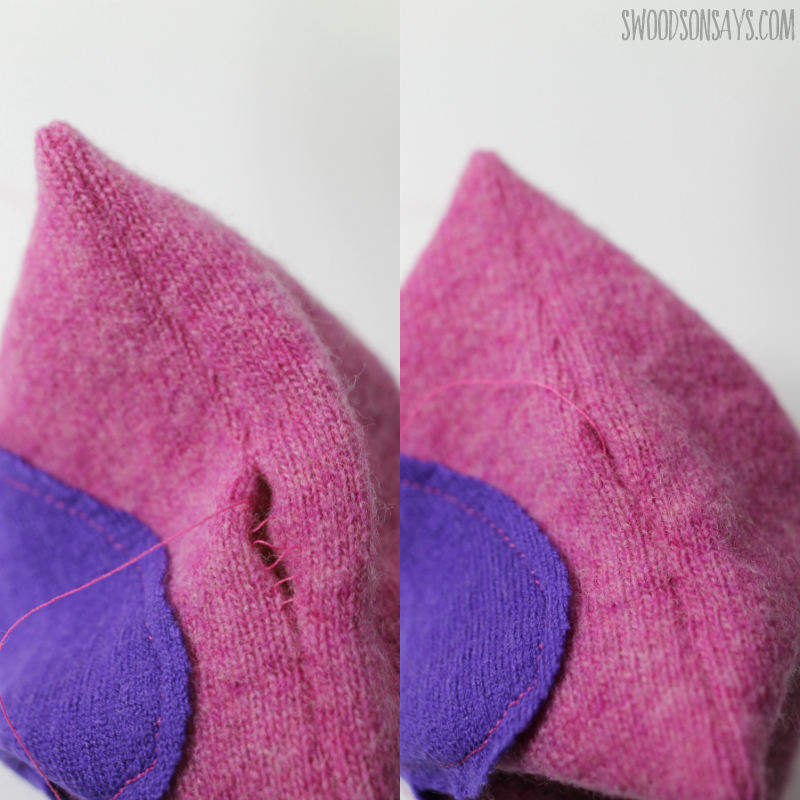
Step 6 (optional): If you have a lot of tight curves, you may want to notch or clip the curves (see above).
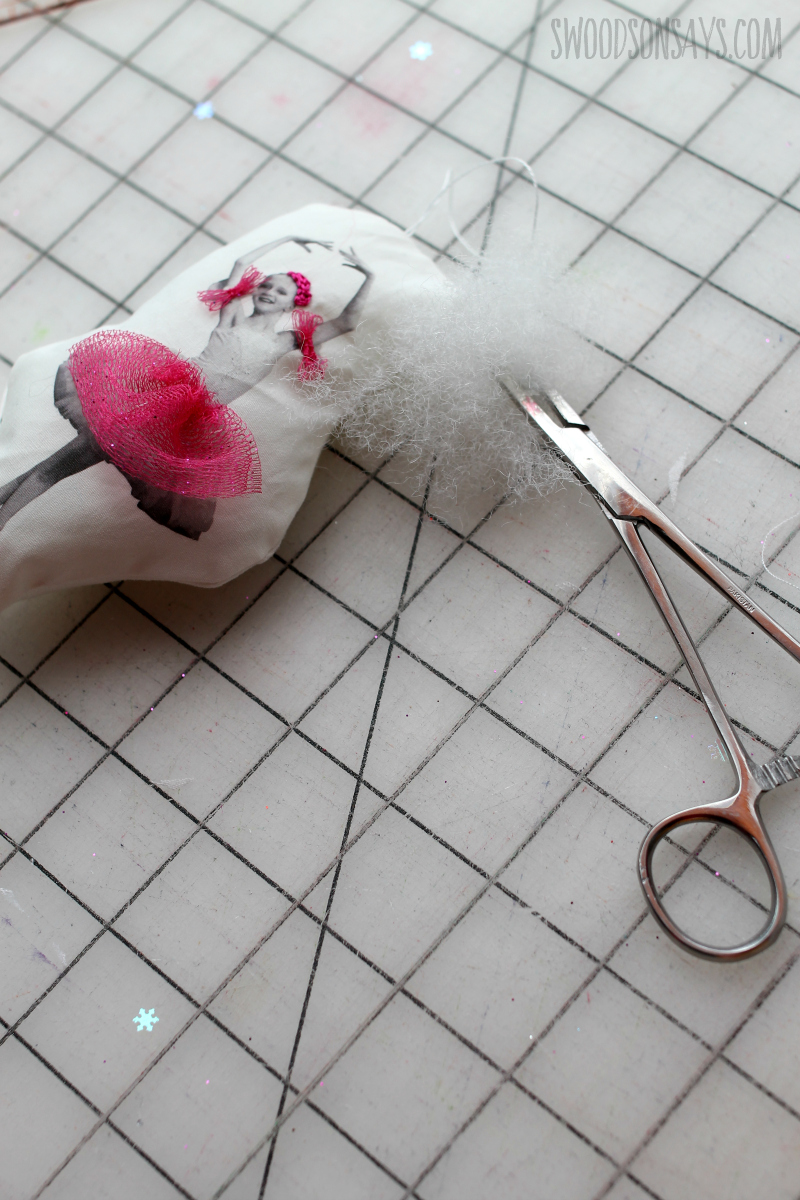
Step 7- Turn right side out through the opening you left and use the iron to smooth out the seams. Stuff firmly. Tuck the raw edges in, and sew with a ladder stitch (see below) or fabric glue shut (which I did, using clips to hold it overnight). Stitch on a hanger if you didn’t previously, and enjoy!