This shop has been compensated by Collective Bias, Inc. and its advertiser. All opinions are mine alone. #NatureMadeGummies #CollectiveBias
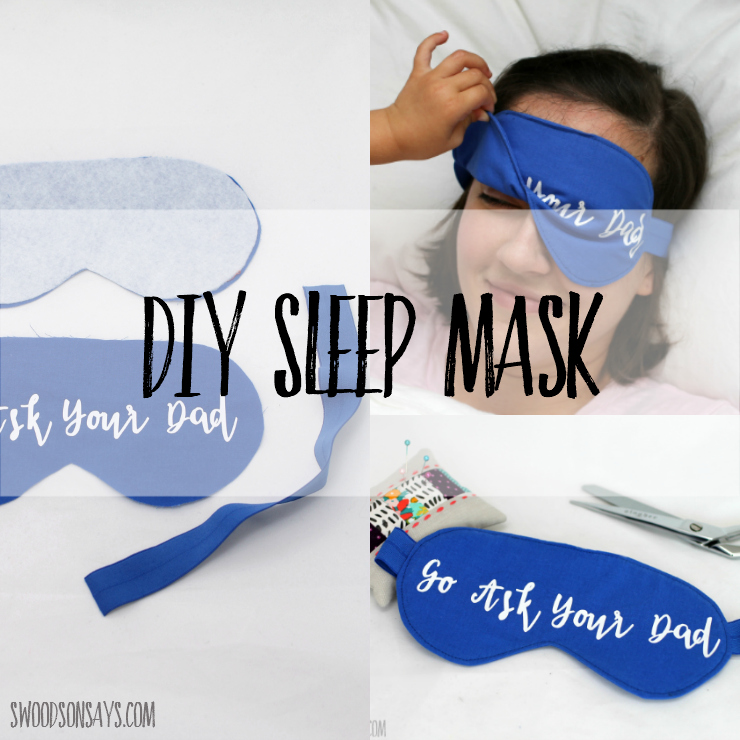
If there’s one thing I always want more of, it’s sleep. My kids live to pounce on me and wake me up, or come ask me questions when my husband is kindly letting me sleep in. I thought maybe a sleep mask would help me ignore them, so I’m sharing this free sleep mask sewing pattern! This would be a great project if you’re taking any trips soon, or maybe the perfect stocking stuffer for any friends who have little people poking them awake.
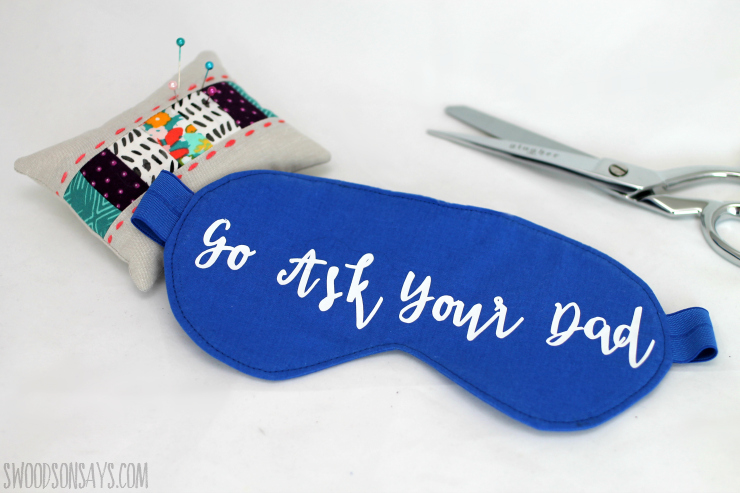
This would be easy to sew up sans the sassy phrase, it’s a nice size to use up scraps but still show off fun fabric prints. You can see I used FOE, fold-over elastic, it’s my favorite for headbands because it’s super soft and doesn’t pinch hair when it stretches.
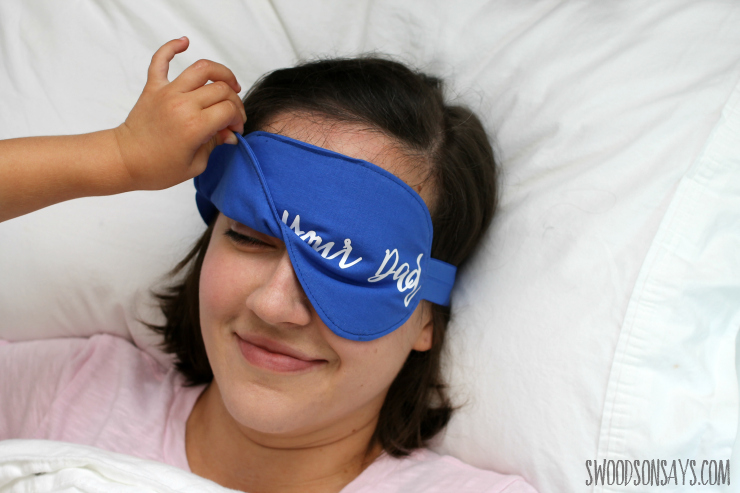
Ok, so it’s not perfect, haha! My littlest still came over and poked at me, but she’s only 2 so hopefully once she can read what it says she will leave me alone when I’m trying to sleep? Wishful thinking, I’m sure.
This is an intermediate project; sewing the tight curves can be tricky, my advice would be to go slow and use an applique foot which is clear so you can see underneath it!
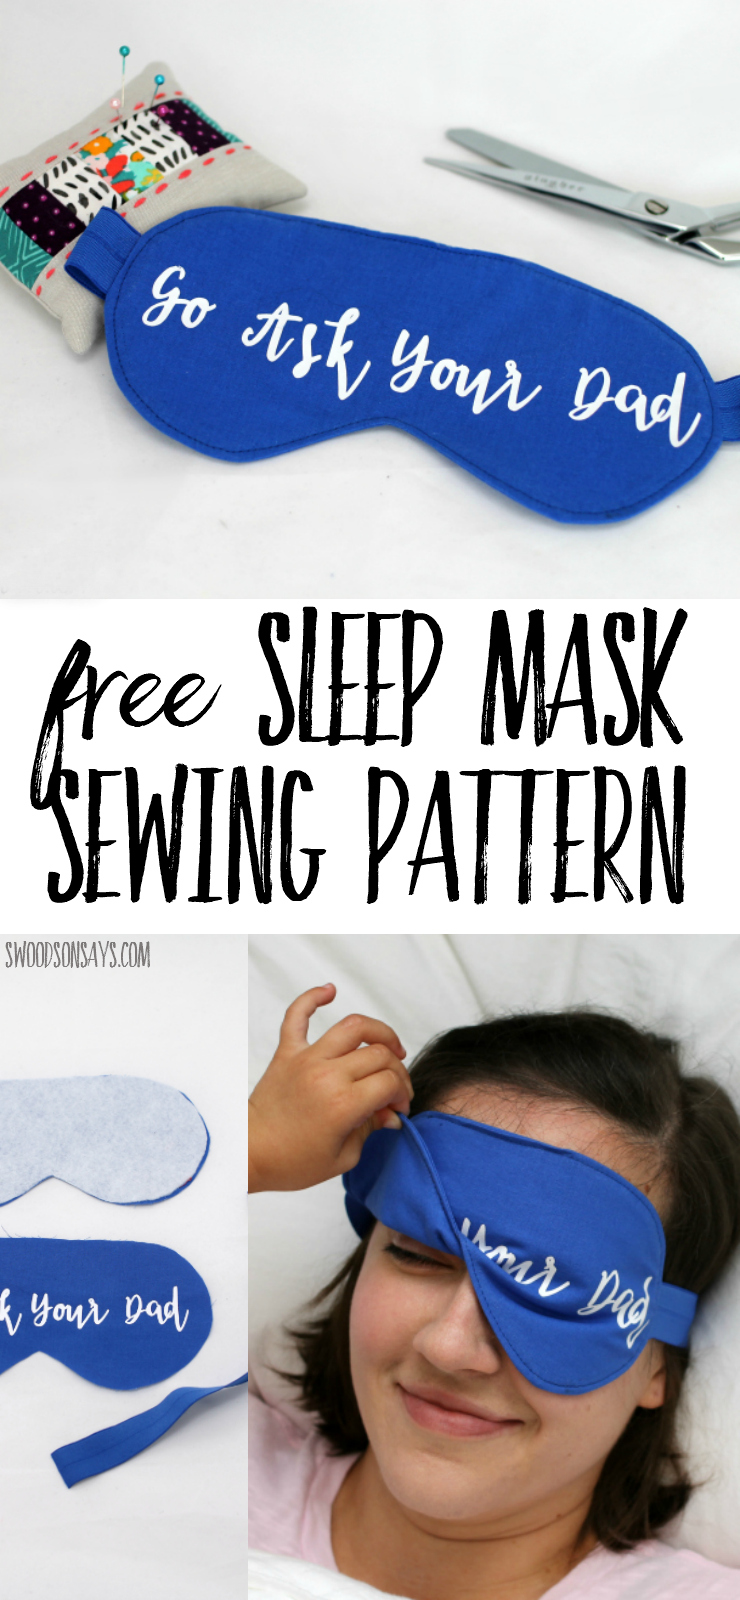
Pin this free sleep mask for later using this link or collage image:
Ready to make your own?
Free sleep mask pattern
Supplies
-
- Fat quarter of quilting cotton
- 13″ of 1/2″ wide elastic, preferably fold-over style (it is softer!) but anything will do
- 1/4 yard of fusible fleece
- Cut file on Cricut Design Space (also included in the PDF)
- Cricut/digital cutting machine & iron-on OR freezer paper & fabric paint (tutorial for using this method here)
- Iron
-
PDF pattern-sign up for my newsletter and get the full pattern once you confirm your subscription! If you’re already a subscriber, you can access the pattern with the password in each newsletter, in the resource library.
Steps

1- Use the template and cut on the fold, with two cotton masks and one fusible fleece. Follow the instructions to fuse the fleece to the wrong side of one mask, and decorate the right side of the other mask (file that I used is linked above).

2- Center your elastic and baste it along the edges, trimming off what hangs over.

3- Layer both masks right sides together and sew with 1/4″ seam allowance, leaving a 3″ gap at the top. You can snip small triangles out of the seam allowance around the curves if desired, to help it lay flat when turned right side out.
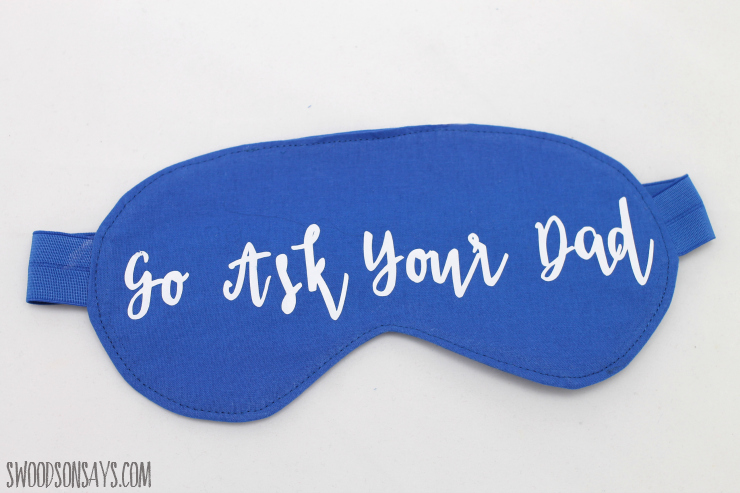
4- Turn it right side out, use an iron to press and tuck the seam allowance in, and top stitch around the edges, and you’re done!


Gautam Sutradhar
Monday 13th of January 2020
wow, nice dear.thanks for your post
Judy Petersen
Friday 27th of October 2017
I enjoy to sew and do craft's. Your page looks like it has a lot of fun items to sew!
Stephanie - Swoodson Says
Friday 27th of October 2017
Thanks Judy, I'd like to think that it does :) My newsletter is the best spot to keep in touch with what's posted: http://bit.ly/swoodsonsayssignup … Thanks for reading!
Sam
Sunday 15th of October 2017
I love how your vinyl transfer just takes the sleeping makes to the next level! Cute saying too, with 3 girls myself I can totally relate haha! Love the diy pattern, thanks!
Stephanie - Swoodson Says
Monday 16th of October 2017
Thanks, Sam!
Jenna
Sunday 1st of October 2017
Hi!! I just wanted to let you know that I love your blog! I love all of your sewing creations . They are inspiring! I was reading your about page and I totally connected to what you said about blogging and making you accountable for actually creating! otherwise YES I'd pin more than make anything! So I'm nominating your for the Blogger Recognition Award! You can check out the post I made where I nominated you here... http://makingthingsisawesome.com/blogger-recognition-award/ Much love sent your way! Jenna
Stephanie - Swoodson Says
Monday 16th of October 2017
Thanks Jenna!