
This is a sponsored conversation written by me on behalf of Cricut. The opinions and text are all mine.
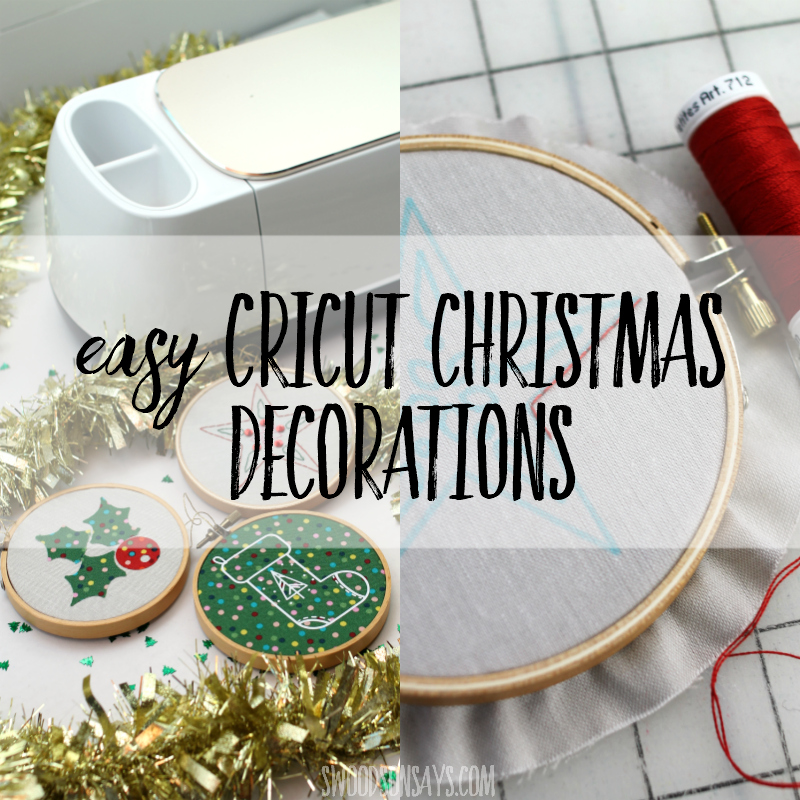
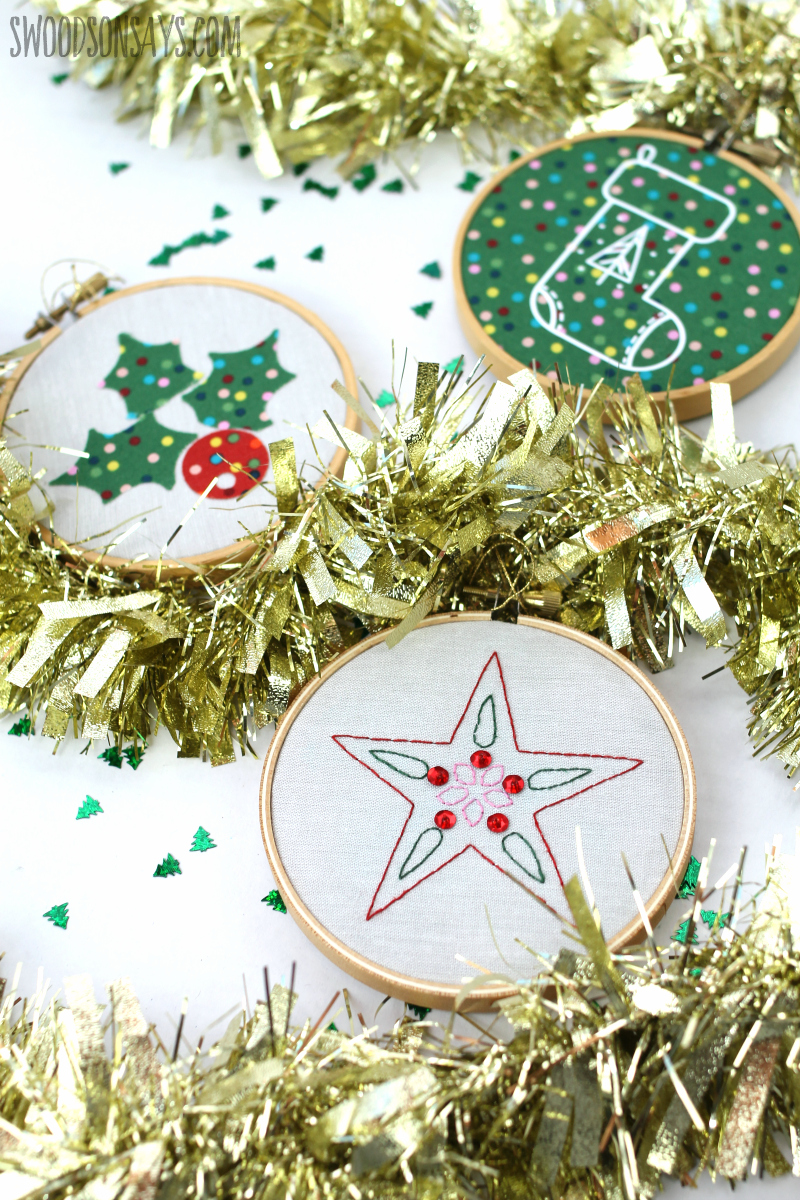
December is almost here and I have some easy Cricut Christmas decorations to share, that I made with my Cricut Maker! There are three different options for decorating plain fabric, and you can make all three in one night. My favorite part is letting the Maker trace out the embroidery pattern for me, and how perfectly it cuts the circles out. These would look great on the tree, or blow them up a little bigger and hang them on your wall! They would make great DIY holiday gifts too.
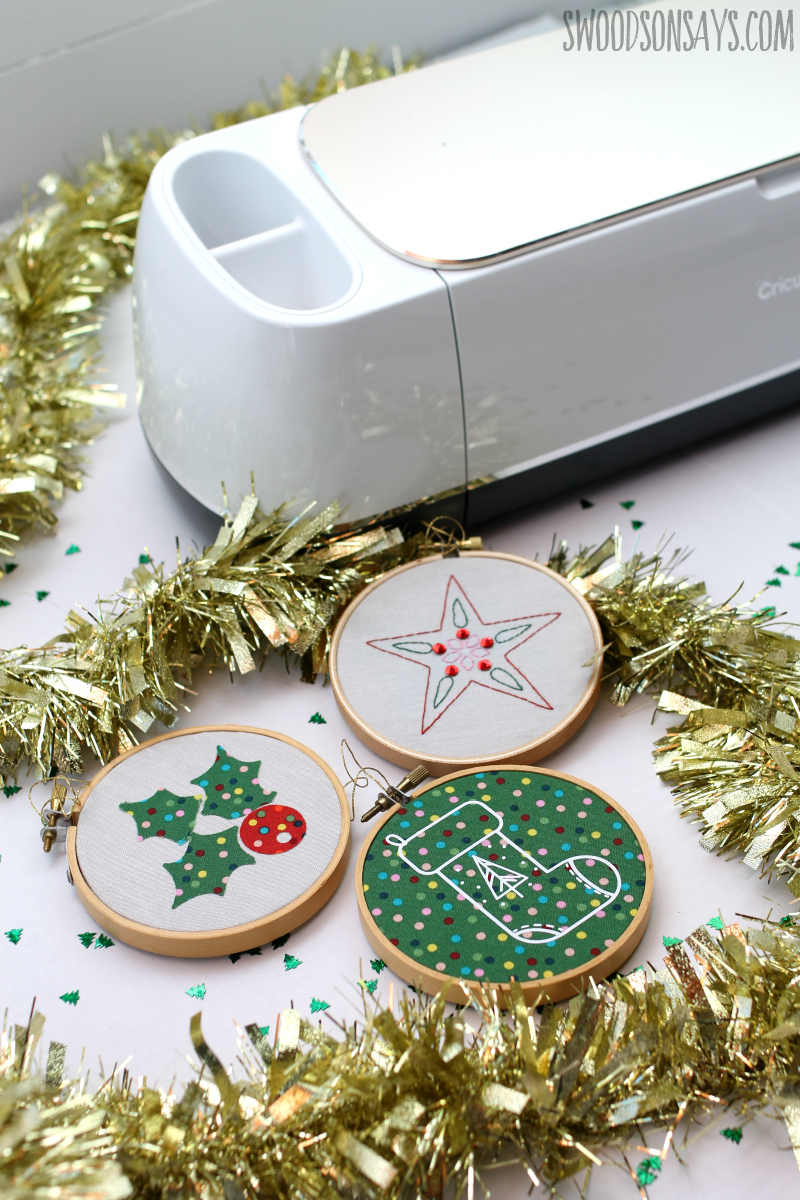
The Maker is the only digital cutter that can cut quilting cotton without fusible transfer or interfacing on the back. I prefer not having interfacing all over the fabric because that gets bulky and prevents a tight fit in the hoop. I used the rotary blade to cut out the fabric and the felt, it handles all those curves no problem. You can read a full review of the Cricut Maker machine in this post here!
This would be so fun to make in bulk for craft sales or ornament exchanges; it would take forever to draw out all the patterns by hand but the Maker can do it for you! The Design Space file I have linked in the tutorial below has all of the shapes ready to go for you, and they’re all free with the access subscription.
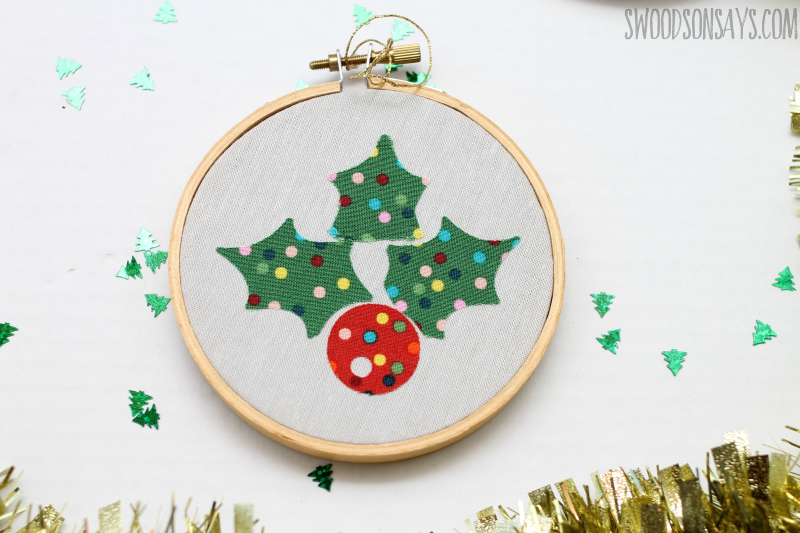
I didn’t write a full tutorial out for the fabric applique & iron-on versions because they are super straightforward; just cut out the shapes with your fine point blade and adhere them on! You can even buy fusible fabric with the backing already attached (I DIY’d adding the fusible part to mine).
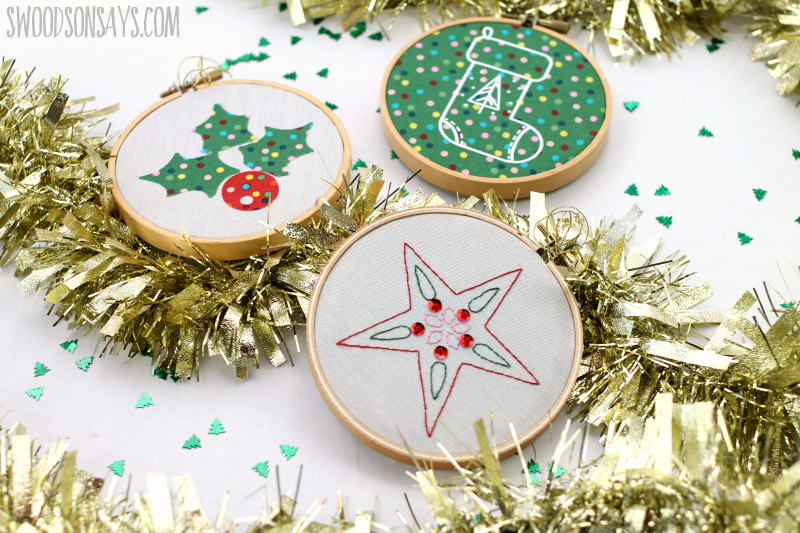
You could add beads, jingle bells, or hand stitching to jazz this up, but I like it with the plain fabric! See even more easy Cricut Christmas ornaments in this post, over 25 different tutorials are linked.
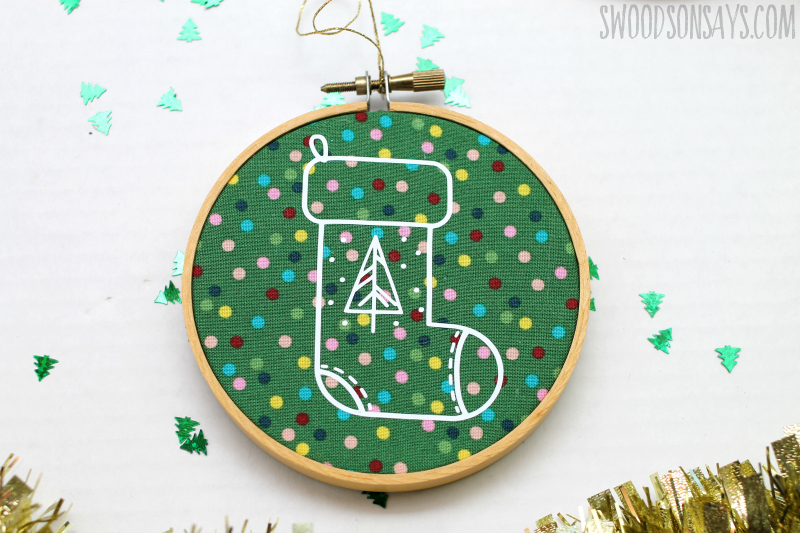
I would hate to try and draw out all those tiny little stitches, but they look perfect when I do them with iron-on!
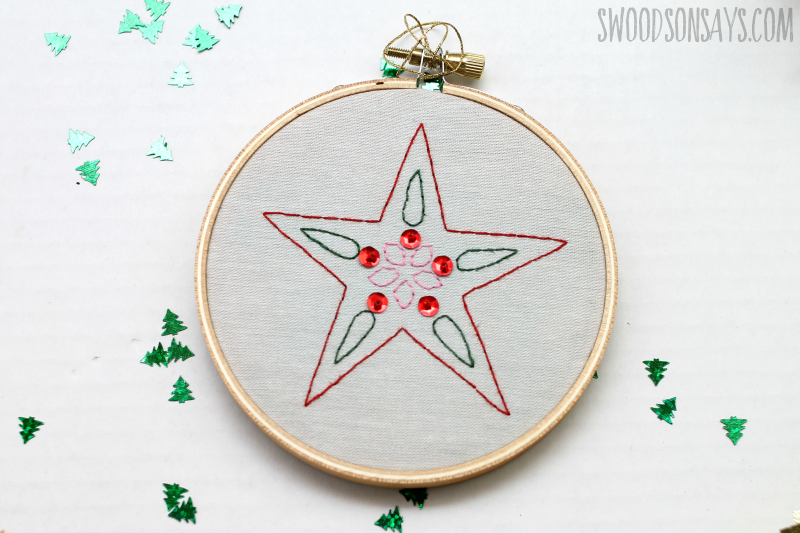
I just added a few sequins, but you could add beads and sequins all the way out if you wanted to get really fancy!
Pin this tutorial for how to make Easy Cricut Christmas decorations with this link and photo:
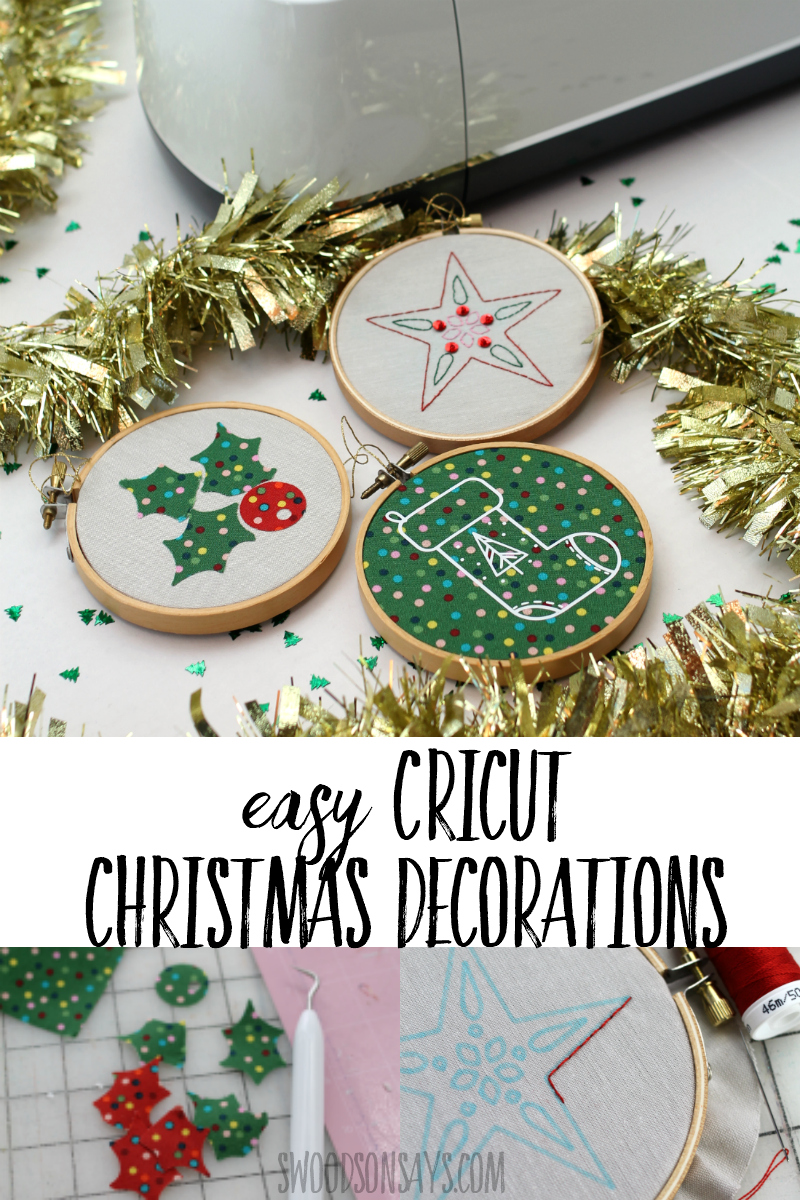
How to make easy Cricut Christmas decorations
Supplies
- Cricut white iron-on material
- Cricut felt
- Cricut Maker
- Cricut rotary blade
- Cricut fine point blade
- Cricut Easy Press 2, 6″ X7″ size
- Cricut weeding tool
- Cricut fabric washable pen
- Brayer
- Pink fabric mat
- 4″ embroidery hoop
- Fat quarter of woven cotton fabric for each ornament (these prints are A Winter’s Tail from Blend Fabrics)
- Fat quarter of light colored cotton
- Embroidery floss
- hot glue gun
- Fusible web (I used Heat n bond light)
- Lightweight fusible interfacing
- Embroidery needles
- Embroidery floss
- Red sequins
- Red seed beads
- Link to the project on design space
Steps
I separated these out into the three different styles, starting with the same steps for all 3!
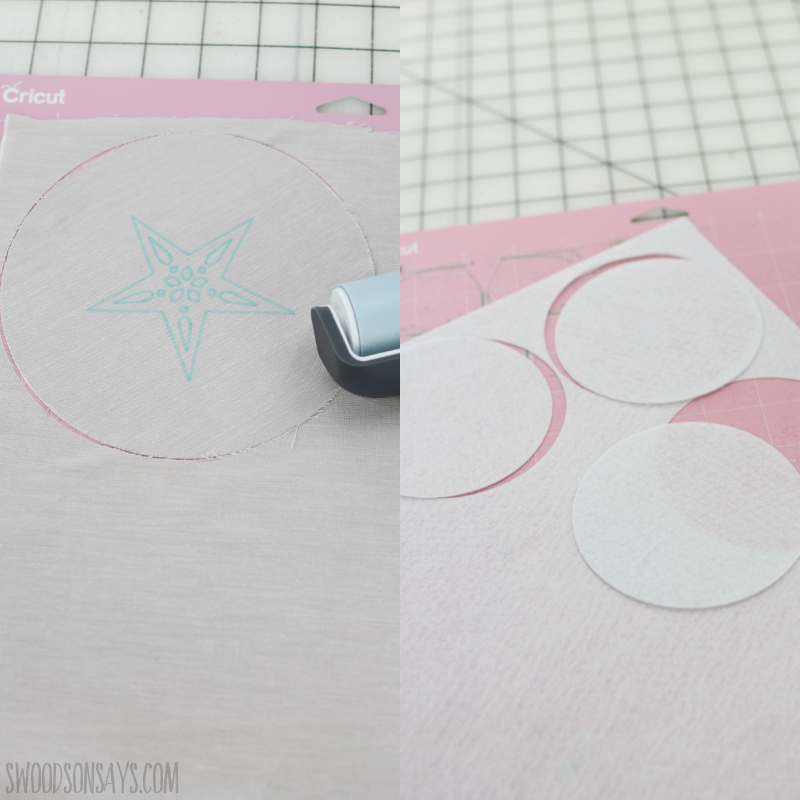
Step 1 (all) -For all three ornaments, you’re going to use the rotary blade, a pink fabric mat, and cut a cotton circle for each ornament (use the brayer to really adhere the fabric tightly to the mat!) and then a felt circle (slightly smaller) for each ornament back. For the embroidered star, you will also be drawing the pattern on at the same time.
Embroidered star Ornament
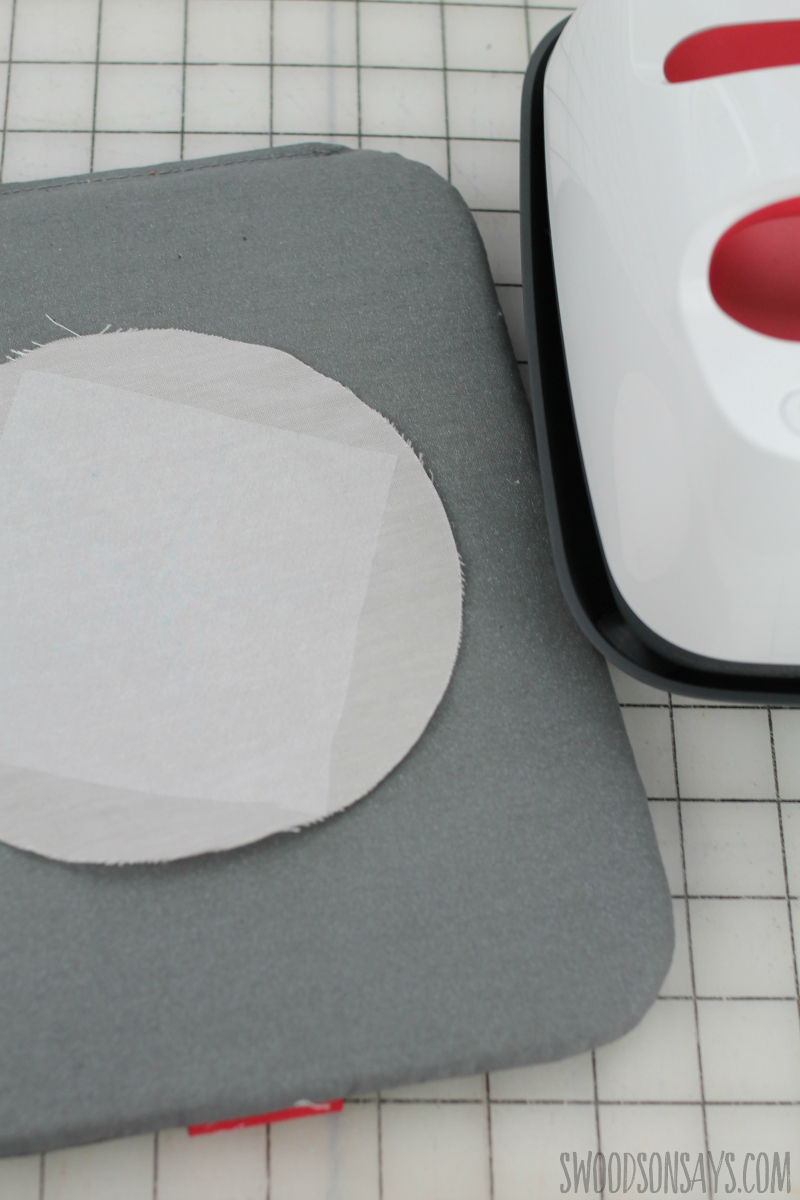
Step 2- Use your easypress2 & follow package directions to adhere lightweight, fusible interfacing to the back of your cotton fabric.
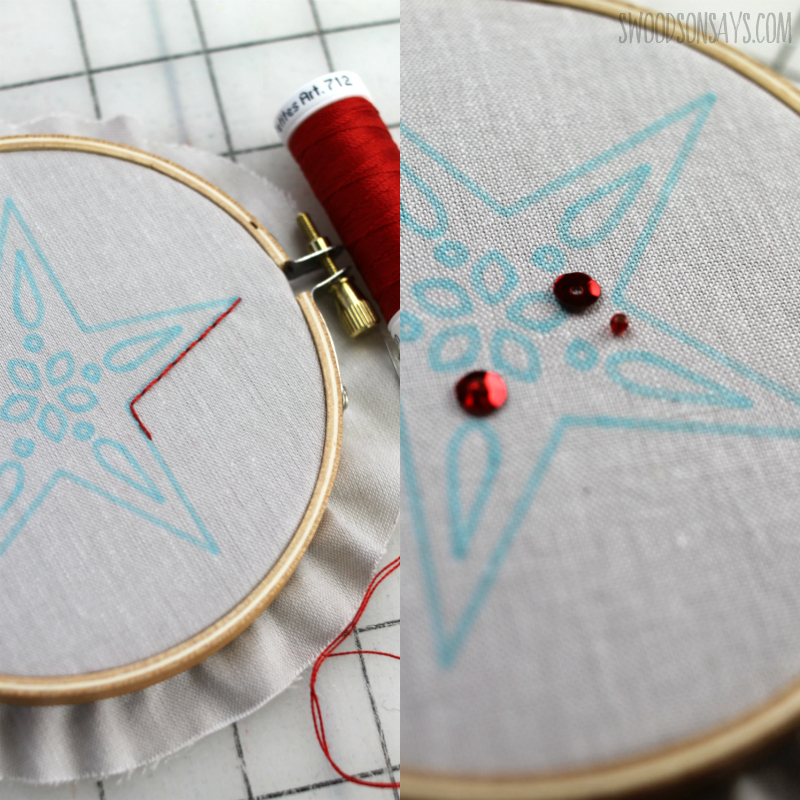
Step 3- Stitch! I do a simple back stitch on the star and then sew the sequins on. You put sequin, then a seed bead, then back through the same hole and knot, to attach them.
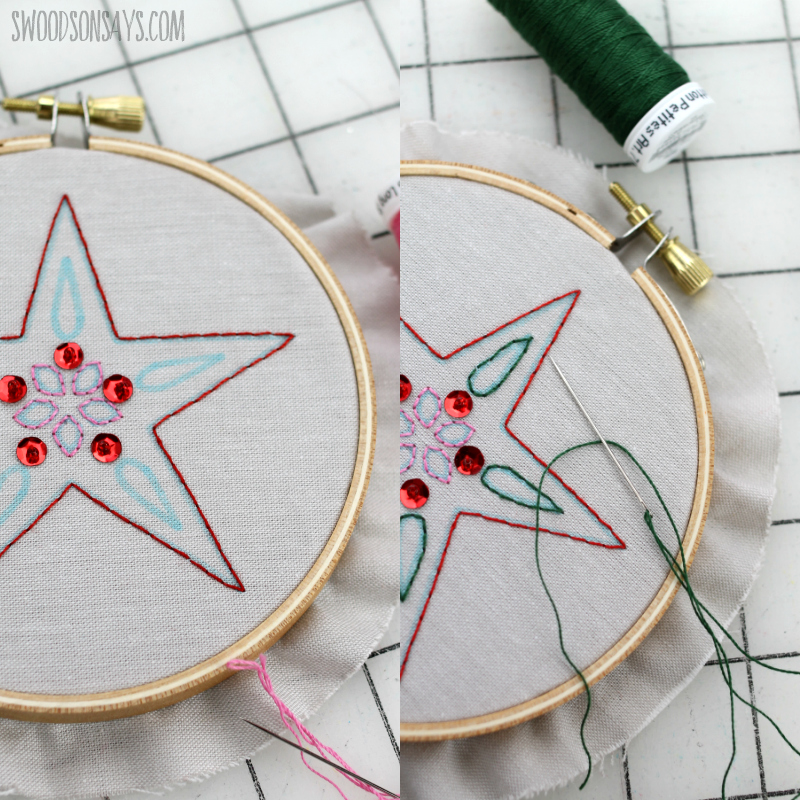
Step 4- Finish stitching! Same old easy back stitch, finishing the other two shapes on the star.
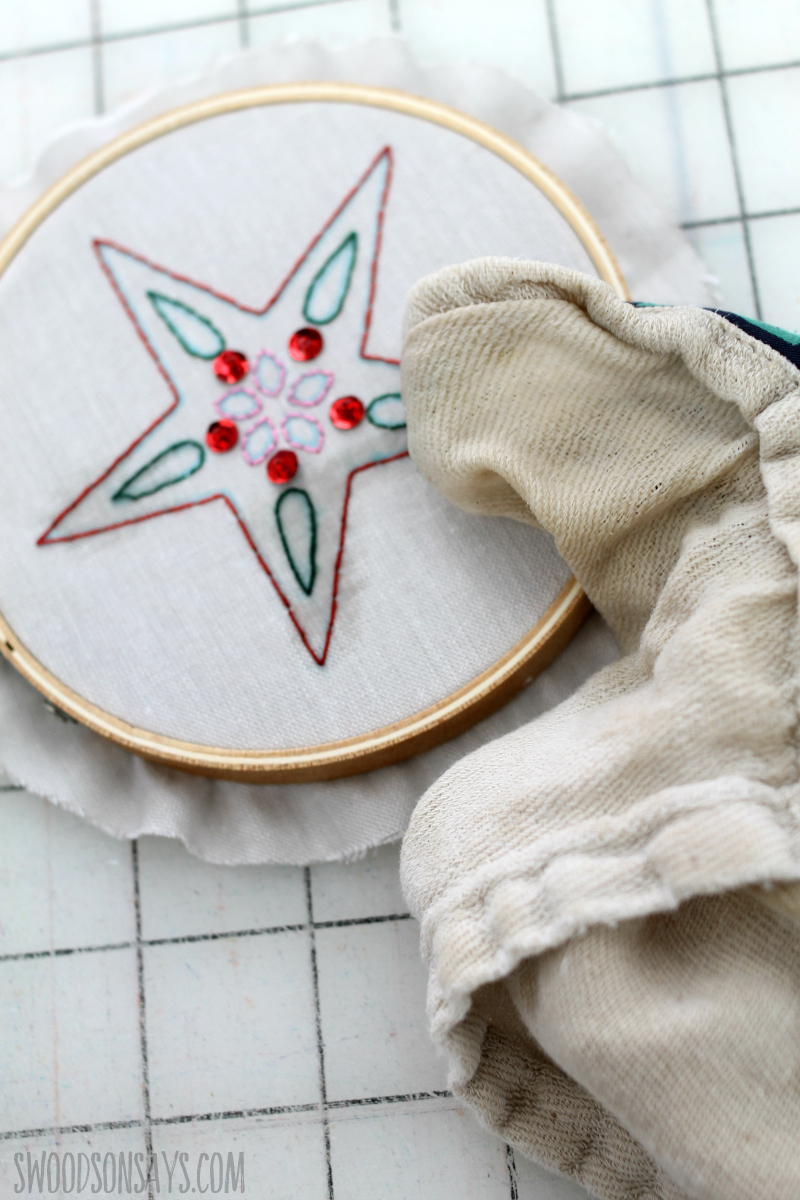
Step 5- Use a wet rag and wash away any leftover fabric pen markings, gently.
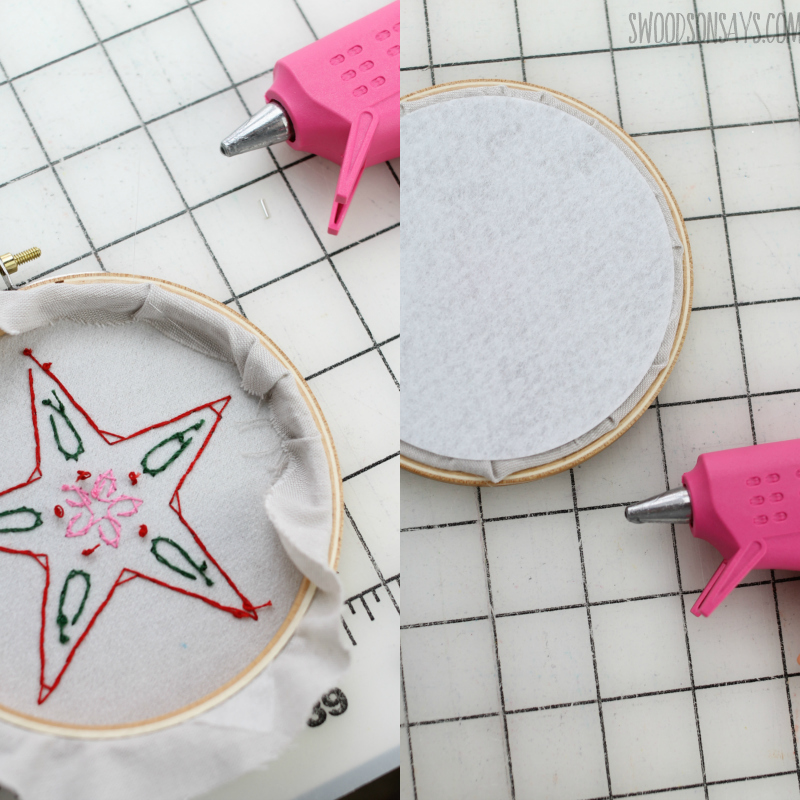
Step 6- Tighten up the hoop and fold the edge over, lightly running hot glue along the wood frame. Go all the way around, and then hot glue the felt circle to cover the back! Tie on a piece of floss as a hanger and you’re done!
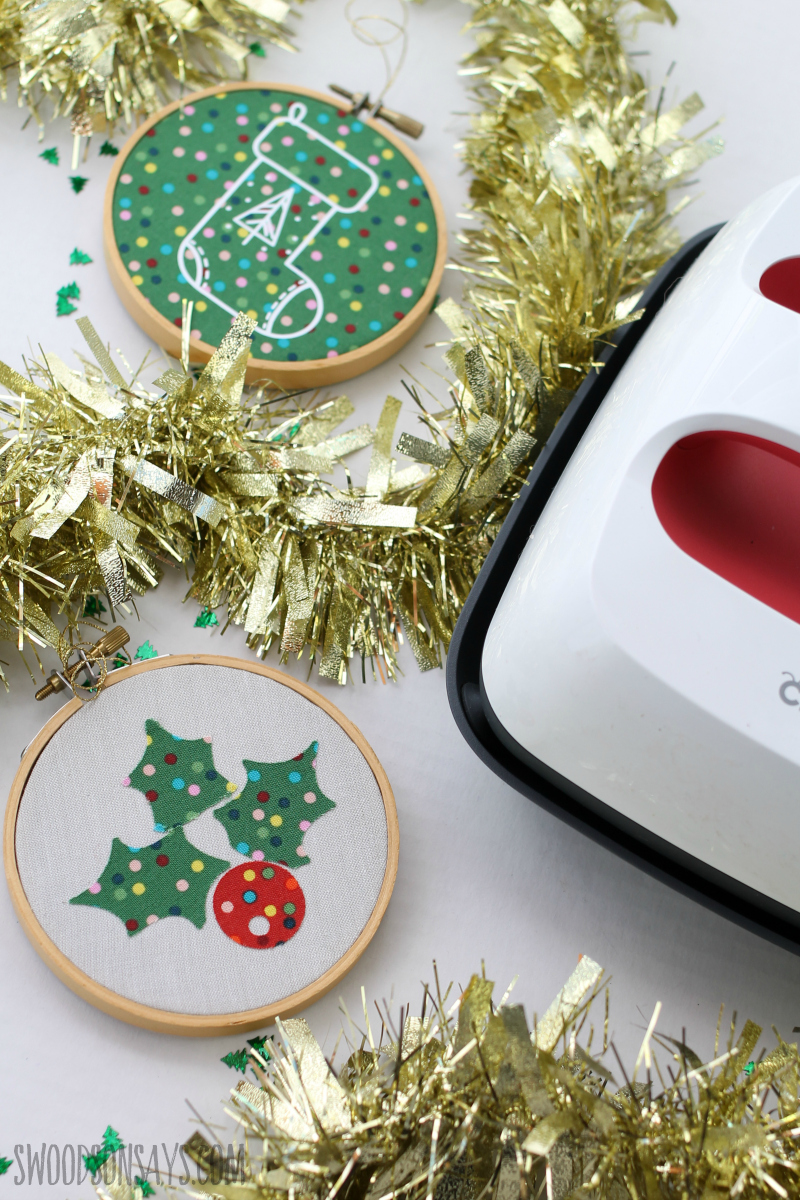
Applique holly ornament

Step 2- Use your easy press to apply fusible transfer (this is heat n bond lite) to the back of a 4″ square of cotton fabric and peel off the backing paper. Roll the fabric on to the mat with a brayer and cut the holly, using the fine point blade and then the weeding tool to pick it up with minimal edge fraying. Repeat with the other color.
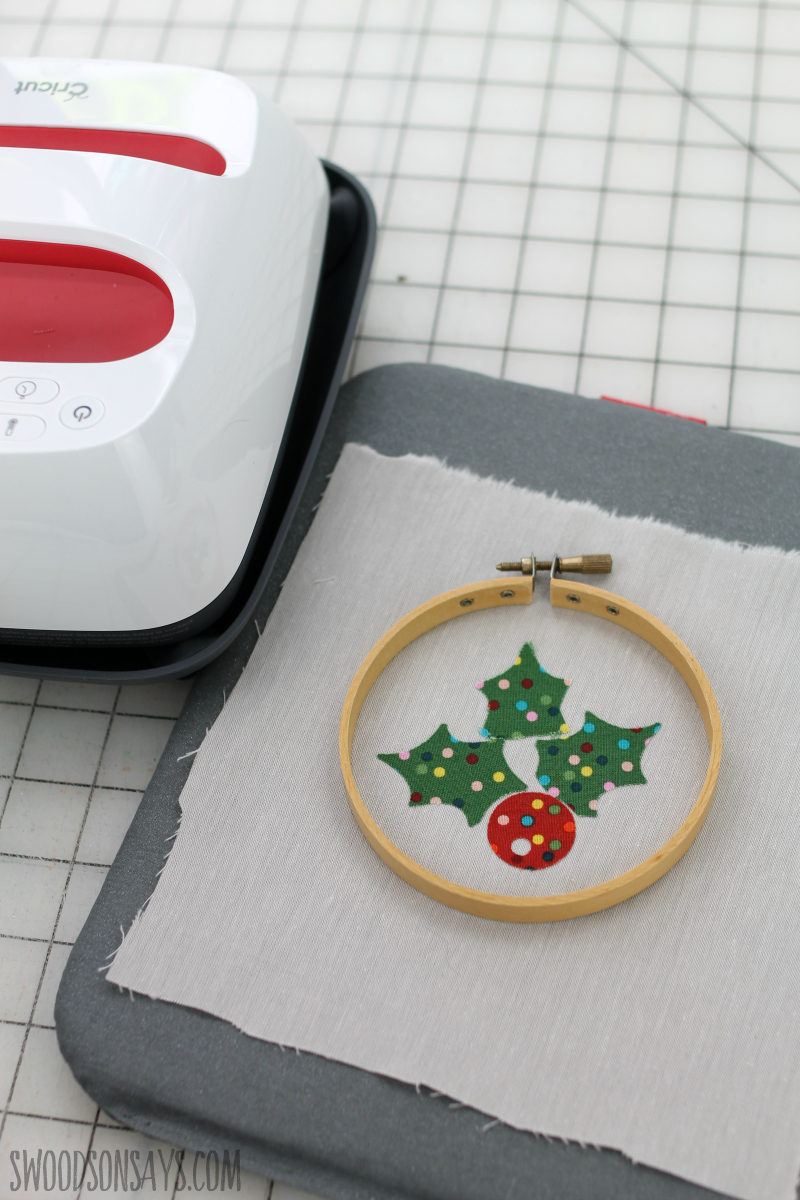
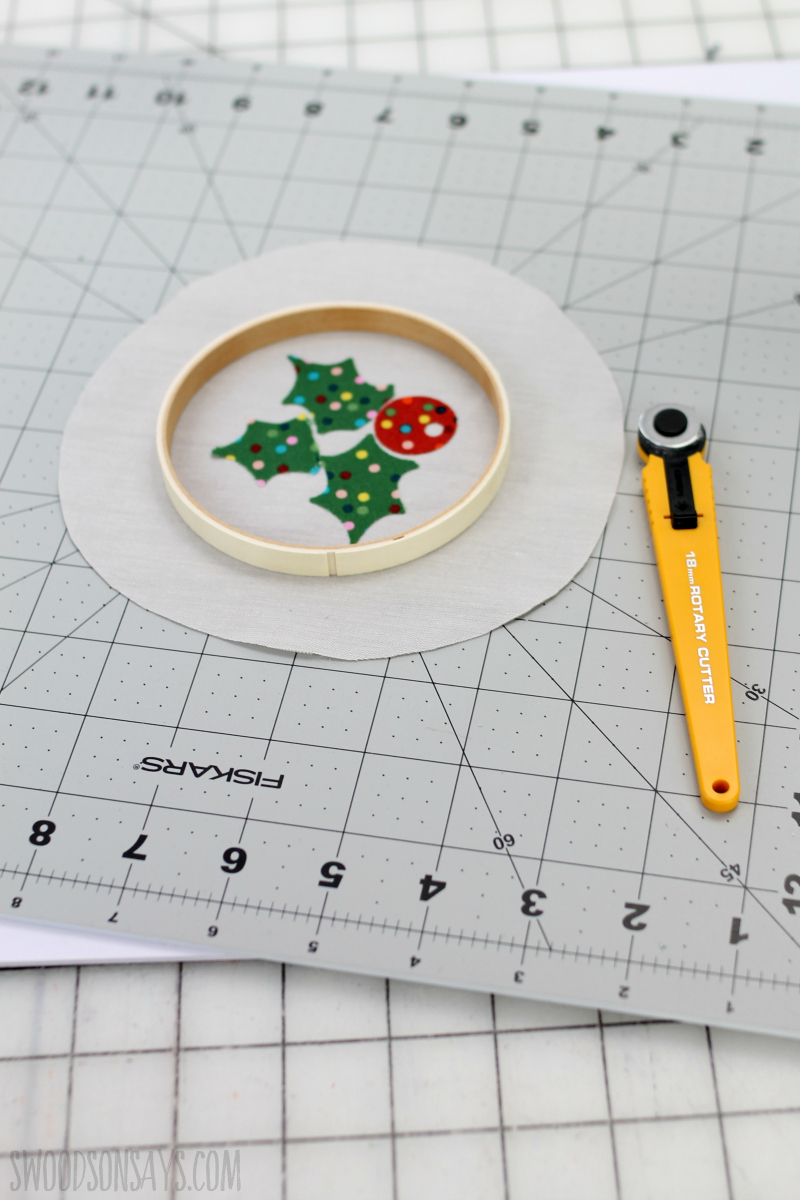
Step 3- Use your easypress to adhere the holly in place and then trim a circle around, if you forgot to do it with the first step, like me.
Step 4- Same as the embroidered star; tighten up the hoop and fold the edge over, lightly running hot glue along the wood frame. Go all the way around, and then hot glue the felt circle to cover the back! Tie on a piece of floss as a hanger and you’re done!
Iron on stocking ornament
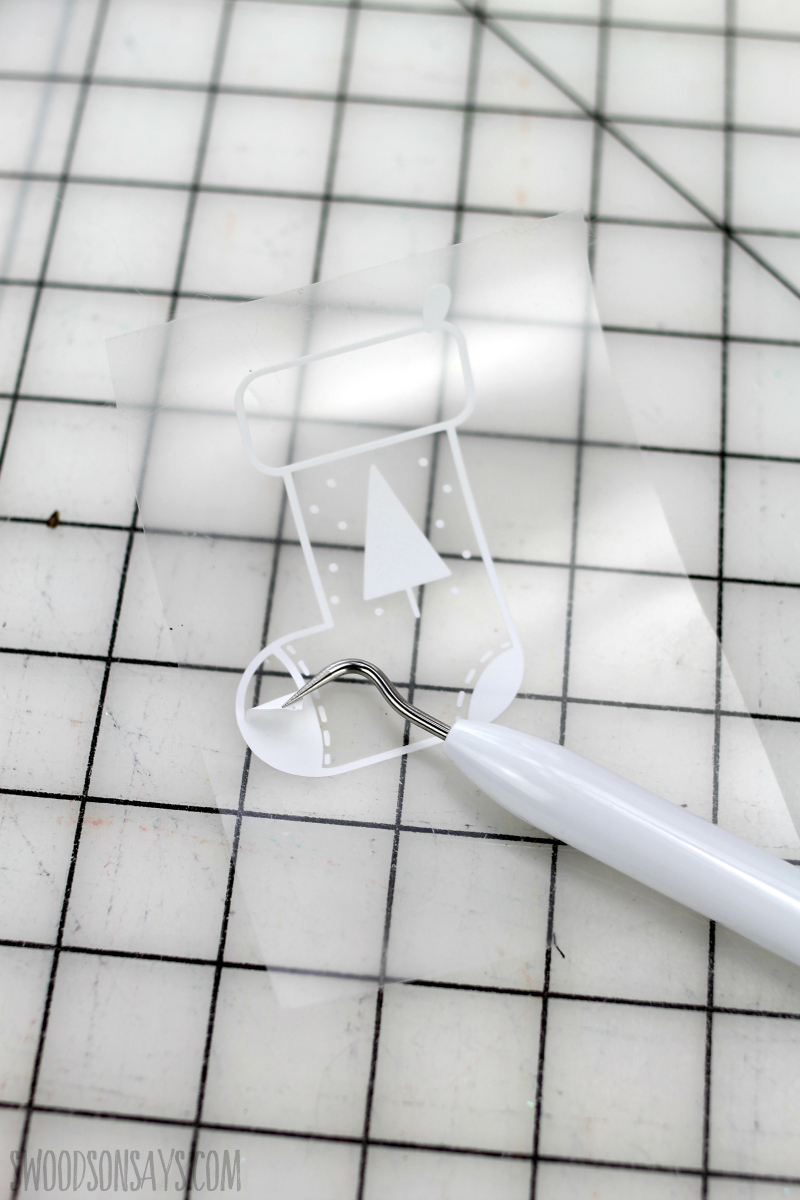
Step 1- Use the fine point blade to cut out your iron-on and then weed it with the weeding tool.
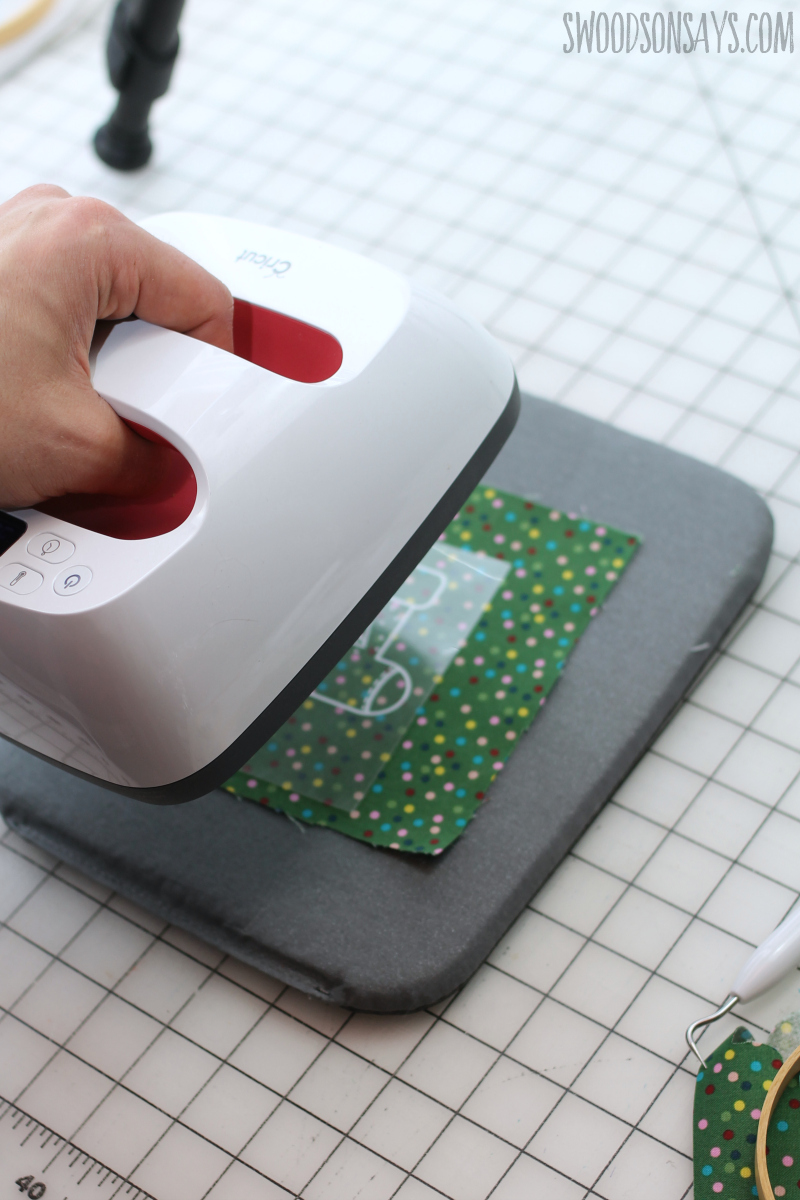
Step 2- Use your easypress to adhere the holly in place and then trim a circle around, if you forgot to do it with the first step, like me.
Step 3- Same as the embroidered star; tighten up the hoop and fold the edge over, lightly running hot glue along the wood frame. Go all the way around, and then hot glue the felt circle to cover the back! Tie on a piece of floss as a hanger and you’re done!