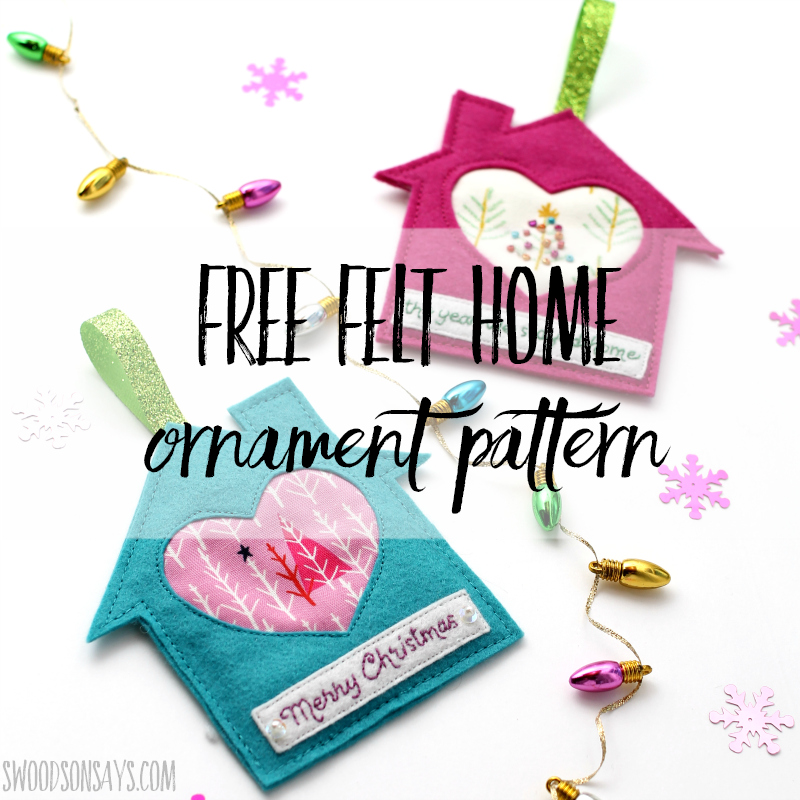
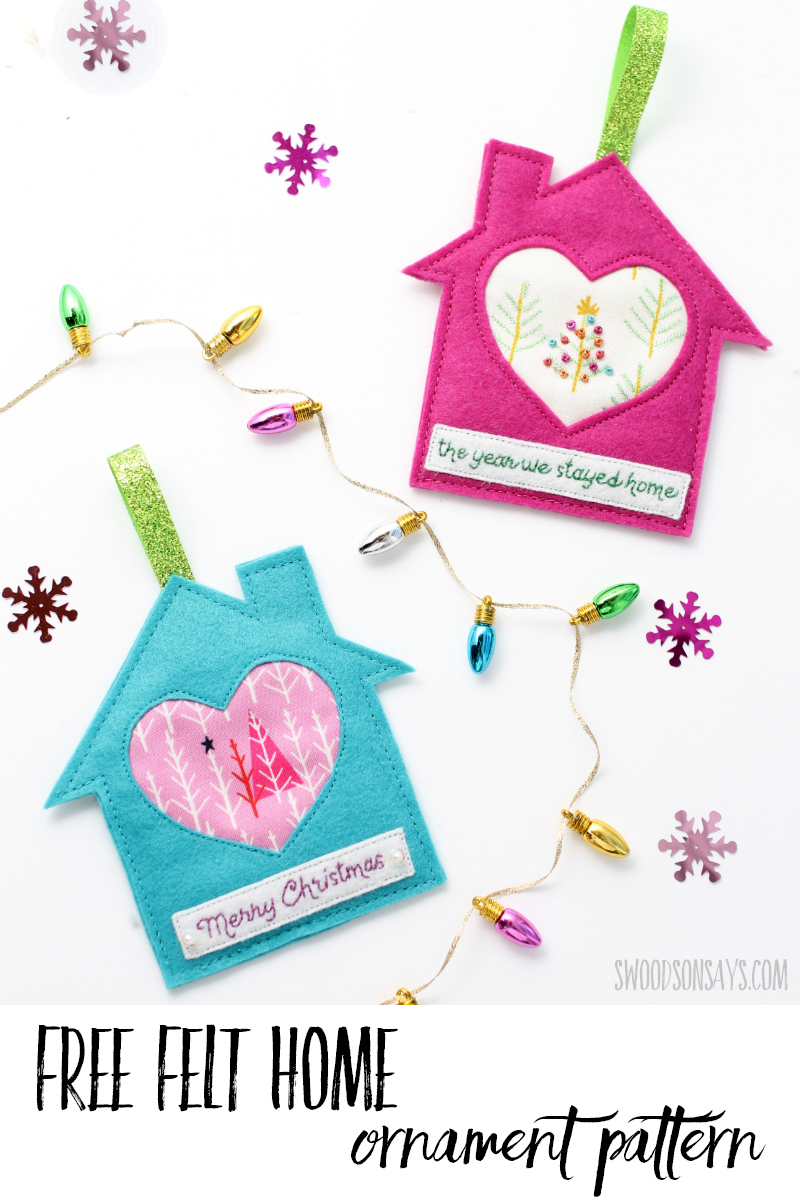
 Sharing one last tutorial for the year, a free felt house ornament pattern! Making handmade ornaments is such a symbol of the cozy, slow holiday season for me and I love gifting them too. Adding hand embroidery or hand sewing elements is key; it means I sat in a chair by the tree and stitched, thinking of whomever I’m making it for! There are lots of ways to customize this design, it’s pretty simple, and you can keep scrolling to see the third version I included.
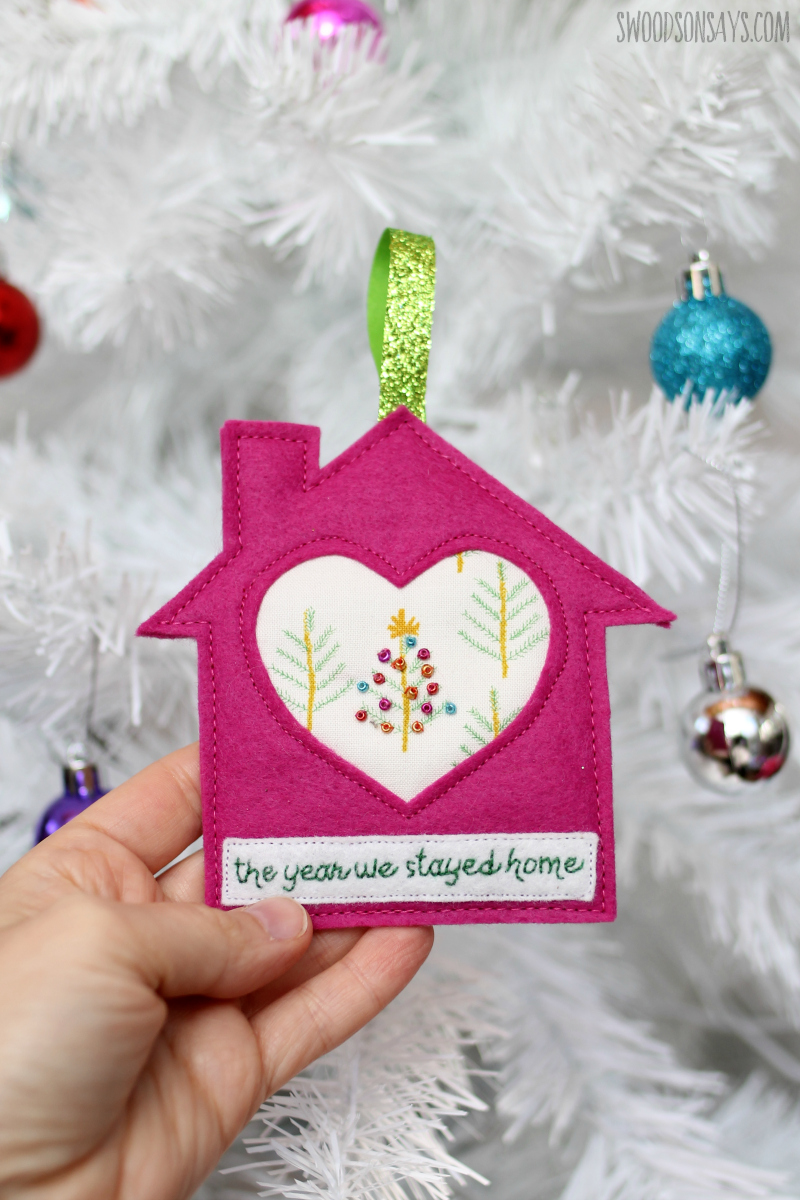
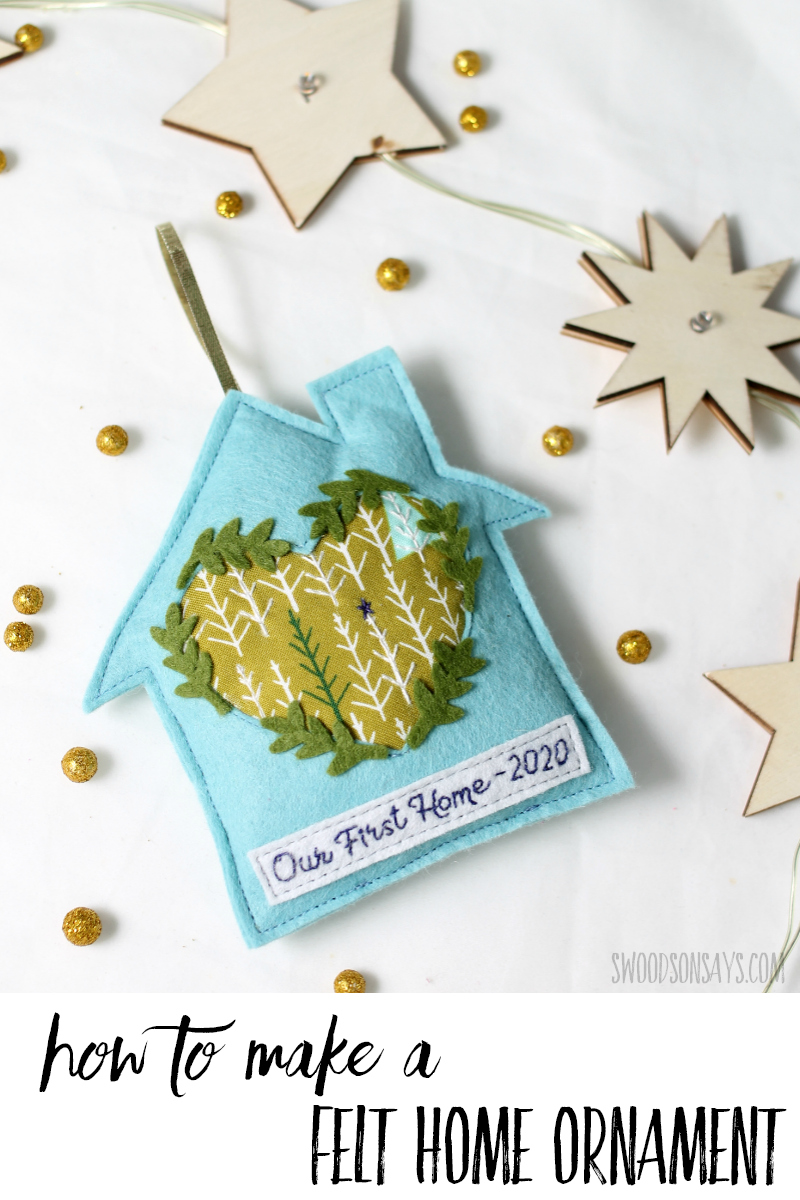
I’m not sure anyone will forget 2020 so I didn’t include the actual date, haha, but I wanted to capture the sentiment somehow. This really is the year we stayed home, for better and for worse.
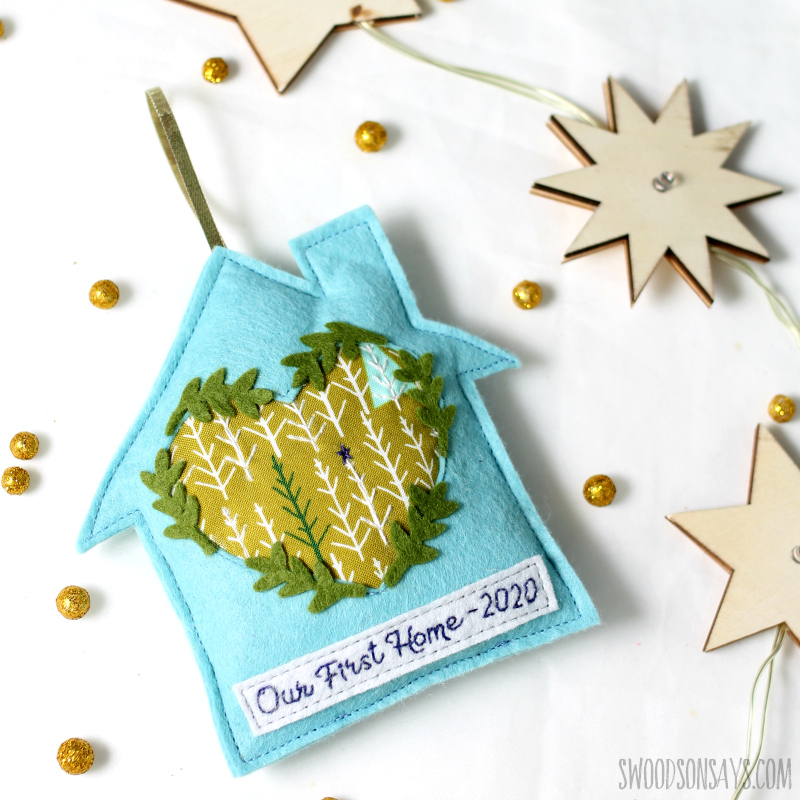
A completely different spin was for a gift, first time homeowners! I hope they hang this on their tree as a fun keepsake.
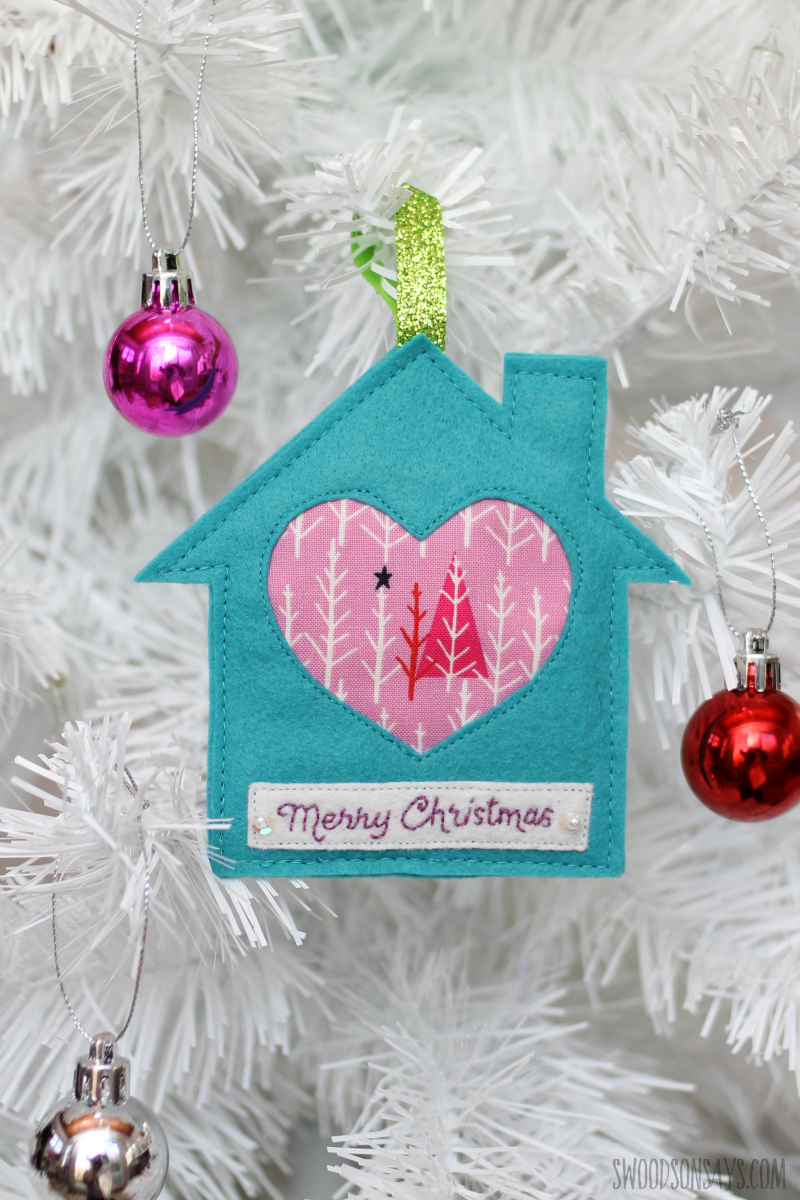
Last but not least, a simple Christmas wish. You could put all sorts of things in the text box but those are the three I chose!
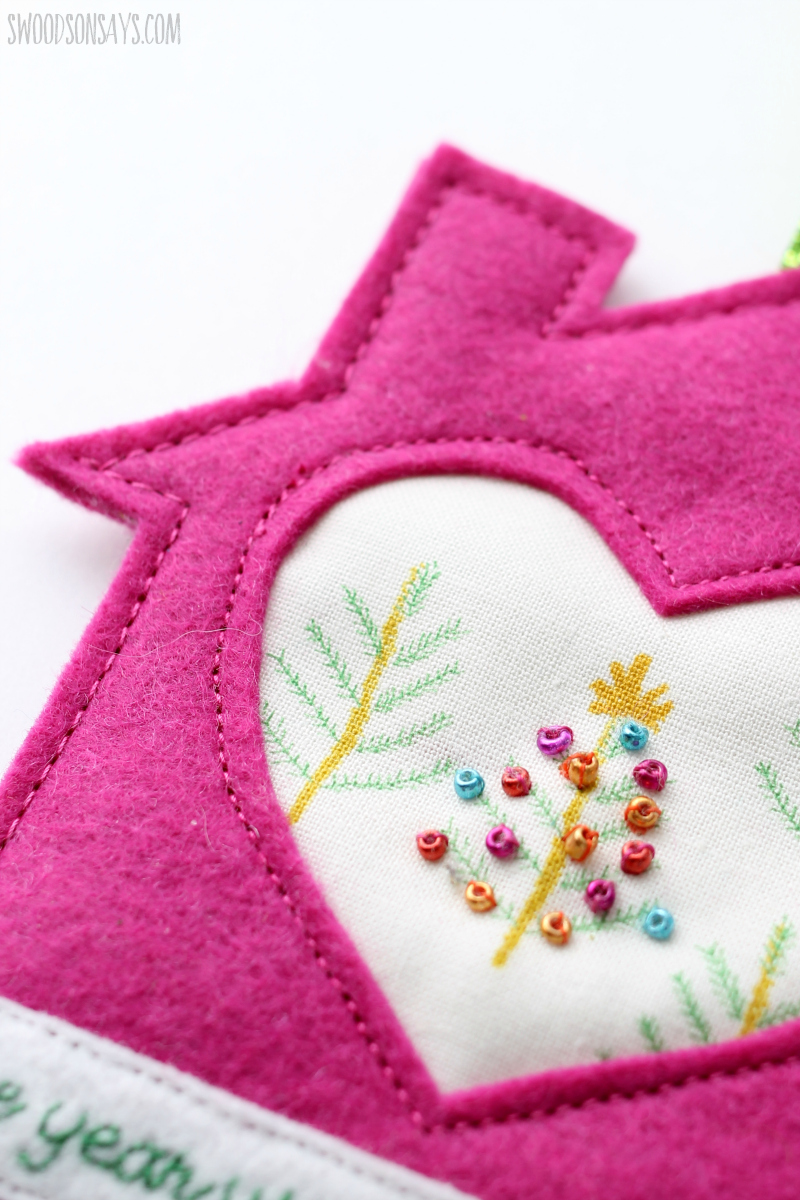
It would also be easy to go wild with different personalizations; here you can see I used beads. In retrospect and with this super zoom, I wish I’d picked all pretty short ones so I only had to use two stitches for each one, but you can’t tell unless you’re thisclose to it, ha.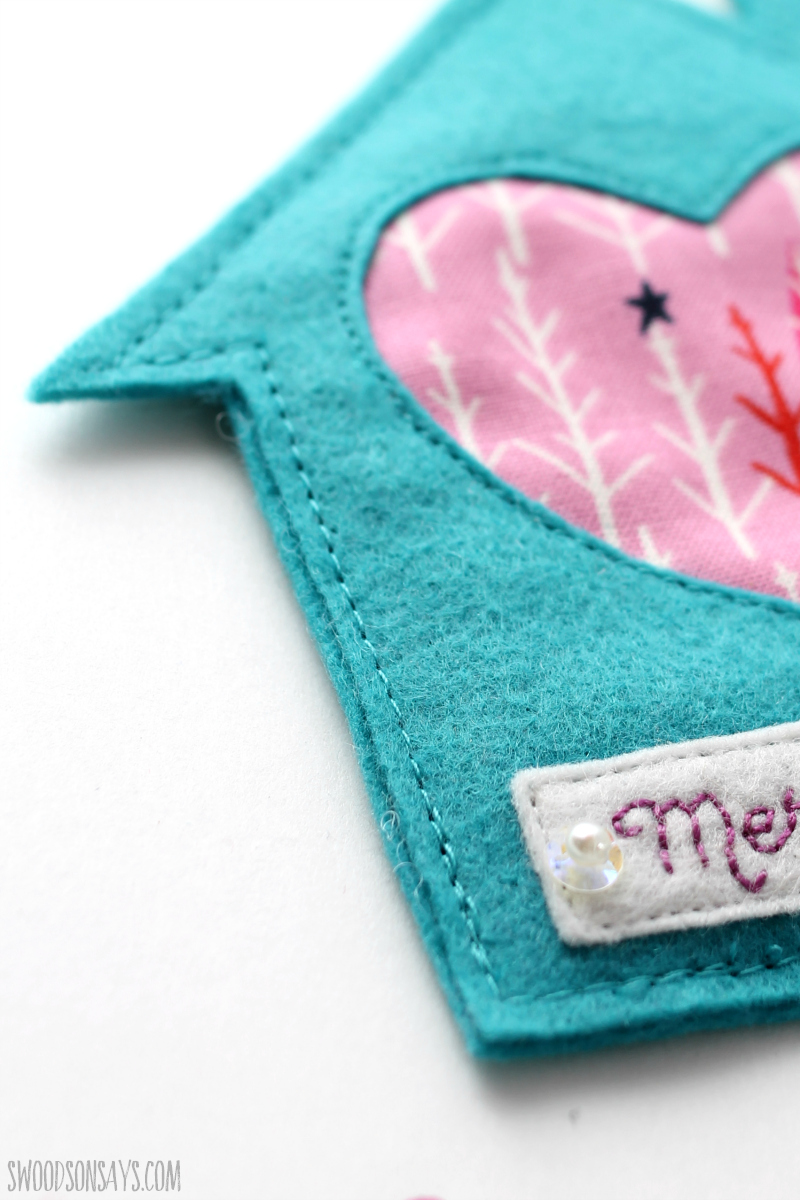
Here is a subtle sequin & seed bead detail on the bottom of the other ornament.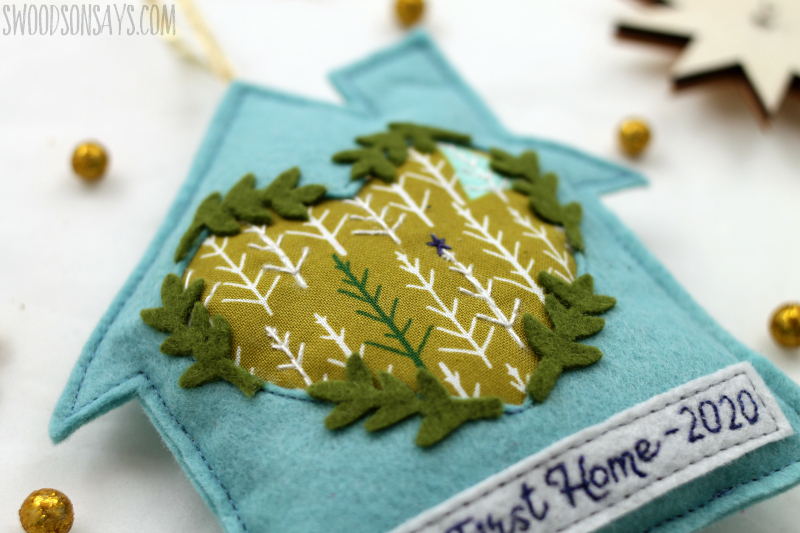
Last but not least, you can see hand stitching on the fabric accent and then the leaves glued on top! It would also be easy to slip patchwork in the back like this ornament or a printed photo like this ornament, sky’s the limit with a simple design like this.
If you want more Christmas sewing inspiration, check out these posts!
- 15+ fabric ornament tutorials
- 20+ felt Christmas ornament patterns
- 20+ modern Christmas quilts
- 25+ Christmas hand embroidery patterns
- 35+ stocking stuffers to sew
Pin this tutorial for how to make a free felt house ornament pattern using this link or photo:
Ready to make your own?
Free felt house ornament pattern
Supplies
- Batting scrap larger than the house
- Cotton scrap larger than the heart
- 1 8 X 10″ sheet of wool blend felt & coordinating scraps – my fav shop is here
- Gold metallic trim or ribbon
- Freezer paper – in a roll if you want to trace or sheets if you want to print
- Embroidery supplies; this will be a bit of personal preference but in this tutorial I used a 4 or 5″ hoop, Sulky cotton petite thread, and these needles. I transferred the pattern with Stick N Stitch (full tutorial for this method here)
- Fabric fuse fine point glue is used here but any fabric glue will due
- Sharp, micro tip scissors – these are my favorite
- Seed beads & sequins if desired
- Polyfill stuffing (or use fabric scraps shredded up!)
- Glue stick
- Coordinating thread
- Iron & ironing board
- Sewing machine
-
PDF ornament template–sign up for my newsletter and get the free download once you confirm your subscription! If you’re already a subscriber, you can access the pattern with the password in each newsletter, in the resource library.
Steps
I only show the steps for one of the styles but they’re all very similar! Leave any questions below and I’ll happily answer them!
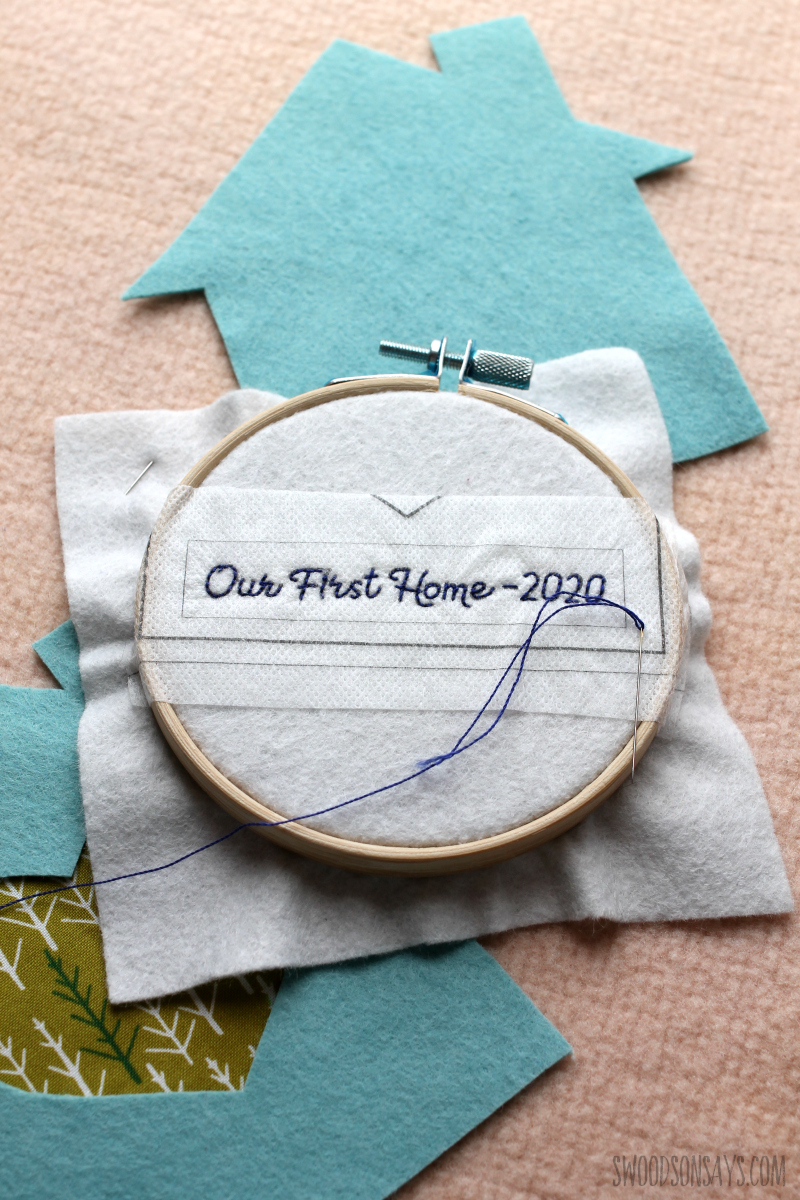
Step 1- Cut out 2 house shapes, one with the felt insert. I use freezer paper to cut my felt shapes, if you aren’t familiar Next, embroider your text! I have more details about the stuff I’m using to transfer the pattern in this post, but obviously you can do it however you’d like! I just used a small backstitch but stem stitch and whipped back stitch are great choices for text.
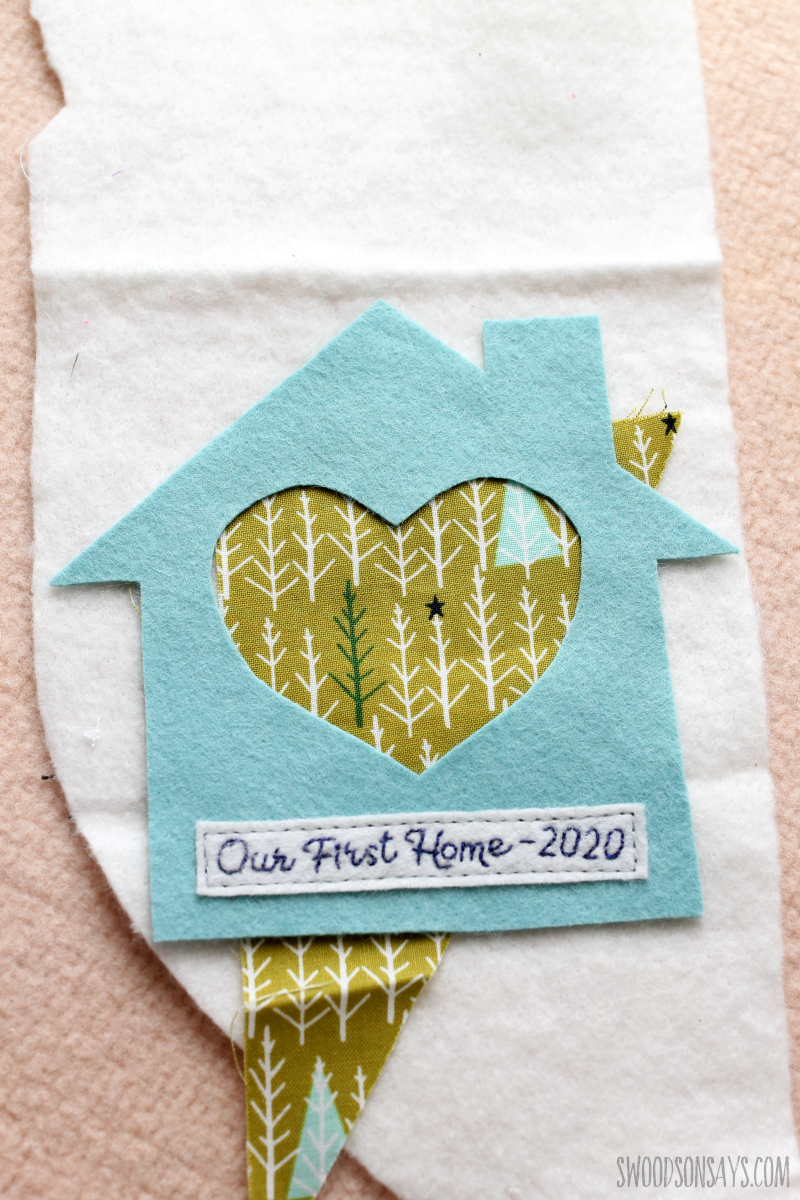
Step 2- Layer the text on top of the house and center, then the fabric scrap behind the house (make sure all the edges overlap so there aren’t any empty spaces!), and then the batting scrap behind all of that. You can use a regular glue stich around the edges to secure the rectangle on the house and/or the house over the fabric. Stitch the text rectangle down.
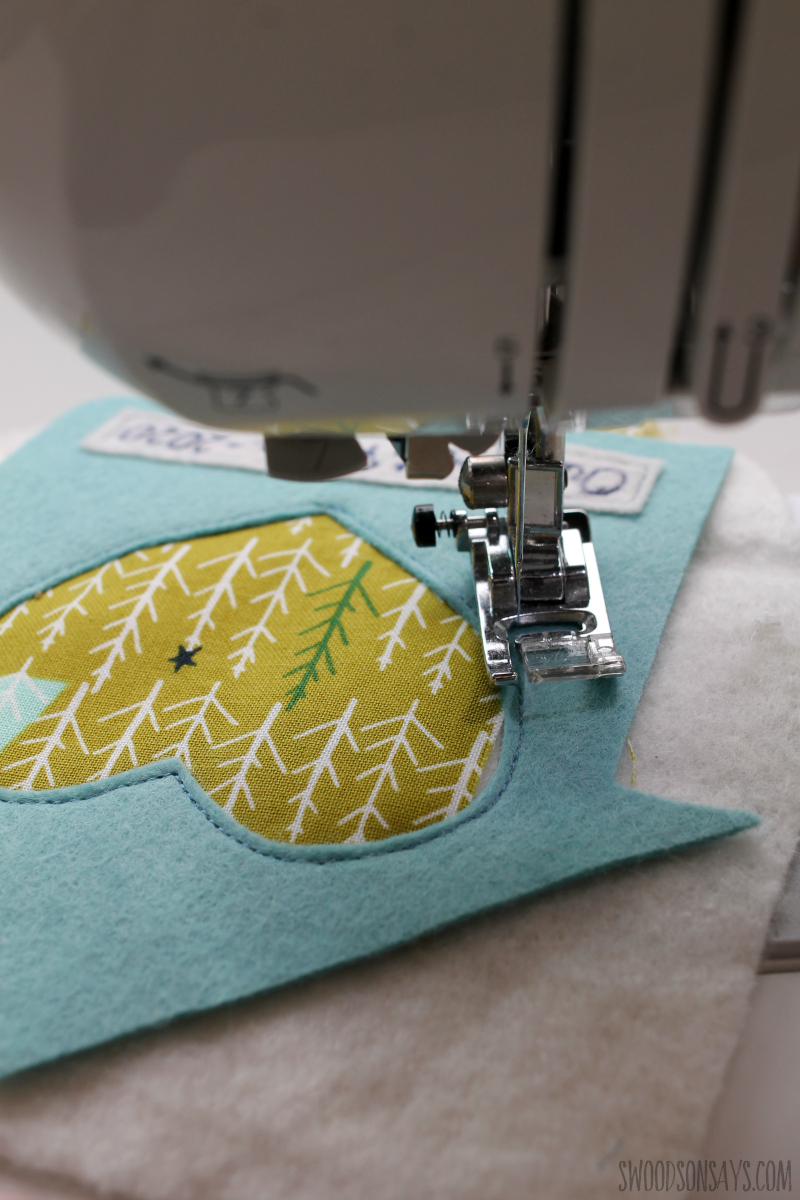
Step 3- Stitch around the heart!
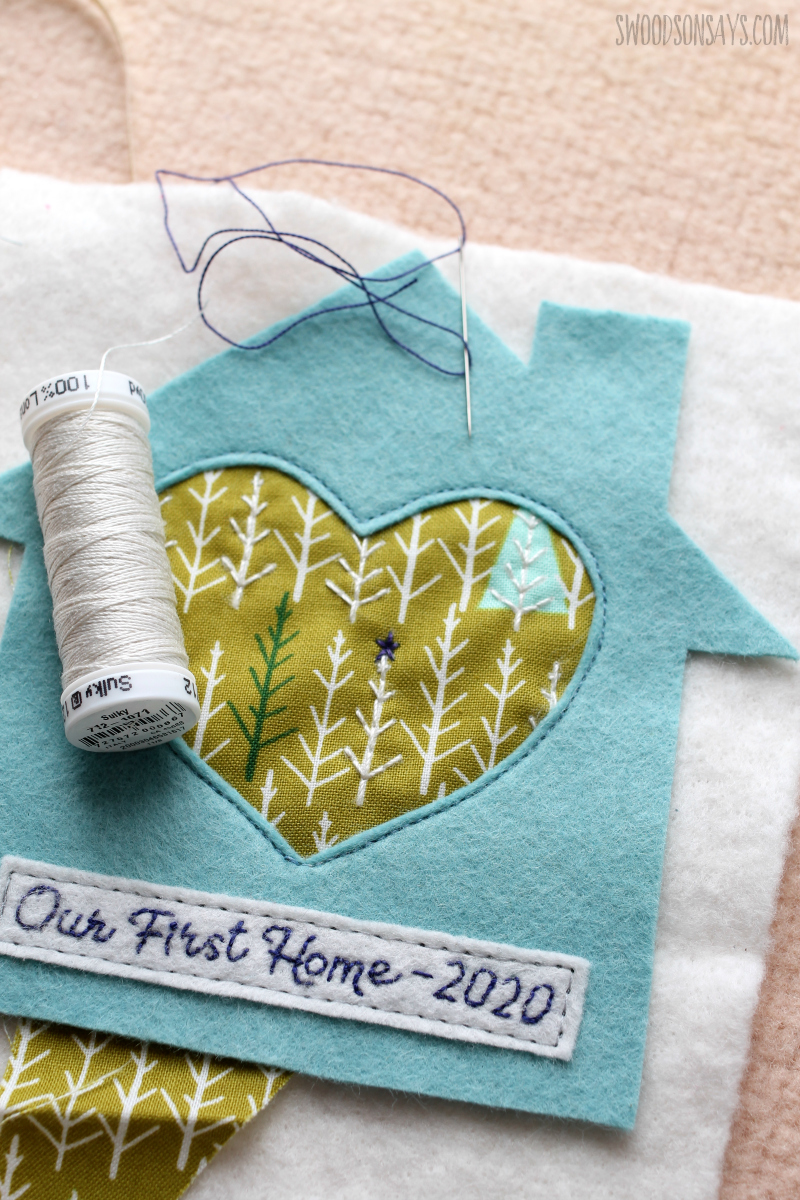
Step 4- Now is a good time to hand embroider any details, add beads, etc.
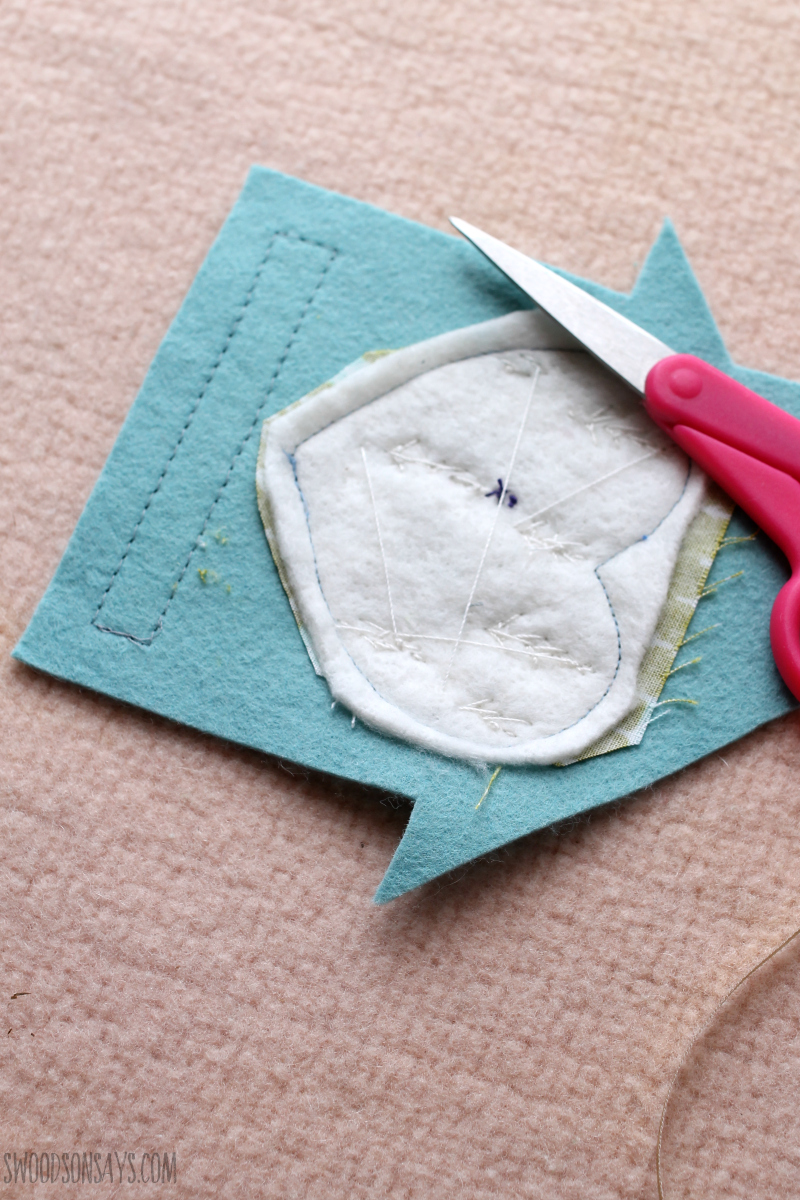
Step 5- Flip it over and trim the fabric and batting away from the edges. You don’t have to cut this close if you want a slightly fluffier ornament; just make sure nothing will hang out of the felt sandwich.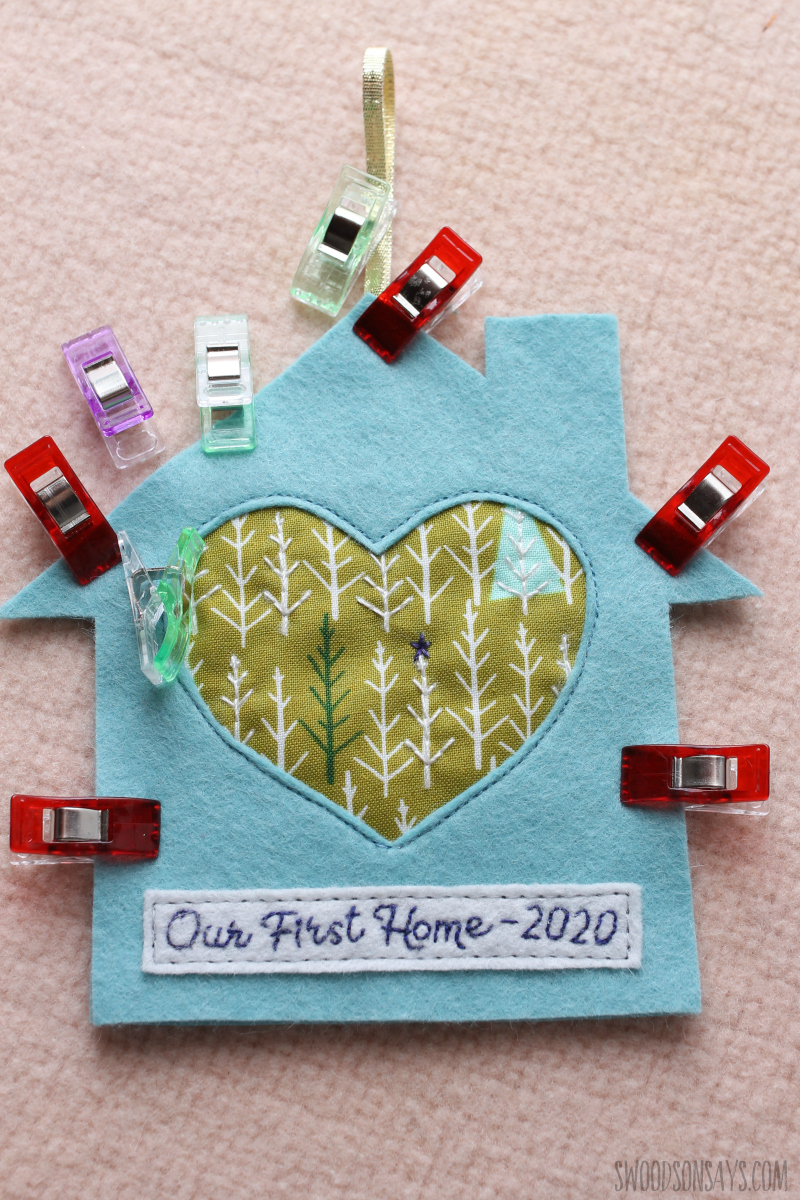
Step 6- Cut a small piece of ribbon and make a loop, using a gluestick to adhere to the inner layer of felt. Then layer the solid house on the back and pin or clip together.
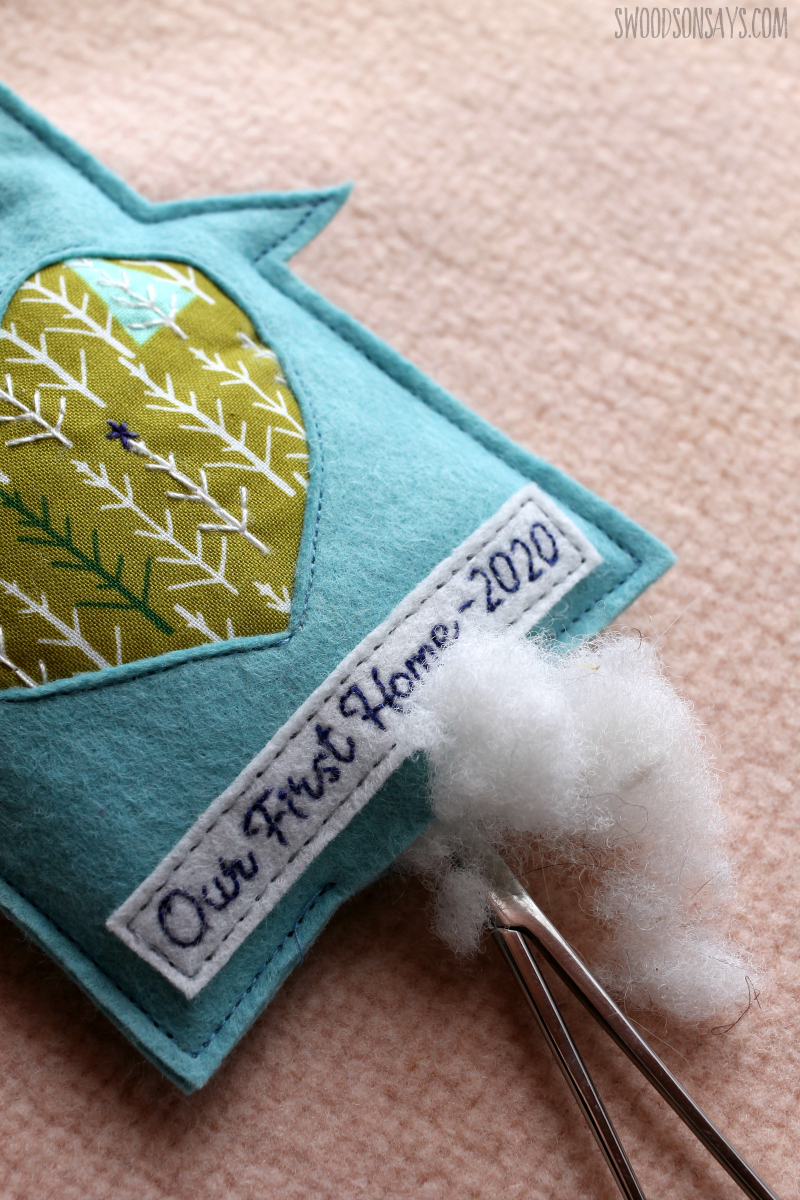
Step 7- You can either stitch around all of the edges and be done, or you can optionally leave a gap and slide some stuffing in. This is personal preference for how you want the finished ornament to look! The light blue house is stuffed, the pink and turquoise houses above are not.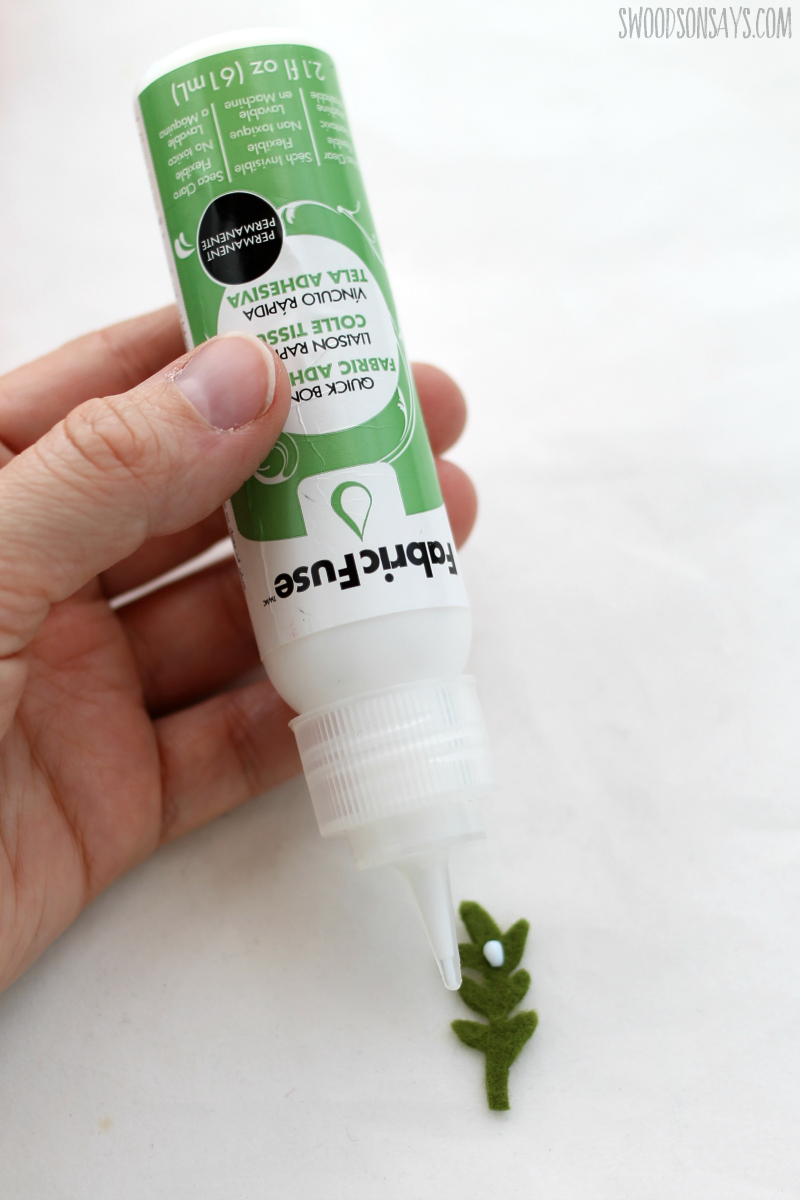
Step 8- Optional, if you didn’t stitch any accents down, you can alternatively glue them on now! Let dry and you’re done!
Pin this version here:

Laura Berry
Thursday 23rd of December 2021
These house ornaments are super cute, and I love everything about them: the colors, the hand stitching, and the little details. I made an attempt and it's going in the scrap pile: my stitching around the heart shape looks a wreck. I think I should have used a much shorter stitch length. I'll give them another try when I have more time. Your crafts are so lovely! Merry Christmas!