
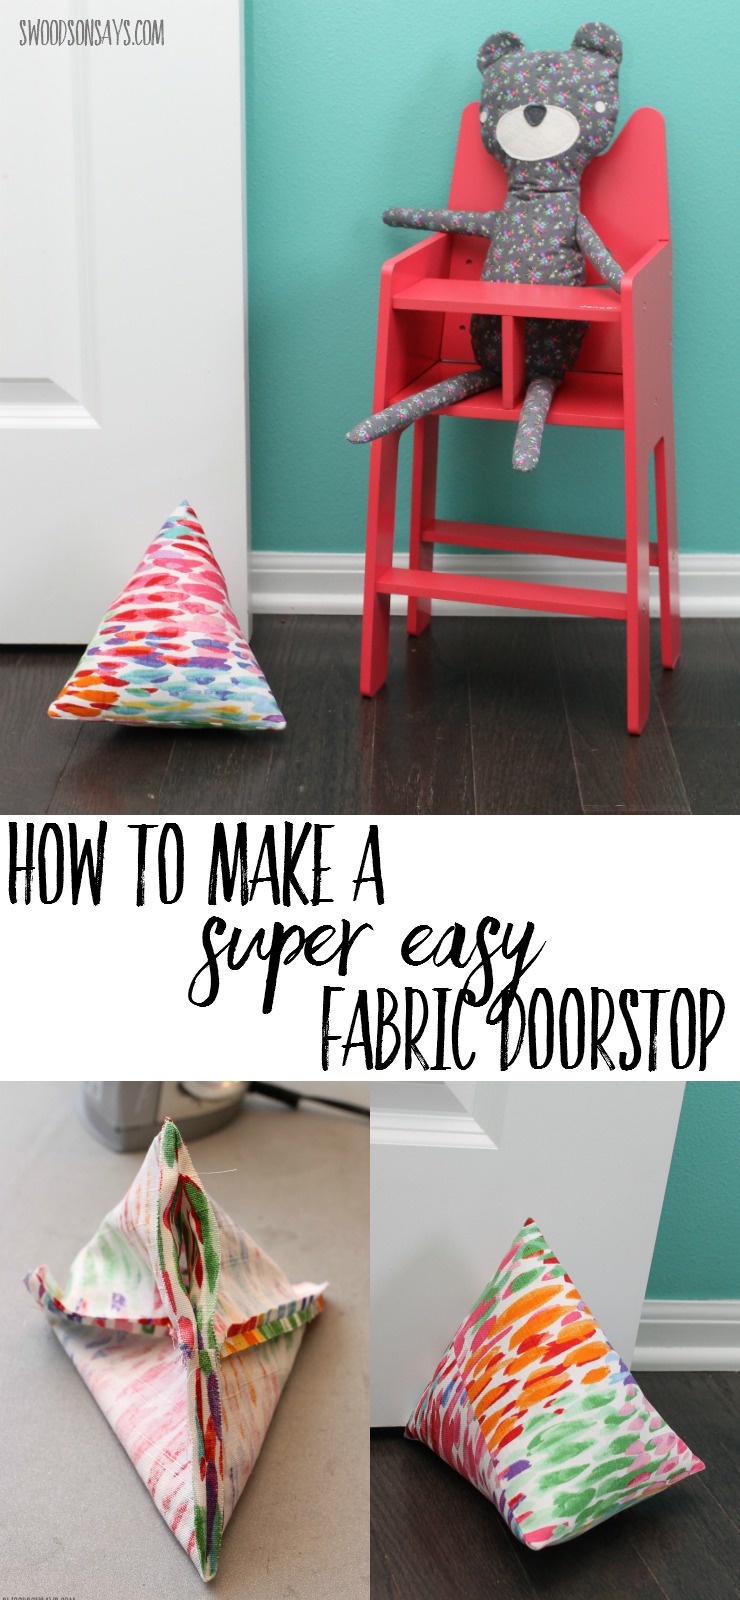
How to sew a door stop the simple way

Bean bag door stop is easier than you might think! My friend asked me to make her a few doorstops right as I needed to come up with an easy sewing tutorial for beginners, as a part of a monthly creative challenge I’ve been doing with a few other bloggers. It was just the motivation I needed and I love how this DIY fabric doorstop turned out. Check out a roundup of easy sewing project for beginners here for more ideas!
I followed the same steps, sans Velcro, from my phone-cord weight tutorial, and it turned out just right.
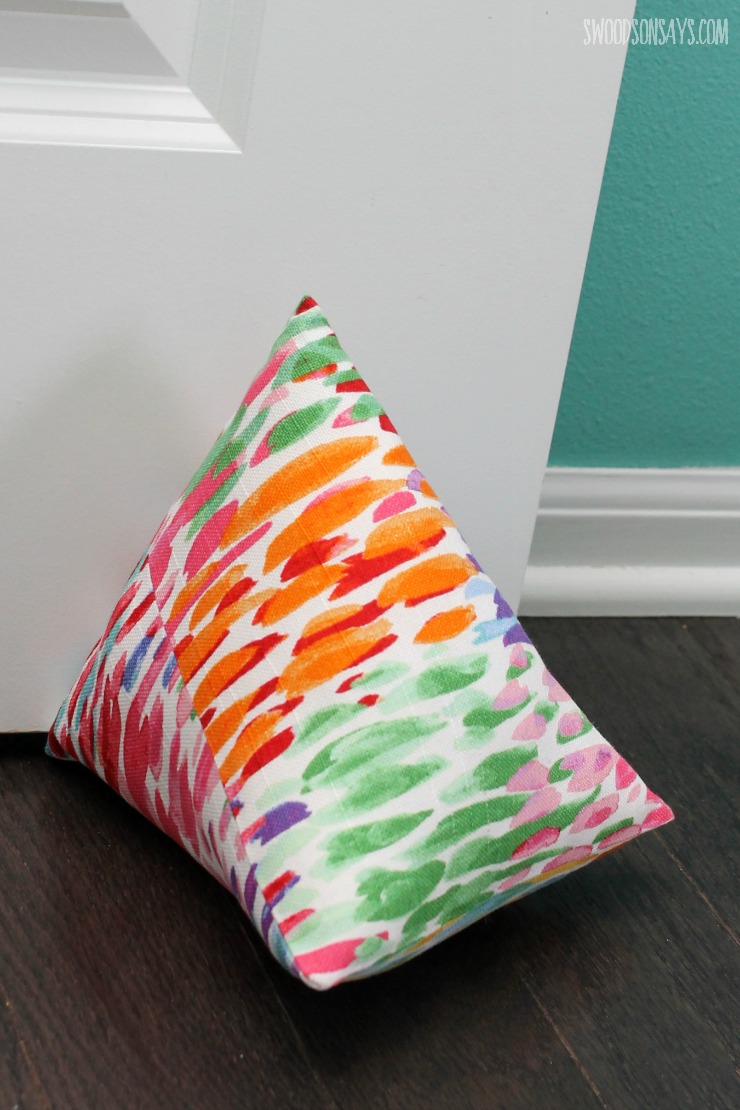
If you’re not familiar with that project, it’s designed with two squares so there isn’t a “base” per se but it forms a nifty triangular shape and sews up so quickly.
Looking for more home decor projects? Check these posts out!
- The easy way to turn a t shirt into a pillow
- DIY no sew stamped blanket tutorial
- How to make a shibori indigo tie dye blanket
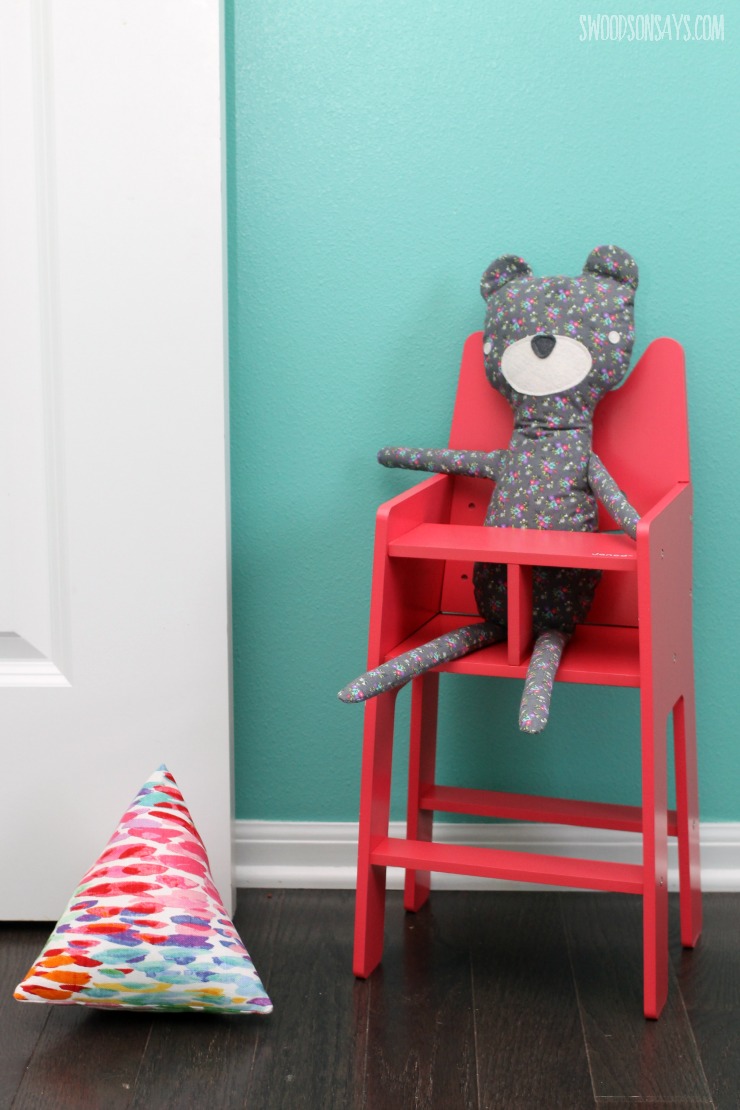
Doesn’t it look cute in her room! That teddy bear is my Hipster Teddy Bear pattern, I love it (the adorable high chair is found here!).
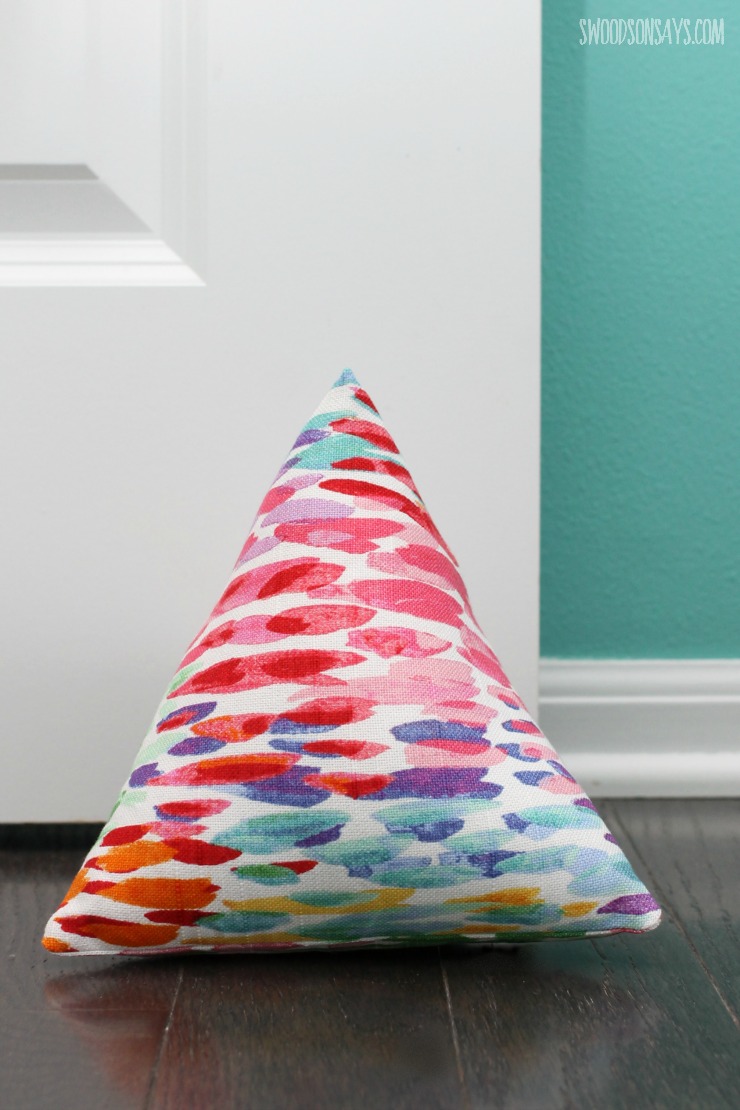
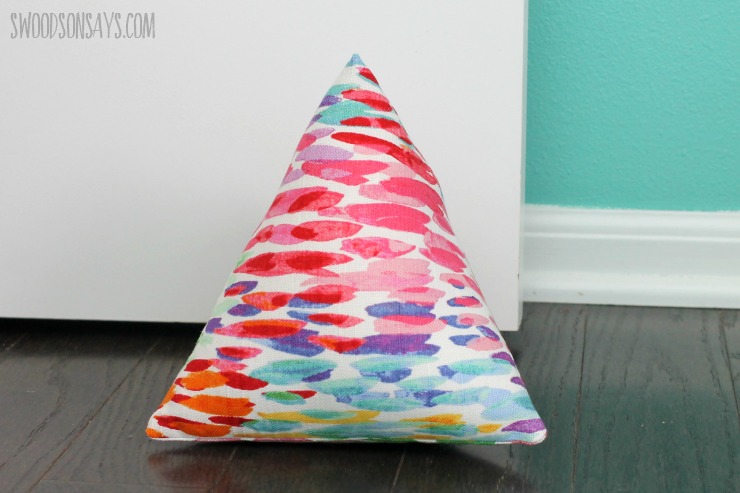
The fabric is from Jo-Ann Fabrics and its a scrap from the beanbag I made her with it. I just love the bright colors in it! Quilting cotton would work as well, but I’d recommend interfacing it for crisper edges.
Pin this tutorial on how to sew a door stop the simple way for later with this link or collage image:
Want to make your own?
How to sew a door stop the simple way
Supplies
- Sewing machine
- Iron
- Poly fill
- Filler -You can use glass beads, poly pellets, or chopped up fabric scraps and poly-fill. (you could also use beans or rice, but the pellets make it easy to throw in the wash!)
- Chopstick
- Scissors
- 1/4 yard of canvas or home dec weight fabric
Steps
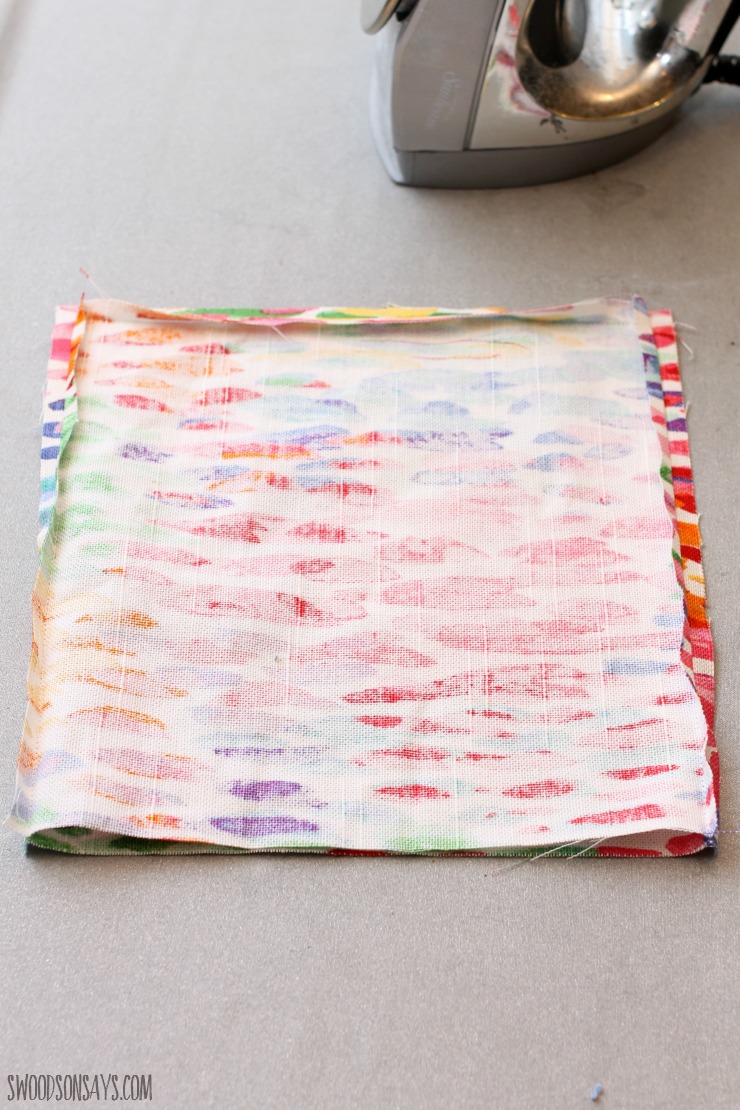
1- Cut two 8.5″ squares (I used this quilt ruler to make it super easy! Sew them together on three sides with 1/4″ seam allowance. Press the seams open.

2- Open up the squares and match the middle seams together, this will form the new shape.
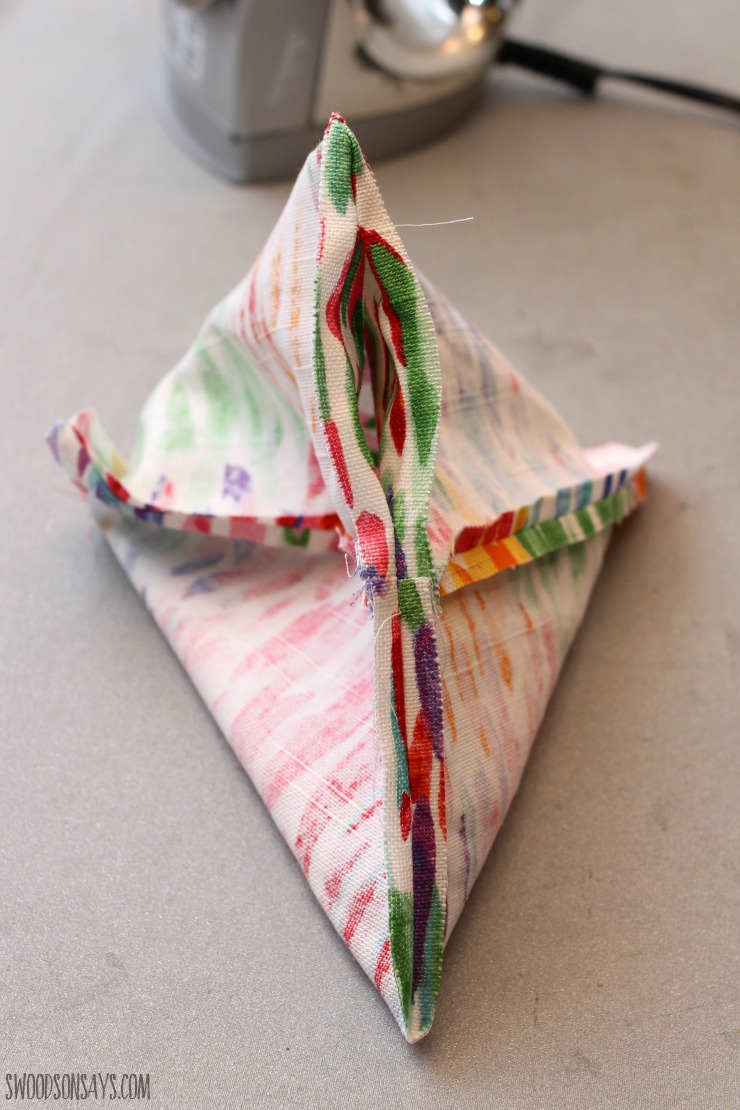
3- Sew the new seam, leaving a small gap about 2 inches wide. Be sure to take a few stitches forward/backwards at the start and stop of each side. Use an iron and press the seam allowance (that fabric inside your stitching line, that you can see the pretty side of) out, including the gap.
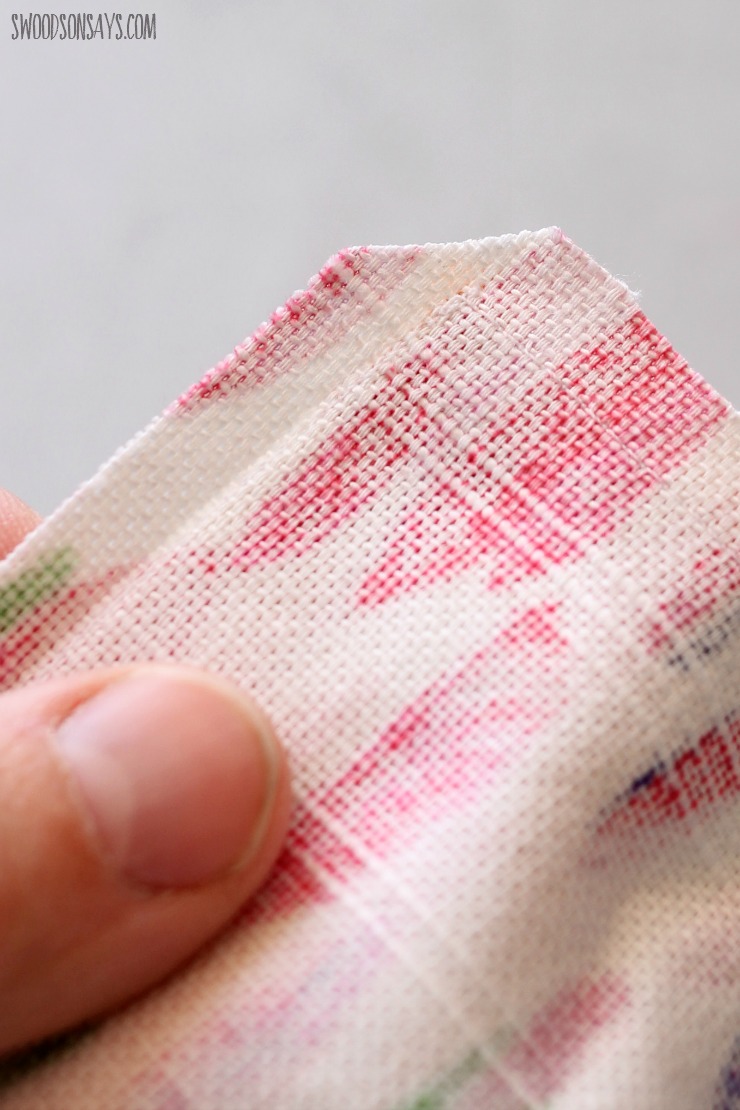
4-Trim off the corners, making sure not to clip through the stitching.
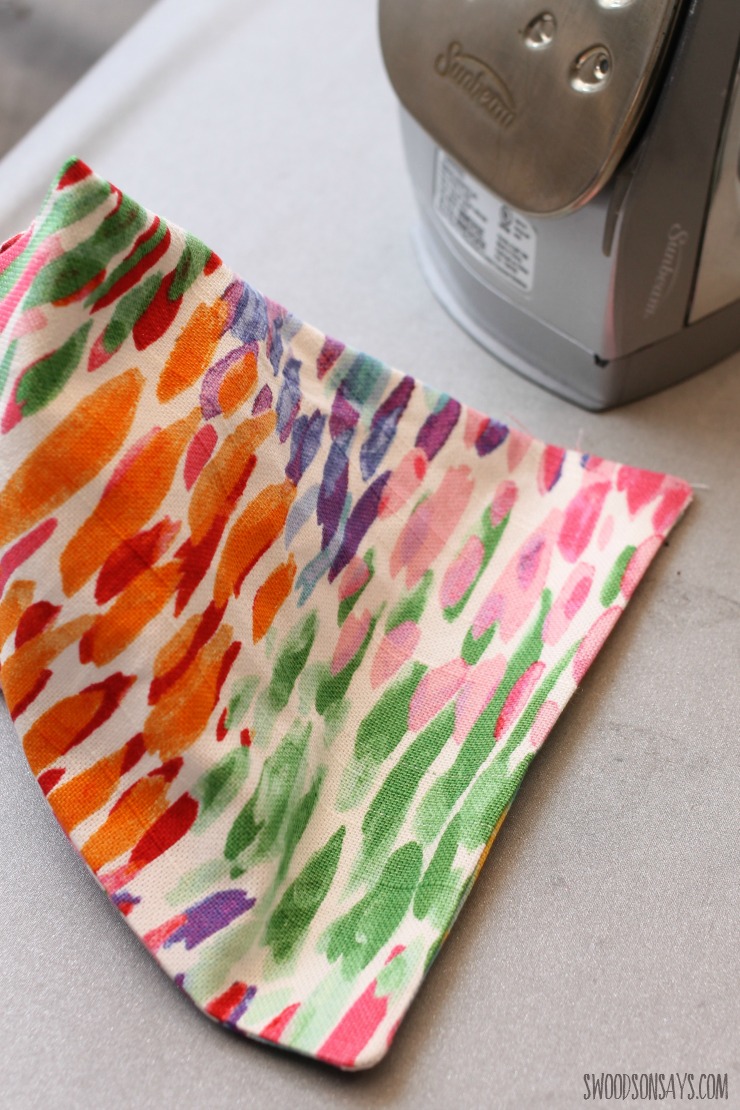
5- Gently pull it right-side-out through the gap that you left, and poke the corners out gently with a chopstick or a pen. Use an iron to press the seams again.
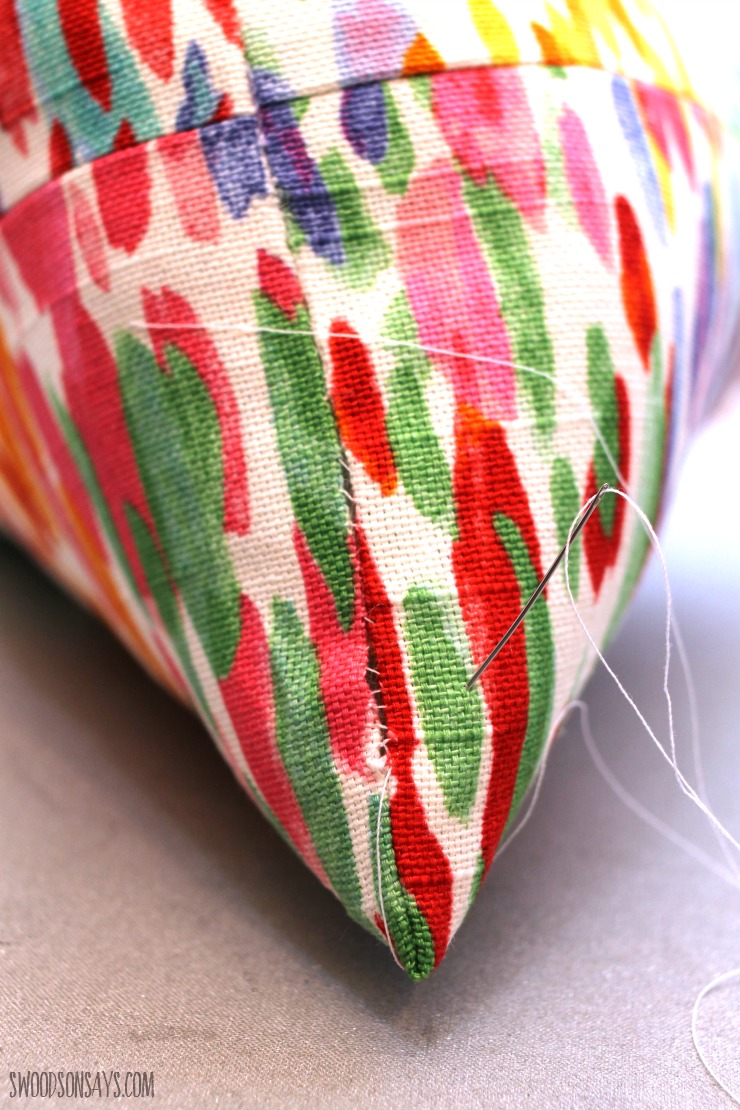
6- Stuff! I used a mixture of Poly Fill and Poly Pellets to give it a nice shape and weight while staying machine washable. Sew up the opening; I used a ladder stitch (you can find a tutorial here) but you could also use your machine to sew it shut.
Sheila
Sunday 7th of April 2024
I'm curious to know how many cups of filler is needed. Thanks!
Stephanie - Swoodson Says
Sunday 7th of April 2024
Hi Sheila! Gosh that is a good question and I'm sorry that I don't have a firm answer - I bought the big honking jug of it and didn't think to measure as I went along, next time I made one I will do that. I would guess that I used 4 cups of pellets, 2 large handfuls of poly-fill. I also usually add shredded fabric scraps, not sure why I didn't put that in this tutorial, but it's a great, cheap way to add weight.
Christine
Saturday 5th of January 2019
I like this pattern. I have made many fabric door stops as gifts, mainly chickens and owls. I am finding it harder and harder to do them as I have a bad spine and it is very painful for me to spend a lot of time at a sewing machine and ironing to make them look right. I still get many requests for them. I have been wanting to make one for a boy in the family as I got some fabulous blue material with trucks all over it. I think I might try your pattern instead.
Stephanie - Swoodson Says
Sunday 11th of August 2019
Let me know how it turned out if you tried it!
Susan August
Tuesday 18th of April 2017
I've been looking for these kinds of ideas for gifts and such. thanks
Stephanie - Swoodson Says
Thursday 11th of May 2017
You're welcome, happy sewing Susan!
Stephanie - Swoodson Says
Tuesday 25th of April 2017
Thanks for reading Susan, glad you liked it!