
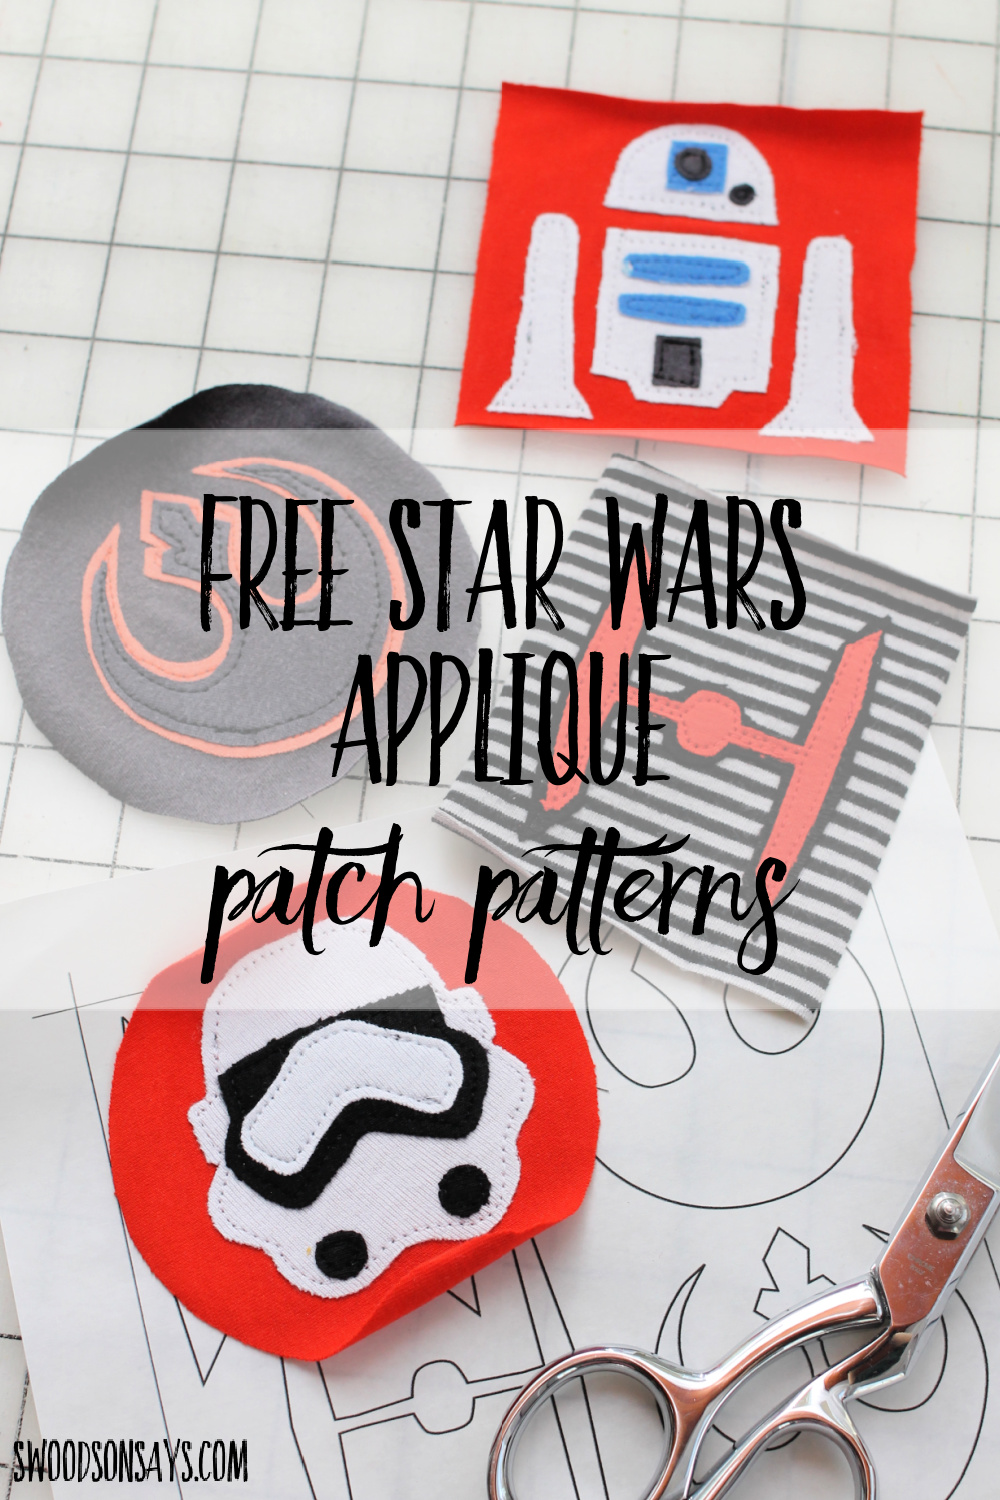
Sharing 4 Star Wars applique patterns to mend kids clothes with a free PDF download!
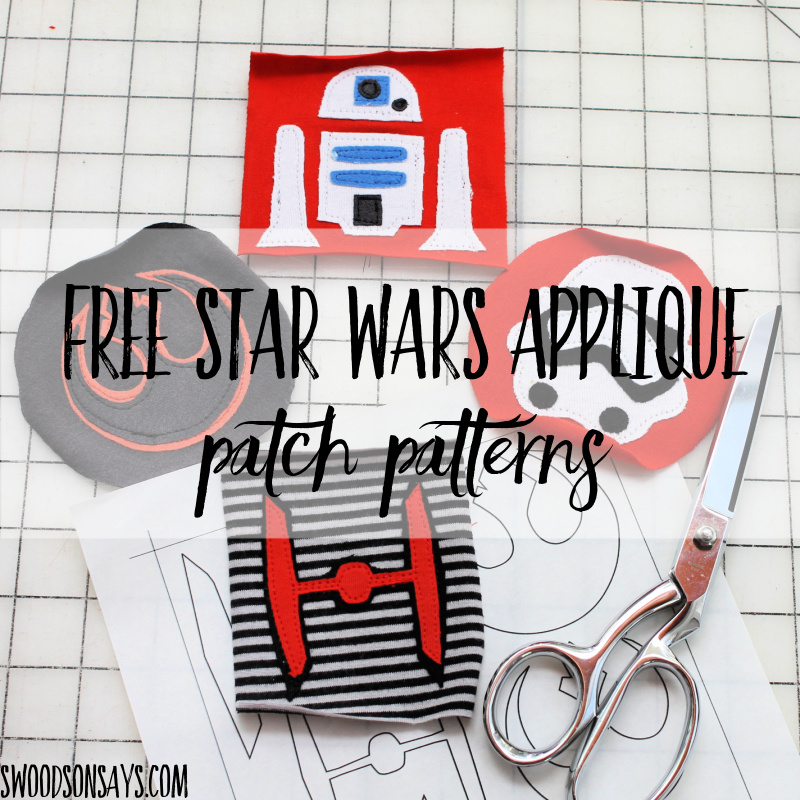
My new year’s resolution has been to mend more! My kids are super into Star Wars so I thought I’d share some free patterns that work to mend holes, or you could blow them up bigger and use them as traditional appliques! All of the fabrics are from other scrap t-shirts and it took longer to photograph them than it did to put them all together. Mending kids clothes can seem a bit futile since they grow so quickly, but now they can be passed down instead of heading for the trash dump!
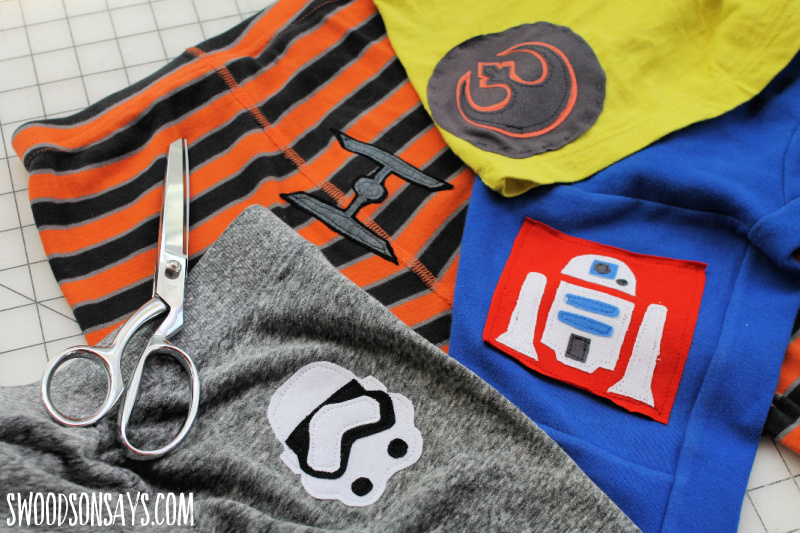
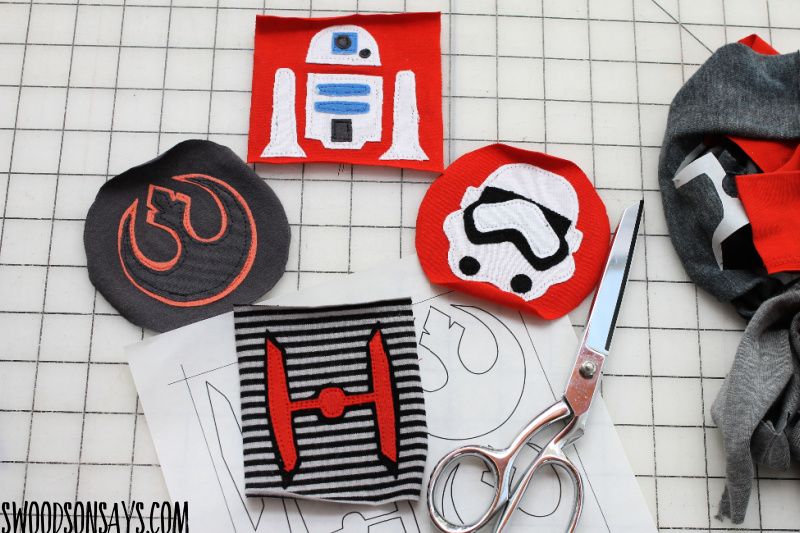
Here’s all four, in varying forms, I hand stitched the rebel symbol on just as an example because I didn’t have another garment in need of mending that it fit on!
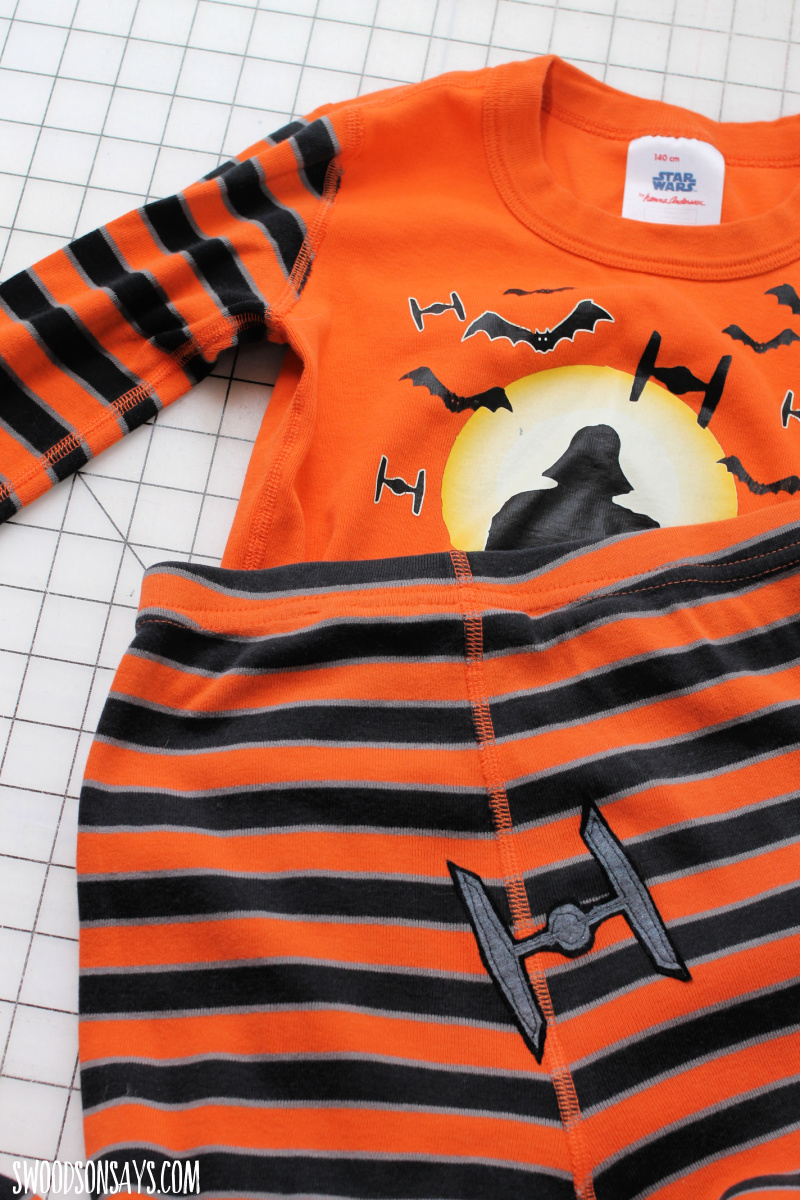
The original set of pajamas that needed mending, I was trying to match the front motif so it looked less obvious.

If you want more templates (including some exclusive to the ebook) and more tutorials to read on patching options, check out my e-book on the topic!
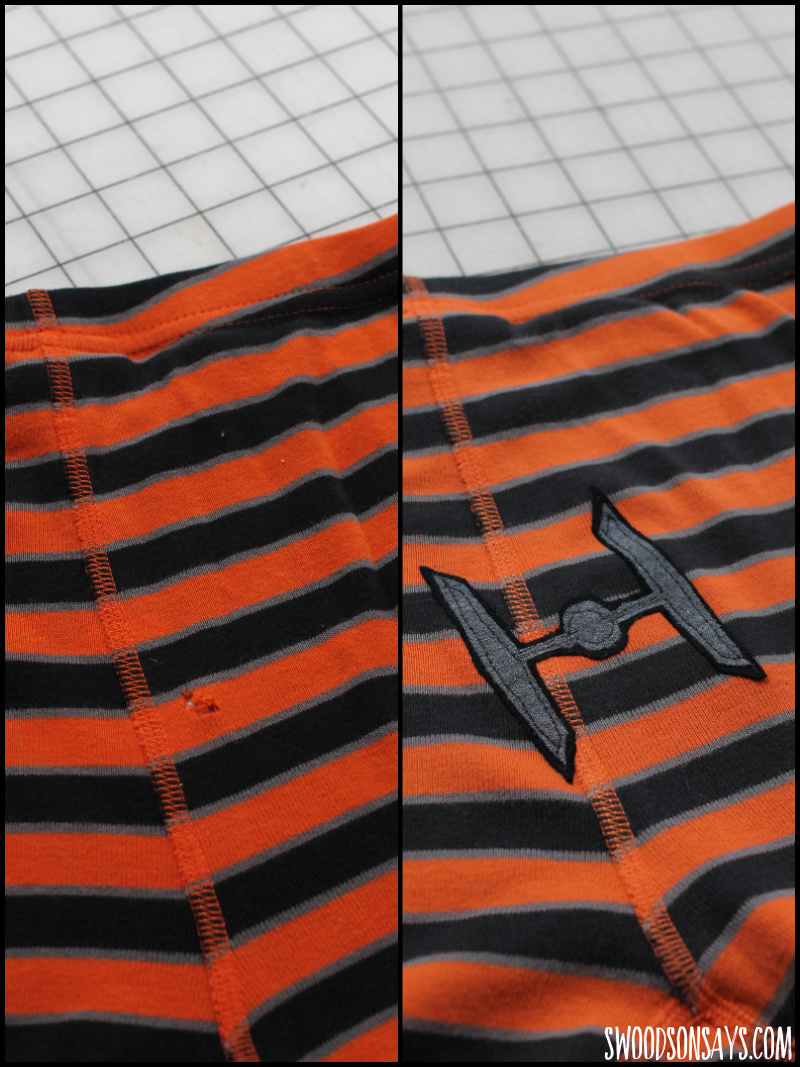
Here’s the tie-fighter before/after.
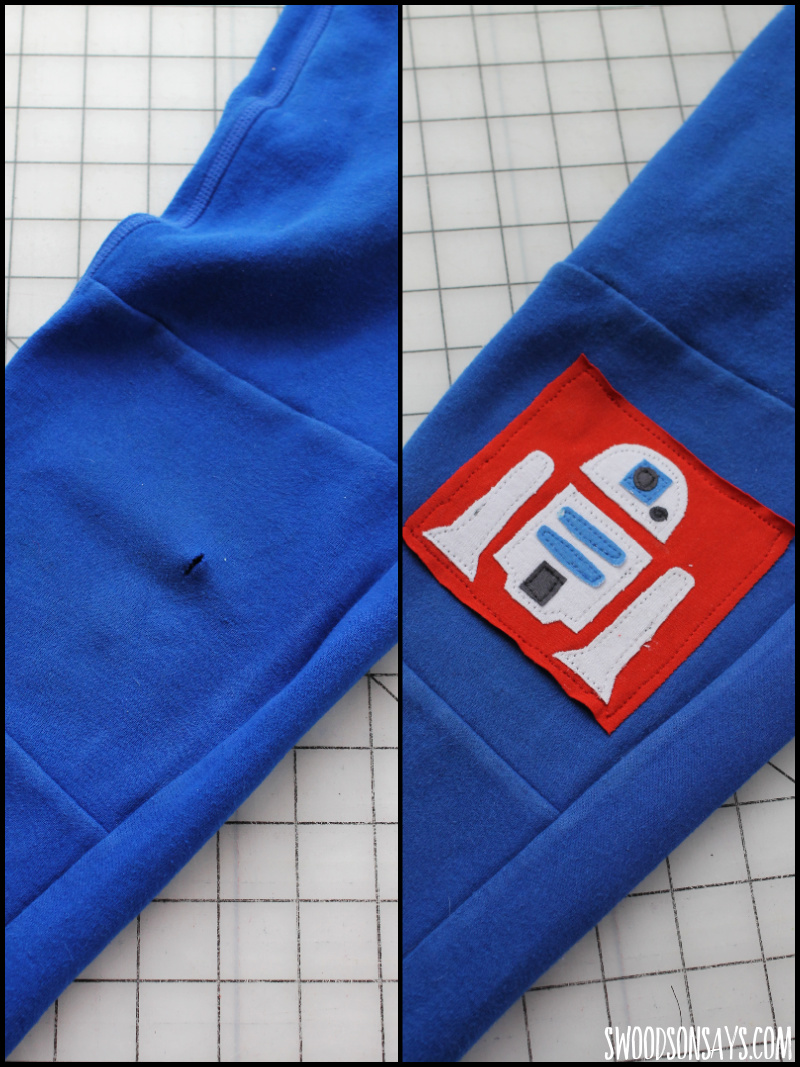
The R2-D2 before/after, I had stitched this one on to a patch when I was testing the pattern and then decided it worked better sewing it on to a knee area like this so you just had straight lines instead of fiddly circles.
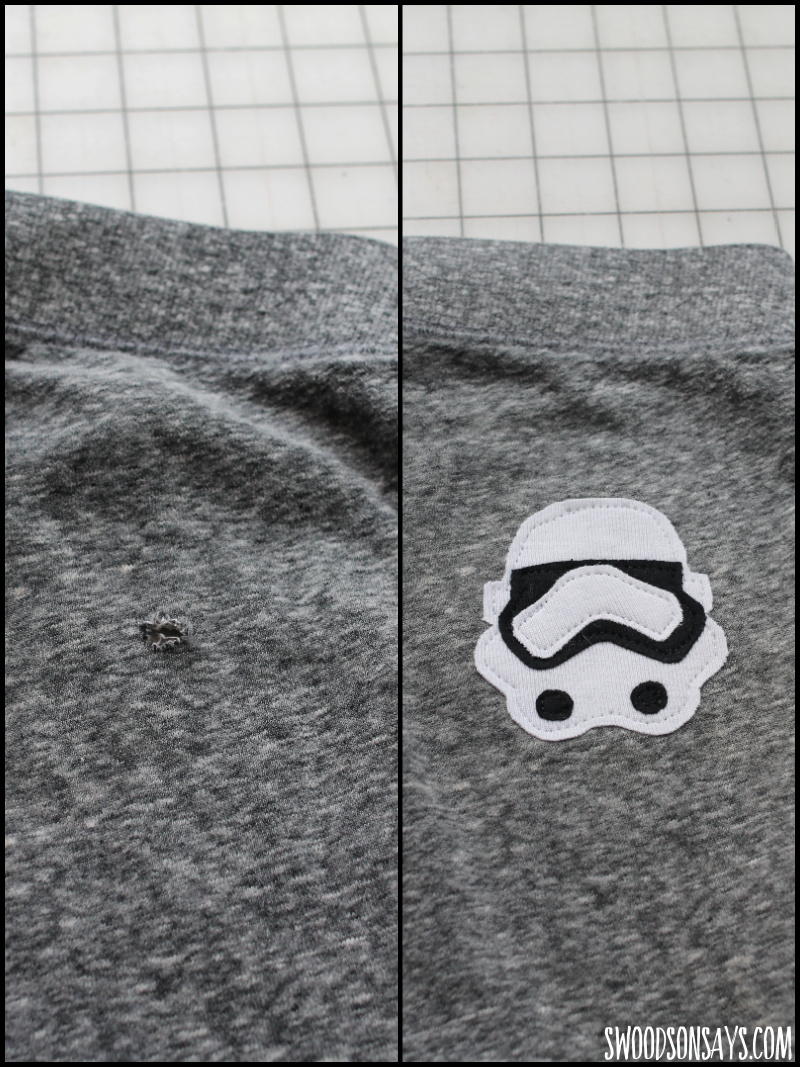
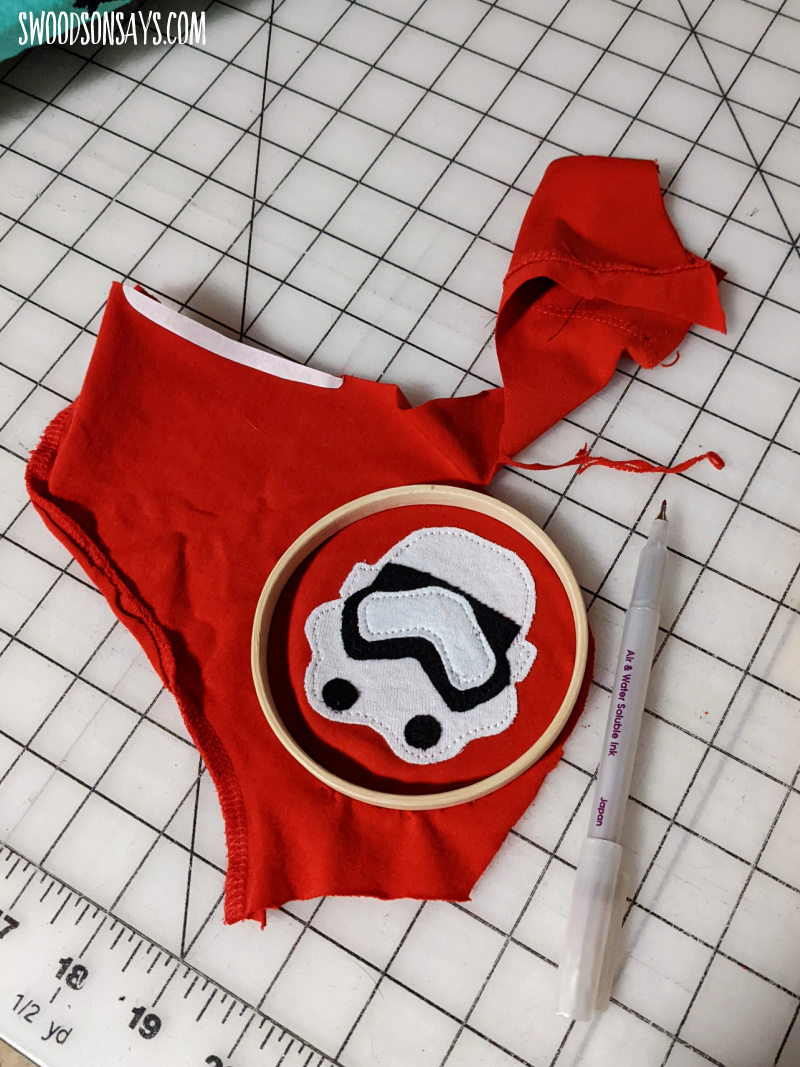
And the stormtrooper before/after!
![]()
![]()
I also used it to cover up store branding!
If you like this post, check out these other posts while you’re here!
- How To Patch A Hole with Wonder Under & Sashiko Stitching
- How to upcycle a tshirt into diy patches
- Tips for shopping to upcycle or refashion
- Free shark diy patch tutorial
- How to sew knee patches with a free cat template
- Best refashioning tips for once you start sewing
- How to mend jeans by hand – diy beetle patch tutorial
Pin this kids mending tutorial with this link or collage photo:
Ready to make your own?
Star Wars applique patterns to mend kids clothes
If you haven’t done applique often, I have a bunch of tips in this post: how to machine applique for beginners that I’d recommend reading before you start!
Supplies
- I love micro-tip scissors for projects like this
- Fusible web transfer method- here I’m using Thermoweb’s HeatnBond Lite printable sheets (have to use an inkjet printer)
- Seam ripper
- Iron
- Ballpoint/jersey needles
- Coordinating thread
- 1 pair of pants or shirt to mend
- Denim scraps
- Free PDF pattern-sign up for my newsletter and get the free download once you confirm your subscription! If you’re already a subscriber, you can access the pattern with the password in each newsletter, in the resource library.
Steps
This tutorial is for making a true patch – sewing all the detail work on to a backing fabric like shown above, and then sewing the patch over the hole. This makes it easier to use a more complicated patch, like R2D2 in a small space, like a knee hole, where it may be trickier to stitch tiny pieces. It’s also an easy way to make patches for future mends!
You can use any of these without the backing, of course, and just sew the bottom layer over the hole. Depending on the location and the hole, I often will hand-stitch the hole first or even layer a plain, large square of extra tshirt material over the back so when I sew the applique on, it’s applique/original garment/extra tshirt layer, keeping it even more secure. Just leave a comment if you want a photo of that, I forgot to take one!
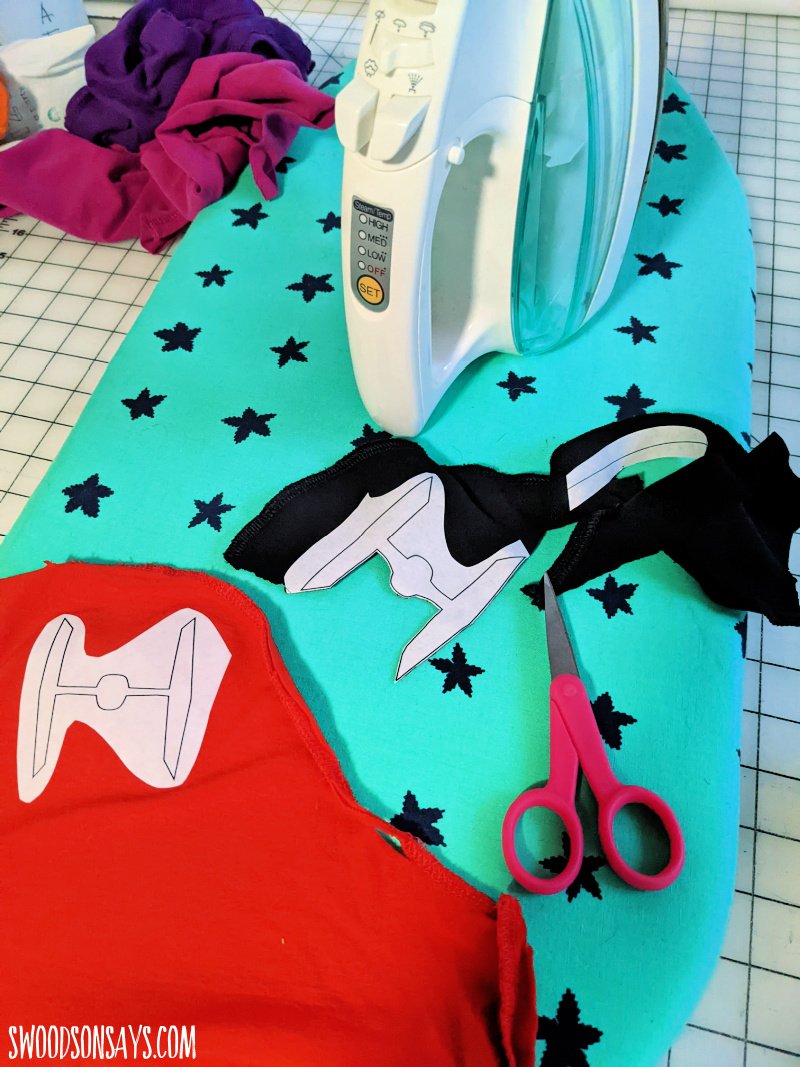
Step 1- Trace or print the pattern on to fusible transfer. Roughly cut around the design and follow the material’s instructions to adhere it to the BACK of whatever fabric you’re using. Here with solid colors it doesn’t matter much but it would with prints. Then carefully cut along the lines as shown on the black piece.
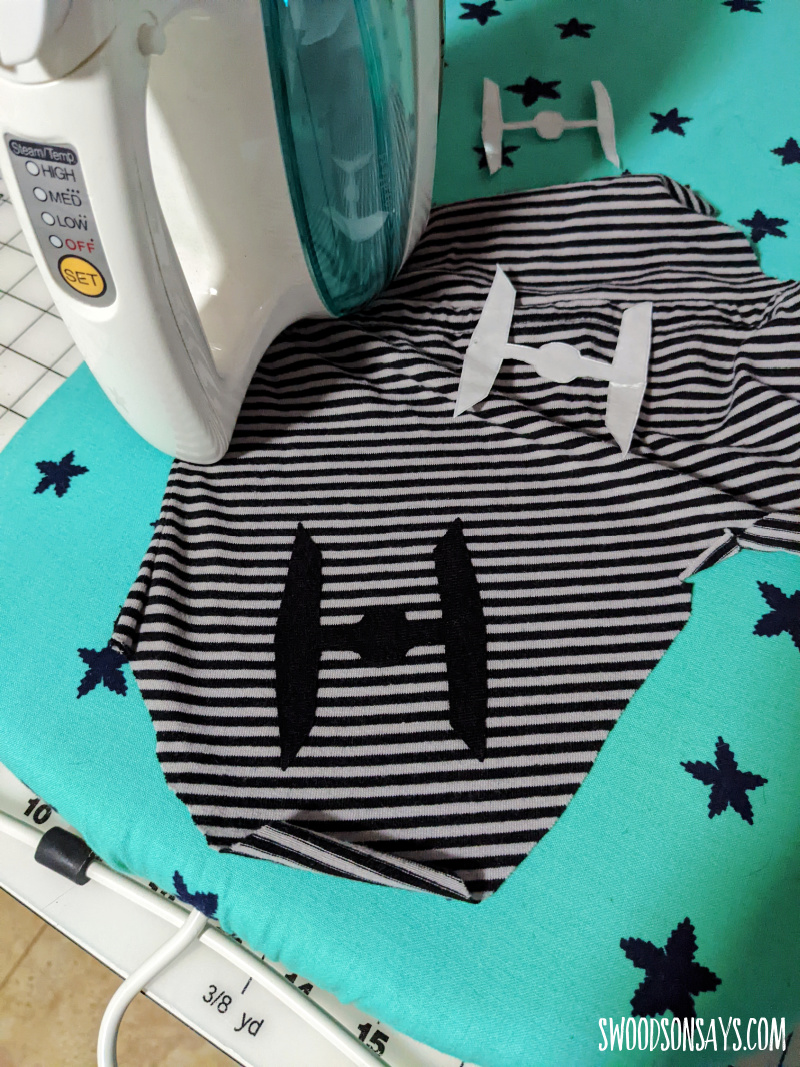
Step 2- Peel off the backing paper from the bottom layer and adhere with the iron. Let cool!
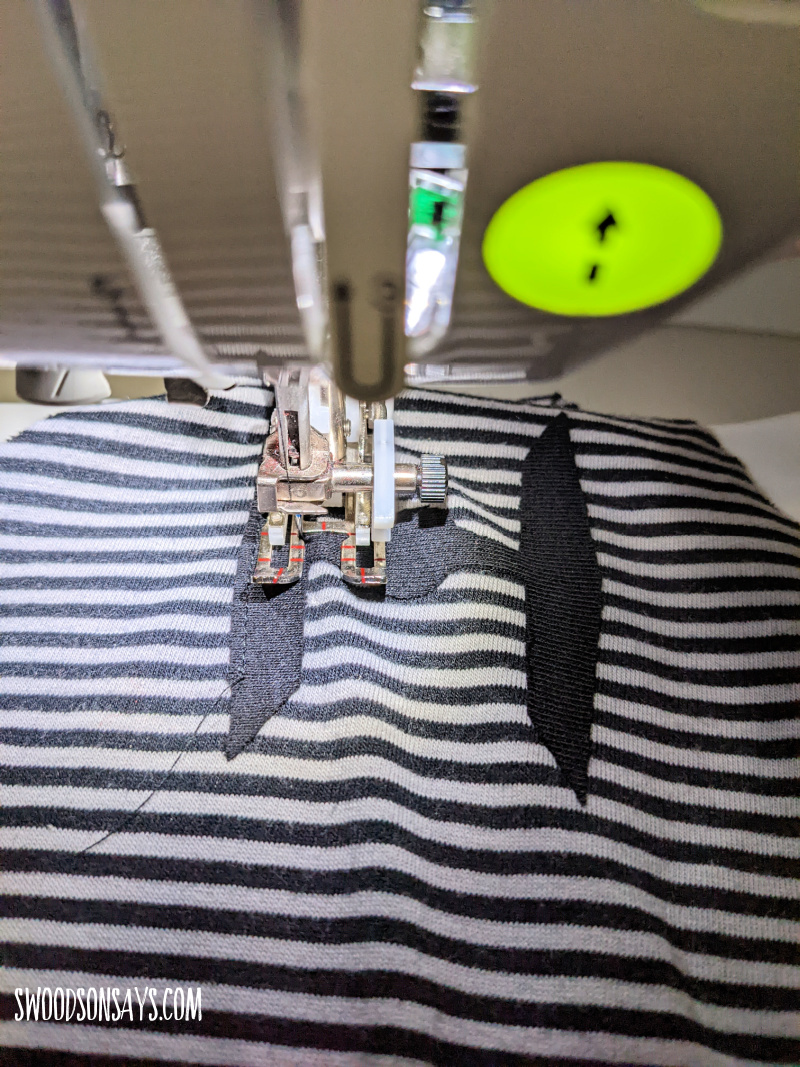
Step 3- Stitch the bottom layer on! I like to be a little ways away from the edge and prefer a walking foot. Use a ballpoint needle if you’re working with knit fabrics.
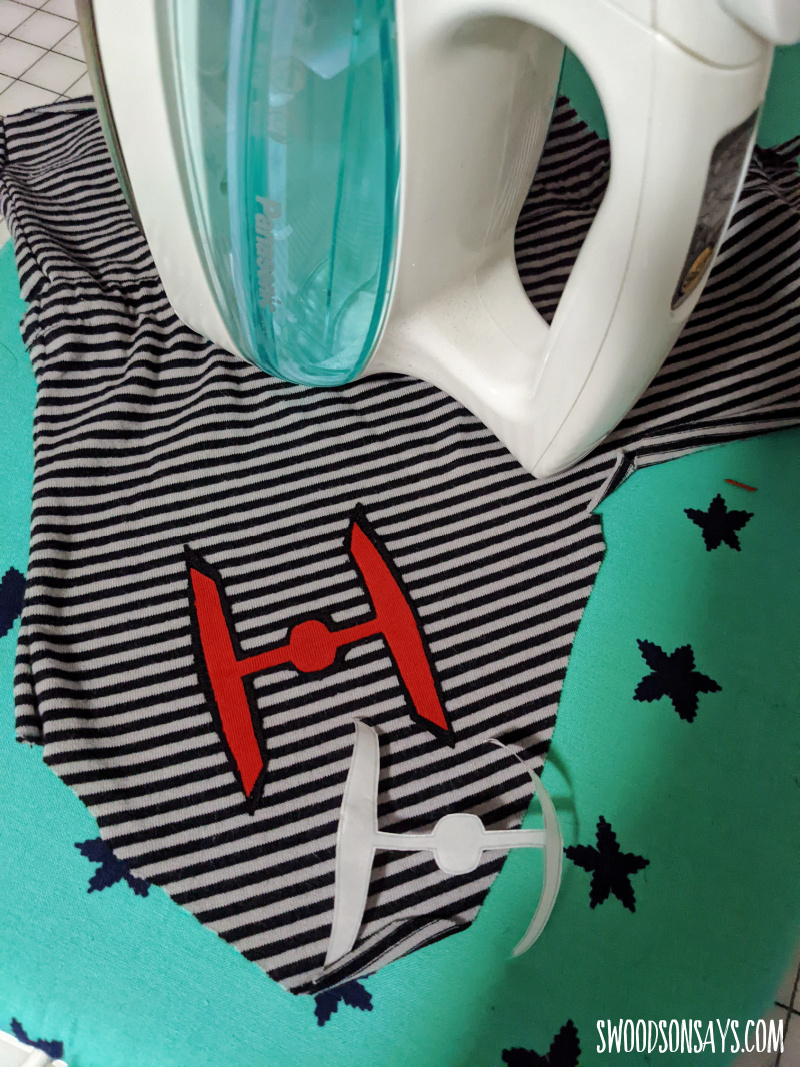
Step 4- Adhere the top layer and then stitch following Step 3, repeat with more layers depending on the pattern.
Step 5- Cut out a square or a circle around your patch and you’re ready to mend! You can use a regular gluestick or more Heat N Bond to apply this to the garment to be mended.