
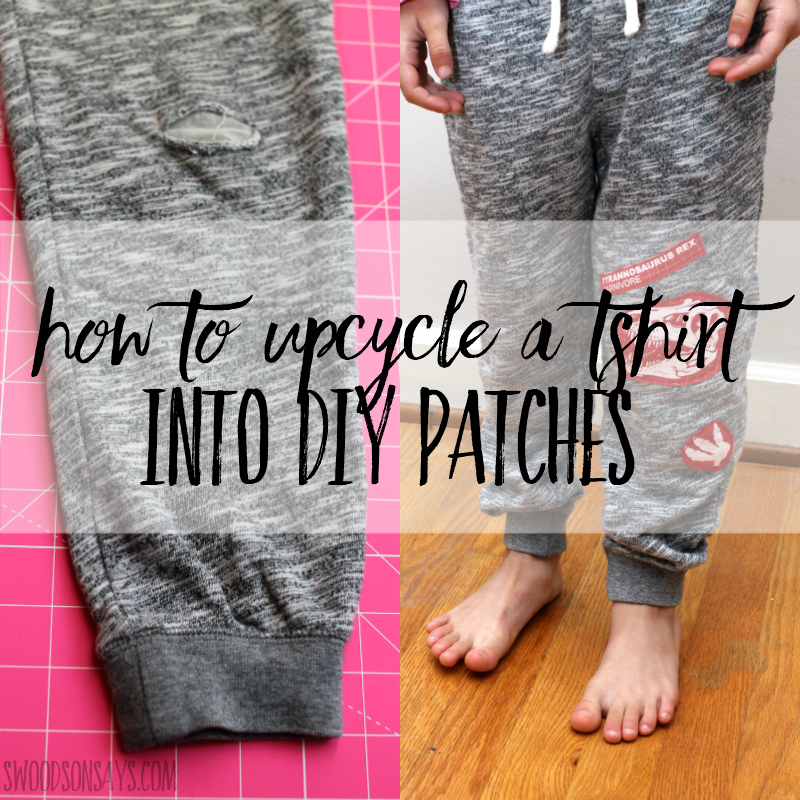
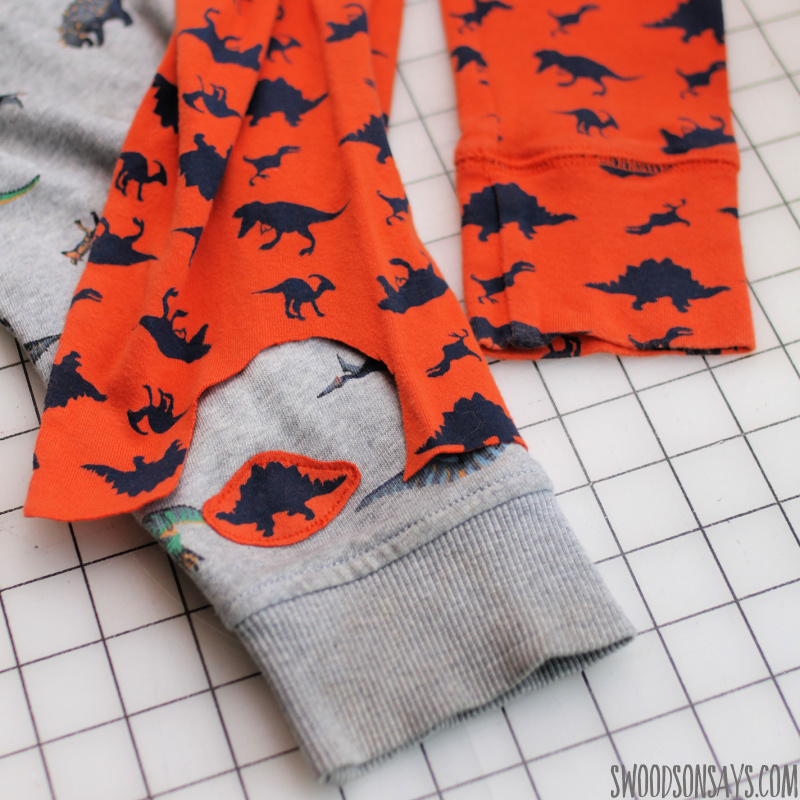
Don’t throw away pants with holes in the knees, take a few minutes and patch them instead! I couldn’t throw away the fun dinosaur scraps from another upcycle project, tucking them into a drawer, and realized they’d be a perfect diy patch once these sweatpants showed up in the Goodwill Outlet bins.
This project literally took 15 minutes, including taking photographs, so there’s no excuse to not try it out yourself! It’s also a fun way to personalize plain pants (or shirts) with your kiddo’s favorite colors or creatures.
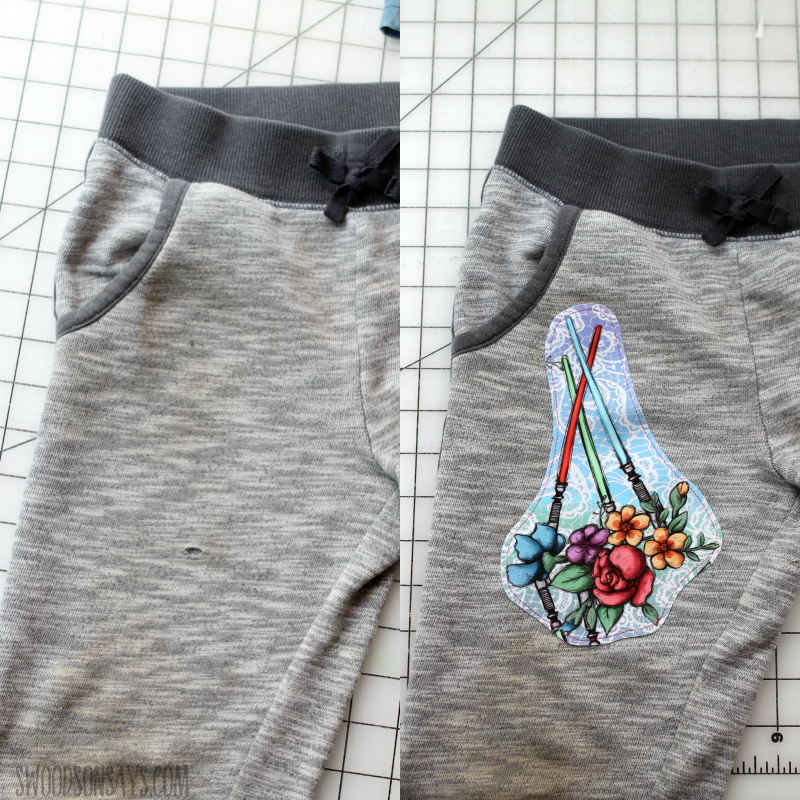
You can also use regular fabric scraps with this tutorial, like the example above!
If you like this post, check out these other posts while you’re here!
- 13+ T-shirt refashion ideas
- How To Patch A Hole with Wonder Under & Sashiko Stitching
- How to upcycle a t-shirt into a stuffed animal
- Tips for shopping to upcycle or refashion
- How to machine applique for beginners
- Best refashioning tips for once you start sewing
- Star Wars applique patterns to mend kids clothes
Here’s another one!
And another!
And another – this one is hand stitched with Sulky cotton petite & a blanket stitch!
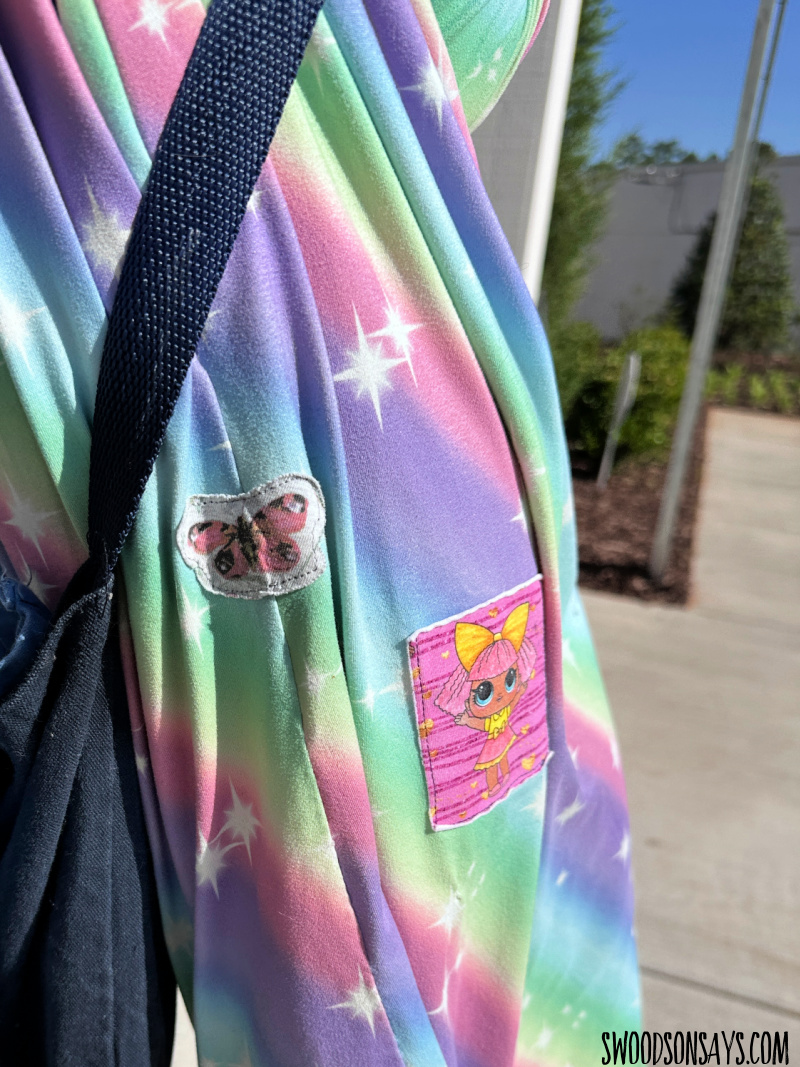
Before you get started, wanted to share a photo of patches shown on this way so you get a sense for how the edges end up curling a bit after washing & drying, even with heat n bond.
Here you can see a zig-zag along the edges if you don’t like that curl! These are small patches, but same concept applies to bigger refashions like I’m showing on this page.
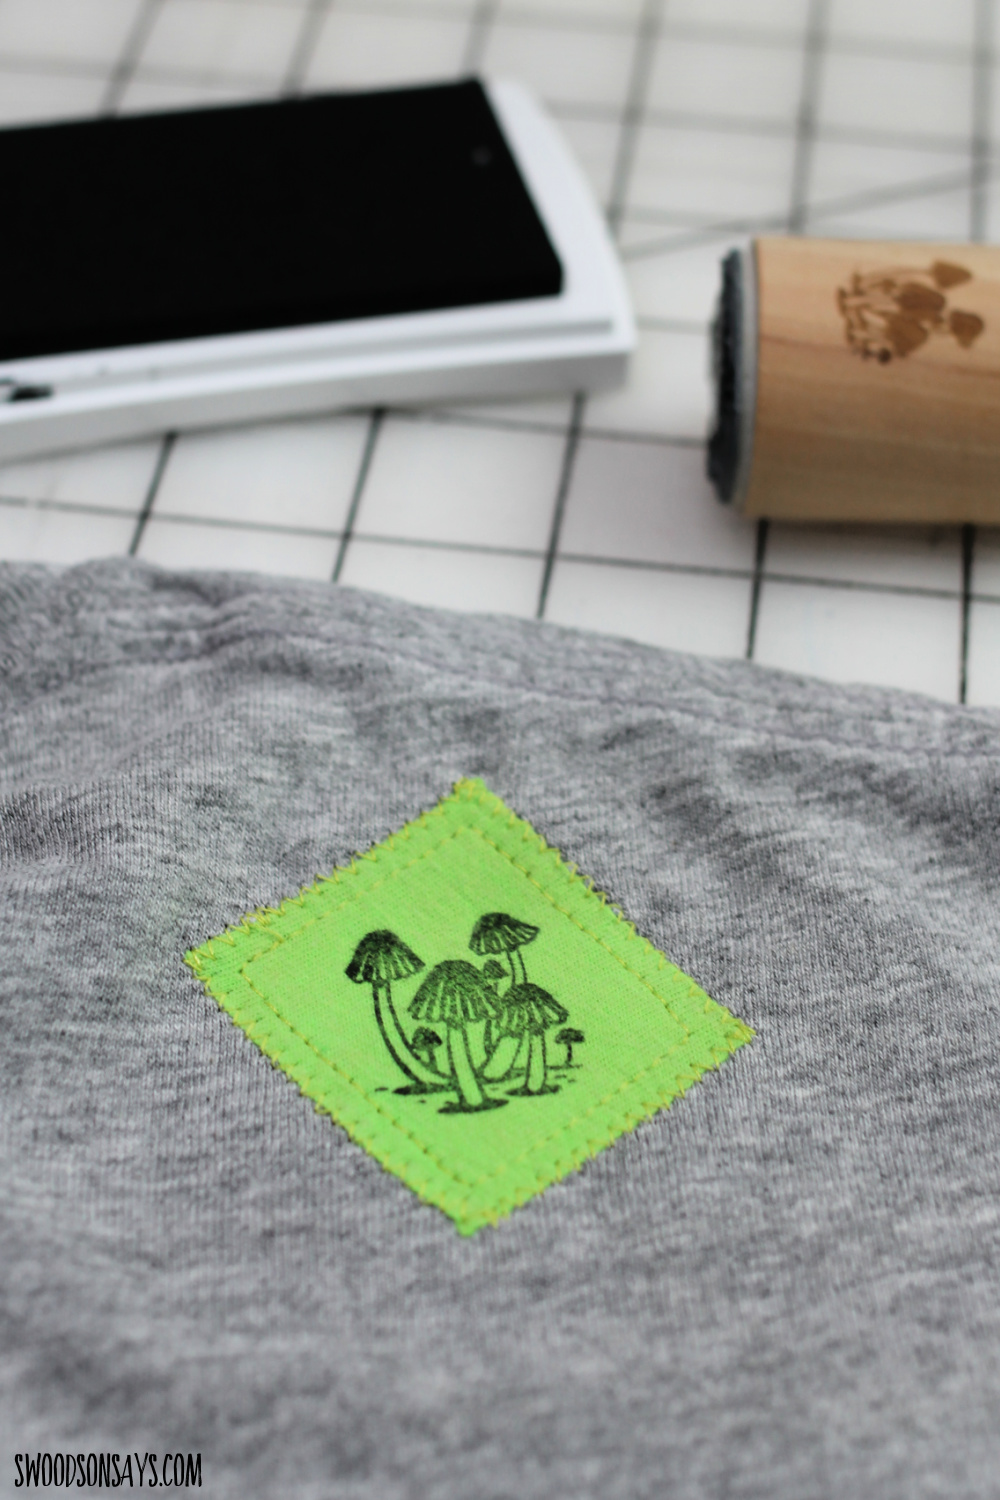
Here is an example where I used a plain tshirt instead of a design, and stamped on top using a regular stamp (here is the mushroom set I used) and using fabric ink! I didn’t write a separate tutorial for the stamped version; it’s basically the same process except you stamp on a scrap of tshirt material backed with heat n bond – and don’t forget to ‘heat set’ the ink with your iron before sewing on (just hold a clean press cloth/piece of woven fabric over the ink and hold your iron on top for 20 seconds!).
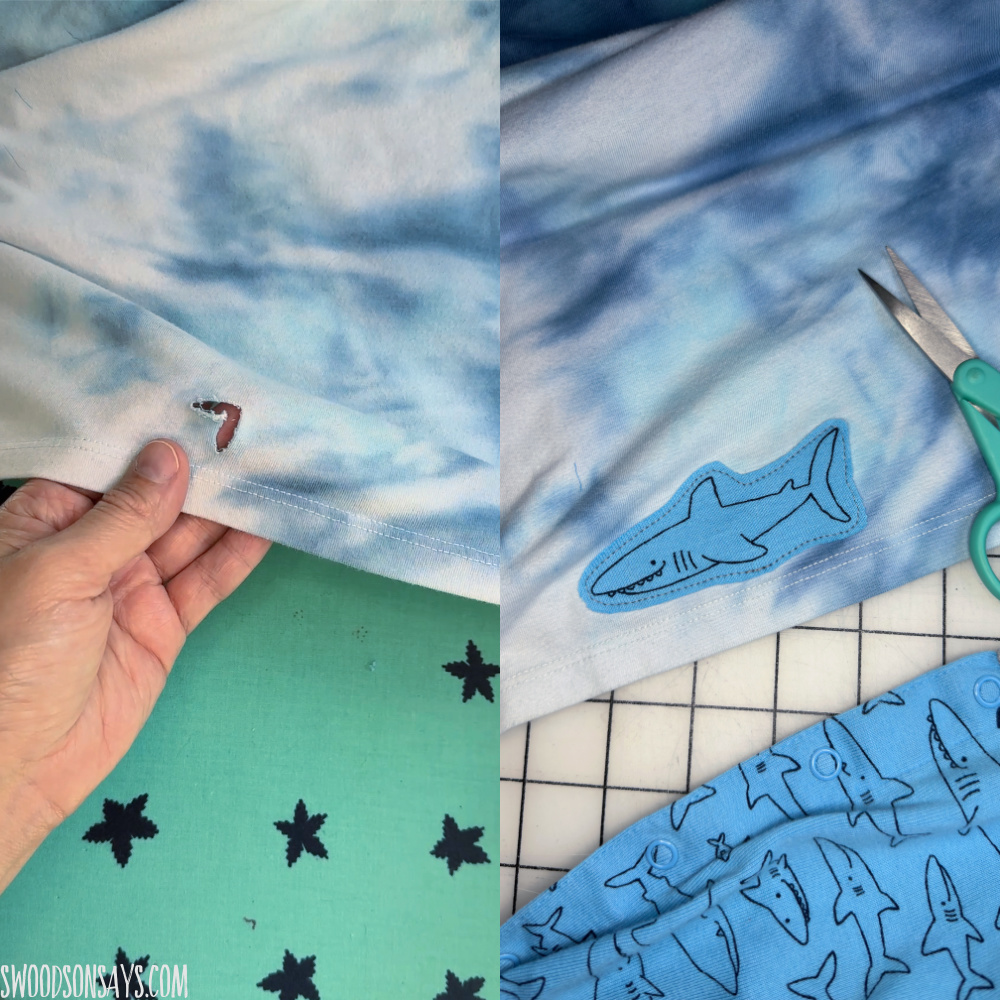
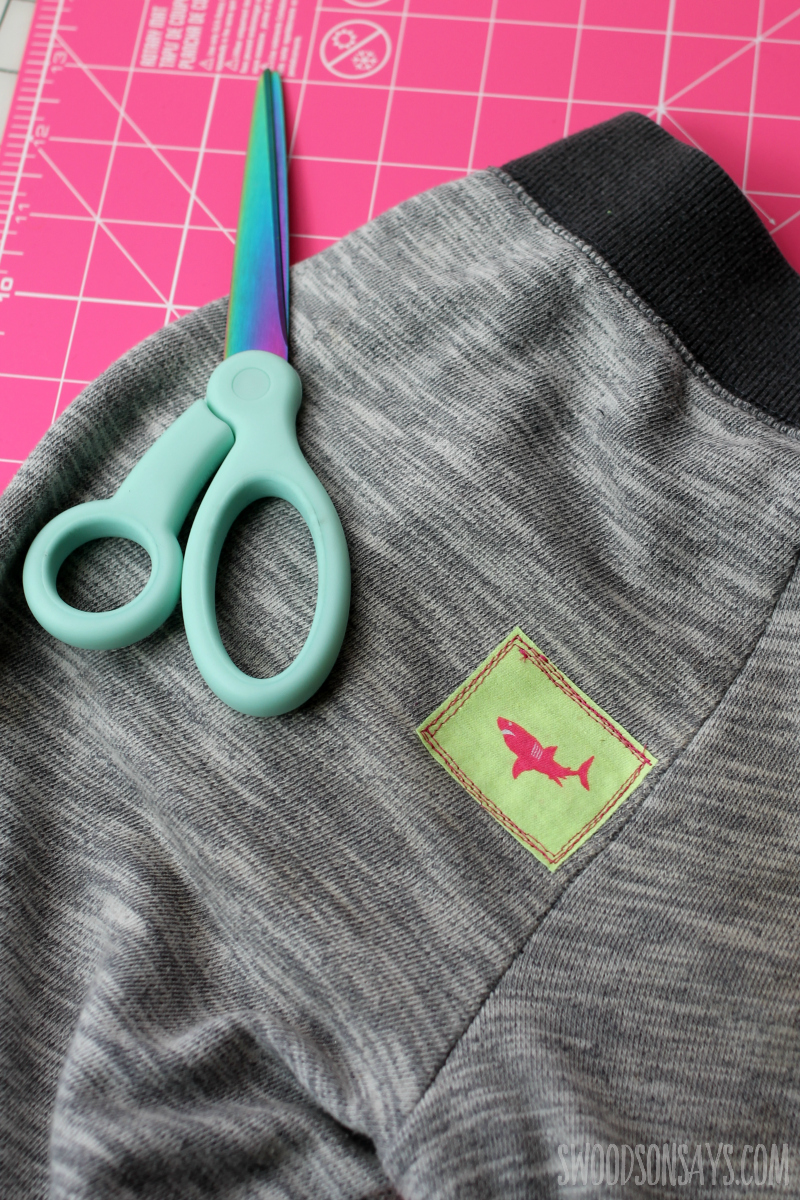
I love using baby clothes! Here is a shark patching a shark tshirt hole.
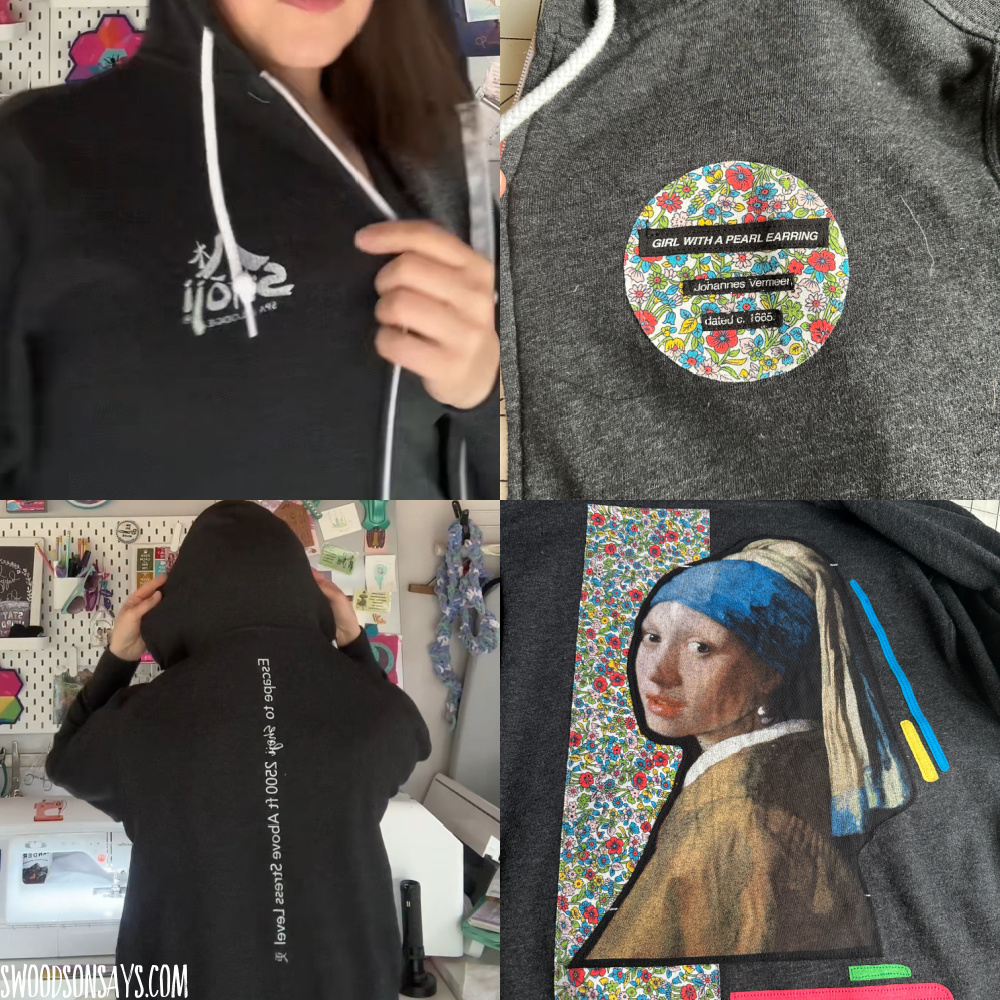
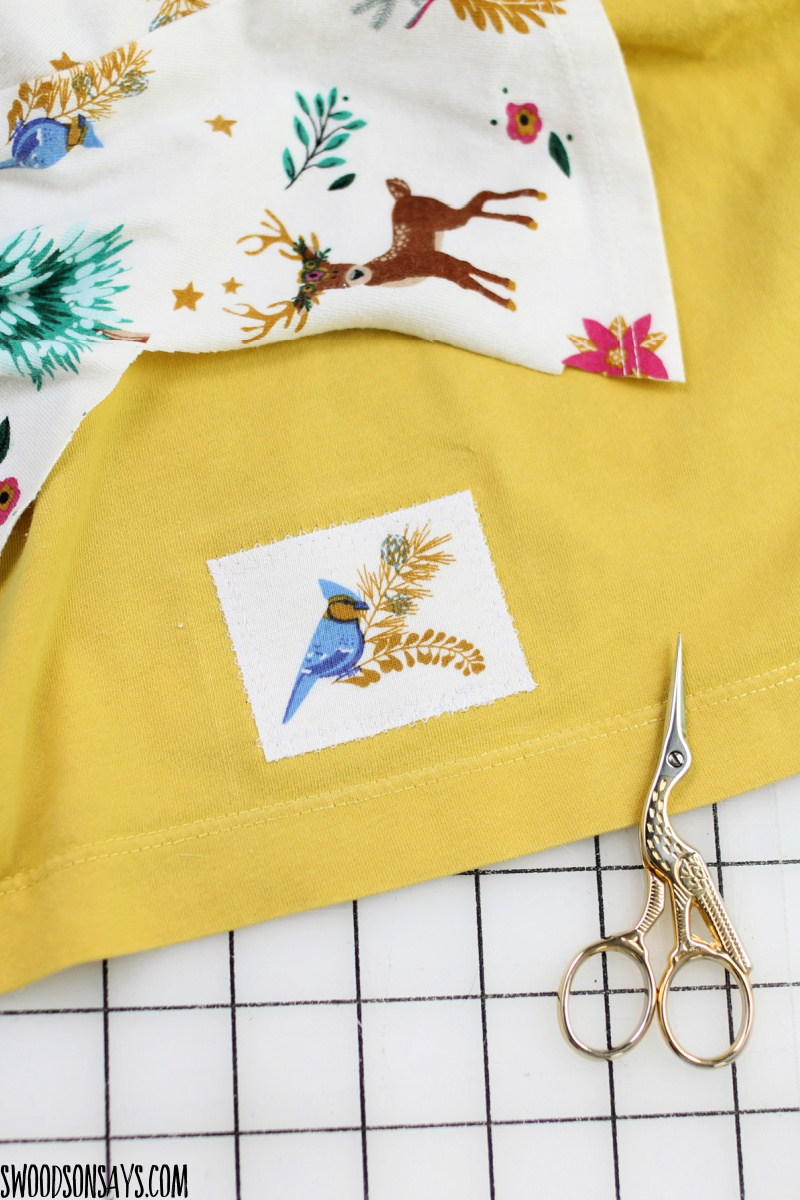
Here I used patches to cover up branding instead of covering up a hole!
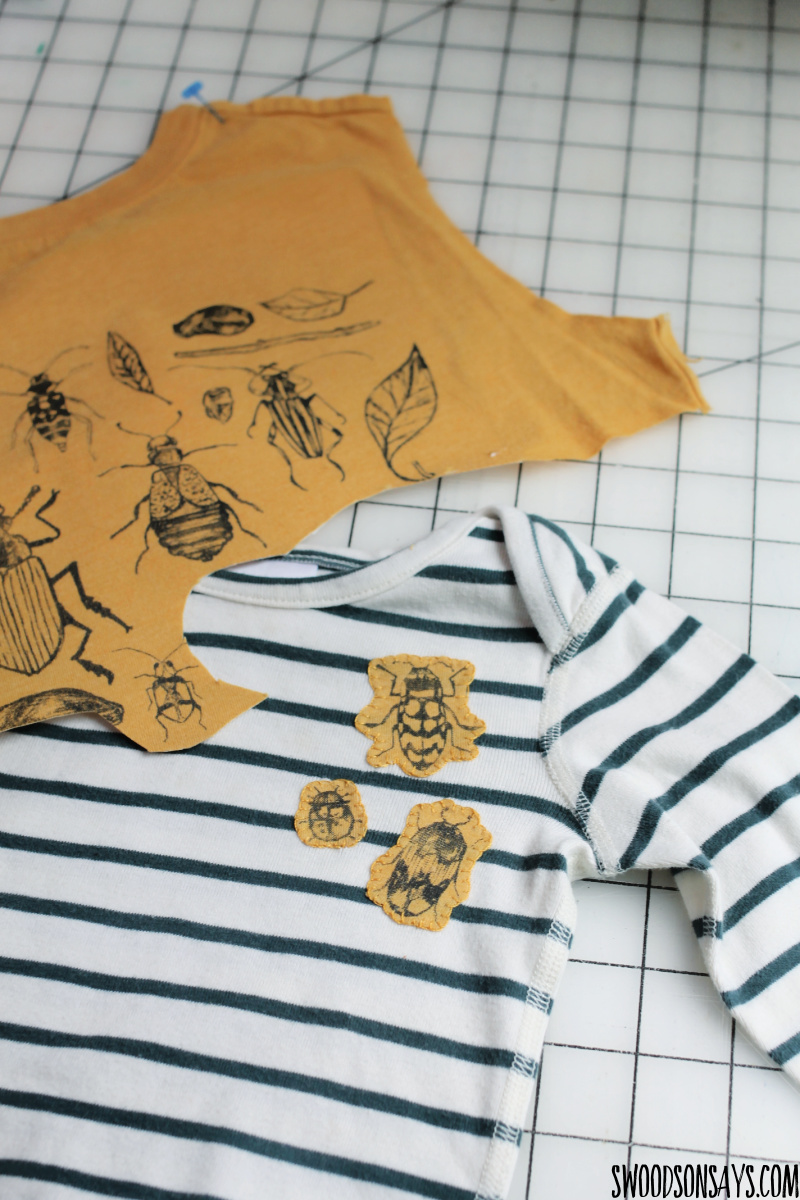
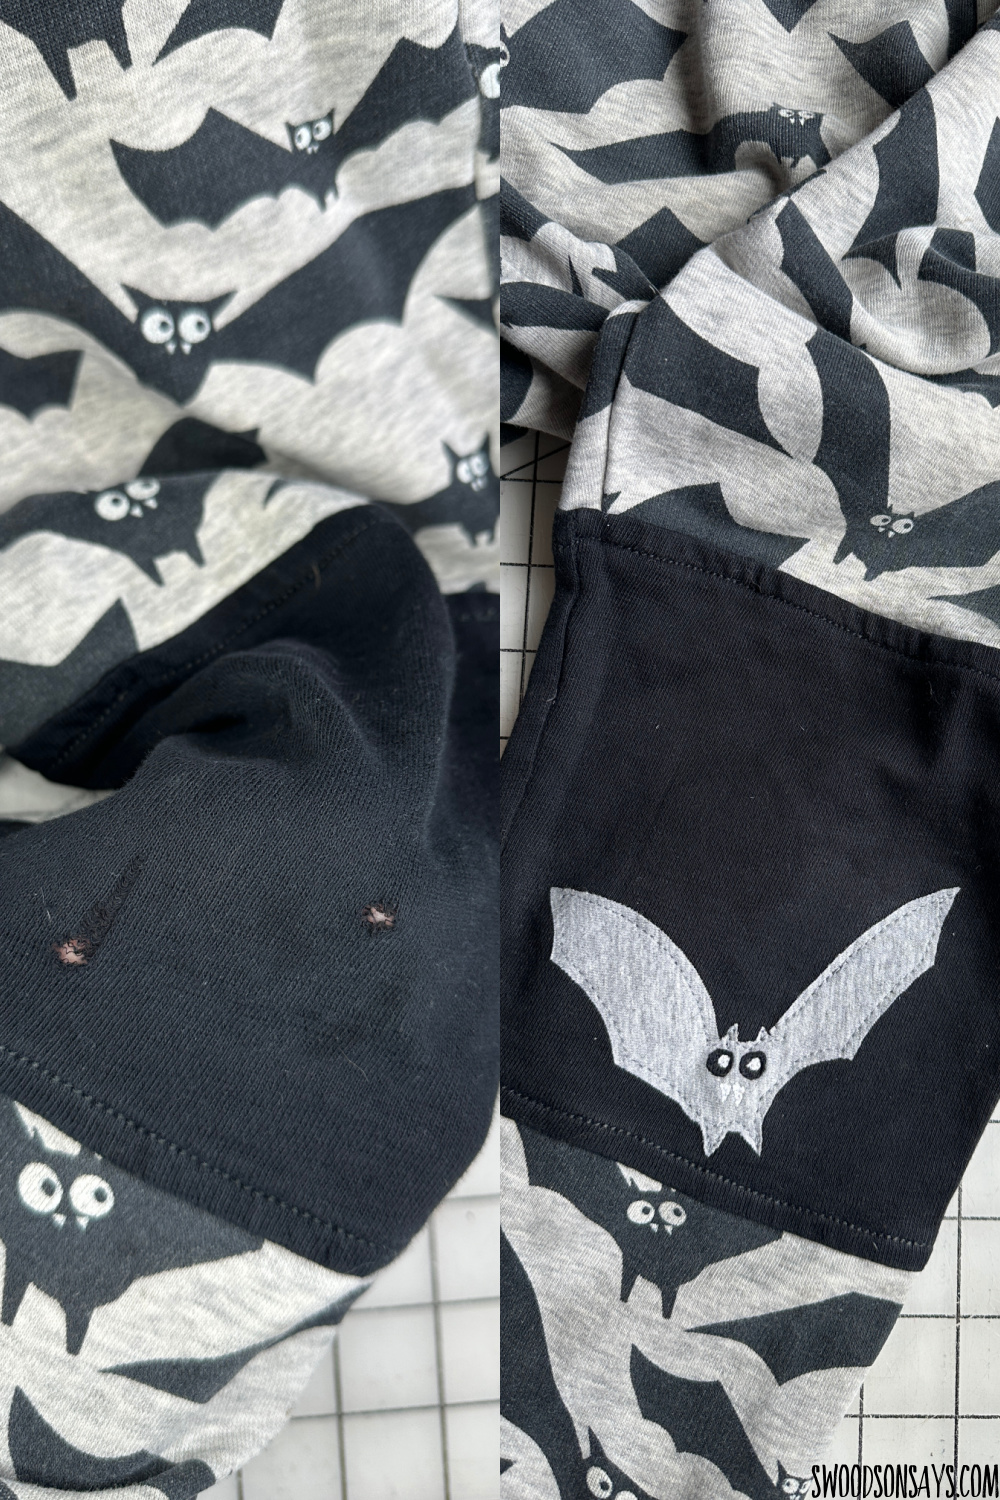
Here I used a baby onesie to cover up multiple small holes in a hoodie sleeve!
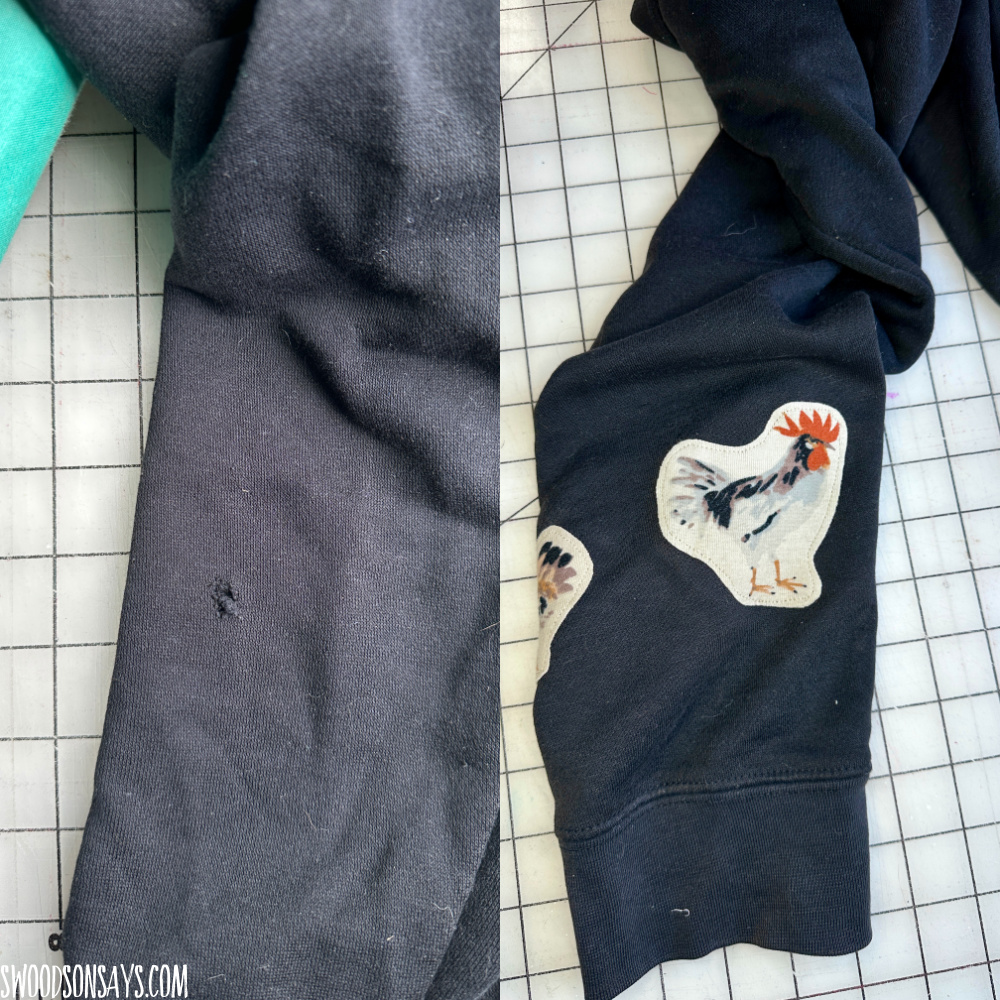
Here I used plain tshirt scraps and traced the design on to the Heat N Bond to make a design that matched!
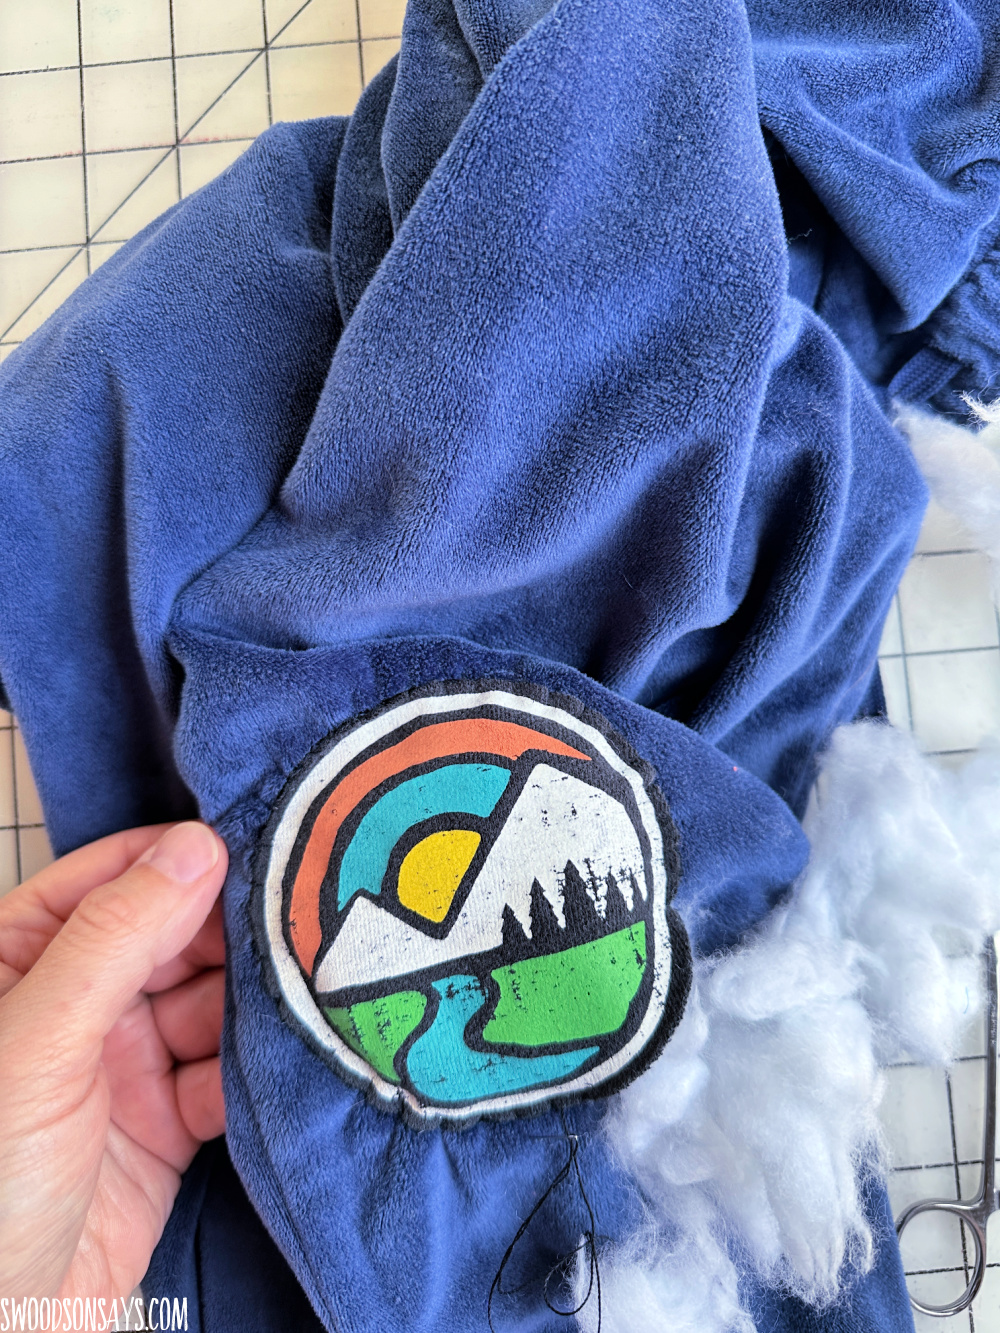
Here I added some poly-fill behind the patch, creating a 3D/puffy sticker effect!

Jazzing up some plain short cutoffs!
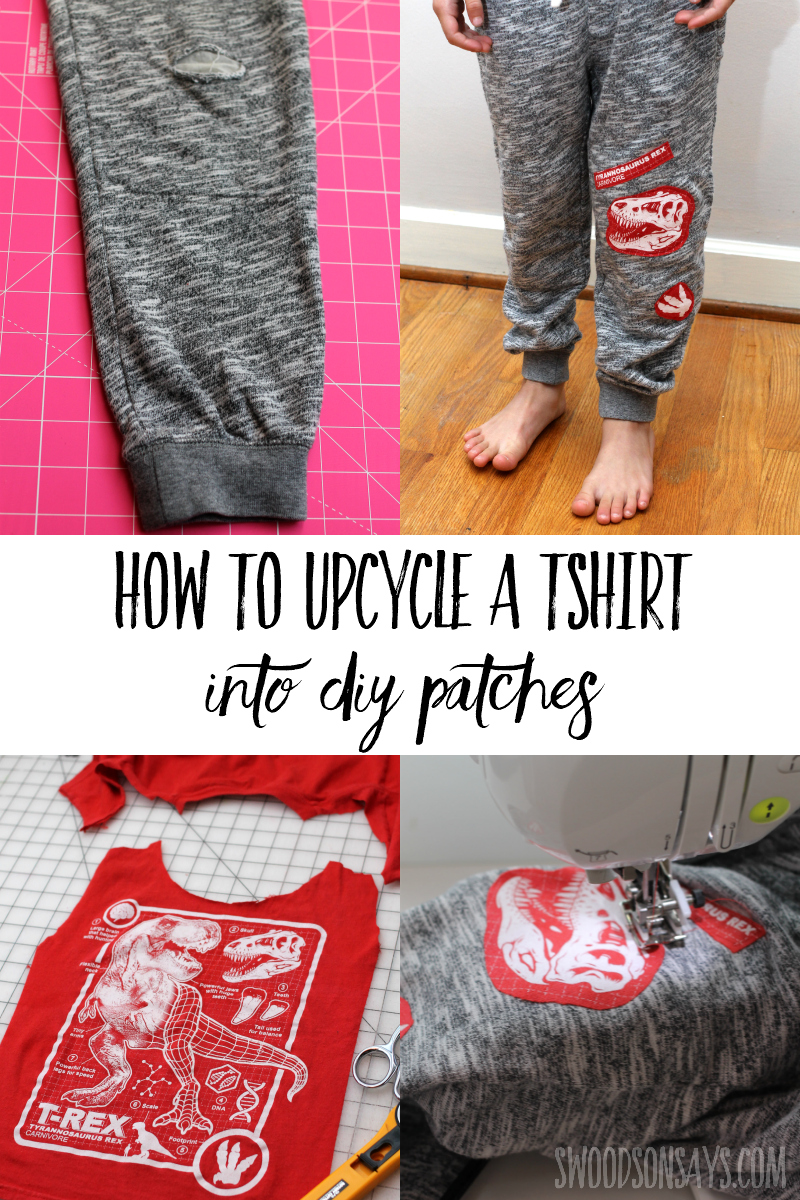
Pin this diy tshirt to knee patch refashion tutorial for later using this link or collage image:
Ready to make your own?
How to upcycle a tshirt into jean patches
Supplies
- Rotary cutter or scissors
- Fusible web transfer method- here I’m using Thermoweb’s HeatnBond Lite but I also use Pellon’s Wonder Under
- Iron – I used my Easy Press2 (shop the easy press on the Cricut website or on Amazon)
- Ballpoint needles
- Coordinating thread
- 1 pair of pants or shirt to mend
- 1 animal screenprinted tshirt
Steps
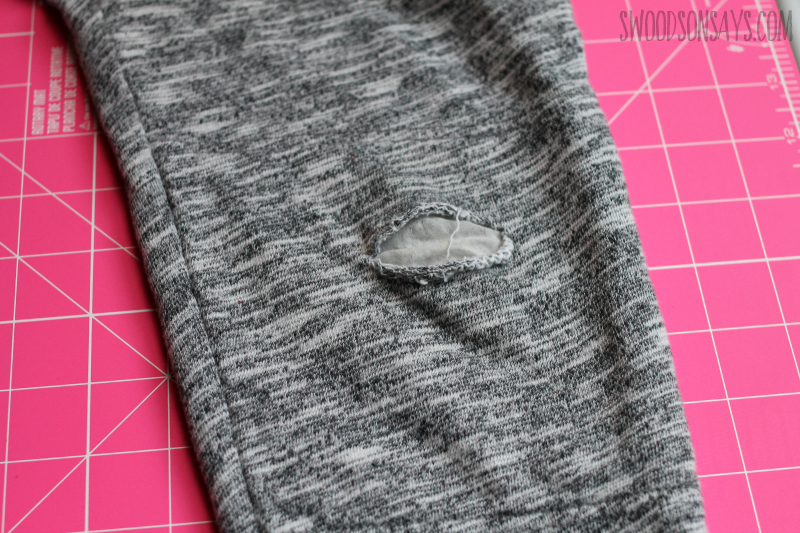
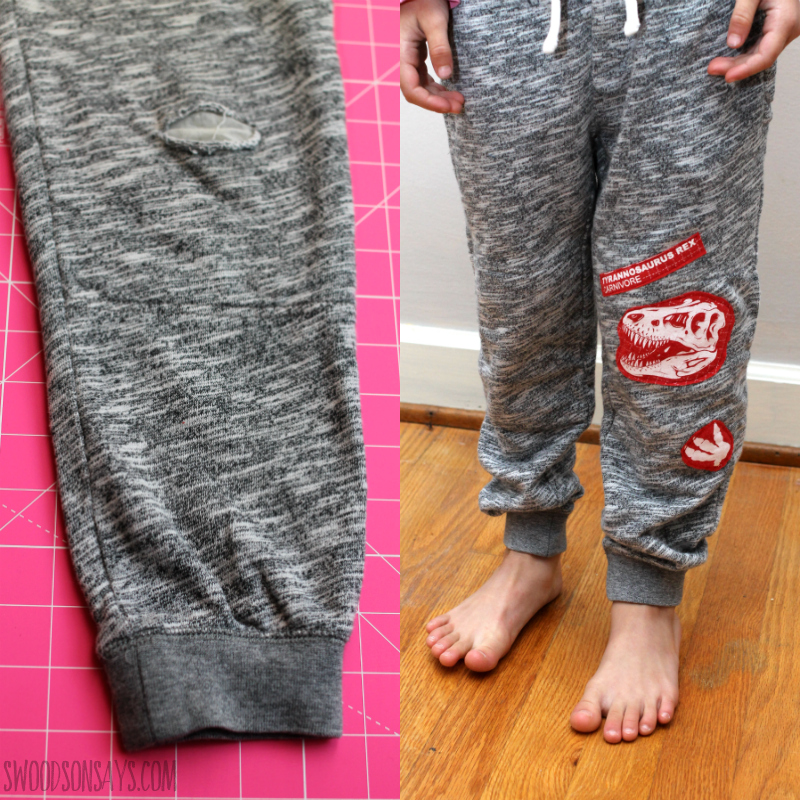
Here is what I started working with! These pants are Boden brand, scooped also from the Goodwill bins. I love the quality of their clothes; the knees are reinforced so just the top layer had the rip. With a hole that goes all the way through, I often will layer a piece of knit fabric scrap behind the original pants, sandwiching the hole in between the bottom scrap and the top patch. You can pin it or gluestick it to keep it in place while you’re sewing the patch over top.
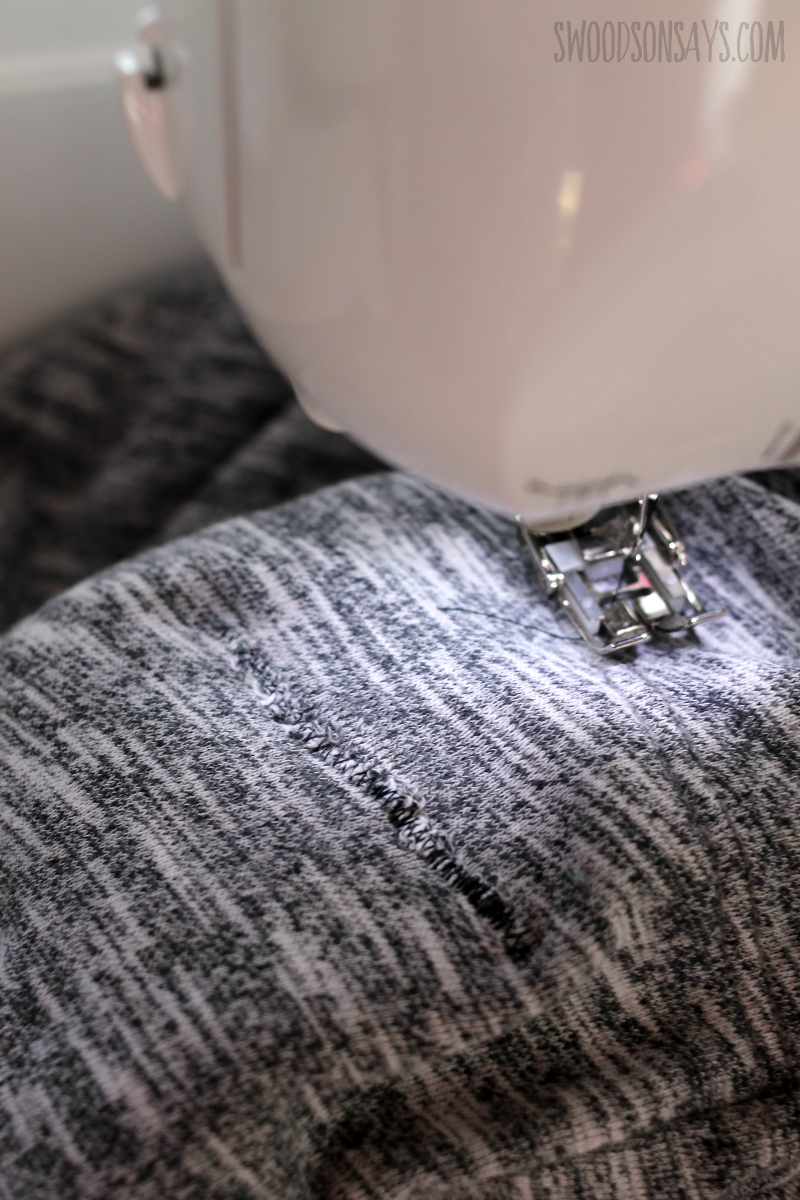
Step 1- I used a zigzag to close the hole, with the pants on the free arm of my machine. This is optional, especially if it is a small hole. If it is an even bigger hole, sometimes I will sew an interior patch underneath the hole before covering it up.
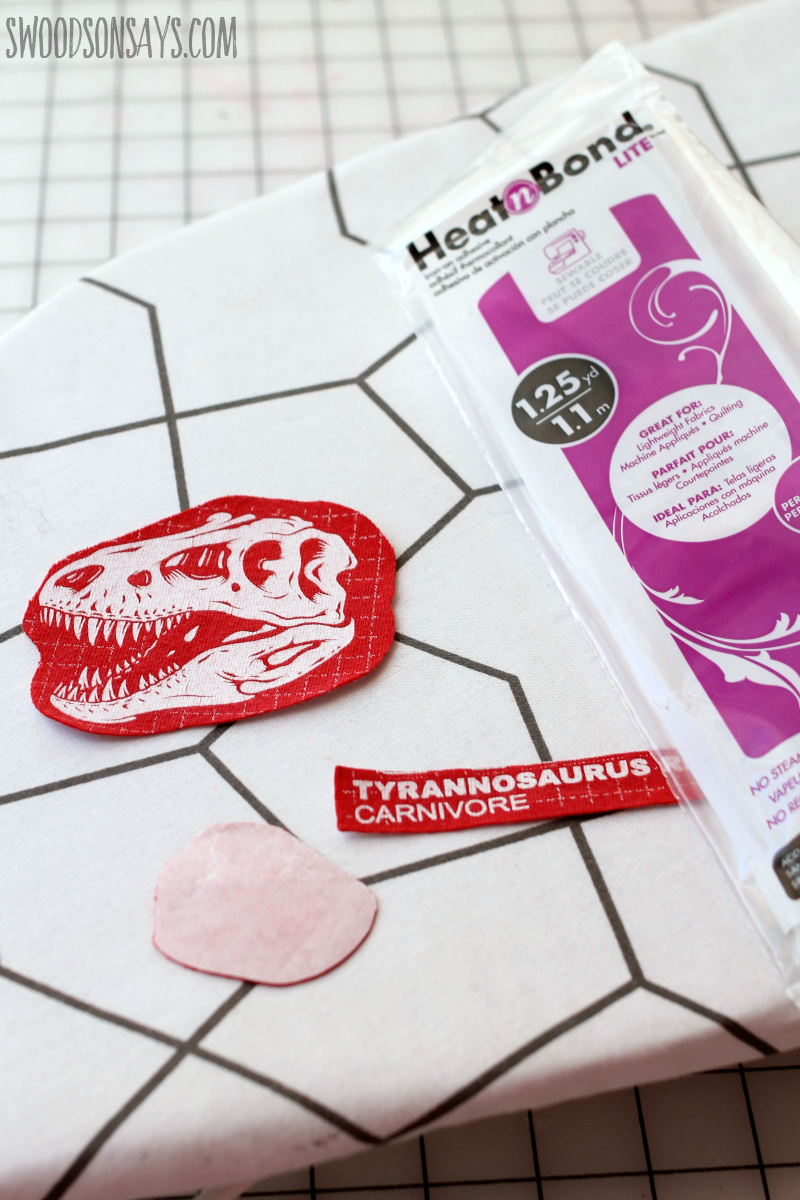
Step 2- Cut out a chunk of Heat N Bond larger than the design, iron on the back per the directions. Cut the design out more precisely and peel the paper backing off. If you plan to layer, I recommend the feather-lite, it is thinner!
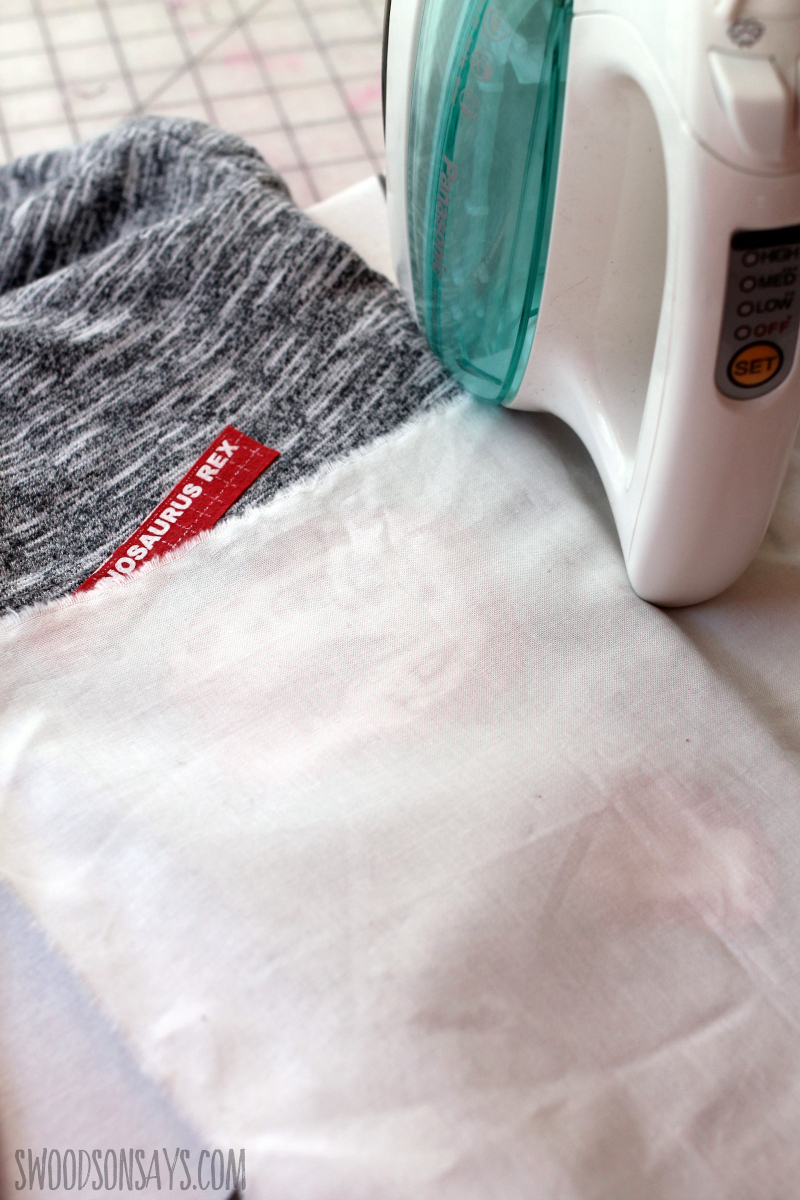
Step 3- I recommend using a press cloth (plain, white piece of fabric) so the decal’s goo doesn’t get on your iron (like I did the first time). and adhere the patches wherever you want them, let them cool.
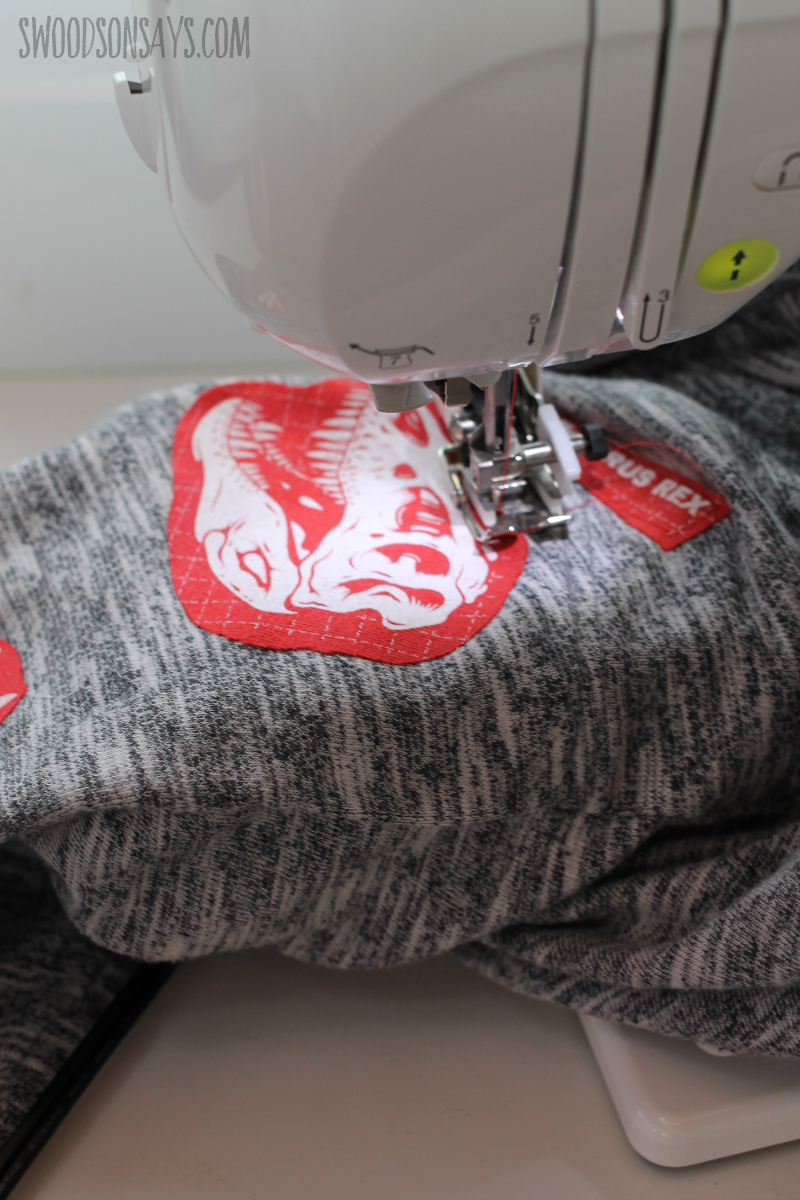
Step 4- Sew the patches on, using a zig zag or straight stitch close to the edges. Take your time and go slow as you rotate the pants around on your machine’s free arm; for very small spaces or pants, you may need to seam rip a side seam so you can sew it flat, then restitch them back together. If you use a straight stitch, the edges will curl up slightly if you’re machine wash & drying, but they won’t fray (knit fabric doesn’t fray). You can do a zig-zag around the edges if you’d prefer they stay down!
You’re done! Ta da!
This is also a great way to upcycle baby onesies or smaller clothes that have cute decals and designs but also gross stains. There will be more patches like this in my future for sure!
Robert G
Friday 12th of August 2022
Thank you for sharing this article, it's helpful that help me know more information about t-shirt patches. I was able to fix my torn clothes with a custom patch.