
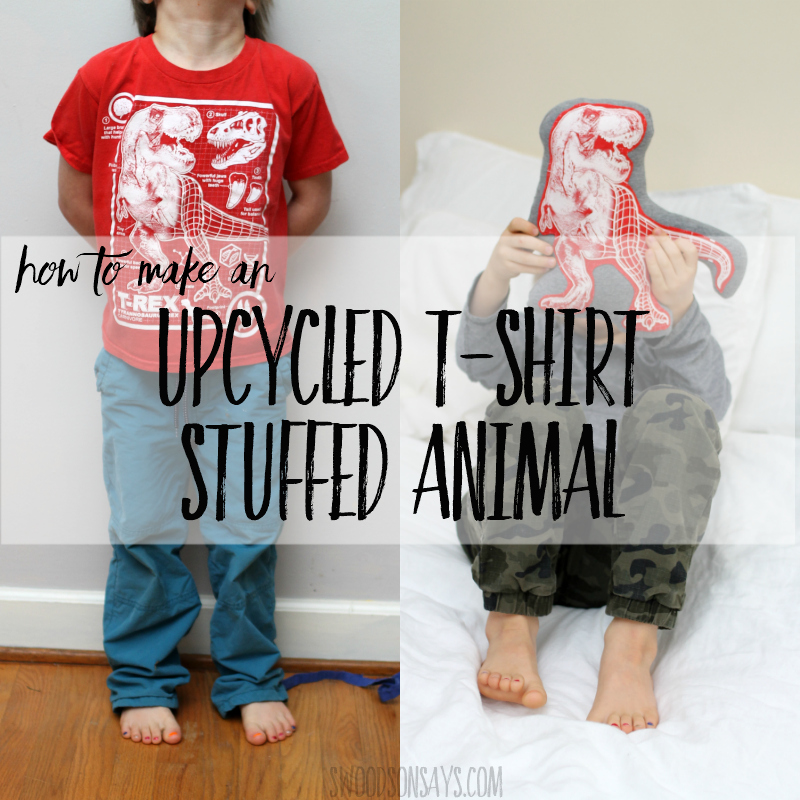
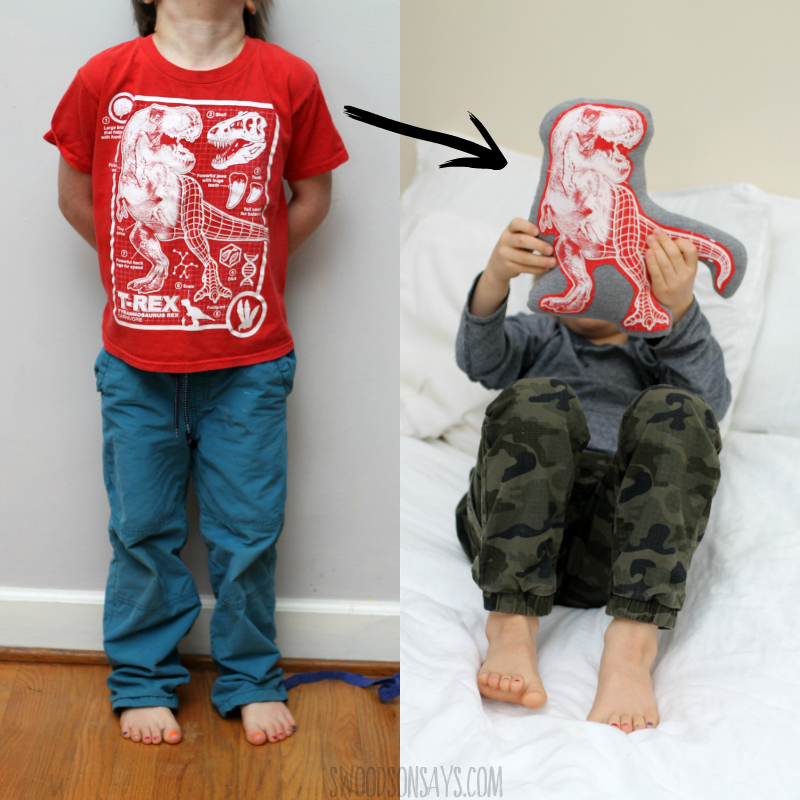
How to upcycle a t-shirt into a stuffed animal is so easy and fun! This is day 5 of 12 Days of (upcycled) Christmas tutorials – and this would make such a fun gift for kids who have outgrown their favorite shirts. All you need is two old t-shirts and some time; there is a full photo tutorial showing how I transformed my son’s t-rex t-shirt into a t-rex softie he can sleep with! My daughter is now begging to go out hunting for shirts she can turned into toys; this would also be a great sewing project to do with kids, not just for them.
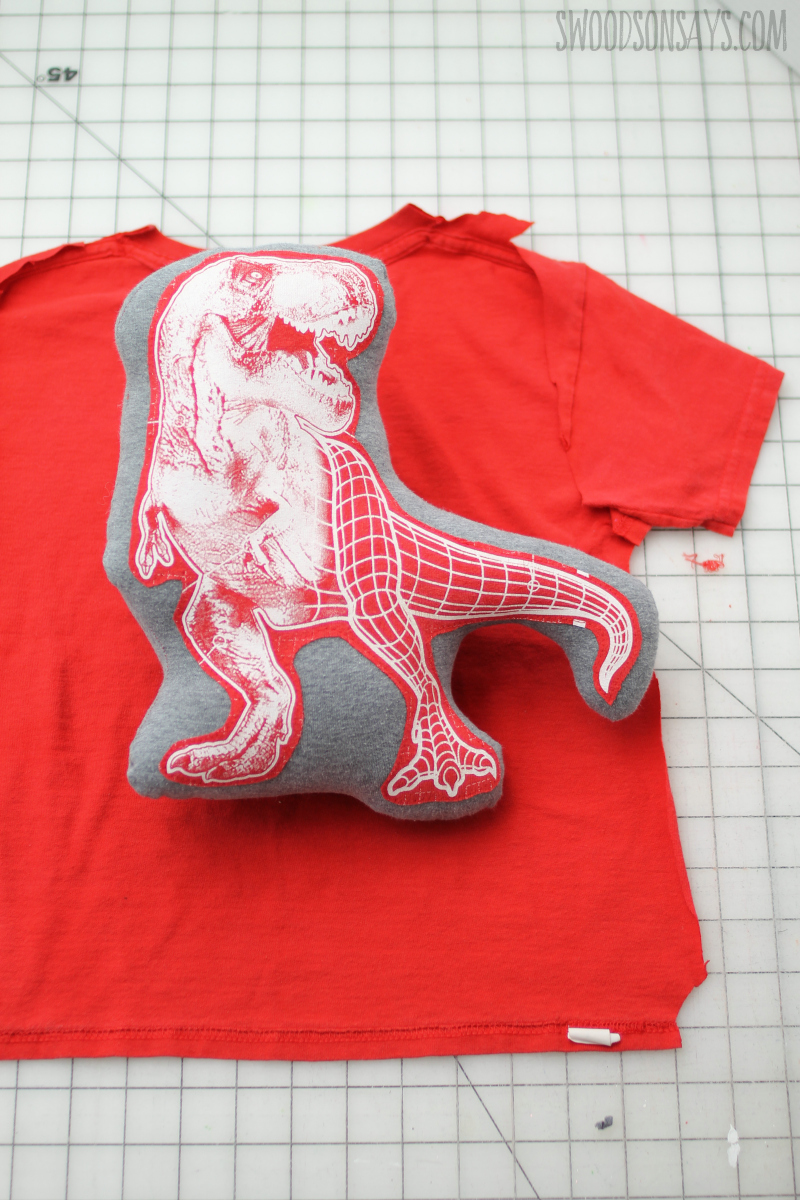
This was a 5t shirt; obviously the smaller or larger the shirt, the smaller or larger the stuffed animal would be. You could also simply cut the animal out and sew it, right sides together, to the back of the tshirt, but I think that the design stands out more if you applique it to another color first, and then it’s easier to cut out some of the surrounding text for a cleaner look on the toy. I debated cutting in closer around the legs, what do you think about the wider choice I went with?
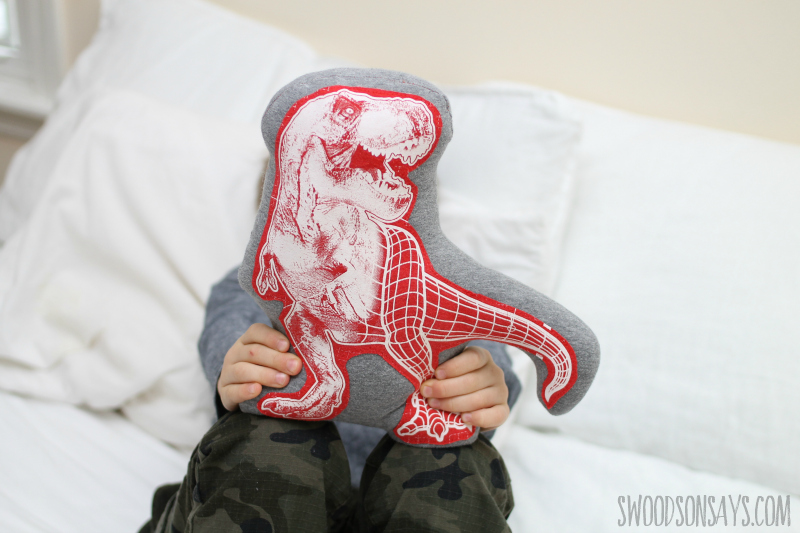
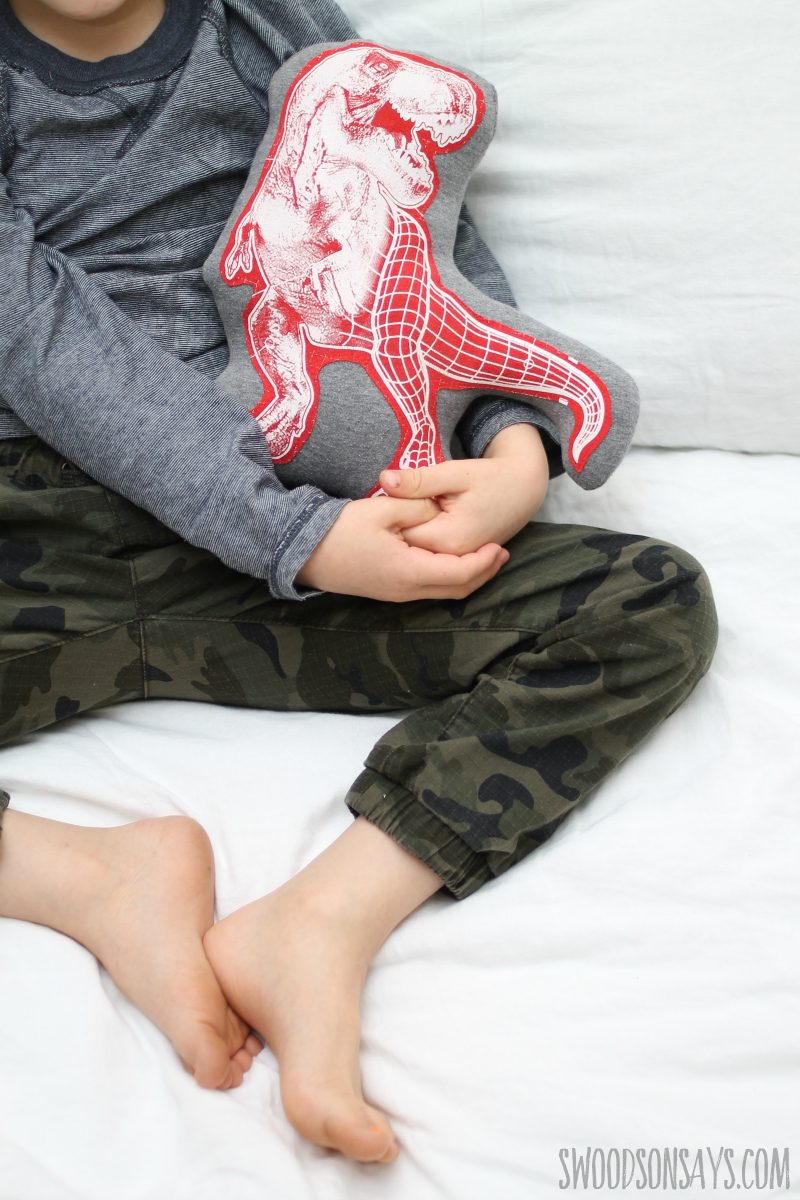
He loves looking at this picture! This is such an easy sewing project but my kids think it is totally magical. He has been carrying “Tooth chip” (no idea where that name came from) all day after taking these pictures.
Looking for more creative inspiration? Check out these posts!
- All of my stuffed animal projects
- 100+ free patterns to sew for babies
- 25+ ways to repurpose old tshirts
- 15+ easy beginner sewing tutorials
- 20+ easy sewing projects for kids
What shirt or skirt would your kids love to save forever as a stuffed animal? I can see a lot more of these in our future!
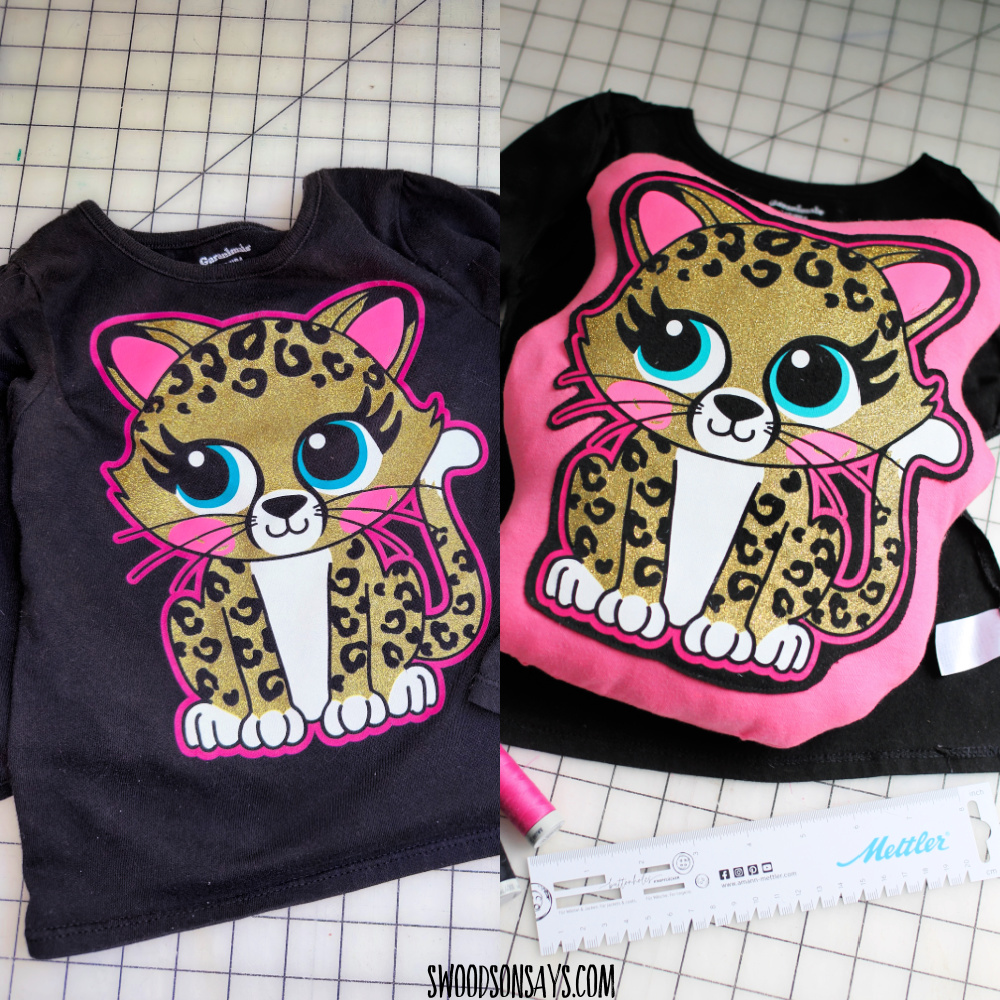
Here is another example of a DIY stuffed animal sewn from a shirt!
Pin this tutorial for how to make homemade hand warmers with this link and photo:
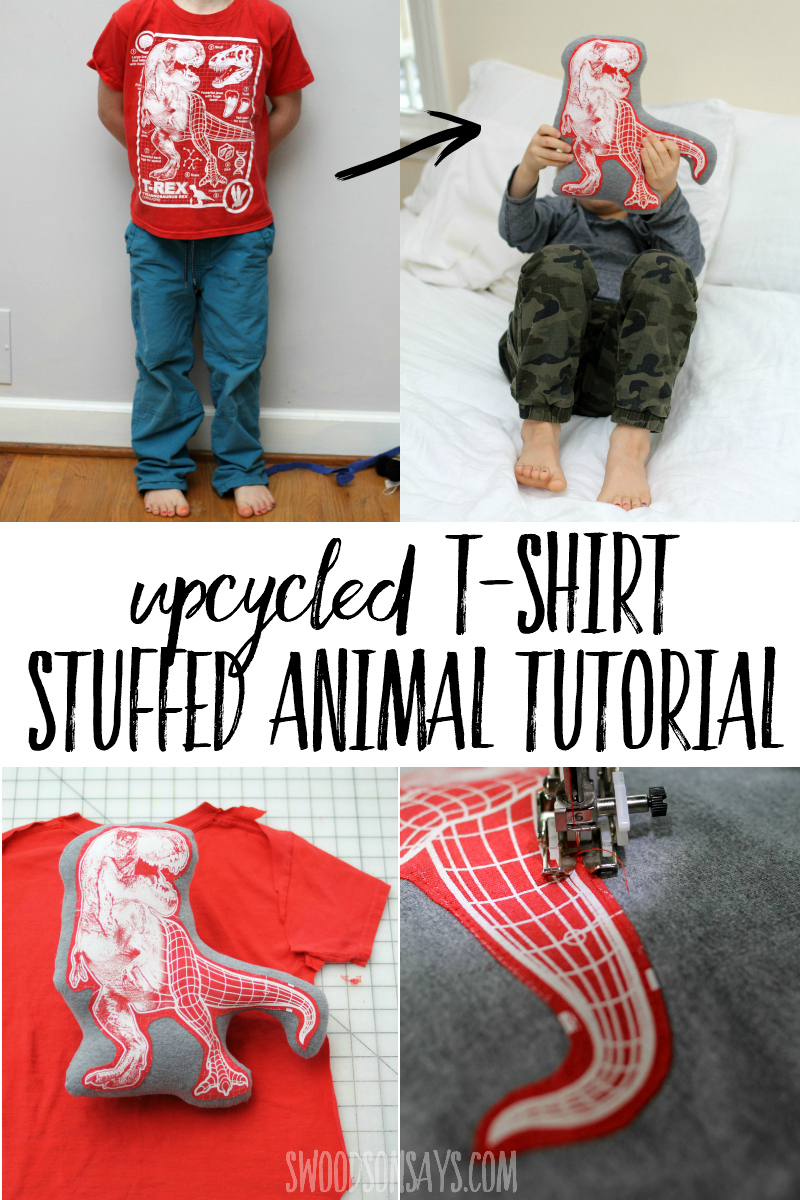
How to upcycle a t-shirt into a stuffed animal
Supplies
- Fusible web transfer method- here I’m using Pellon’s Wonder Under but I also use Thermoweb’s HeatnBond Lite
- Sharp scissors
- Iron – I used my Easy Press2 (shop the easy press on the Cricut website or on Amazon)
- Poly-fill/stuffing
- Hemostats for stuffing (optional)
- Coordinating thread and hand sewing needle
- 1 plain tshirt
- 1 animal screenprinted tshirt
Steps
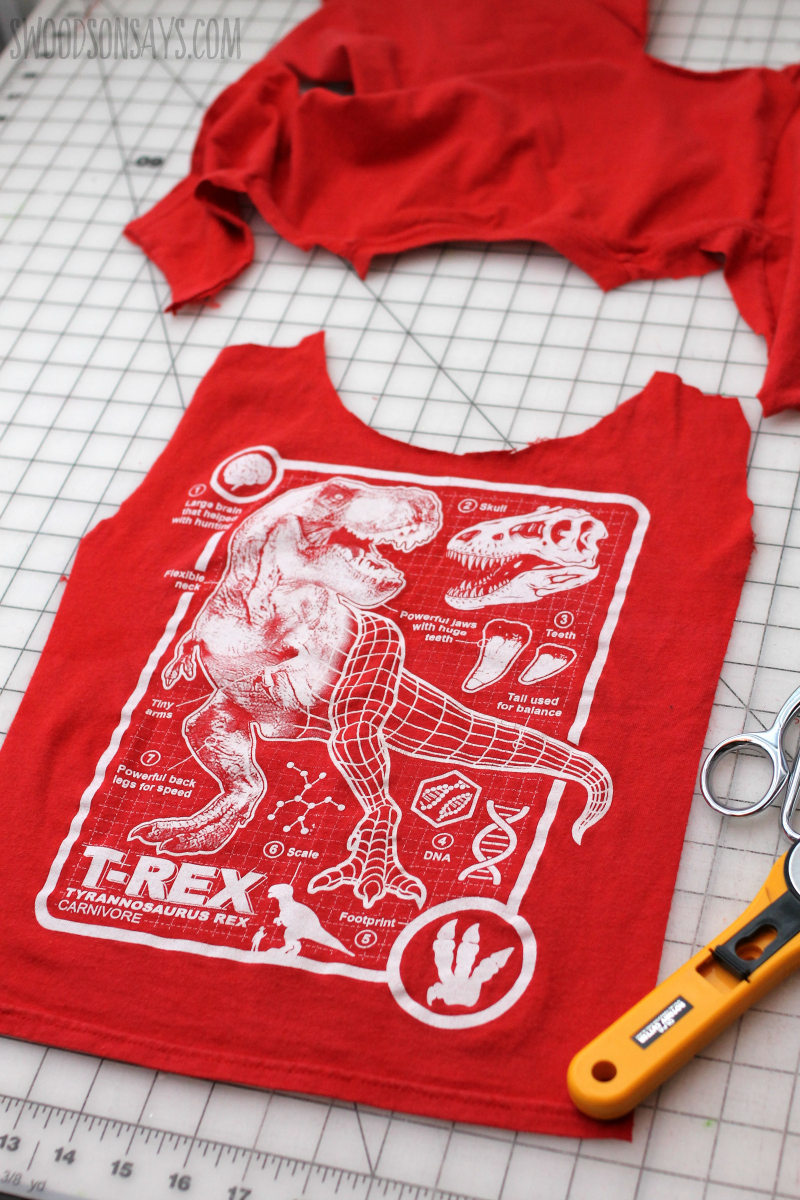
Step 1- Cut out the front of the shirt you’ll be wearing, making sure to avoid including any seams or hems or neckline.
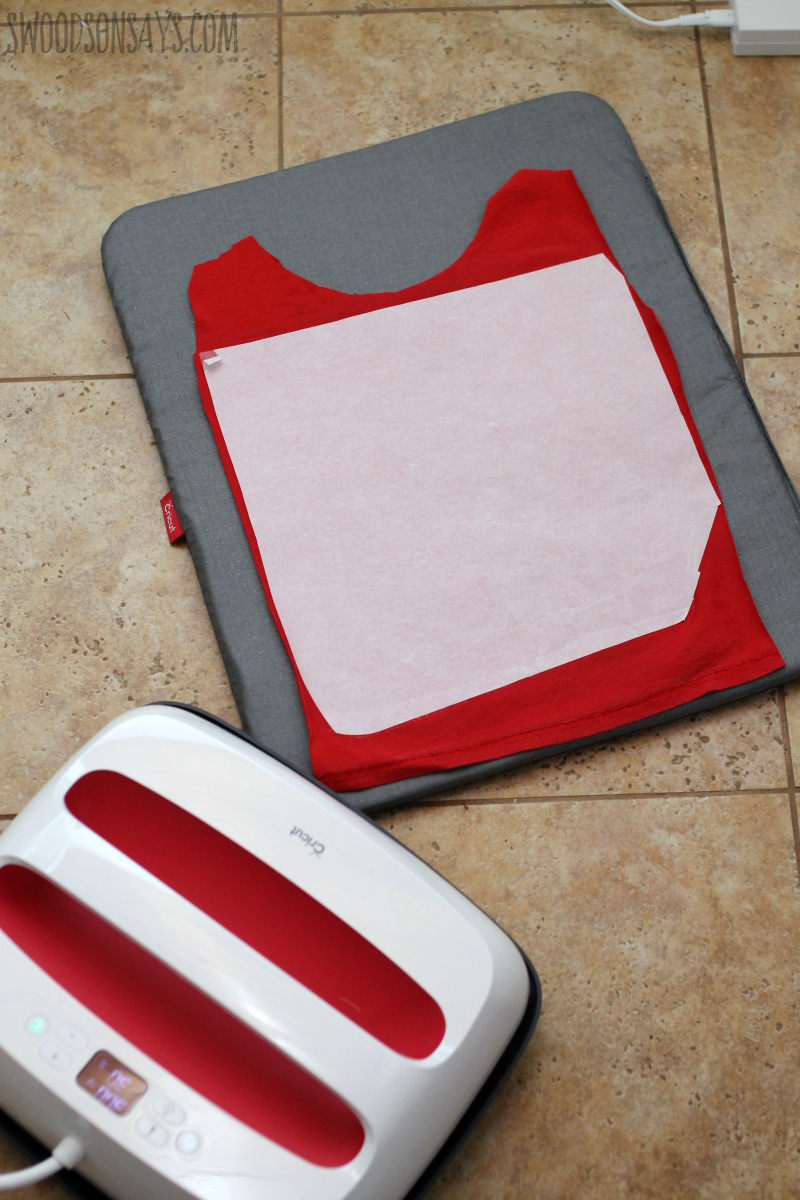
Step 2- Cut a piece of the fusible transfer that is slightly smaller than the shirt front – you don’t want any hanging over the edge because it will stick to your iron. Place it on the wrong side of the fabric and press according to directions. Let cool and peel off the paper backing. I used the biggest Easy Press 2 that Cricut gave me a few months ago; it works so well for stuff like this (shop the easy press on the Cricut website or on Amazon)

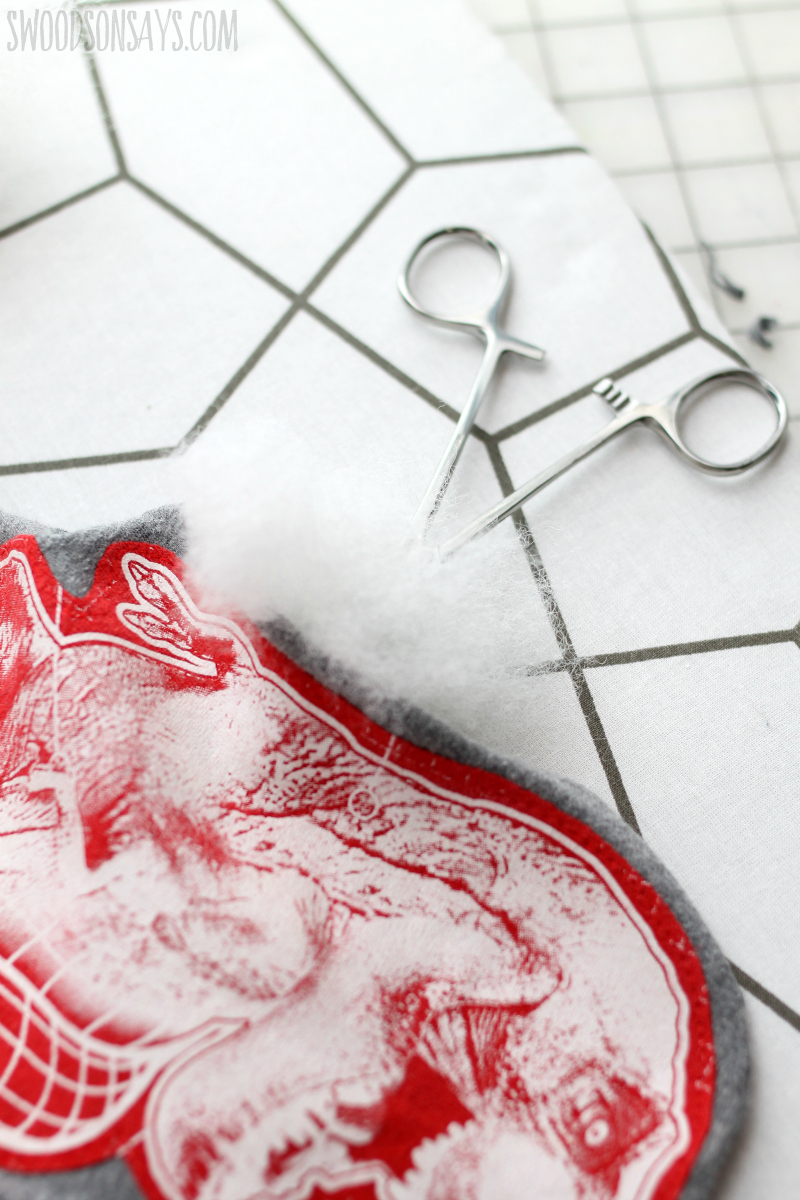
Step 3- Trim closely around the dinosaur’s edges.
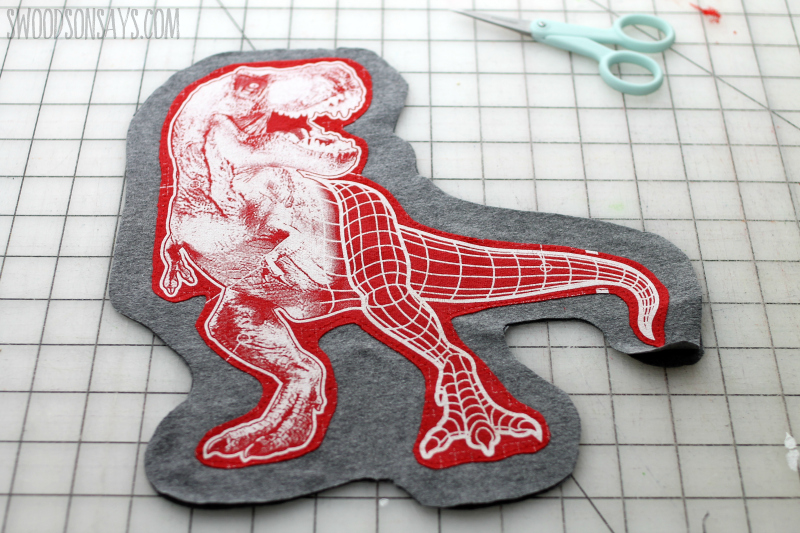
Step 4- Layer the dinosaur on top of another old t-shirt and make sure it is big enough for the pattern before you cut into the fabric. Cut out 2 background dinos! You can eyeball roughly 1/2″ around the design.
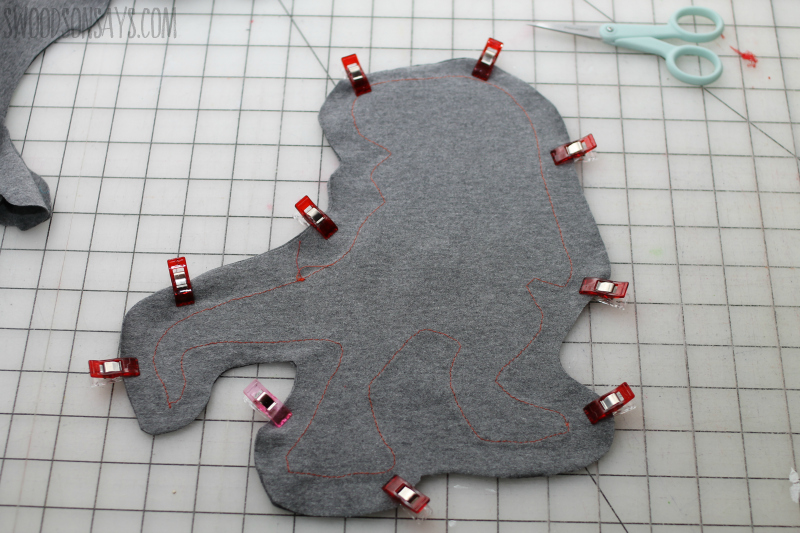
Step 4- Put the right sides together, with the back sides facing out. Pin all the way around to the second body piece and sew, leaving a roughly 4 inch hole (tip: it’s easier to do this on the flattest side you can find!)
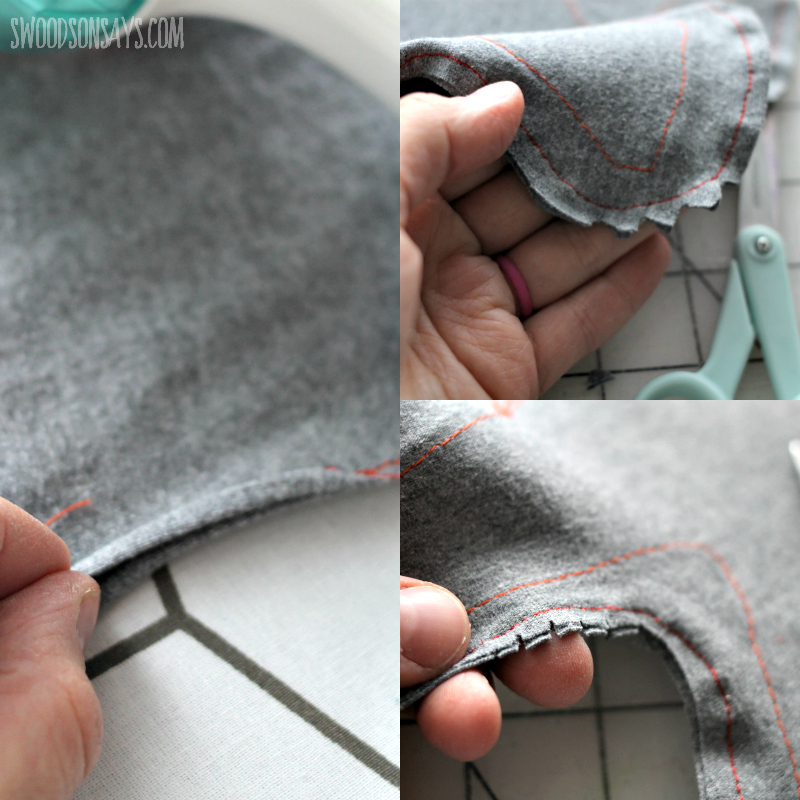
Step 5-Time to clip curves and press! You’ll want to cut little notches out of the outward curves and little slits into the inward curves. Gently pull back the seam allowance at the opening where you will pull it through, and press it so there is a crease formed.
Step 6 – Pull the stuffie right side out through the hole and use an iron to press all the seam. Fill it up with stuffing, pushing it hard into the limbs and tails, using more than you expect to.
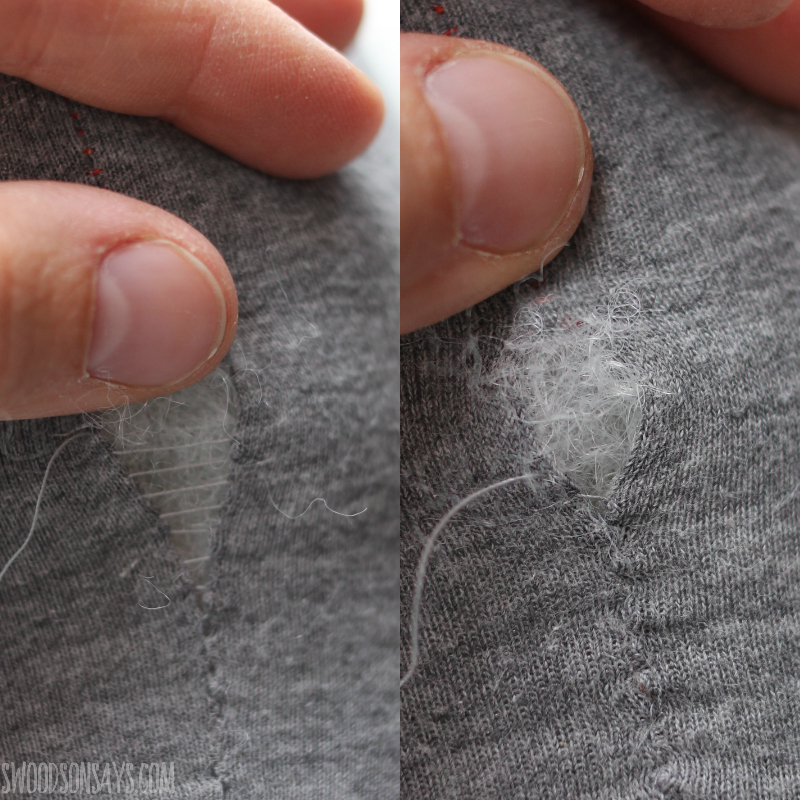
Step 7 – Sew the opening shut and you’re done! I use a ladder stitch – this picture is a little misleading because I moved my hand, but you can see below the opening where the stitches pulled shut.
FV4005
Saturday 20th of July 2024
that t-shirt is good no damage why do you do that?
Stephanie - Swoodson Says
Monday 12th of August 2024
because there are literal tons of tshirts at the thrift store, where I bought it