
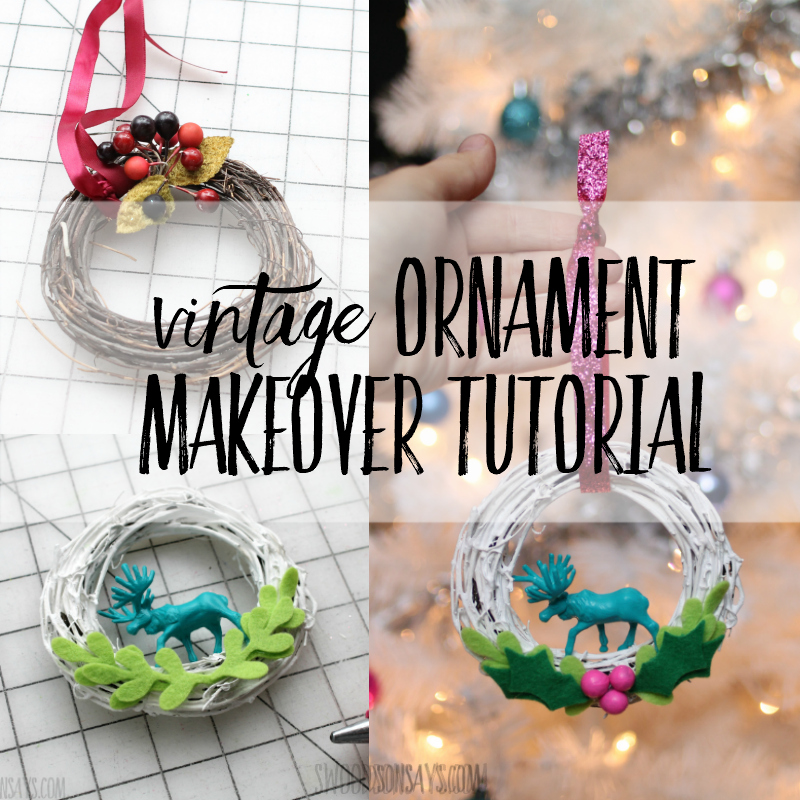
This is day 6 of 12 Days of (upcycled) Christmas tutorials! I found this dated little wreath ornament in the bins at Goodwill Outlet and thought it looked ripe for a refashioning. With a few easy updates, I LOVE this ornament and how it turned out! You could recreate these steps for any type of frame or wreath ornament, too. Keep reading to find out why I picked a moose!
Plaid Crafts gave me the fabric paint for free after I attended SNAP Conference, but all opinions are my own and this post isn’t sponsored.

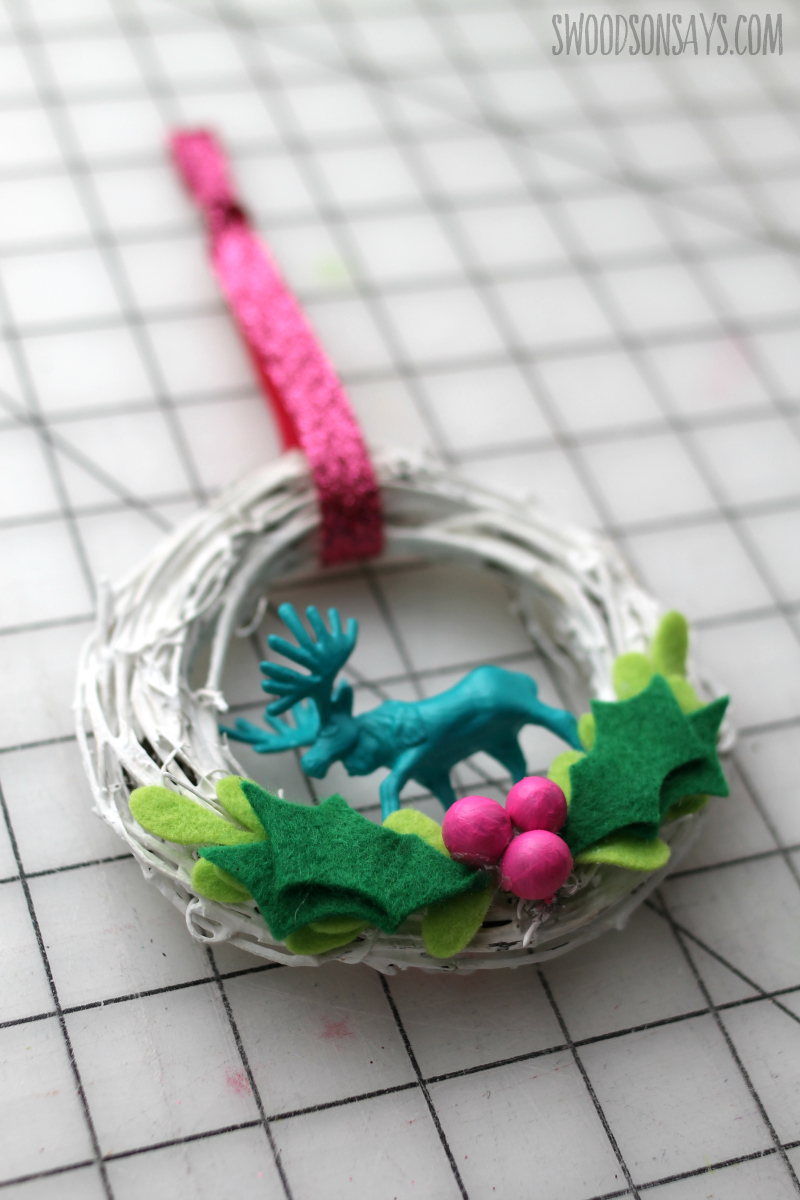
You would not believe how long I messed with those berries, with 2 on each side, up at the top, symmetrical, asymmetrical, etc. I love this layout, doesn’t it feel good when you’re playing with something and it clicks into exactly what you hoped for?
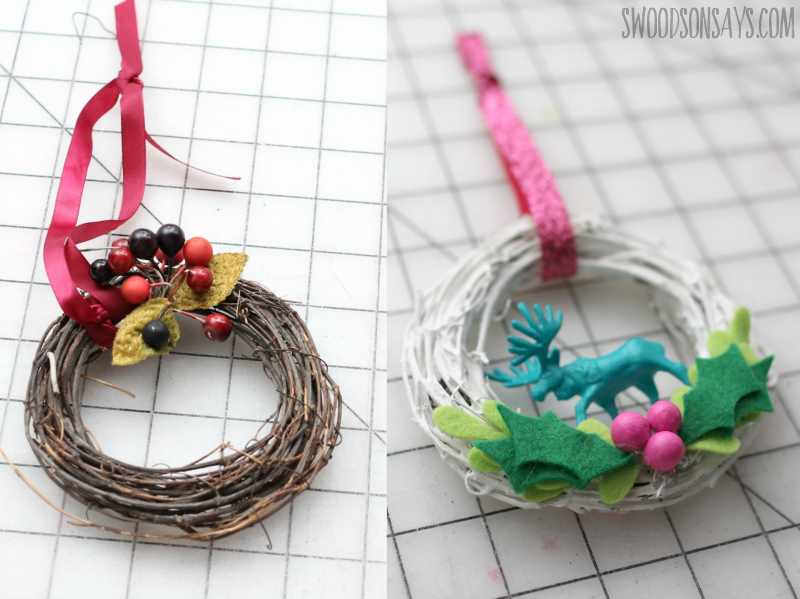
Here is the official before and after. Painting the wreath wasn’t ideal, there are globs of paint stuck in between reeds and what not, but I think it looks great when you’re not inspecting it form up close!
Get more Christmas ornament inspiration in these posts!
- 15+ prettiest fabric Christmas ornaments tutorials
- The cutest animal Christmas ornament patterns
- 14+ tutorials for embroidery hoop Christmas ornaments
- 10+ upcycled christmas ornaments to make from old clothes
Picking a moose was especially important to me because we saw our first one this past summer! We visited Rocky Mountain National Park and stopped to watch this beautiful moose family for a while. Now we can remember that lovely experience every time we put things on the tree!
View this post on Instagram
You can pin this post for later using this link and this collage image:
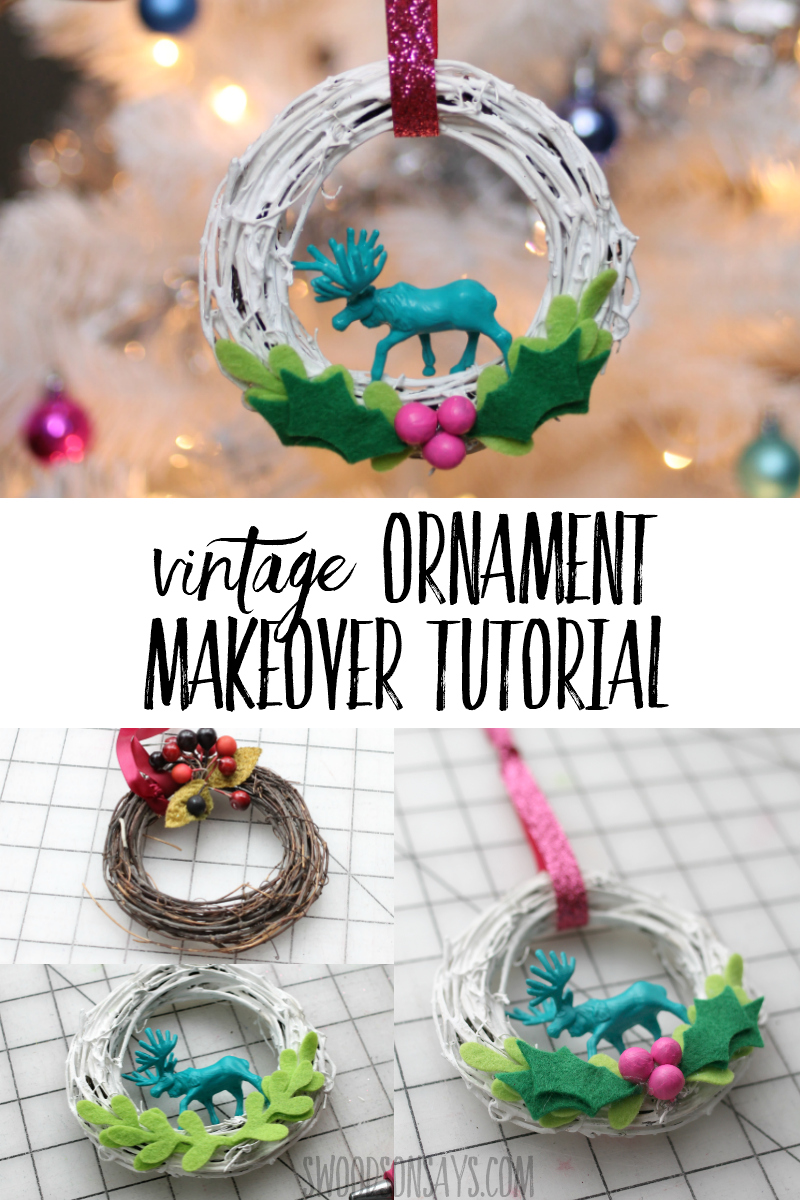
How to makeover a vintage wreath ornament
Supplies
- Tiny animal figurine – mine is from goodwill (I think from someone else’s craft project gone wrong, there was moss & glue on the feet of all the animals in the bag)
- Small wreath – mine is from goodwill and roughly ” tall & wide
- Paint! I used this multi-surface paint on the plastic moose and berries & regular craft paint on the wood
- 2 tones of green wool felt, this is my favorite shop
- Micro tip scissors like these
- Freezer paper – I used printable sheets but you can trace them on to regular freezer paper easily
-
Free felt leaf pattern- sign up for my newsletter and get the free download once you confirm your subscription! If you’re already a subscriber, you can access the pattern with the password in each newsletter, in the resource library.
Steps
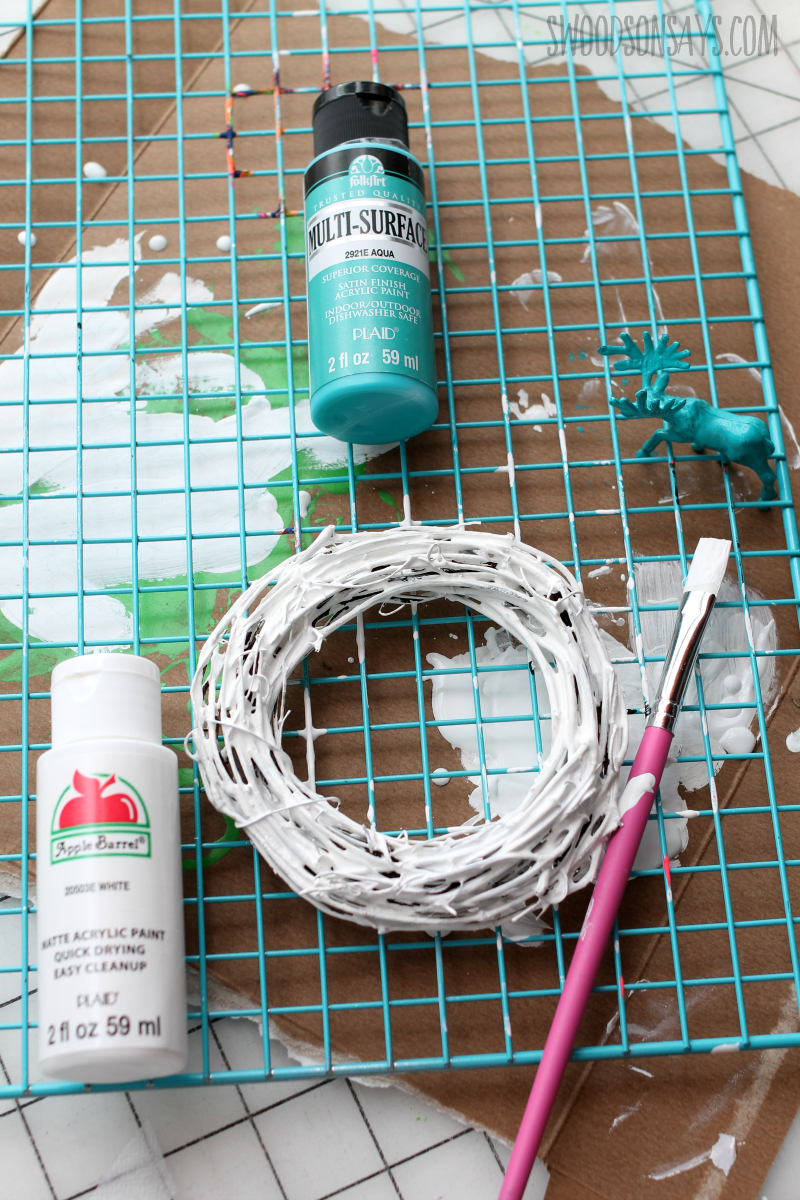
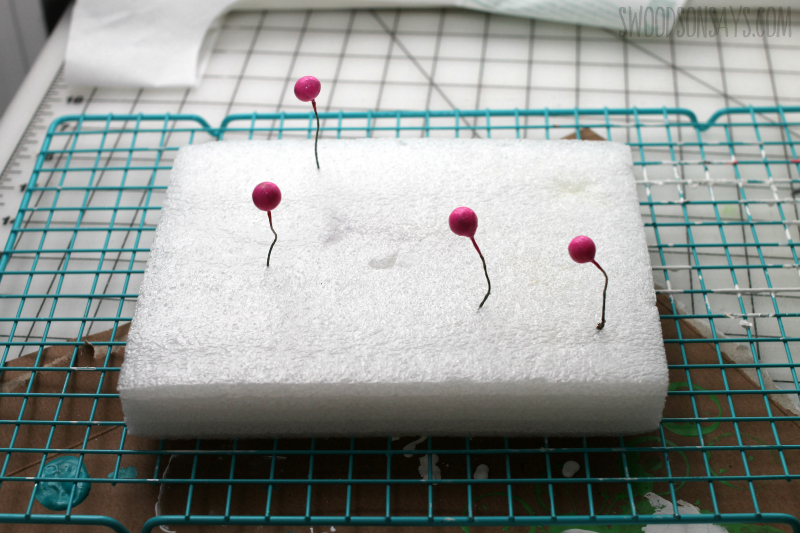
Step 1- Paint! I busted out the pad for needle felting to stick the wreath berries in for easier painting. Also paint the figurine & wreath if desired, making sure to let it dry all the way before continuing.
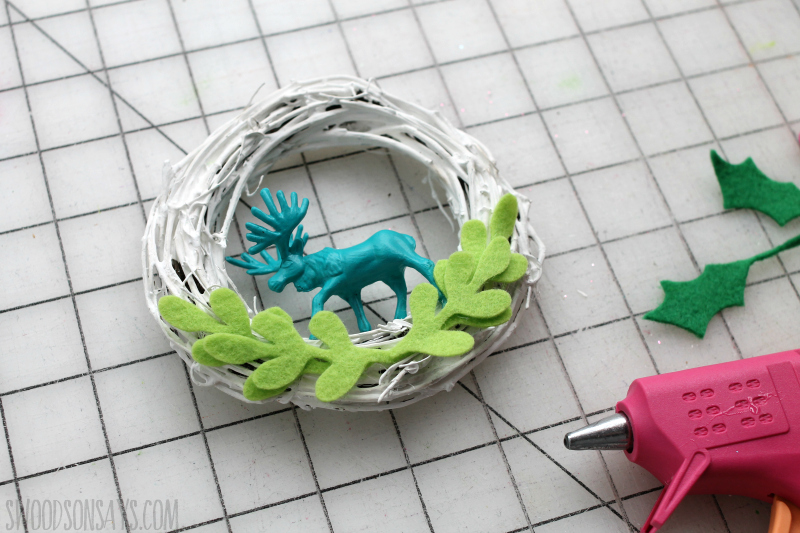
Step 2- Hot glue some leaves down! I staggered mine after shortening the stems.
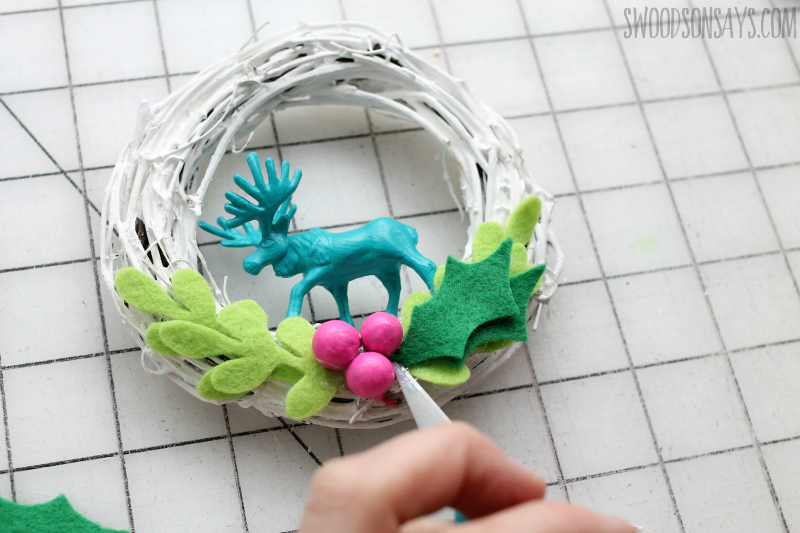
Step 3- Twist the painted berries on to the wire, and carefully glue more leaves above the bottom plant.
Step 4- Loop some glittery ribbon over the top so you can hang it, and you’re done!
I’d love to hear about any old ornaments you have given a makeover!