I love how this turned out, I’m sharing how to make an upcycled thread spool ornament! This is day 7 of 12 Days of (upcycled) Christmas tutorials and I think anyone who sews would be delighted to receive this as a gift. You can totally change the look of these with different colors and fabrics to fit your Christmas aesthetic, they are super quick to make and I think they’d sell well at craft fairs too!
Plaid Crafts gave me the fabric paint for free after I attended SNAP Conference, but all opinions are my own and this post isn’t sponsored.
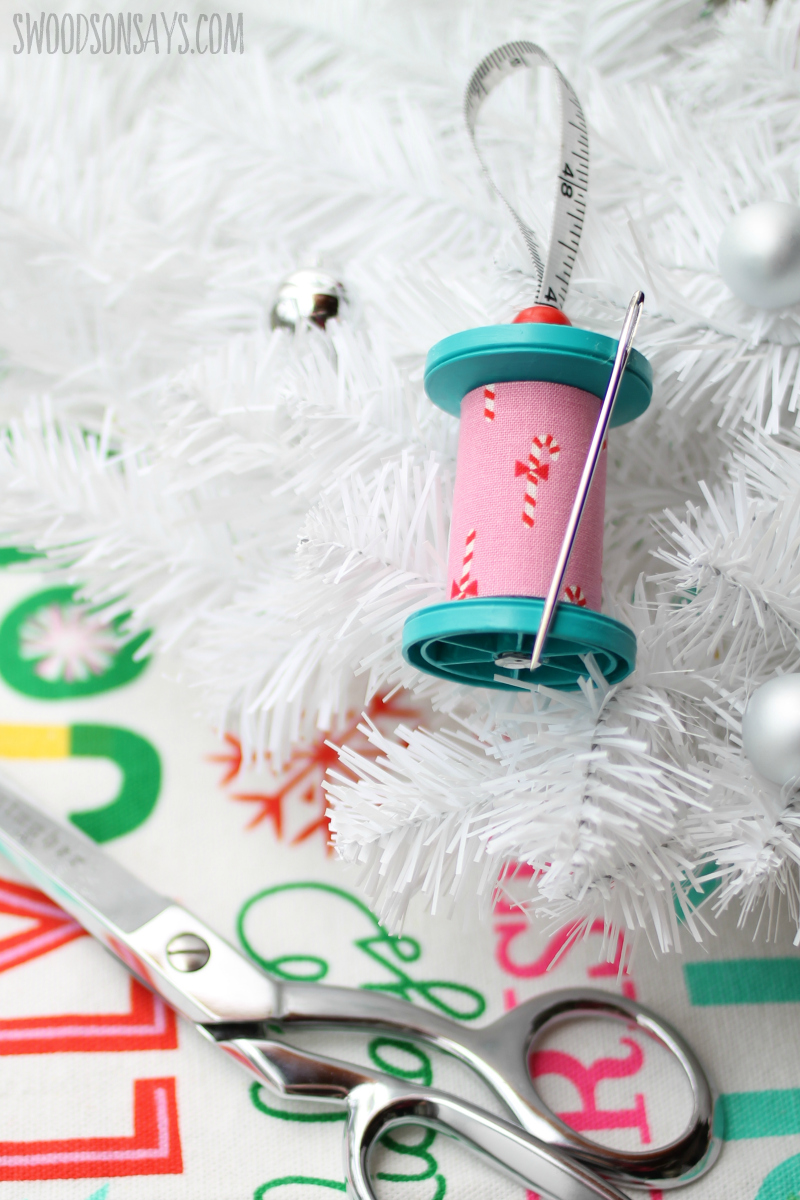
I have a ridiculous stash of thread spools in my craft room and have never done anything with them except used one side for stamping. I’ll be on the lookout for more ideas, but I had fun with this one!
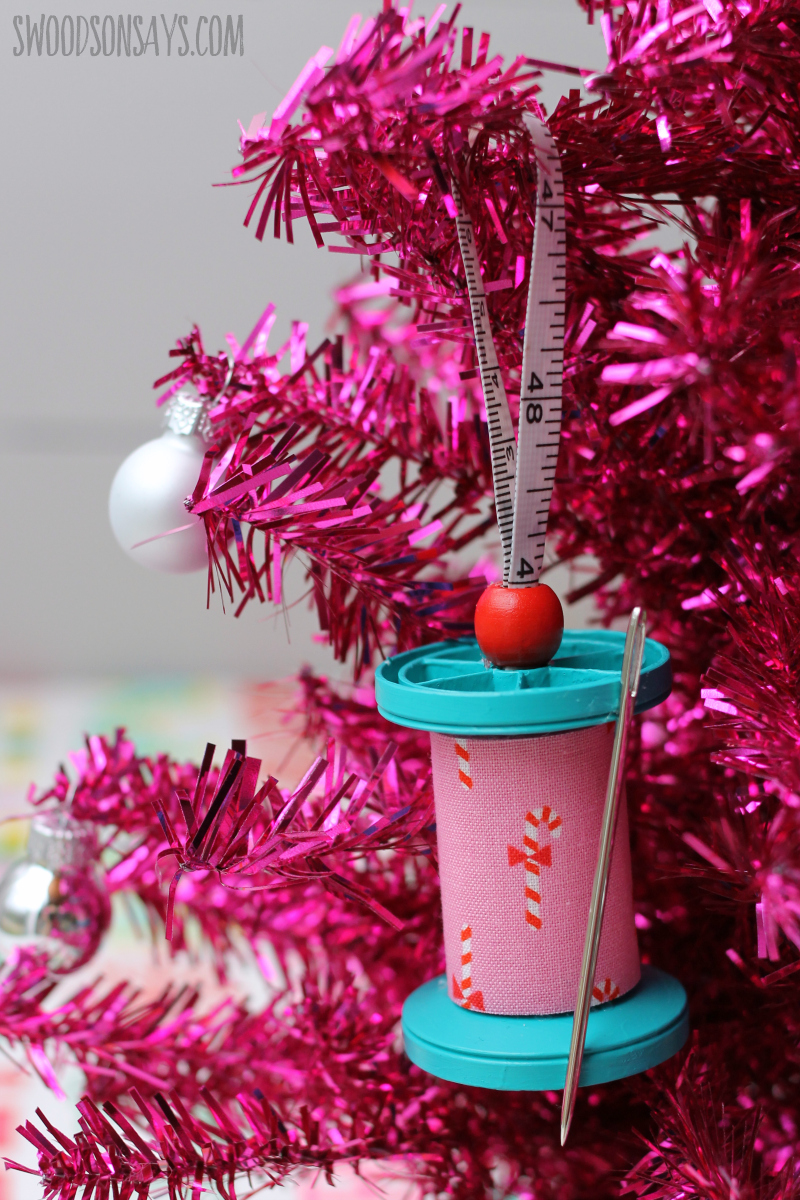
Get more Christmas ornament inspiration in these posts!
- 15+ prettiest fabric Christmas ornaments tutorials
- The cutest animal Christmas ornament patterns
- 14+ tutorials for embroidery hoop Christmas ornaments
- 10+ upcycled christmas ornaments to make from old clothes
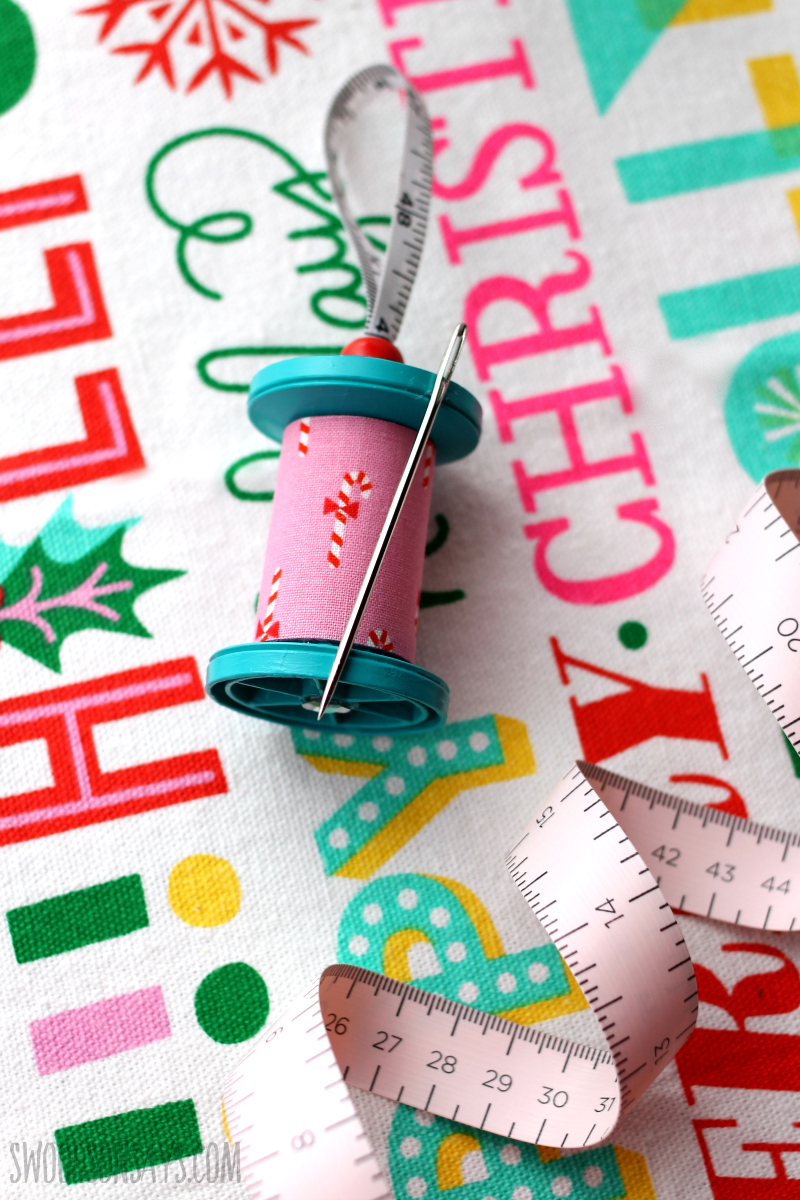
I wonder if a tiny little scissors charm would be cute danging off the side? What else do you think could be added to it? I want to make a whole bunch of them and have a sewing tree in my room!
Pin this tutorial for how to make an upcycled thread spool ornament with this link or collage image:
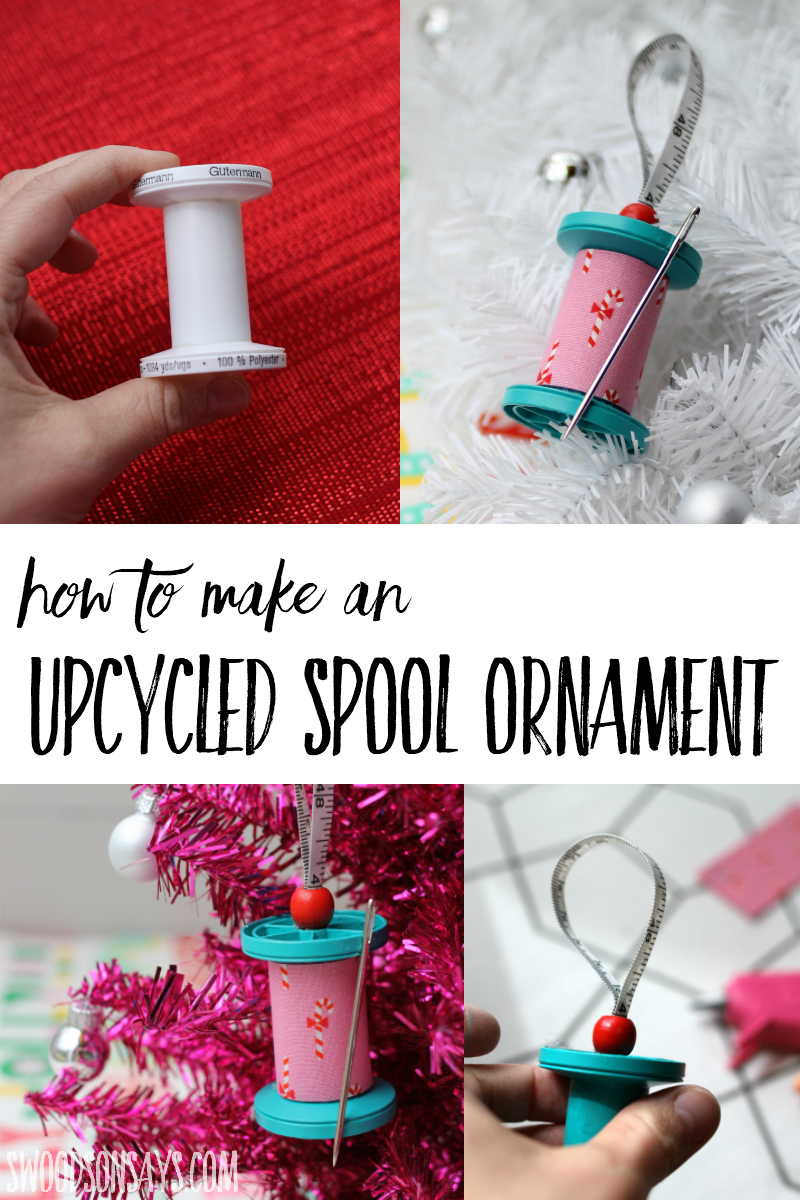
How to make an upcycled thread spool ornament
Supplies
-
- I used a Gutermann Sew-All Thread (1094 Yards) empty spool
- Large furniture repair needle, like this one
- Hot glue gun
- Large sequin
- Small bead
- Ribbon or thin measuring tape (I used the one out of this that my daughter pulled out)
- Multi-surface paint & paintbrush
- Scraps of woven cotton & wool blend felt
- Heat n bond superhold
- E6000 glue
- Iron
- Scissors
- You can definitely draw out your own rectangle (1.5 wide by 3 3/8 long) but if you want, I also have a pattern for it and used freezer paper. I originally had plans to cover the top as well so it made more sense to have a download for it then, but now it is just the simple rectangle. Sign up for my newsletter and get the template pattern once you confirm your subscription! If you’re already a subscriber, you can access the pattern with the password in each newsletter, in the resource library:
Steps
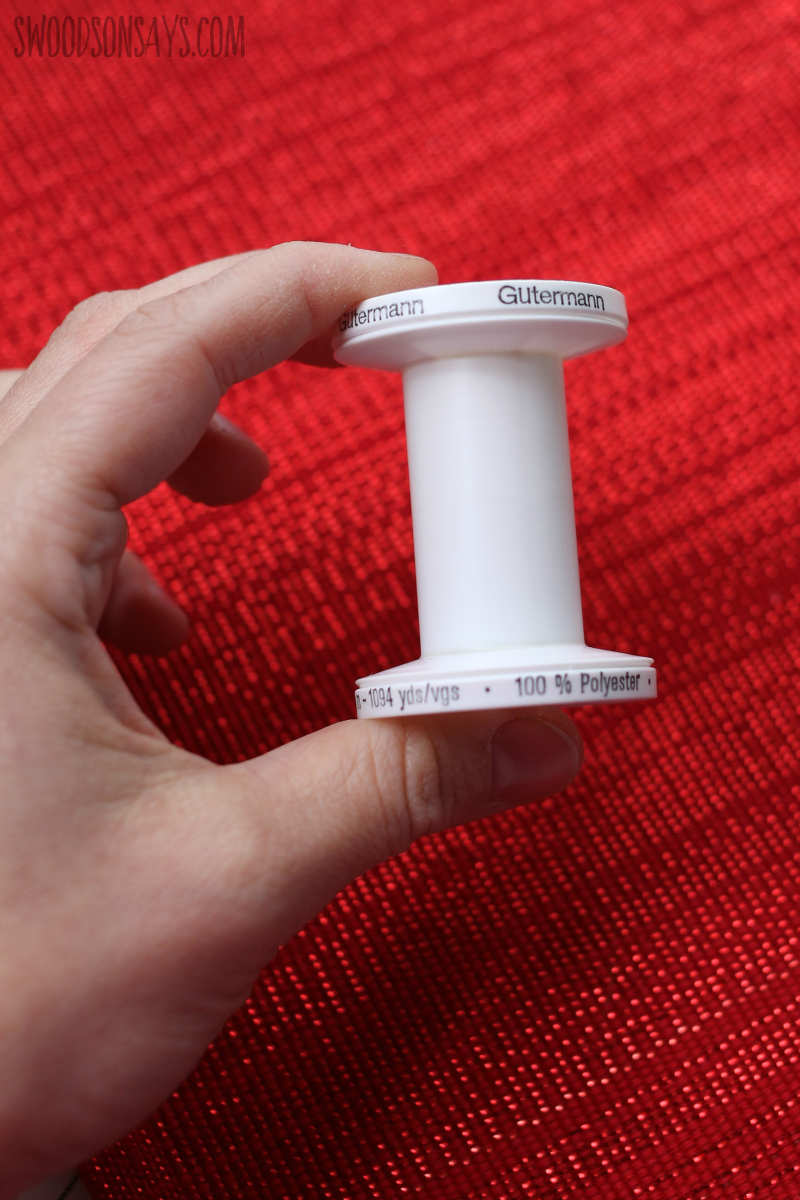
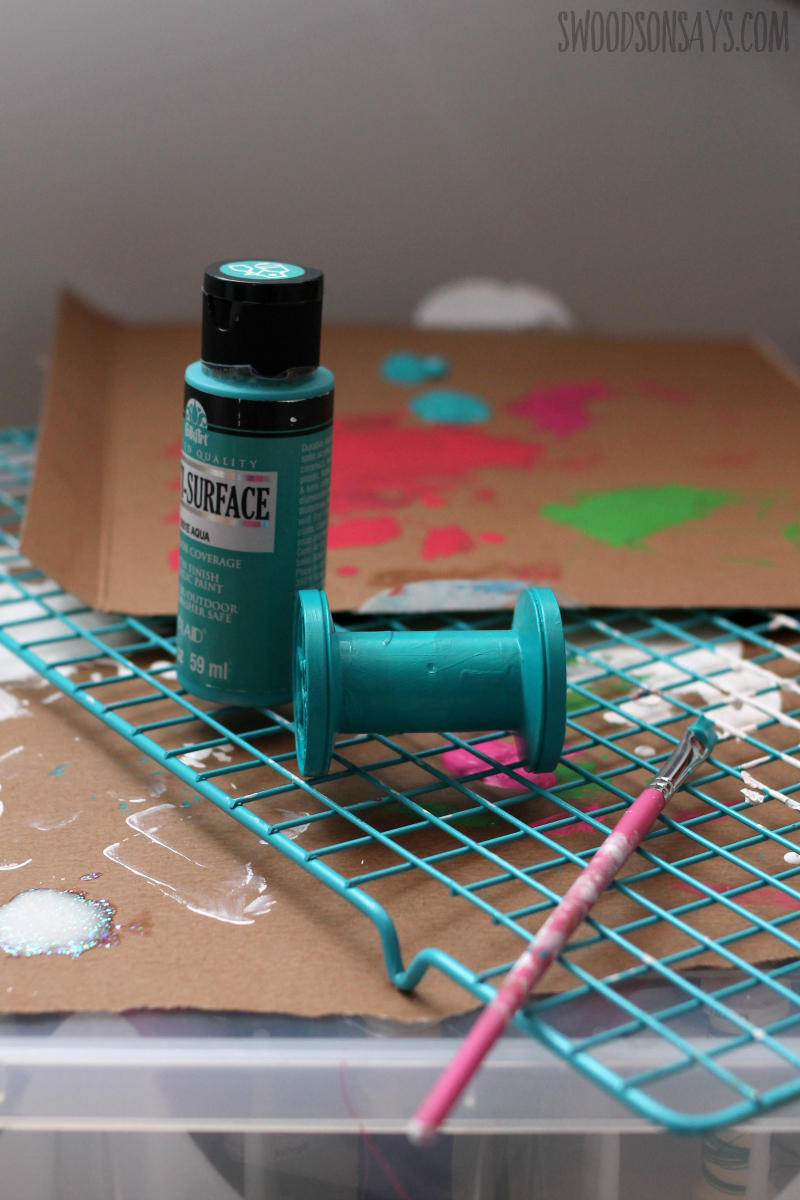
Step 1: Paint your spool! I used it all over, two coats.
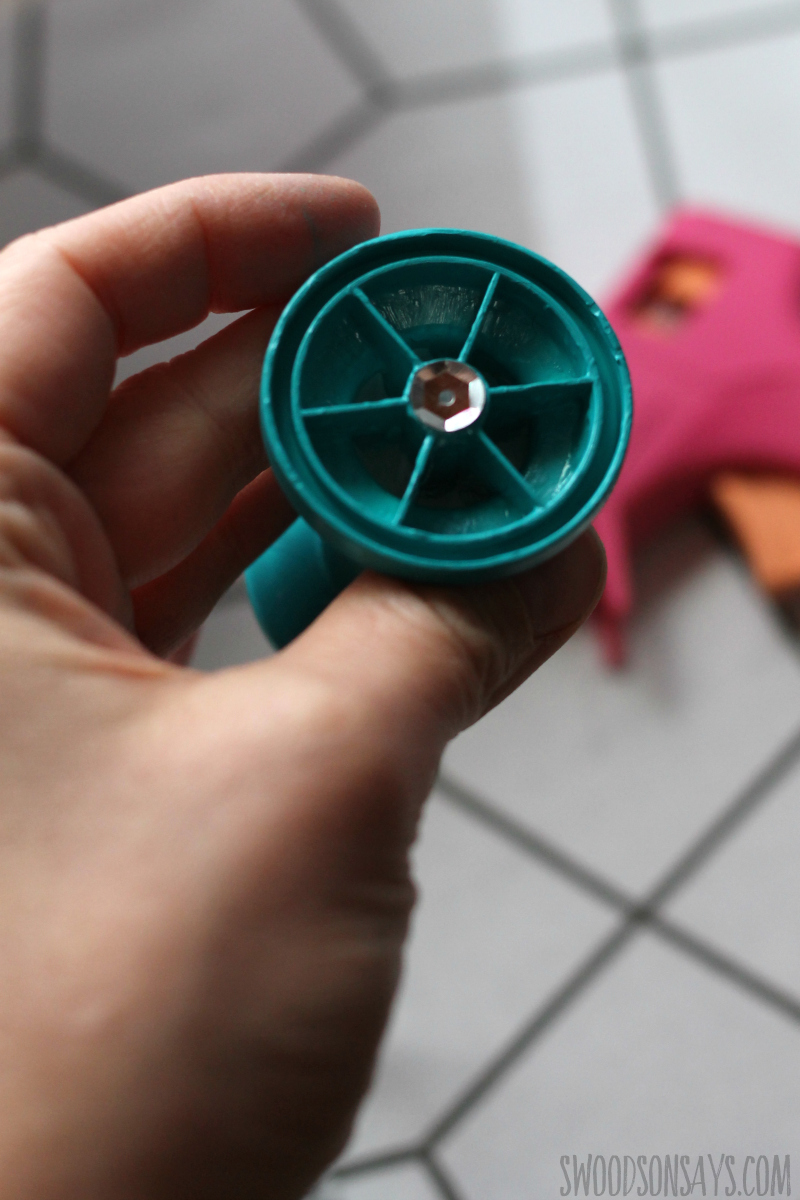
Step 2: Thread your ribbon through to the bottom and use a bunch of hot glue in the hole to secure it. I covered that up with a sequin!
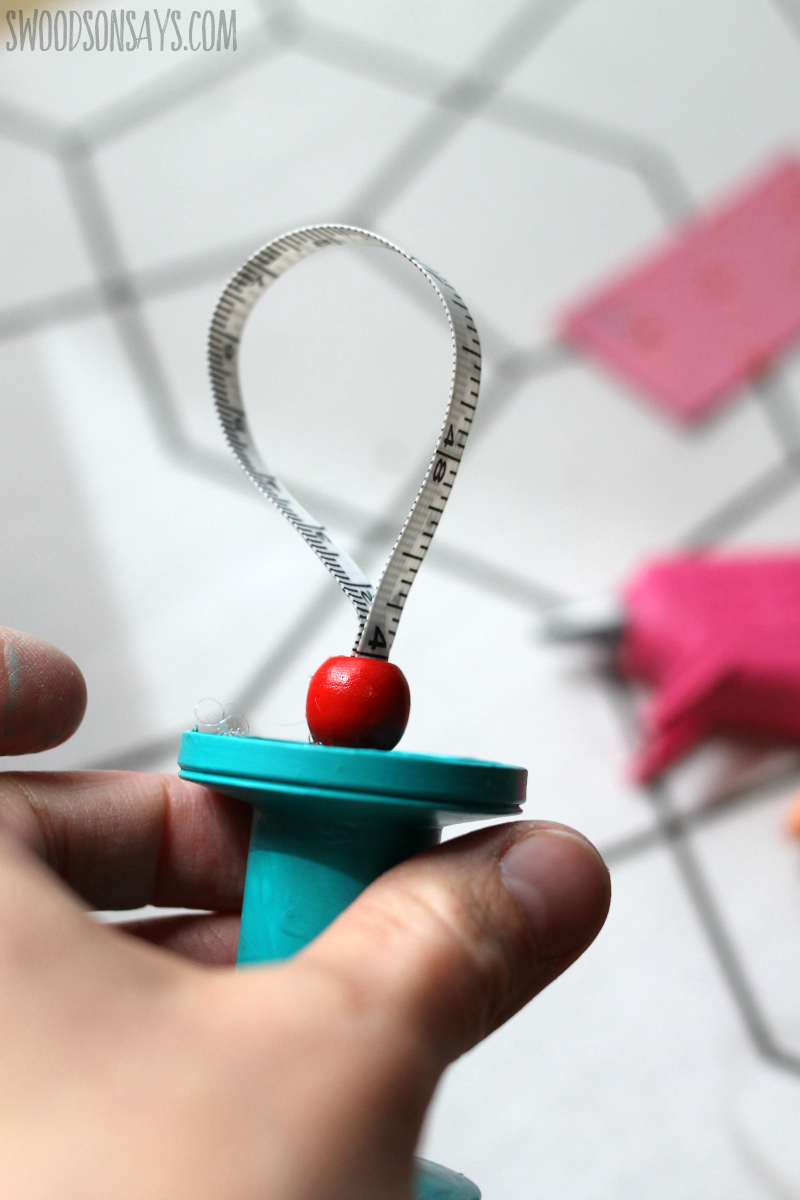
Step 3: Put the bead on the top and clip the ribbon off, pushing it back down through the bead and into the spool, securing both with more hot glue.
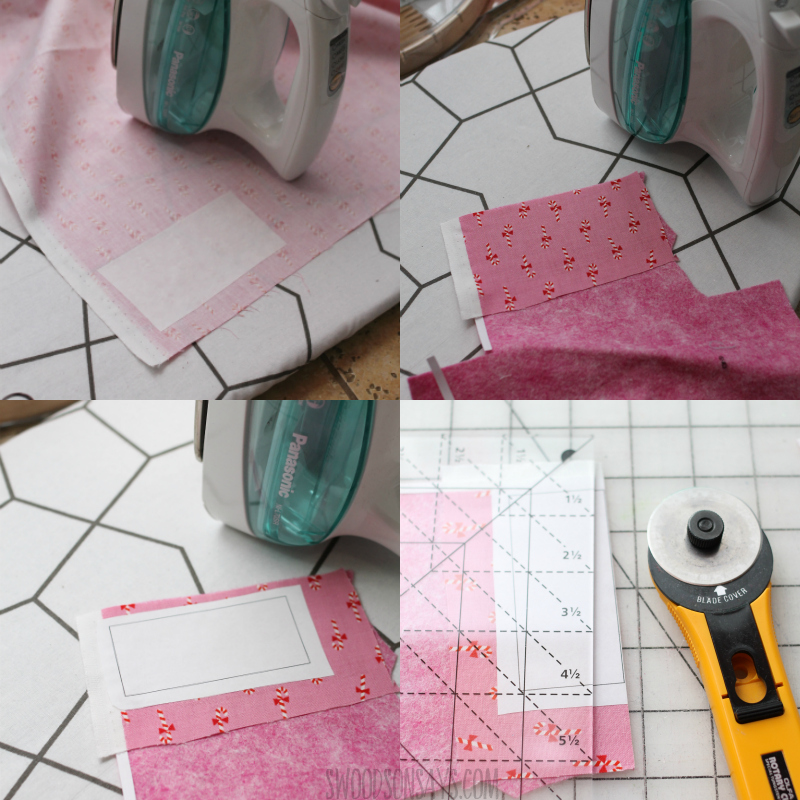
Step 4: This might be overkill but I wanted it to look really crisp and smooth, so I put a big rectangle of Heat n bond superhold on the back of the pretty fabric, attached it to the felt, then put the freezer paper pattern on top of the pretty paper, and cut out from there.
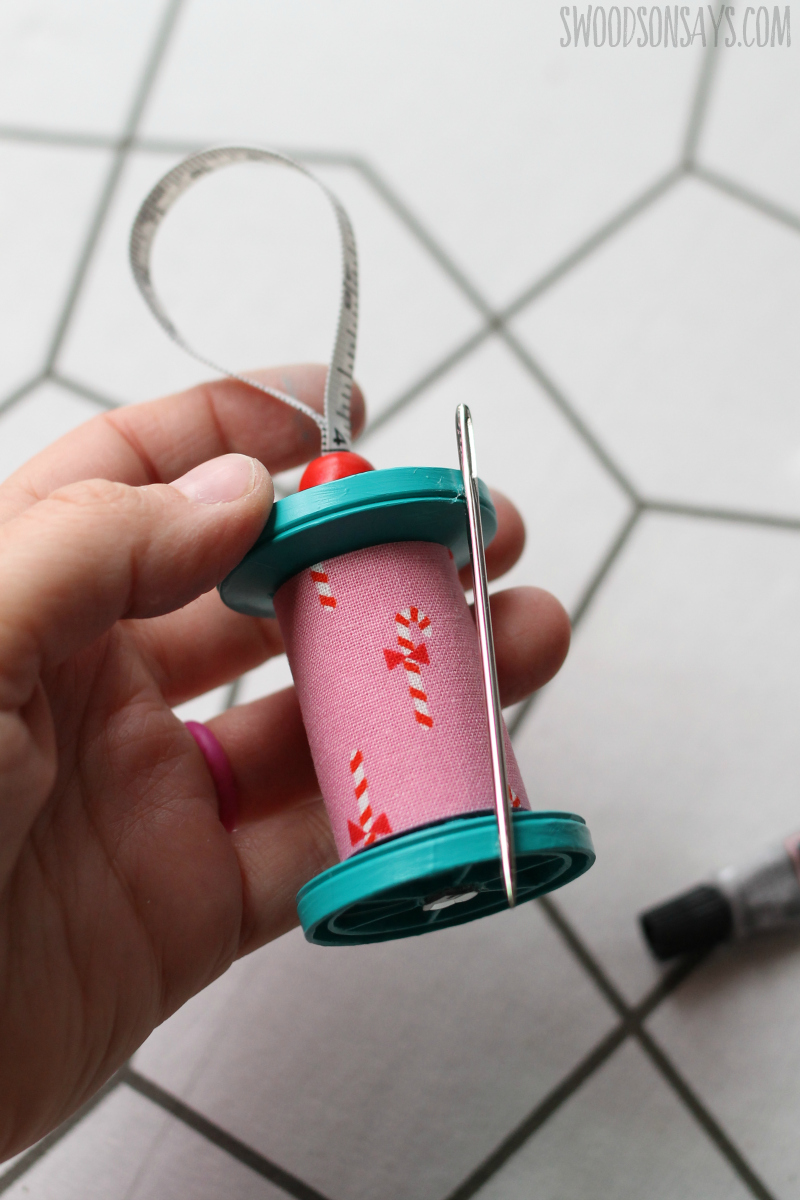
Step 5: Hot glue the fabric/felt rectangle to the spool, and then E600 with a q-tip so the needle stays stuck. Let dry, hang, and enjoy!


B Trudeau
Wednesday 25th of November 2020
Having links to the products you used was a great idea. A picture of the product really helps. Thanks !