
I’m excited to share a free shark diy patch tutorial today! I’ve been on a huge mending kick, trying to fix my kids’ clothes before they outgrow them, and these were so fun to make. Boden had a pair of sweatpants with similar appliques a few years ago that stuck in my head, and now I have my own design to share! This is an easy beginner applique tutorial, you can finish it in an hour no problem.
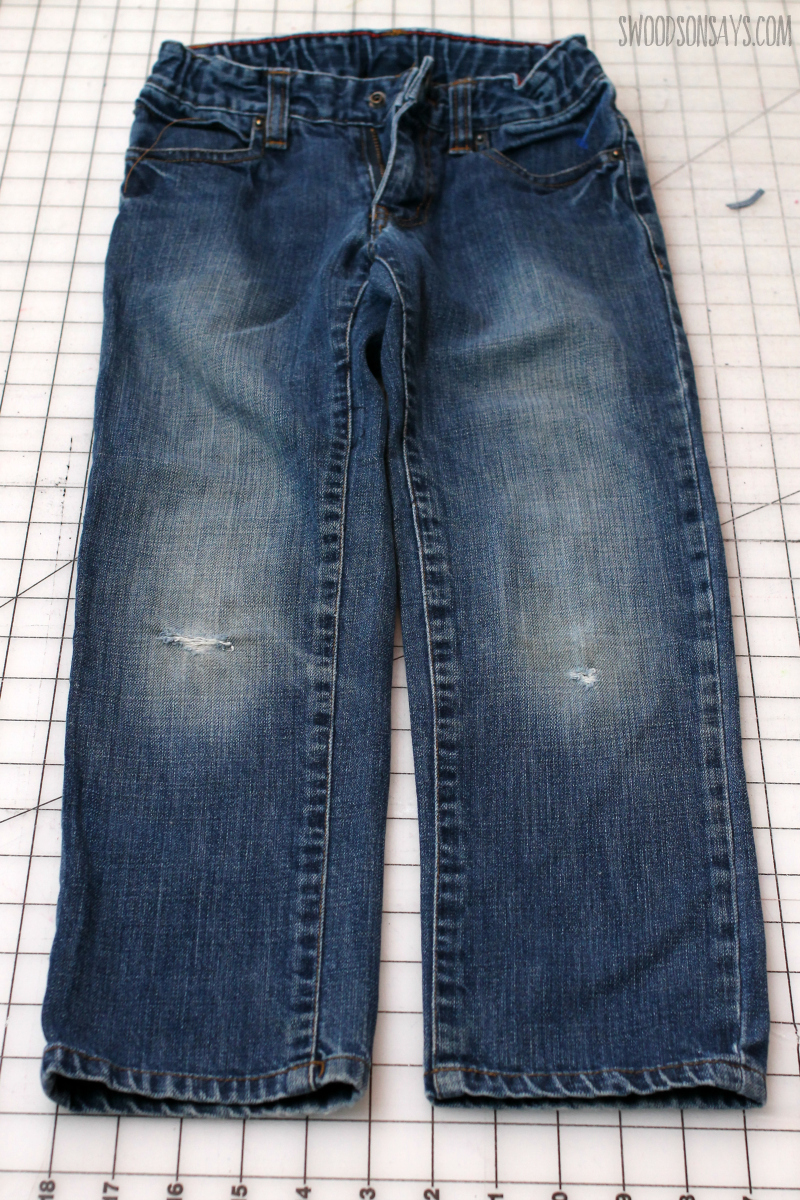
This is the “before” of jeans I scooped out of the Goodwill Outlet bins. They’re Tea brand, that’s normally pretty pricey and nicer quality. I love nothing more than rescuing busted clothes and making them over!
If you like this post, check out these other posts while you’re here!
- How To patch a hole with sashiko stitching
- How to upcycle a tshirt into diy patches
- How to machine applique for beginners
- How to sew knee patches with a free cat template
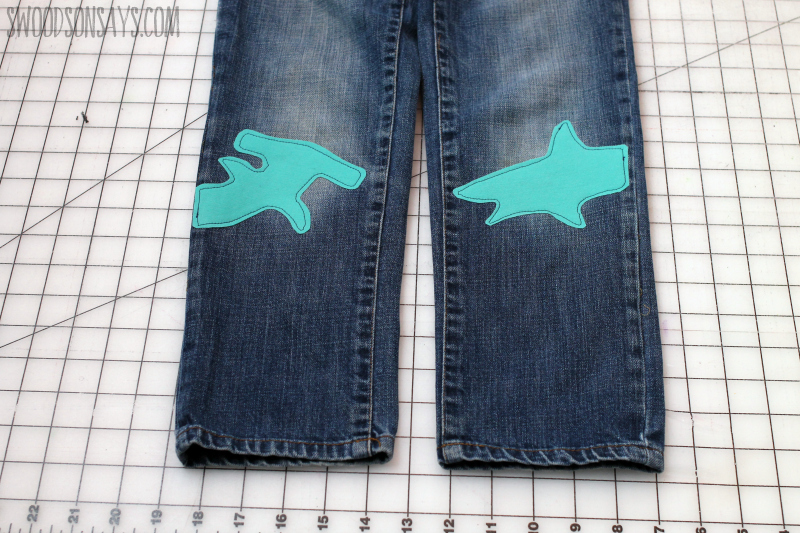
I opted to do a great white and a hammerhead for this free shark diy patch tutorial! The blue fabric is another junked pair of lighweight jeans I had squirreled away in my denim upcycle pile.
Save this post for later, pin this image or use this link:

Supplies
- I love micro-tip scissors for projects like this
- Fusible web transfer method- here I’m using Thermoweb’s HeatnBond Lite but you can also try Pellon’s Wonder Under
- Seam ripper
- Iron
- Denim needles
- Coordinating thread
- 1 pair of pants or shirt to mend
- Denim scraps
- Free PDF pattern-sign up for my newsletter and get the free download once you confirm your subscription! If you’re already a subscriber, you can access the pattern with the password in each newsletter, in the resource library.
Steps
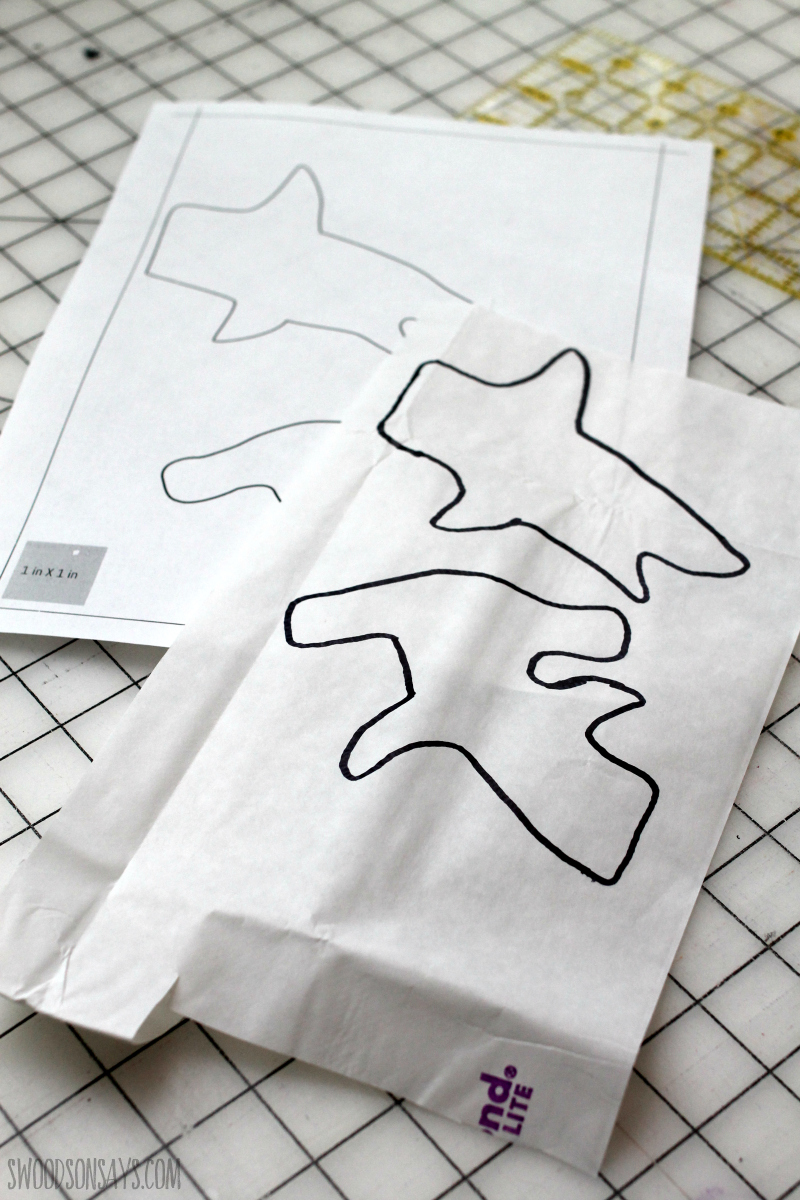
Step 1- Print the pattern off! Trace it on to the papery side of heat n bond.

Step 2- Cut roughly around the drawing and follow the package directions to iron it on to the wrong side of the fabric. Cut along the lines, peel off the backing, and follow the directions again to adhere it over the holes.
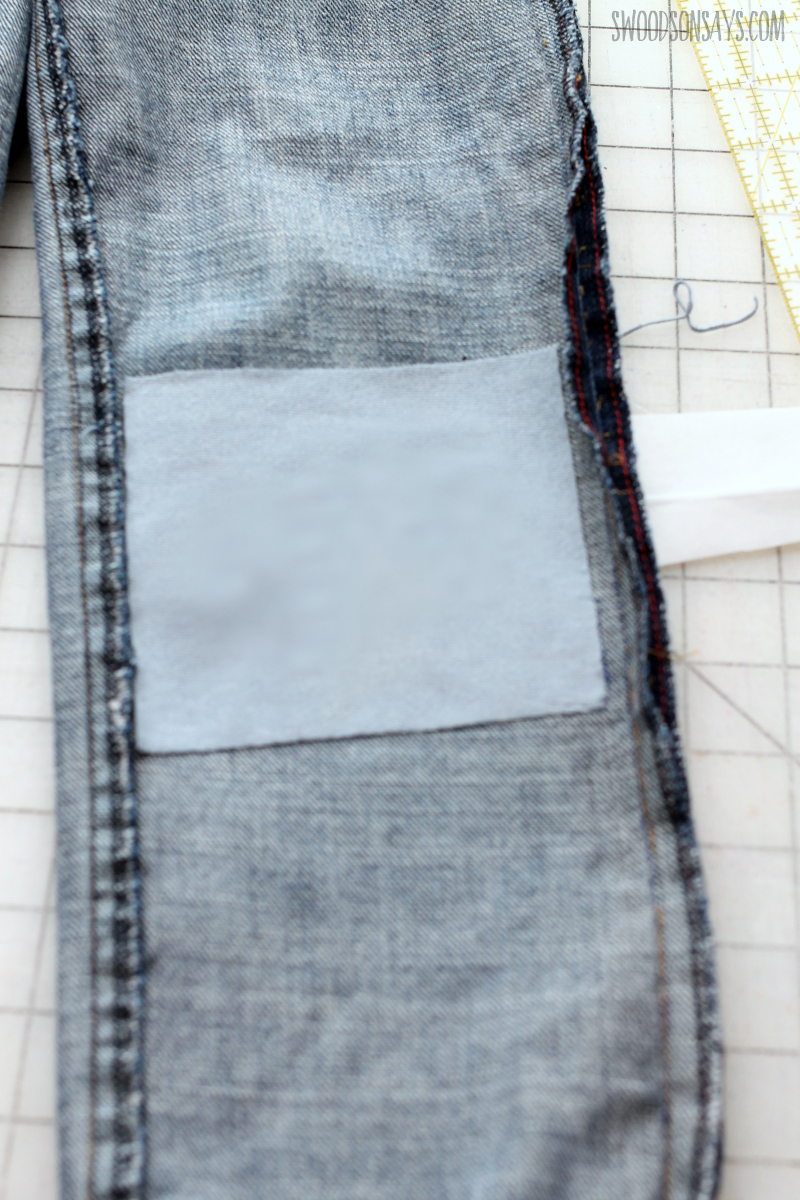
Step 3- I opted to flip the pants inside out and repeat steps 1 & 2 to add a square of fusible tshirt material on the inside, giving it more durability.

Step 4- Because of the location & tightness of the pants, I thought it was easier to seam rip up one side than try to sew it as-is.


Step 5- Time to sew! Go around the edges, with a few stitches back and forth at the beginning and end of the stitching line. Stitch the side seam back up and you’re set! I showed what it will look like from the back, too, catching the inside reinforcement as well.
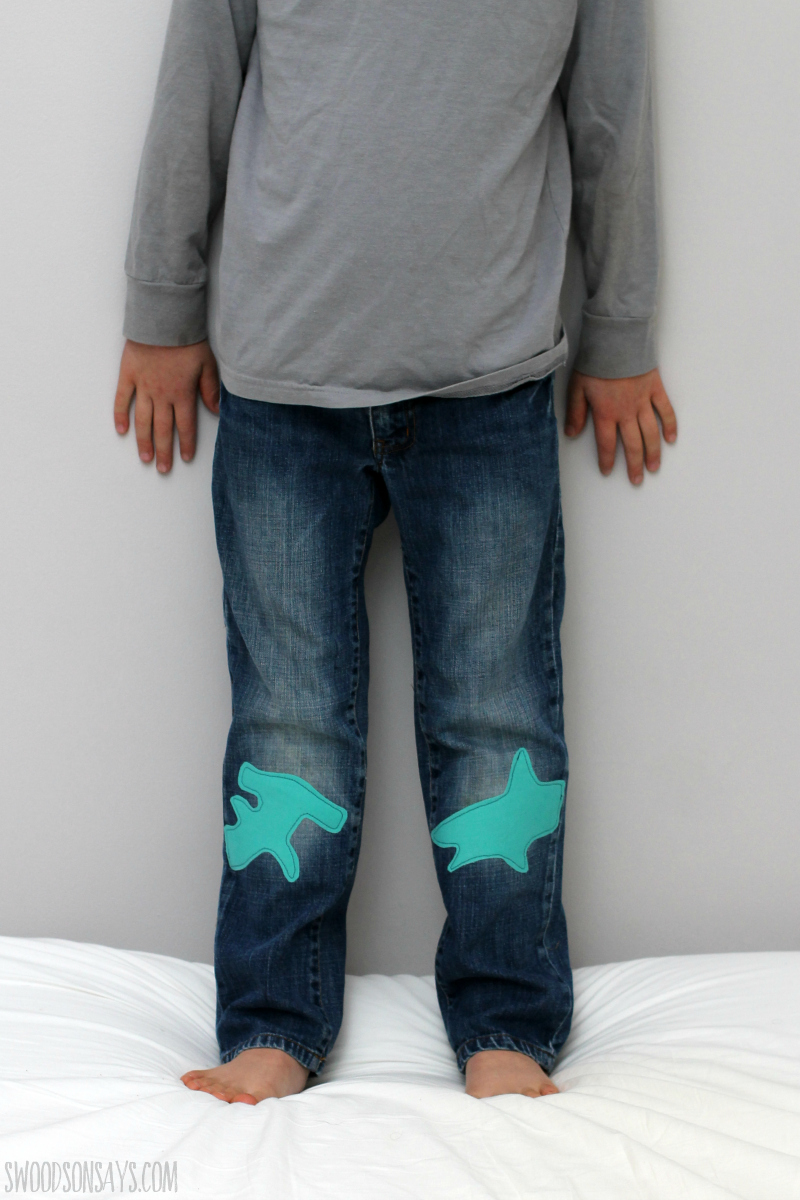
No holes AND they’re way cuter! We love mending pants this way, it is quick and easy. Another idea when you’re seam ripping up the side, you could let the applique overlap the seam so it is “coming out of” the side – but beware that this will add some bulk in the seam as well.
