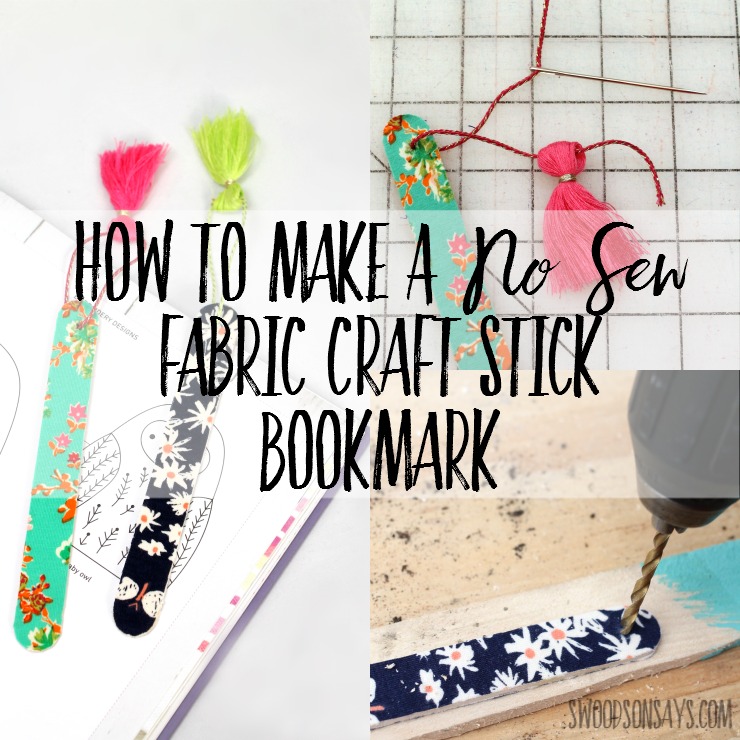
I love using up fabric scraps and can never have enough bookmarks, so this fast and easy craft shows you how to make a no sew fabric bookmark! It’s hard to find ideas to use up knit fabric scraps (I have a huge list of them in this post!) but this craft perfectly uses up those weird long strips you end up with after cutting out clothes.
You might also like these posts:
- Simple fabric scrap bookmarks to sew
- Craft stick crafts perfect for summer camp
- The best fabric scrap projects
Most craft stick ideas are for kids, but I think these would be a perfect gift for an adult. They kept my place in the embroidery book I was looking at; I think I’ll make a few more and slide them into my purse for when I’m reading on the go.
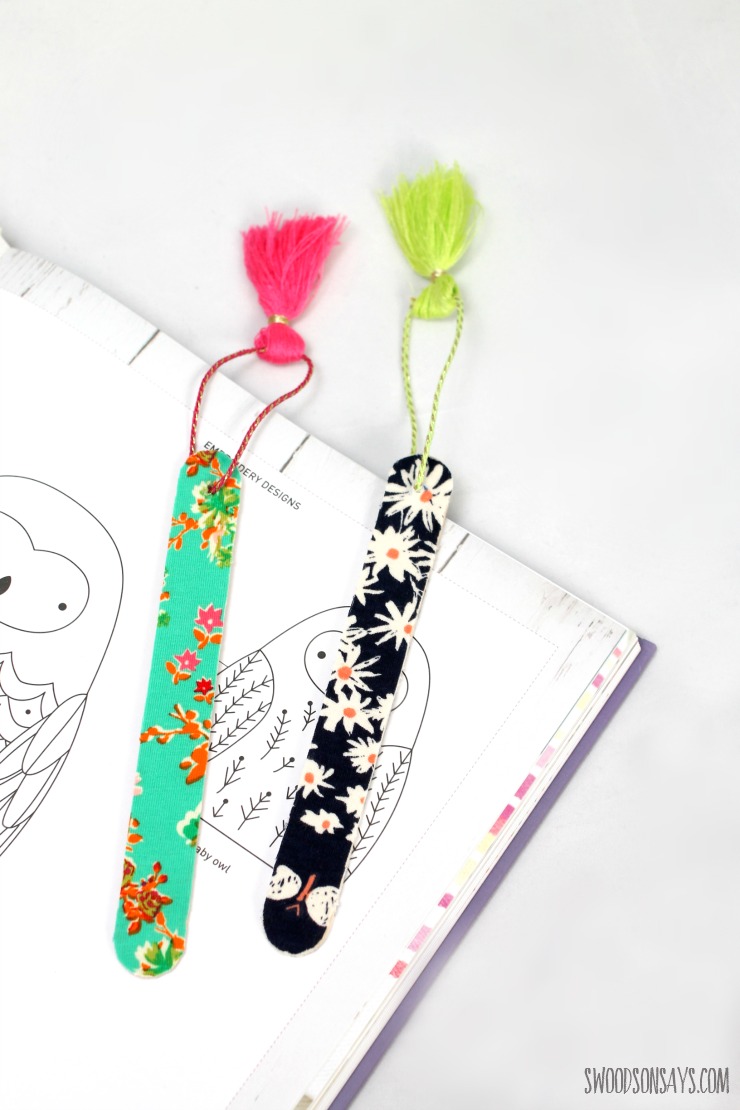
Isn’t that owl peeking out cute! That pattern is in the Mollie Makes embroidery book, you can see a review I wrote of it here.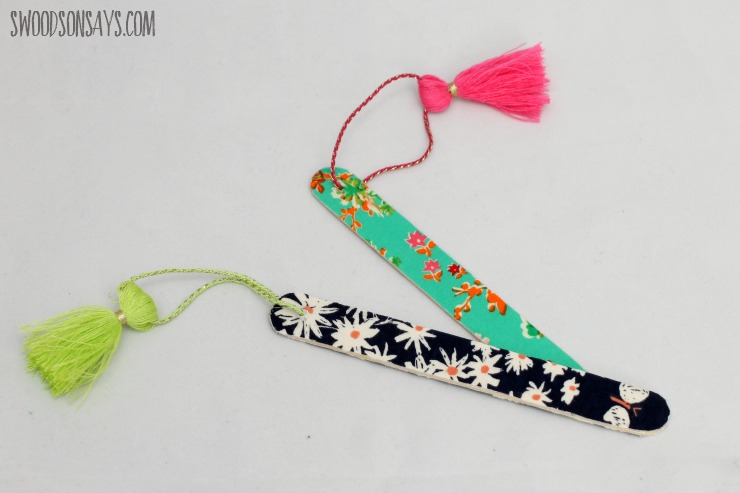
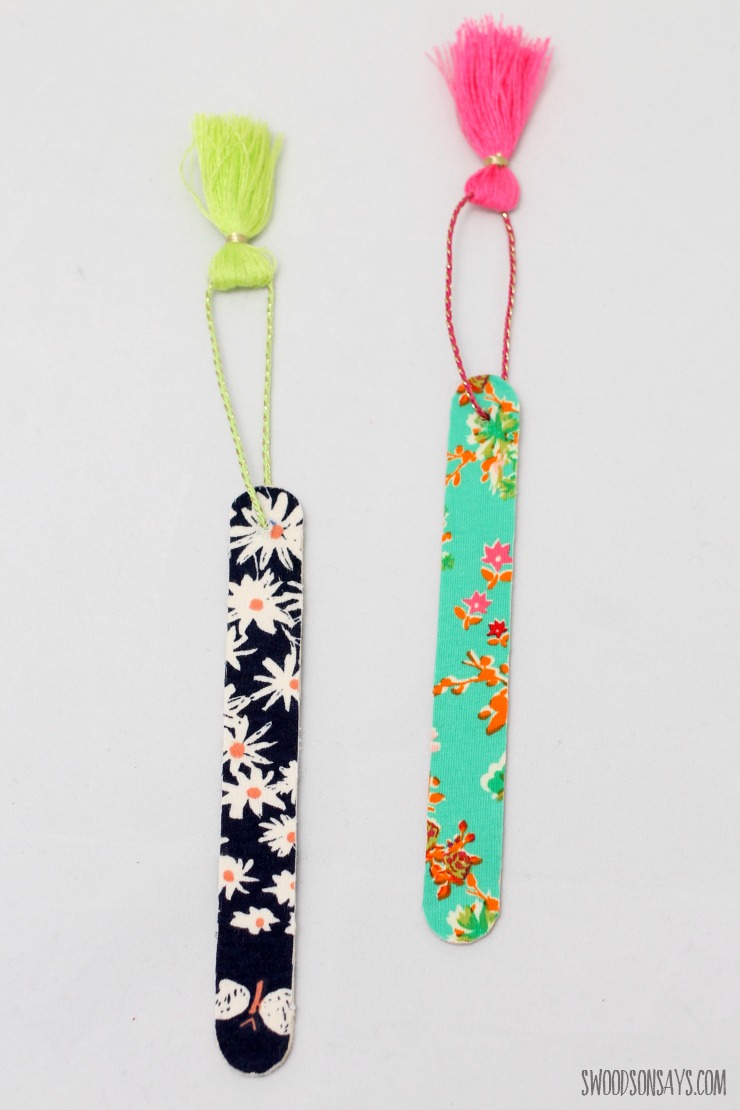
Aren’t they cheery and colorful! The blue floral is Birch Fabrics* and the teal floral is Art Gallery Fabrics*. You could totally DIY a tassel to go with these, but I just happened to have some on hand (a random, can’t pass that clearance craft supply up purchase). If you wanted to make these with kids, you could pre-drill the holes and then have them use a large sewing needle to draw the tassel through the hole.
Pin this no sew fabric scrap craft with this link or collage photo here:
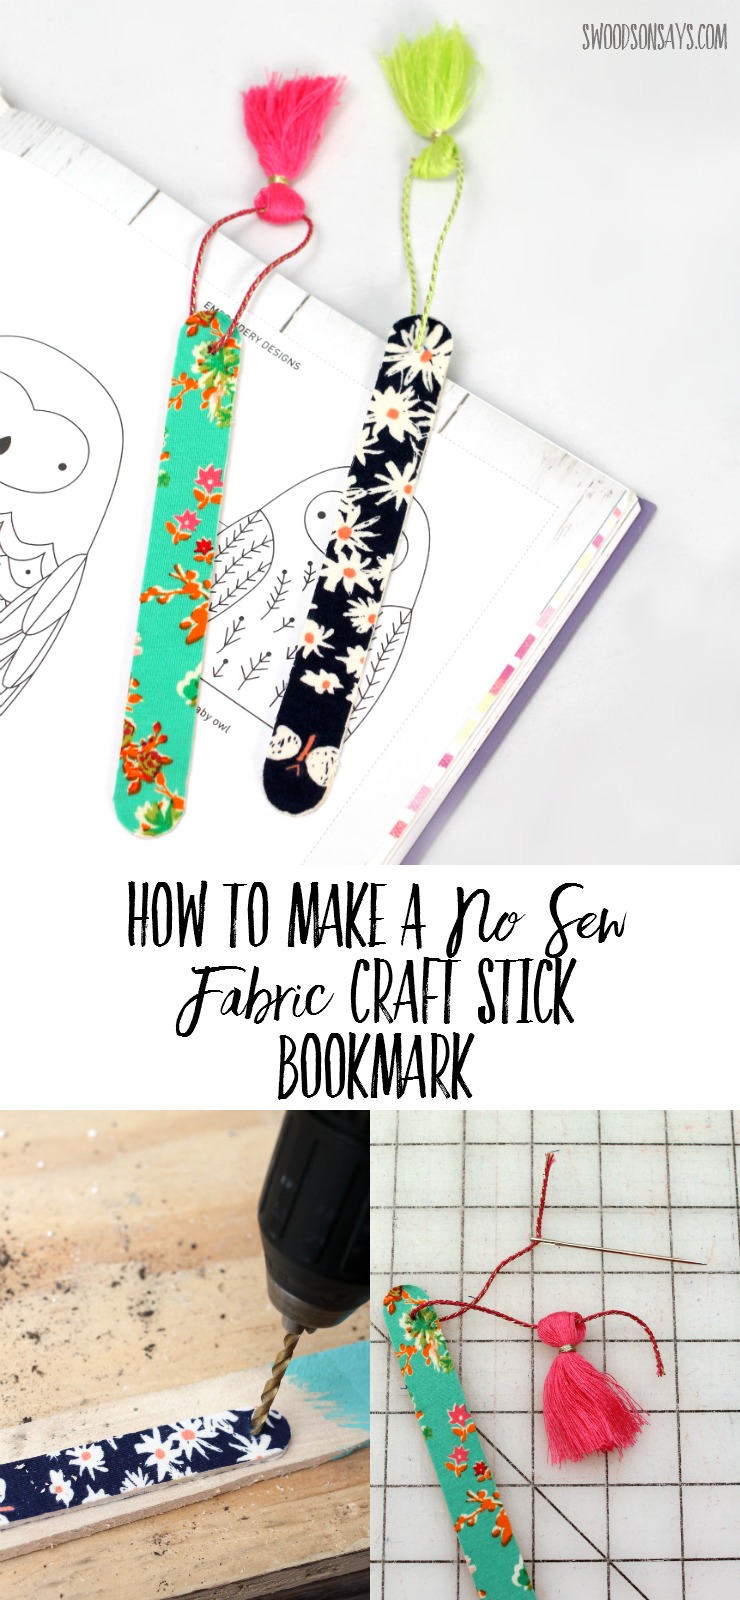
How to make a no sew fabric bookmark
Supplies
- Mod Podge*
- Craft sticks* (wider is easier, I didn’t try narrow but I don’t think they’d drill as easily!)
- Knit fabric scraps
- Drill
- Embroidery floss
- Tassel*
- Paintbrush
- Thicker/longer darning needle*
- Scissors or small rotary cutter*
Steps

1- Coat one side of your craft stick with mod podge, an even and light coat.
2- Smooth the glue side on to the wrong side of the fabric, pushing down with your finger and press firmly. Use scissors or a rotary cutter to cut around, using the stick as a guide. Repeat steps 1 & 2 for the backside, if desired.

3- Use a pen or marker to dot where you want the tassel to tie in; I centered mine roughly 1/2″ down from the top edge.

4-Carefully drill through on your spot. Check that the fabric on the other side is not getting twisted – if it keeps getting caught, peel it back slightly and drill the hole through the wood, then re-glue the fabric down.

5- Measure roughly 8″ of embroidery floss and thread it through your tassel.

6- Thread your floss through the hole and tie a knot, sliding it to hide it inside the tassel.
Repeat, repeat, repeat because these are so fast and fun to make!

Fiona
Tuesday 21st of March 2017
That's agreat idea, especially for knit scraps as I can never think of how to use them. Does the modgepodge stop the edges from fraying?
Stephanie - Swoodson Says
Wednesday 22nd of March 2017
It probably would - these are knit fabric scraps though, so they don't fray :)
Jennifer@ Pcword
Thursday 16th of March 2017
Wow, it's another cute and easy projet form your blog. Thank you for sharing this! ;)
Courtney
Thursday 16th of March 2017
How clever! I totally need some of these in my life with our gazillion books we have for homeschooling 😍
Stephanie - Swoodson Says
Wednesday 22nd of March 2017
I love handmade bookmarks!!
Cassy Gobin
Wednesday 15th of March 2017
Such a great idea! I could totally do this for Christmas gifts at school!!! So simple, yet looks so good.
Stephanie - Swoodson Says
Wednesday 22nd of March 2017
Yes! We haven't had to make teacher gifts yet, but they seem like they'd be perfect :)
Anne Weaver
Monday 13th of March 2017
I have so many scraps but I can't throw any of them away!! Your fabric bookmarks are a great way to use them! I've got a Craft Gossip post scheduled for tomorrow morning that features your tutorial: http://sewing.craftgossip.com/?p=92040 --Anne
Stephanie - Swoodson Says
Wednesday 22nd of March 2017
Thank you Anne!